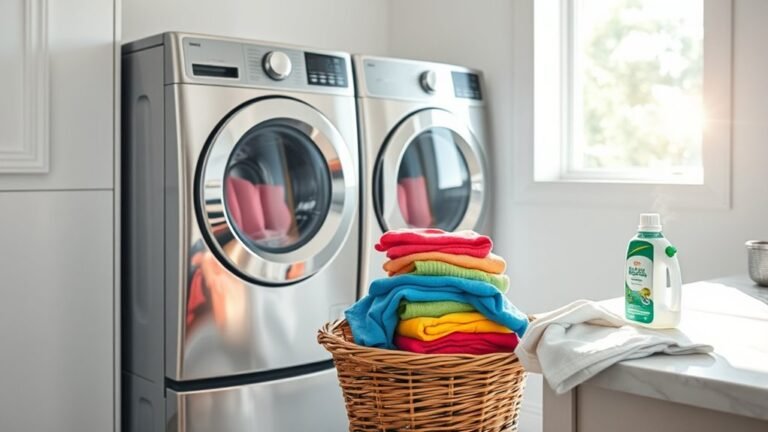
Deep Cleaning Guide for Refrigerator Flooring
To deep clean your refrigerator floor, first clear the area and unplug the fridge for safety. Remove all contents and mats, then gather supplies like a gentle cleaner, mop, and gloves. Use a mild detergent with warm water to scrub the floor, focusing on edges and corners, avoiding excess water on sensitive flooring. After rinsing and drying thoroughly, inspect for moisture or grime with good lighting. Following these steps consistently prevents buildup and keeps your kitchen hygienic; more detailed tips can enhance your routine.
Preparing the Area for Cleaning
Before you begin cleaning the refrigerator flooring, clear the area around the appliance completely. Start by removing any items stored nearby, including mats, boxes, or furniture, to guarantee unobstructed access. This step is essential for organizing space effectively, allowing you to move freely and work safely. Next, focus on clearing clutter that may have accumulated on the floor or in adjacent areas. Dispose of or relocate unnecessary objects to prevent interference during cleaning. Use this opportunity to assess your kitchen layout and consider rearranging for better flow. By methodically preparing the space, you reduce the risk of accidents and enhance your cleaning efficiency. Taking these precise steps guarantees your refrigerator flooring is accessible, making the subsequent cleaning process smoother and more thorough.
Safely Disconnecting and Moving the Refrigerator
Before you begin cleaning, make sure to unplug the refrigerator from the power source to avoid any electrical hazards. Carefully remove any items from the fridge and freezer to reduce weight and prevent spills during movement. When relocating the appliance, use proper lifting techniques and consider protective flooring covers to prevent damage.
Power Off Procedures
To safely disconnect and move your refrigerator, start by unplugging it from the power source to eliminate any electrical hazards. Next, allow the appliance to power off completely; this prevents any residual energy from posing risks during cleaning or movement. Taking this step not only guarantees your safety but also promotes energy savings by cutting unnecessary power use. After unplugging, wait at least five minutes before proceeding, giving internal components time to discharge. Confirm the fridge is fully powered off by checking that lights and sounds cease. This methodical approach guards against electrical shocks and prepares your refrigerator for the upcoming cleaning phase. By following these power off procedures, you maintain control, safety, and efficiency throughout your flooring deep cleaning process.
Safe Appliance Relocation
Once you’ve verified the refrigerator is completely powered off and unplugged, you’ll need to carefully disconnect any water lines or external attachments. Start by shutting off the water supply to prevent leaks, then use a wrench to gently loosen the connection. Keep a towel nearby to catch drips. Next, inspect the power cord and cord path to avoid damage during movement. For appliance safety, enlist help to lift or slide the refrigerator carefully; avoid dragging it across the floor to prevent scratches and injury. Use relocation tips like placing furniture sliders under the feet for smooth movement. Finally, move the appliance slowly and steadily to its new location, ensuring you have clear pathways. Taking these methodical steps guarantees a safe, damage-free relocation.
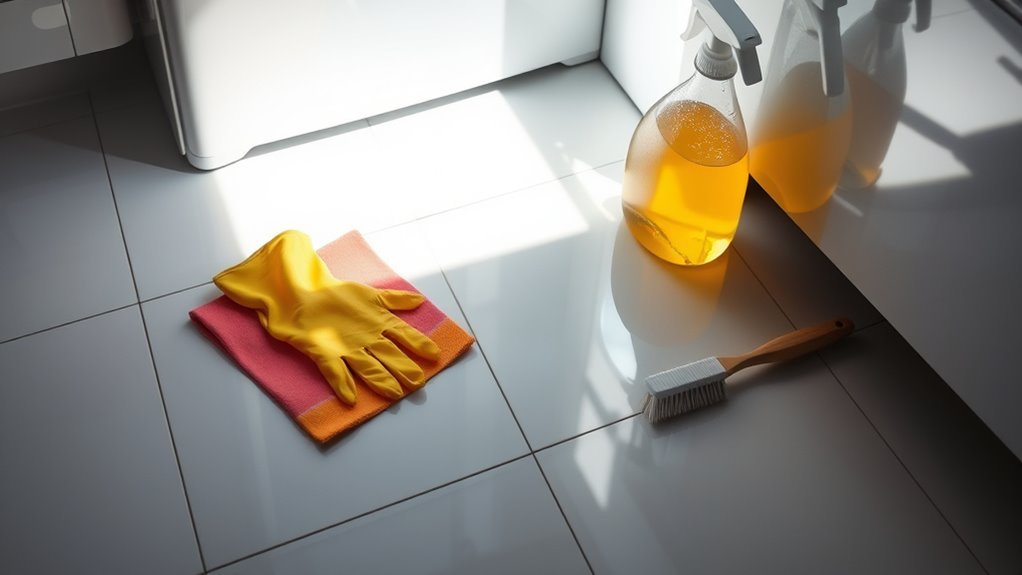
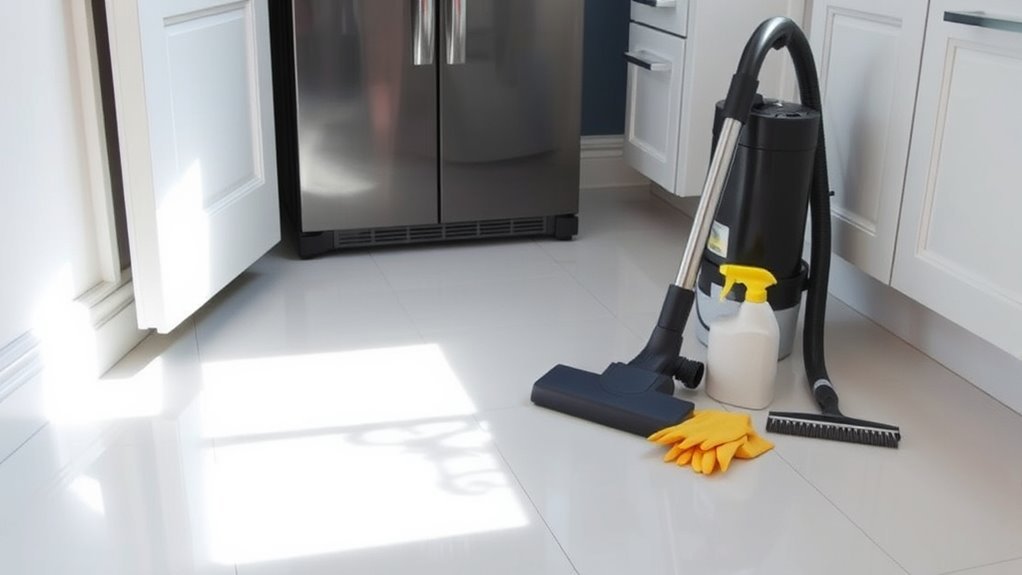
Gathering Essential Cleaning Supplies
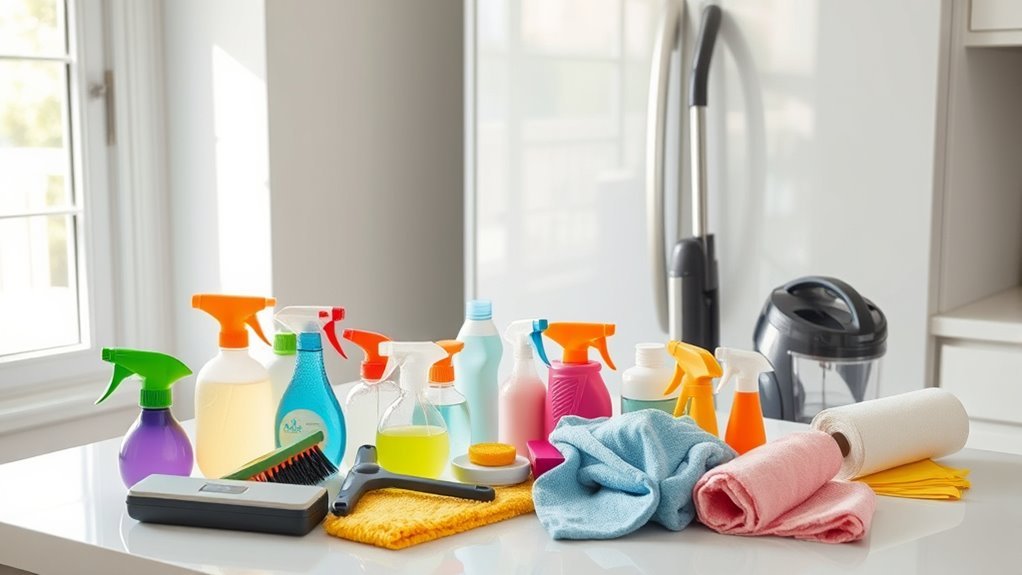
A handful of carefully selected cleaning supplies will make tackling your refrigerator flooring much more efficient and effective. Start by gathering essential supplies: a sturdy broom or vacuum for loose debris, a mop with a detachable head, and microfiber cloths for precision wiping. Choose a gentle, pH-neutral cleaner to protect your floor’s finish while removing grime. Rubber gloves will safeguard your hands during the process, and a bucket with warm water will help in rinsing. Avoid harsh chemicals that can damage surfaces or leave harmful residues. Having all these cleaning tools ready guarantees you won’t have to interrupt your workflow, letting you focus on restoring your floor’s cleanliness swiftly and thoroughly, giving you the freedom to enjoy a spotless kitchen environment.
Removing and Cleaning Floor Mats or Grates
Start by carefully detaching the floor mats or grates to avoid damaging them or the surrounding flooring. Use a mild cleaning solution suited for the material, ensuring you scrub away all dirt and grime thoroughly. Once cleaned, allow the mats to dry completely before placing them back to prevent moisture buildup and potential mold growth.
Detaching Mats Safely
Before you begin detaching the mats or grates, make certain the refrigerator is unplugged to prevent any electrical hazards. Identify the mat types present—rubber, plastic, or metal—since each requires specific handling. Examine how each mat is secured; some might snap into place, while others slide or rest freely. Use gentle pressure to avoid damaging clips or edges. If a mat feels stuck, check for hidden screws or fasteners and remove them carefully. Wear gloves to protect your hands from sharp edges or dirt buildup. Keep the mats flat once removed to prevent warping. These safety precautions guarantee you detach the mats without harm to yourself or the refrigerator, allowing you the freedom to clean thoroughly and maintain your appliance’s longevity.
Cleaning Solutions Recommended
Once you’ve carefully removed the mats or grates, you’ll want to select the right cleaning solutions to effectively tackle dirt, stains, and odors without damaging the materials. Opt for eco friendly solutions that are gentle yet powerful. A mix of warm water, white vinegar, and a few drops of mild dish soap works well as a homemade cleaner. This combination cuts through grime and neutralizes odors while being safe for both you and the environment. For tougher stains, sprinkle baking soda directly onto the mat, then spray your vinegar solution, letting it fizz before scrubbing gently. Avoid harsh chemicals or abrasive tools that could degrade the mats. By choosing these precise, eco friendly homemade cleaners, you maintain your freedom to clean thoroughly while protecting your refrigerator flooring’s integrity.
Drying and Replacing
After thoroughly washing your mats or grates, you’ll need to guarantee they’re completely dry to prevent mold or mildew growth beneath your refrigerator. Proper drying techniques vary depending on your flooring materials and mat composition. Air drying in a well-ventilated area is often best, but some materials benefit from towel drying or using a fan. Avoid placing mats in direct sunlight if they’re prone to warping.
| Flooring Materials | Recommended Drying Technique | Notes |
|---|---|---|
| Rubber | Air dry, towel pat dry | Prevents cracking |
| Vinyl | Air dry, fan assisted | Maintains flexibility |
| Metal | Wipe dry, air dry | Avoid rust formation |
| Fabric | Air dry, hang dry | Prevents mildew |
Once dry, replace mats carefully to maintain a clean, hygienic refrigerator base.
Deep Cleaning the Flooring Surface
Although regular sweeping and spot cleaning help maintain your refrigerator flooring, deep cleaning is essential to remove stubborn grime, sticky residues, and hidden bacteria. Start by identifying your flooring materials—whether tile, vinyl, or hardwood—since each requires specific cleaning techniques. For vinyl or tile, use a mild detergent mixed with warm water and a soft-bristled brush to target crevices. Hardwood demands a gentle, pH-neutral cleaner to prevent damage. Apply your cleaner methodically in small sections, scrubbing in circular motions to lift embedded dirt. Avoid excessive water, especially on wood, to preserve integrity. Rinse with a damp cloth to remove cleaner residue, ensuring no slippery film remains. Following these precise steps frees you from lingering contaminants, maintaining both cleanliness and flooring longevity under your refrigerator.
Drying and Inspecting the Cleaned Area
Before moving on, you’ll want to confirm the cleaned flooring is thoroughly dried to prevent moisture damage and slippery surfaces. Start by following these steps:
- Use a clean, dry microfiber cloth or towel to absorb remaining moisture, paying close attention to corners and edges where water tends to linger.
- Allow the area to air dry completely by keeping the refrigerator door open for ventilation, speeding up evaporation.
- Conduct a detailed inspection using reliable techniques—shine a flashlight at a low angle to spot any overlooked dirt, residue, or moisture.
Regular cleaning frequency helps avoid buildup, but your inspection techniques confirm no damage or lingering wet spots go unnoticed. Drying and inspecting precisely will preserve your flooring’s condition and keep your space safe, letting you enjoy the freedom of a spotless, hazard-free kitchen floor.
Preventative Tips to Maintain a Clean Refrigerator Floor
Keeping your refrigerator floor consistently clean requires a proactive approach that focuses on preventing spills, dirt, and moisture buildup. To maintain cleanliness, establish a regular cleaning frequency and implement spill prevention strategies. Wipe spills immediately, use mats to catch drips, and keep the area clutter-free to avoid hidden dirt.
| Tip | Action | Benefit |
|---|---|---|
| Cleaning Frequency | Schedule weekly floor checks | Prevents grime buildup |
| Spill Prevention | Use drip trays under containers | Stops liquid from reaching floor |
| Organization | Keep storage organized and sealed | Reduces accidental spills |
Frequently Asked Questions
Can Mold Grow Under the Refrigerator on the Floor?
Yes, mold can grow under your refrigerator on the floor, especially if moisture accumulates there. To prevent mold, you should regularly check for leaks and spills, ensuring proper mold prevention through consistent refrigerator maintenance. Cleaning under and around your fridge methodically helps keep the area dry and free from food debris. By staying proactive, you maintain a healthier environment and enjoy the freedom of a clean, mold-free kitchen space.
How Often Should Refrigerator Flooring Be Deep Cleaned?
You should stick to a cleaning frequency of every three to six months for deep cleaning your refrigerator flooring. This balance keeps mold and grime at bay while avoiding unnecessary effort. Maintenance tips include pulling out the fridge carefully, vacuuming dust and crumbs, and using a mild detergent with warm water to scrub the floor thoroughly. Staying consistent with this schedule guarantees a fresh, hygienic kitchen environment without feeling restricted.
What Types of Flooring Are Most Resistant to Refrigerator Spills?
When choosing flooring that resists refrigerator spills, vinyl flooring and tile durability stand out. You’ll appreciate vinyl’s waterproof nature and ease of cleaning, making spills simple to manage without damage. Tiles offer exceptional durability and stain resistance, so you won’t worry about long-term stains or wear. Both options let you maintain freedom in your kitchen without constant upkeep, ensuring your floor stays pristine even with occasional leaks or drips from your fridge.
Can Pet Hair Damage Refrigerator Flooring?
Pet hair won’t directly damage your flooring, but pet hair can trap dirt, moisture, and allergens that wear down finishes over time. Pet hair requires diligent flooring maintenance to prevent buildup that might cause scratches or discoloration. You’ll want to regularly vacuum, sweep, and mop to keep your floors clean and free from debris. By staying consistent, you’ll protect your flooring’s integrity and enjoy a fresh, damage-free space without feeling confined by maintenance chores.
Is It Safe to Use Steam Cleaners on Refrigerator Floors?
When considering steam cleaner safety, you need to first identify your flooring materials. Steam cleaners are generally safe for sealed tile, linoleum, or vinyl floors, but you should avoid using them on unsealed hardwood or laminate, as moisture can cause damage. Always check manufacturer guidelines for your specific flooring. If your floor can handle steam, use a low-pressure setting and avoid lingering steam in one spot to keep your floors intact and clean efficiently.