Daily Maintenance Tips for Remote
To keep your remote working smoothly, clean it regularly using a microfiber cloth and cotton swabs dipped in alcohol, especially around buttons. Replace batteries every three to six months and always insert them correctly. Avoid moisture by keeping the remote dry and storing it in a safe, dust-free place. Use a protective cover to guard against spills and dirt. Also, test buttons often to guarantee responsiveness. These simple steps help maintain performance and prevent issues, and there’s more you can do to optimize your remote’s care.
Clean Your Remote Regularly
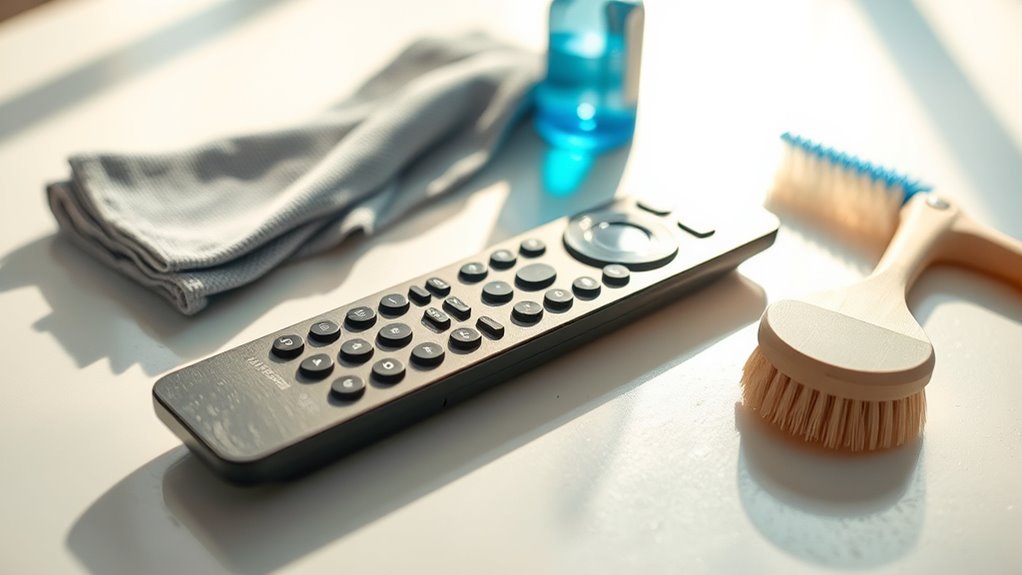
Although it might seem like a small task, cleaning your remote regularly is crucial to keep it functioning properly and hygienic. You’ll want to gather the right cleaning materials—like a soft microfiber cloth, cotton swabs, and isopropyl alcohol—to guarantee you don’t damage the remote’s sensitive components. Start by wiping the surface gently to remove dust and grime, then use cotton swabs dipped in alcohol to clean around buttons and crevices. Adopting consistent hygiene practices prevents buildup of dirt and germs, reducing the risk of malfunction and promoting your personal freedom from frequent repairs. By integrating this simple routine into your daily maintenance, you maintain control over your device’s performance and extend its lifespan without hassle or dependency on costly fixes.
Replace Batteries on Schedule
Replacing your remote’s batteries every three to six months guarantees consistent performance and prevents unexpected power loss. Stick to a strict replacement schedule to avoid interruptions when you need control most. Choose the right battery types—alkaline or lithium—based on your remote’s requirements to maximize efficiency and lifespan. Keep spare batteries handy so you can swap them out immediately without delay. Note the battery expiration dates to guarantee peak power delivery. When replacing, insert batteries correctly to prevent damage or corrosion. By maintaining this routine, you guarantee your remote remains responsive and reliable, granting you the freedom to control your devices without hassle. Following a disciplined replacement schedule is a small effort that delivers uninterrupted convenience and extends your remote’s overall functionality.
Avoid Exposure to Moisture
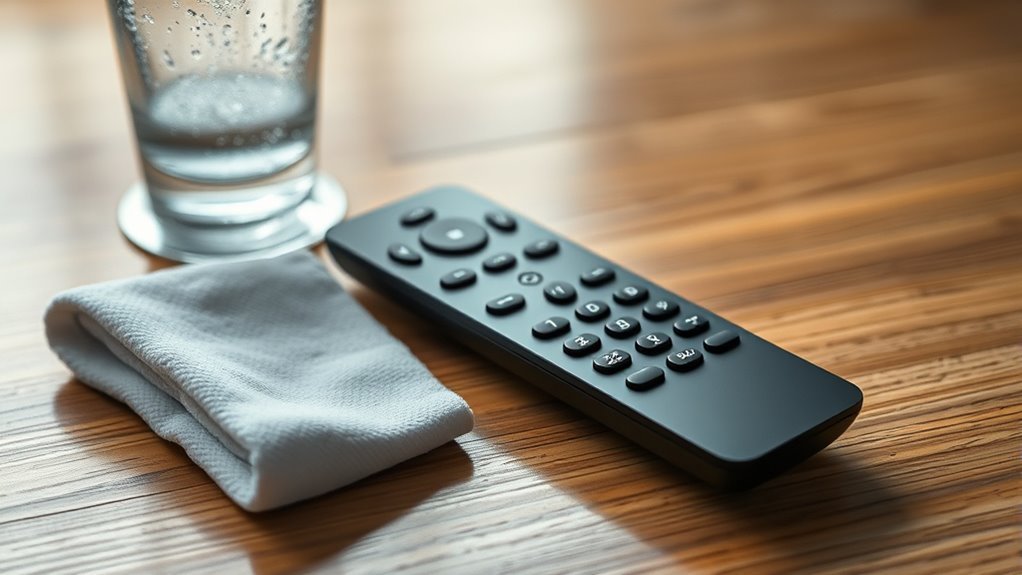
Since moisture can quickly damage electronic components, you should always keep your remote away from humid environments and liquids. Preventing moisture damage is critical to maintaining your remote’s functionality and extending its lifespan. Effective humidity control helps you avoid corrosion and short circuits inside your device.
To protect your remote, follow these practical tips:
- Avoid using the remote with wet hands.
- Keep it away from kitchens, bathrooms, or other high-humidity areas.
- Store it in a dry place with controlled humidity levels.
- Wipe off any condensation immediately with a dry cloth.
- Use silica gel packets or moisture absorbers nearby if needed.
Store Remote in a Safe Place
You’ll want to pick a dedicated spot for your remote to avoid misplacing it and keep it protected. Make certain this spot shields the remote from dust, moisture, and direct sunlight. Storing it properly extends its lifespan and guarantees it’s always ready when you need it.
Choose a Dedicated Spot
Although it’s tempting to leave your remote scattered around the room, choosing a dedicated spot to store it will save you time and frustration. Establishing a designated area helps maintain an ergonomic setup, reducing unnecessary movement and keeping your space organized. By always placing your remote in the same location, you gain freedom from endless searching.
Consider these practical tips for selecting your remote’s home:
- Pick a high-visibility spot near your main seating area
- Use a small tray or holder to prevent slipping
- Avoid cluttered surfaces to reduce misplacement
- Keep it within easy reach for comfort and convenience
- Confirm the spot is stable and flat to avoid drops
This simple routine supports efficient use and prolongs your remote’s lifespan.
Prevent Exposure to Elements
When you store your remote, make certain it’s protected from dust, moisture, and extreme temperatures that can damage its internal components. To prevent exposure to environmental hazards, always keep your remote in a weatherproof case if it’s used outdoors or in humid areas. These cases shield your device from rain, dirt, and sudden temperature changes, extending its lifespan. Inside your home, avoid leaving the remote near windows or heating vents where sunlight and heat can cause harm. Choose a safe, dry spot away from potential spills or drops. By proactively storing your remote in a secure, weatherproof container and a stable environment, you maintain its functionality and guarantee you’re never tethered by malfunctioning gear—giving you the freedom to use it whenever you want.
Use Protective Covers
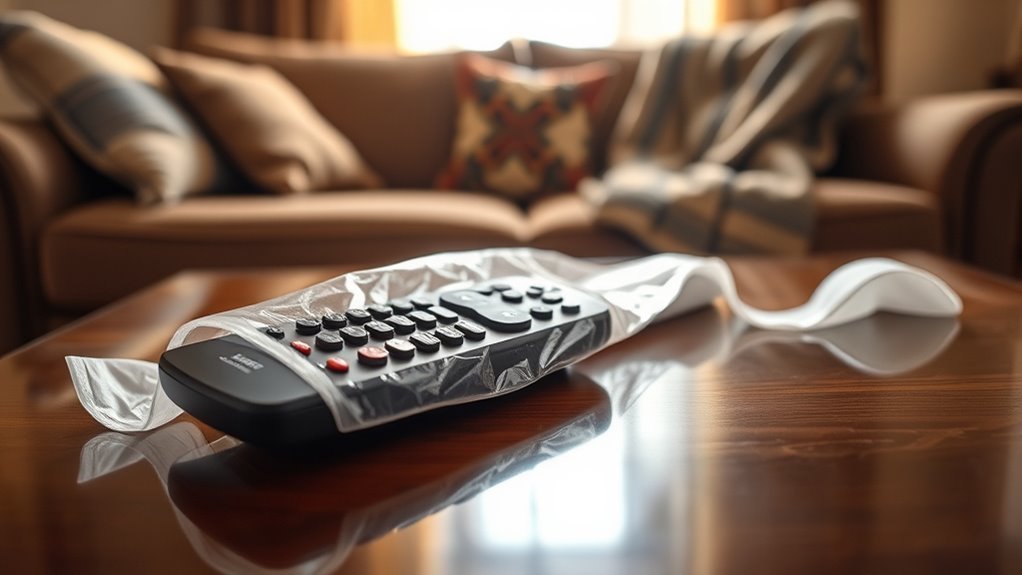
One of the simplest yet most effective ways to protect your remote is by using a protective cover. These covers shield your device from dirt, spills, and scratches, ensuring it stays functional and appealing. When choosing a cover, prioritize protective materials that offer durability without compromising accessibility. Durable options like silicone or hard plastic provide long-lasting defense while maintaining a slim profile. Here’s what to contemplate:
- Water-resistant and dustproof materials
- Flexible yet sturdy construction
- Easy installation and removal
- Clear or labeled button areas for usability
- Compatibility with your remote’s model and size
Test Buttons for Responsiveness
Make it a habit to press each button on your remote daily to guarantee they respond promptly without sticking or delay. Pay close attention to any keys that feel less sensitive or fail to register commands, as these may need cleaning or repair. Identifying unresponsive buttons early helps prevent frustration and keeps your remote functioning smoothly.
Check Button Sensitivity
Regularly testing the buttons on your remote guarantees they respond accurately and promptly. To maintain full control and avoid frustration, you need to focus on button calibration and sensitivity adjustment. Here’s how you can check button sensitivity effectively:
- Press each button firmly and lightly to gauge response consistency.
- Use manufacturer settings or apps for precise button calibration.
- Observe if any button requires extra force or fails to register quickly.
- Clean around buttons to prevent dirt affecting sensitivity.
- Repeat tests periodically to catch early signs of wear.
Identify Unresponsive Keys
After checking button sensitivity, it’s equally important to pinpoint any unresponsive keys that might disrupt your remote’s functionality. Start by systematically pressing each button and observing whether the device responds as expected. If a key fails to register, note its position for targeted key troubleshooting. Use remote diagnostics tools, if available, to run a thorough scan and identify faulty inputs more efficiently. This process helps you isolate specific unresponsive keys without guesswork, allowing you to address issues promptly. Regularly performing these tests guarantees your remote maintains peak performance, giving you the freedom to control your devices without interruption. Addressing unresponsive keys early prevents further damage and extends your remote’s lifespan, supporting your independence from frequent replacements or repairs.
Keep Remote Away From Direct Sunlight
Although it might seem harmless, exposing your remote to direct sunlight can cause its plastic casing to warp and the internal components to degrade over time. The sunlight impact not only affects the remote’s appearance but also shortens its lifespan, limiting your freedom to use it reliably. To protect your remote, consider these practical tips:
- Store it in shaded areas away from windows or direct light.
- Use protective covers that block UV rays.
- Avoid leaving it on devices or surfaces that heat up under sunlight.
- Regularly check for discoloration or warping signs.
- Rotate storage spots to minimize prolonged exposure.
Frequently Asked Questions
Can I Use Rechargeable Batteries in My Remote?
Yes, you can use rechargeable batteries in your remote, and they offer several advantages like cost savings and less waste. Keep in mind battery life considerations; rechargeable batteries typically have a slightly lower voltage than disposables, which might affect performance in some devices. However, if you want freedom from constantly buying new batteries and prefer eco-friendly options, rechargeables are a practical, reliable choice for your remote control needs.
How Do I Reset My Remote to Factory Settings?
Sometimes your remote just needs a fresh start to regain its full potential. To reset it to factory settings, try these reset methods: hold down the power and volume buttons simultaneously for 10 seconds or consult the manual for a specific key combo. If that doesn’t work, explore troubleshooting tips like removing batteries briefly or restarting the device. This way, you’ll reclaim control and enjoy seamless freedom with your remote.
What Should I Do if My Remote Stops Pairing?
If your remote stops pairing, first check for common pairing issues like interference or distance from the device. Make sure your remote’s batteries aren’t dead or weak—battery problems often cause connection failures. Replace them if needed. Then, try re-pairing by following the device’s instructions exactly. If it still won’t connect, reset the remote to factory settings and try again. These steps should help you regain control quickly and freely.
Are Universal Remotes Compatible With All Devices?
Wondering if universal remotes truly work with every device? The truth is, while universal remote features aim to cover a wide range, remote compatibility issues can still pop up. Not all brands or models sync perfectly, especially newer gadgets with unique protocols. You’ll want to check your device list carefully before buying. Choosing a universal remote with extensive code libraries and learning capabilities maximizes freedom, letting you control most of your gear seamlessly.
How Can I Program a Remote for Multiple Devices?
Programming a remote for multiple devices is easier when you follow key programming tips. First, check your remote’s manual to guarantee device compatibility across all gadgets you want to control. Then, enter the specific code for each device type, usually found in the manual or online. You’ll often hold down a button until the light blinks, then input the code. This method gives you freedom to control everything seamlessly with one remote.