Budget-Friendly DIY Cleaning Products for Oven
You can make budget-friendly DIY oven cleaners using simple ingredients like baking soda, white vinegar, lemon juice, and salt. Baking soda gently breaks down grease, while vinegar dissolves residue and neutralizes odors. Mix baking soda with water to form a paste, add vinegar for fizzing action, and apply to oven surfaces. For tough stains, use a salt-water scrub or add castile soap for extra cleaning power. Want to discover step-by-step methods and safety tips to keep your oven sparkling?
Essential Ingredients for Homemade Oven Cleaners
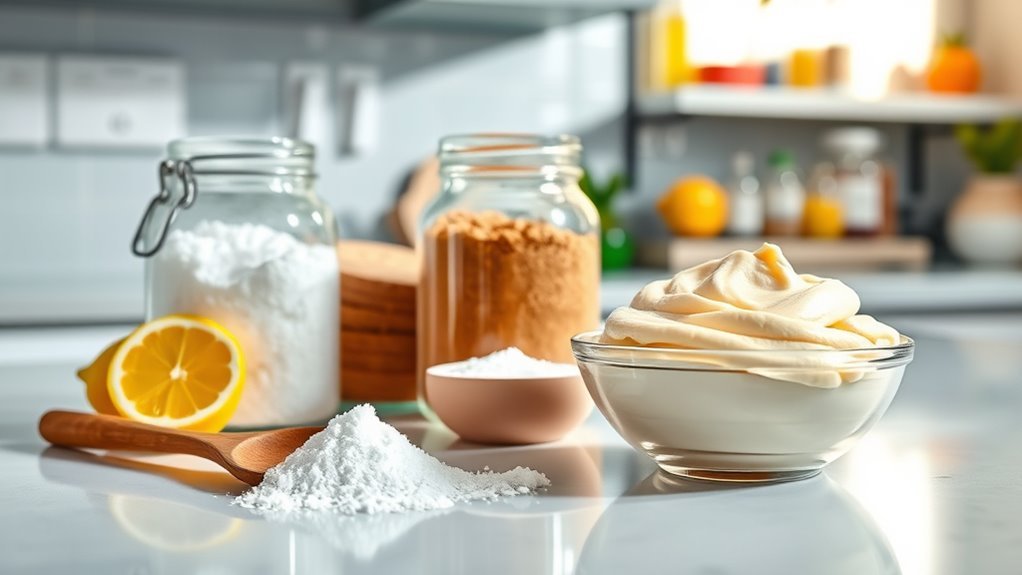
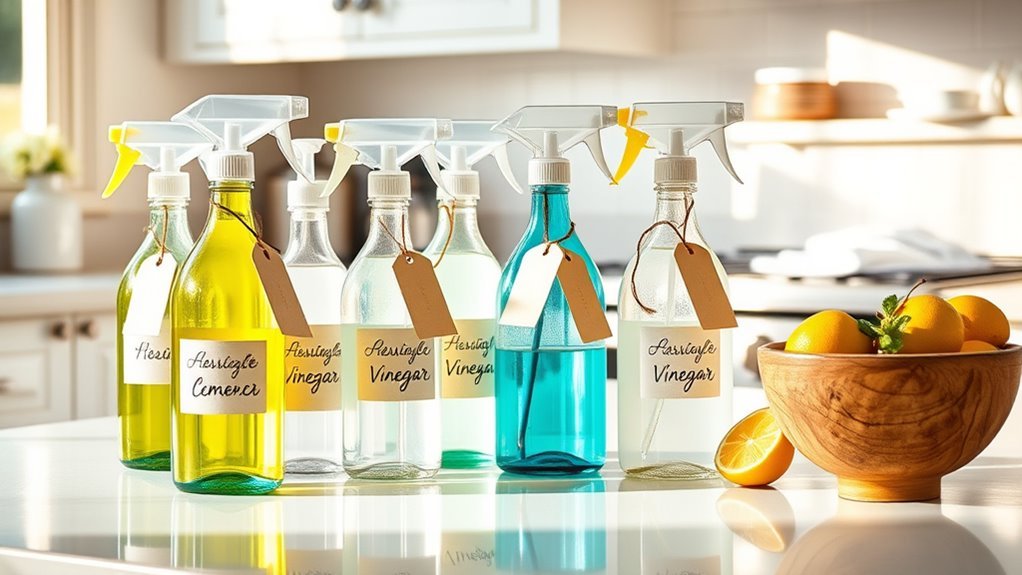
When it comes to making your own oven cleaner, there are three essential ingredients you’ll want to have on hand: baking soda, white vinegar, and water. These common household items offer effective, eco friendly options that let you avoid harsh chemicals. Baking soda acts as a gentle abrasive that breaks down grease and grime without scratching surfaces. White vinegar’s acidity helps dissolve stubborn residues and neutralizes odors. Water is used to create the right consistency for application and rinsing. Together, these ingredients provide a safe, affordable way to tackle oven messes while embracing freedom from commercial cleaners. By choosing these simple components, you control what touches your oven and the environment, making it easier to maintain a clean kitchen responsibly and sustainably. For best results, ensure the oven is completely cool and free of loose debris before applying your homemade cleaner to maximize cleaning effectiveness and safety during the cleaning process.
How to Make a Baking Soda and Vinegar Paste
Mixing just a few simple ingredients, you can create an effective baking soda and vinegar paste that tackles oven grime with ease. This paste harnesses baking soda benefits, like its gentle abrasiveness and odor absorption, combined with vinegar properties such as natural acidity that breaks down grease. Here’s how you make it:
- Combine ½ cup baking soda with 2-3 tablespoons water to form a spreadable paste.
- Add 1-2 tablespoons white vinegar gradually; it will fizz as it activates.
- Stir until you reach a smooth consistency.
- Apply the paste generously to oven surfaces needing cleaning.
- Let it sit for 15-20 minutes to work on baked-on residues before scrubbing.
This simple, budget-friendly paste gives you freedom from harsh chemicals while restoring your oven’s shine. Wearing gloves during application helps protect your skin from irritation.
Using Lemon Juice for Natural Oven Cleaning

Lemon juice is a natural cleaner that’s great for cutting through grease and leaving a fresh scent in your oven. You can apply it by mixing lemon juice with water, spraying it on oven surfaces, and letting it sit before scrubbing. Just remember to wear gloves to protect your skin and avoid contact with your eyes during use. For best results, wipe in the direction of the oven surface’s grain to prevent streaks and achieve a spotless shine.
Benefits of Lemon Juice
Although you might not immediately think of it as a cleaning agent, lemon juice offers powerful natural properties that make it ideal for tackling stubborn oven grime. Its acidic nature breaks down grease and burnt-on food, making your cleaning process easier and less harsh on surfaces. Plus, lemon juice benefits extend beyond cleaning—it’s a natural deodorizer, leaving your oven smelling fresh without synthetic chemicals. Using lemon juice also means you avoid harmful toxins often found in commercial cleaners, giving you freedom to choose a safer, eco-friendly option. Here are some key benefits:
- Cuts through grease effectively
- Acts as a natural deodorizer
- Non-toxic and safe to use
- Environmentally friendly
- Leaves a fresh, citrus scent
This makes lemon juice a smart, budget-friendly choice for oven cleaning.
How to Apply Lemon
When you want to clean your oven naturally, using lemon juice is both simple and effective. Start by squeezing fresh lemon juice into a spray bottle, diluting it with equal parts water. Spray the mixture generously over oven surfaces, focusing on greasy spots. Let it sit for 15-20 minutes to break down grime. Then, scrub gently with a sponge or cloth to lift stubborn residues. For tough stains, apply lemon juice directly or mix it with baking soda to create a paste—one of the best lemon applications for scrubbing. If you’re out of lemons, consider lemon alternatives like lemon essential oil or vinegar mixed with lemon juice to mimic the cleaning power. This natural method saves you from harsh chemicals while keeping your oven fresh and spotless.
Safety Tips for Use
Using natural ingredients like lemon juice to clean your oven is a great choice, but you should still take some precautions to assure safe and effective use. When handling lemon juice, always wear protective gear like gloves to protect your skin from acidity. Ensure your kitchen is well-ventilated to avoid irritation from lemon vapors. Avoid mixing lemon juice with other cleaning agents, as this can cause harmful reactions. Store leftover lemon juice in a labeled container in a cool, dry place for safe storage, away from children and pets. Finally, test a small area of your oven first to prevent damage.
- Wear protective gear to avoid skin irritation
- Use in a well-ventilated space
- Don’t mix with other cleaners
- Keep lemon juice in safe storage
- Test on a small oven area first
Crafting a Salt and Water Scrub for Tough Stains
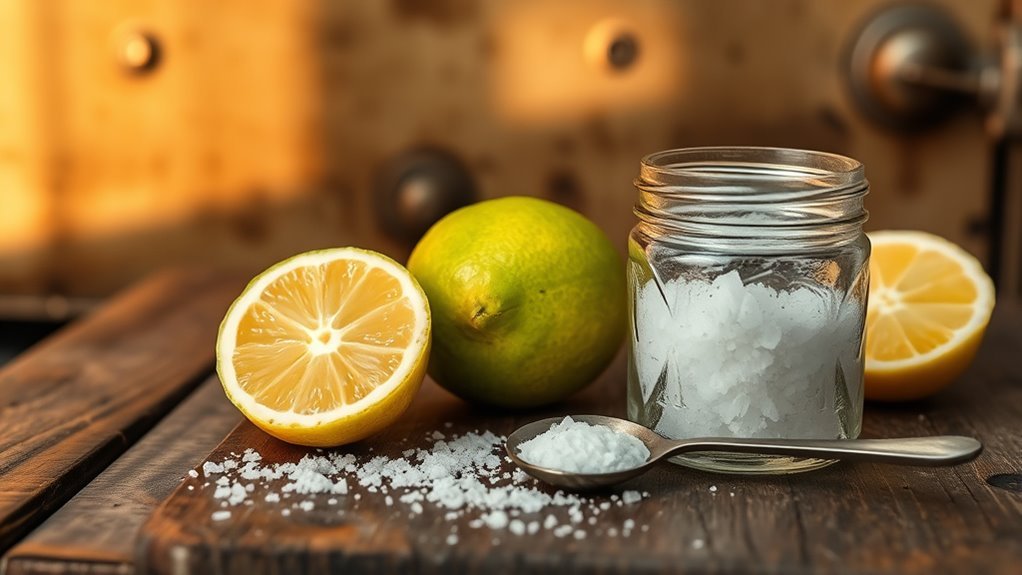
A simple salt and water scrub can be an effective solution for removing tough oven stains without harsh chemicals. To craft this scrub, mix coarse salt with just enough water to create a paste. The salt texture is essential—it acts as a gentle abrasive that breaks down baked-on grime without scratching your oven’s surface. Apply the paste directly to stubborn spots and let it sit for 10-15 minutes. Then, use a damp cloth or sponge to scrub in circular motions, maximizing scrub effectiveness. Rinse with warm water and wipe dry to reveal a cleaner oven. This DIY method gives you control over ingredients while delivering powerful cleaning results, freeing you from commercial cleaners loaded with chemicals. For enhanced cleaning power and a pleasant scent, you can also add essential oils like lemon or eucalyptus to your scrub mixture.
The Power of Castile Soap in Oven Cleaning Solutions
One of the most versatile ingredients you can add to your oven cleaning routine is Castile soap. Known for its castile soap benefits, it offers a natural, effective way to tackle grime without harsh chemicals. Choosing Castile soap supports sustainable cleaning, keeping your space eco-friendly while freeing you from toxic residues.
Castile soap is a natural, effective, and eco-friendly choice for tackling oven grime without harsh chemicals.
Here’s why Castile soap is a game changer for oven care:
- Biodegradable and plant-based formula
- Gentle yet powerful grease-cutting action
- Safe for all oven surfaces, including glass and metal
- Easy to mix with other natural ingredients like vinegar or baking soda
- Leaves no harmful fumes, promoting a healthier kitchen environment
With Castile soap, you get a reliable, green solution that respects your health and the planet. It can be combined with white vinegar to enhance grease cutting and disinfecting properties for a more thorough clean.
Step-by-Step Guide to a DIY Oven Cleaner Spray
To make your own effective oven cleaner spray, you’ll need a few key ingredients like baking soda, vinegar, and Castile soap. Start by mixing these components in the right proportions to create a powerful yet safe solution. Then, apply the spray evenly inside your oven, letting it sit before scrubbing for the best results. Using natural cleaning ingredients like baking soda and vinegar ensures a non-toxic and eco-friendly method of cleaning.
Essential Ingredients Overview
Before you start mixing your DIY oven cleaner spray, you’ll need to gather five essential ingredients that work together to break down grease and grime effectively. Choosing natural ingredients means you’re opting for eco friendly options that protect your home and the planet. Here’s what you’ll need:
- Baking soda: A gentle abrasive that lifts stubborn residue.
- White vinegar: Cuts through grease with natural acidity.
- Liquid castile soap: Adds cleaning power without harsh chemicals.
- Lemon juice: Provides fresh scent plus grease-fighting enzymes.
- Water: Dilutes and helps blend the ingredients smoothly.
Each component plays a vital role, ensuring your cleaner is both tough on oven messes and safe for your family and the environment.
Mixing and Application Steps
Although gathering your ingredients is an important first step, knowing how to mix and apply them correctly guarantees your DIY oven cleaner spray works effectively. Start by combining 1 cup of white vinegar with 1 tablespoon of baking soda—this mixing ratio balances cleaning power and safety. Pour the vinegar into a spray bottle, then slowly add baking soda to avoid overflow. Shake gently to mix. For application techniques, spray the solution evenly inside the oven, focusing on greasy or burnt areas. Let it sit for 15-20 minutes to loosen grime. Afterward, scrub with a non-abrasive sponge or cloth, then wipe clean with a damp cloth. Following these precise mixing ratios and application techniques assures you achieve a spotless oven without harsh chemicals or extra expense.
Tips for Applying and Letting Homemade Cleaners Work
When you apply homemade cleaners to your oven, it’s important to spread the solution evenly and allow enough time for it to break down grease and grime effectively. Proper cleaning techniques can greatly boost product effectiveness, giving you more freedom from tough residues. To maximize results:
Applying homemade oven cleaners evenly and allowing time to break down grime enhances cleaning effectiveness and removes tough residues.
- Use a sponge or cloth to coat surfaces uniformly, avoiding missed spots
- Focus on heavily soiled areas by applying a thicker layer
- Let the cleaner sit for at least 15-30 minutes to penetrate grime
- Cover the oven door with plastic wrap to retain moisture and enhance action
- After resting, scrub gently with a non-abrasive pad to lift dirt without damaging surfaces
Following these tips guarantees your DIY cleaner works efficiently, saving time and effort while keeping your oven spotless. Additionally, maintaining proper ventilation while cleaning helps reduce moisture buildup and prevents mold growth, which is essential for a healthy kitchen environment according to mold and mildew removal best practices.
Safety Precautions When Using DIY Oven Cleaning Products
Since DIY oven cleaners often contain natural acids or abrasives, you’ll want to take specific safety precautions to protect your skin, eyes, and respiratory system during use. Always wear appropriate personal protective equipment, like gloves and goggles, to avoid irritation or injury. Consider using a mask if you’re sensitive to fumes, especially when mixing ingredients. Ventilation considerations are essential; open windows and doors, or use a fan to circulate fresh air while cleaning. Avoid inhaling sprays or powders directly, and keep children and pets away from the area. Store DIY mixtures safely, clearly labeled, and out of reach. By taking these straightforward steps, you maintain freedom to clean effectively while safeguarding your health, ensuring your DIY cleaning experience is both safe and satisfying. Additionally, choosing non-toxic cleaning products can significantly reduce potential health risks associated with harsh chemical exposure.
Maintenance Tips to Keep Your Oven Cleaner Longer
To keep your oven cleaner longer, you’ll need to adopt consistent maintenance habits that prevent buildup before it becomes tough to remove. Incorporating effective oven cleaning techniques with regular maintenance saves time and effort. Here’s how you can stay on top of it:
Consistent maintenance prevents tough buildup, making oven cleaning easier and more efficient over time.
- Wipe spills immediately after the oven cools to avoid stubborn stains.
- Use a homemade baking soda paste weekly to gently remove residue.
- Regularly clean oven racks separately to prevent grime transfer.
- Avoid using foil on the oven floor; it traps heat and causes buildup.
- Run a self-clean cycle or apply DIY cleaners monthly for deep cleaning.
- Additionally, regularly inspect and clean components like filters to prevent clogs and odors, ensuring your oven stays fresh and efficient.
Frequently Asked Questions
Can DIY Oven Cleaners Damage Oven Heating Elements?
You might think DIY oven cleaners are harsh enough to damage heating elements, but if you follow oven maintenance tips carefully, they usually won’t. The key is ensuring cleaning product safety by avoiding abrasive scrubs or harsh chemicals directly on elements. Instead, use gentler, natural solutions away from sensitive parts. This way, you keep your oven functional and clean without risking costly repairs, giving you freedom to maintain it yourself confidently.
How Often Should I Deep Clean My Oven With Homemade Products?
You should deep clean your oven every 3 to 6 months, depending on how often you use it. Regular oven cleaning frequency helps prevent stubborn buildup and keeps your appliance running efficiently. Using homemade cleaner benefits include avoiding harsh chemicals and saving money, making it easier to maintain a fresh oven. If you cook frequently or spill a lot, you might want to clean it more often to enjoy that freedom from heavy-duty scrubbing later.
Are These DIY Cleaners Effective on Self-Cleaning Ovens?
It’s funny how your self-cleaning oven’s features promise ease, yet you still wonder about cleaning effectiveness. While those DIY cleaners work well on standard ovens, self-cleaning models use high heat to burn off grime, making homemade products less critical. However, you can still use gentle DIY solutions to wipe residue after a cycle, preserving your oven’s freedom from harsh chemicals and keeping it spotless without interfering with its self-cleaning features.
Can I Use These Homemade Cleaners on Glass Oven Doors?
You can definitely use homemade cleaners on glass oven doors, but you should prioritize homemade cleaner safety to avoid scratches or damage. Use gentle ingredients like baking soda and vinegar, and avoid abrasive scrubbing pads. For effective glass door maintenance, apply the cleaner with a soft cloth and rinse thoroughly. This way, you keep your oven door clear and spotless while enjoying the freedom of using natural, budget-friendly solutions.
How Do DIY Oven Cleaners Compare to Commercial Products?
Ever wondered why so many swear by natural ingredients in cleaning? DIY oven cleaners often match commercial products in effectiveness, especially on light to moderate grime, but they cost less and avoid harsh chemicals. You’ll save money and control what goes into your cleaner, giving you freedom from toxins. While commercial options might tackle heavy buildup faster, your homemade mix is practical, eco-friendly, and perfect for routine oven care.


