How to Clean Toilet Floors
To clean toilet floors, start by gathering supplies like gloves, disinfectant, a mop or scrub brush, and a microfiber cloth. Clear rugs and items nearby, then sweep or vacuum loose debris. Choose a cleaner suited to your floor type, apply it evenly, and scrub corners and edges thoroughly. Rinse with clean water and dry to prevent slips and mold. Regular cleaning keeps your bathroom hygienic and fresh. For a deeper breakdown of each step, you can keep exploring these tips.
Gather Your Cleaning Supplies
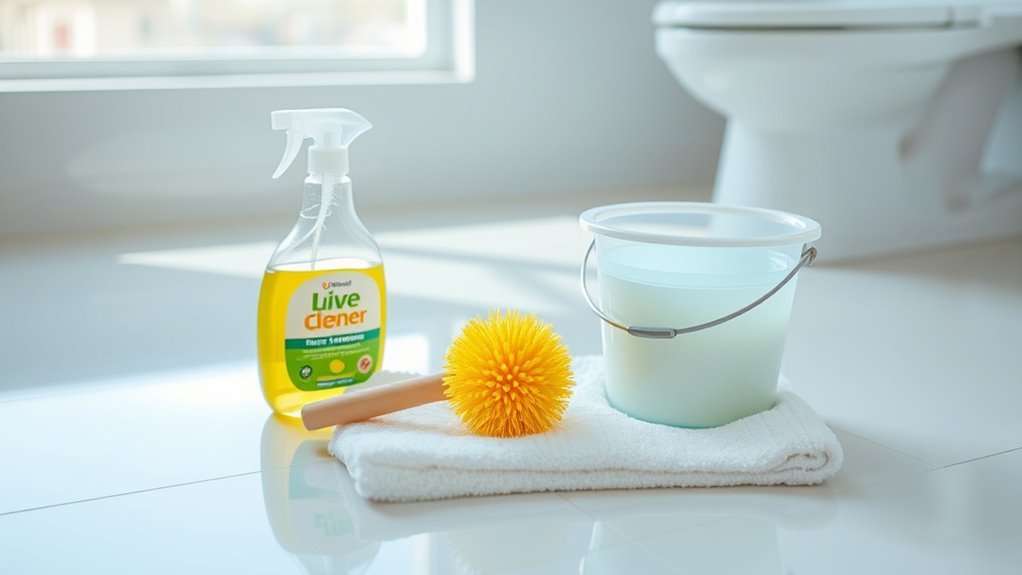
Before you begin cleaning your toilet floor, you’ll need to gather five essential supplies: a bucket, a mop or scrub brush, a disinfectant cleaner, rubber gloves, and a microfiber cloth. Choose your cleaning tools based on the floor materials; for example, a soft mop works best on vinyl or linoleum, while a stiff scrub brush suits tile grout. The disinfectant cleaner should be compatible with your flooring to avoid damage. Rubber gloves protect your hands from harsh chemicals and germs, preserving your freedom to clean safely and confidently. The microfiber cloth is perfect for wiping edges and hard-to-reach spots. By assembling these supplies before starting, you’ll streamline your cleaning techniques, ensuring thoroughness and efficiency while respecting your floor’s integrity. Regular use of a disinfectant spray helps keep the toilet area germ-free and hygienic.
Clear the Area Around the Toilet
Start by removing any rugs, trash bins, or personal items within a three-foot radius of the toilet. This clears the workspace and prevents cleaning solutions from damaging your toilet accessories or floor mats. Carefully lift floor mats and set them aside for separate cleaning. Detach any small toilet accessories like brushes or holders, placing them temporarily out of harm’s way. Confirm the area is completely free of obstacles to avoid missing spots during cleaning. This methodical clearing not only protects your belongings but also guarantees you have unobstructed access to the entire floor surface around the toilet. By creating this open space, you gain the freedom to clean thoroughly and efficiently, setting the foundation for a spotless, hygienic bathroom floor. Using a cleaning caddy to organize supplies nearby can help streamline the cleaning process and keep everything within easy reach.
Sweep or Vacuum Loose Debris
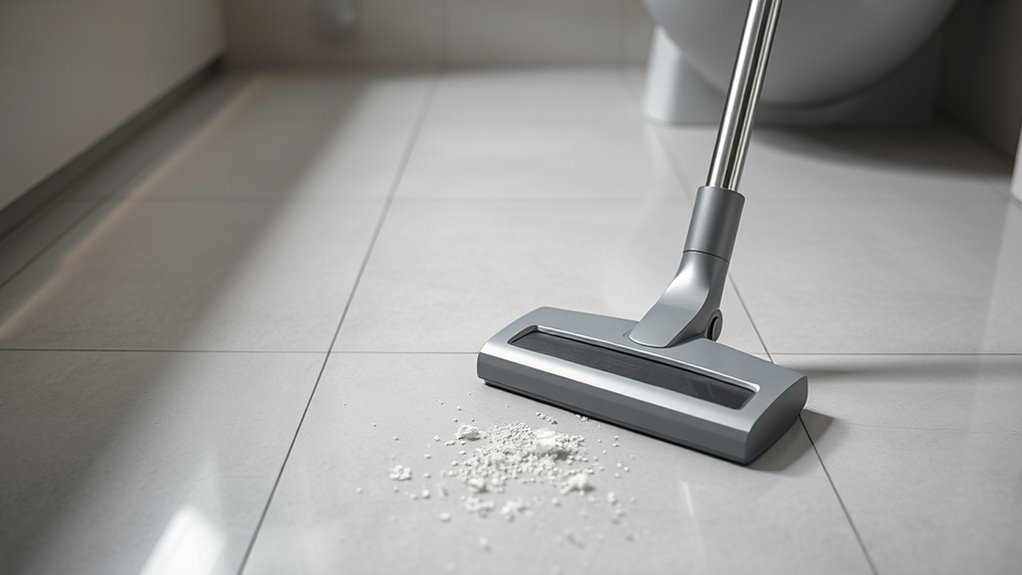
Before you start cleaning, choose a broom or vacuum designed for tight spaces to reach all corners around the toilet. Carefully sweep or vacuum to remove dust, hair, and small debris without scattering it further. This step guarantees a clean surface that’s ready for deeper cleaning. Regularly removing loose debris helps maintain hygiene and freshness in your bathroom.
Choosing the Right Tool
Selecting the right tool to remove loose debris from your toilet floor is crucial for an efficient cleaning process. While toilet brushes and floor mops play essential roles in scrubbing and mopping, clearing debris requires specific tools. Consider these factors:
- Surface Type: Choose a soft-bristle broom or a vacuum designed for hard floors to avoid scratching tiles or vinyl.
- Debris Volume: For light dust and small particles, sweeping suffices; for larger debris or pet hair, a vacuum offers better suction.
- Space Constraints: A compact, cordless vacuum can navigate tight bathroom corners more freely than a broom.
Effective Debris Removal
Although it might seem straightforward, effectively removing loose debris from your toilet floor requires careful attention to technique and tool choice. First, identify the debris types—dust, hair, paper scraps, or lint—as each demands a specific approach. For finer particles like dust, a vacuum with a HEPA filter captures them efficiently, preventing redistribution. For larger debris, a broom or dustpan works best, ensuring you gather everything without scattering. When sweeping, use short, controlled strokes to avoid pushing debris into corners or under fixtures. If you opt for a vacuum, choose one with attachments designed for tight spaces, reaching under the toilet base effortlessly. By selecting the right removal techniques, you’ll prepare your floor perfectly for deeper cleaning, keeping your bathroom fresh and hygienic.
Choose the Right Cleaning Solution
You’ll want to select a cleaning solution suited to your floor type and level of soil, considering both natural and chemical options. Natural solutions like vinegar or baking soda are gentler but may require more effort, while chemical cleaners often provide stronger disinfection. Always check the product’s safety guidelines to guarantee effectiveness without damaging your flooring or compromising your health. Choosing eco-friendly options helps maintain cleanliness while avoiding harsh chemicals that could harm surfaces or indoor air quality.
Types of Cleaning Products
Because toilet floors endure frequent exposure to bacteria and grime, choosing the right cleaning solution is crucial for effective sanitation and surface preservation. When selecting a product, consider these types:
- Disinfectant Cleaners: Prioritize those with proven disinfectant effectiveness to eliminate harmful pathogens swiftly and thoroughly.
- Eco-Friendly Options: If you value environmental responsibility, opt for biodegradable, non-toxic solutions that maintain cleaning power without harsh chemicals.
- Multi-Surface Cleaners: These versatile products save time by safely handling various floor materials, but verify they’re compatible with your toilet floor’s finish.
Natural vs. Chemical Solutions
When deciding between natural and chemical cleaning solutions, it’s important to weigh factors like effectiveness, safety, and environmental impact. Natural alternatives, such as vinegar or baking soda, offer gentle yet reliable cleaning without harsh fumes, making them ideal if you prefer a safer, eco-friendly approach. However, chemical effectiveness often surpasses natural options in tackling stubborn stains and disinfecting thoroughly. You’ll find that chemicals act faster and more aggressively, which can save time but may introduce stronger odors and potential toxicity. To choose the right solution, consider how much scrubbing you’re willing to do, your sensitivity to chemicals, and the environmental footprint you want to leave. Balancing these elements will help you maintain a clean toilet floor while preserving your freedom to choose a method that suits your values and needs.
Safety and Effectiveness Tips
Although selecting a cleaning solution might seem straightforward, prioritizing both safety and effectiveness guarantees the best results while protecting your health. When choosing your product, consider these factors carefully:
- Check Ingredients: Opt for formulas with clear labels indicating non-toxic components to uphold safety precautions and minimize harmful fumes.
- Match Solution to Surface: Confirm compatibility with your toilet floor material to maintain cleaning effectiveness without causing damage.
- Follow Usage Guidelines: Adhere strictly to recommended dilution ratios and contact times, which maximize germ elimination while preventing residue buildup.
Apply Cleaner to the Floor
Start by selecting a cleaner that’s suitable for your toilet floor material, whether it’s tile, vinyl, or another surface. Using appropriate floor products guarantees effective cleaning techniques without damage. Apply the cleaner evenly, focusing on corners and edges where grime accumulates. Avoid oversaturating to prevent residue buildup.
| Floor Type | Recommended Cleaner |
|---|---|
| Tile | pH-neutral tile cleaner |
| Vinyl | Mild detergent solution |
| Laminate | Specialized laminate cleaner |
| Stone | pH-balanced stone cleaner |
Spray or pour the cleaner according to product instructions. Let it sit briefly to break down dirt but don’t let it dry. This methodical approach lets you maintain freedom from harsh chemicals while guaranteeing a thorough clean. Be sure to establish a regular cleaning schedule to prevent grime buildup and keep the toilet floor consistently sparkling.
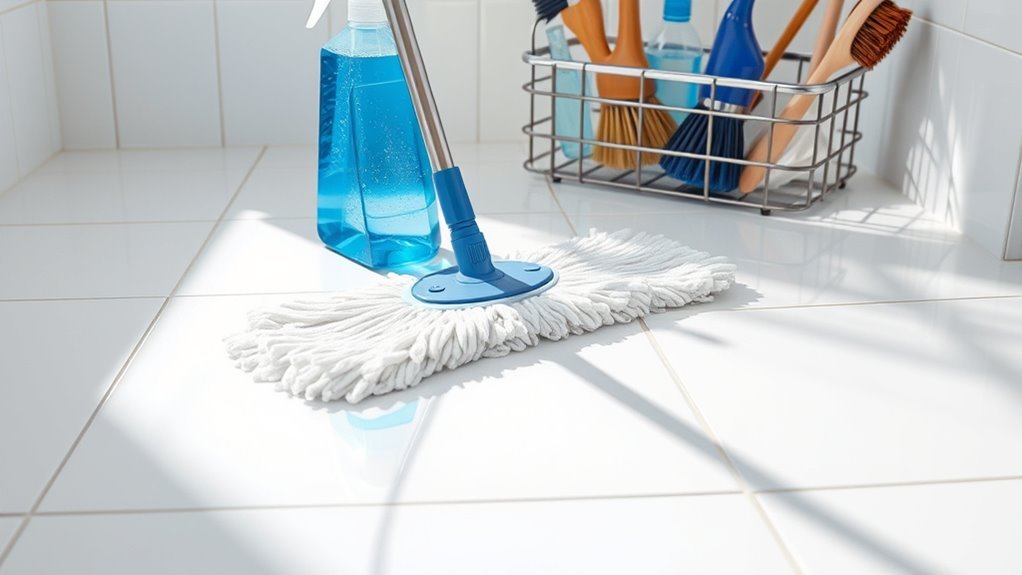
Scrub the Toilet Floor Thoroughly
Grab a sturdy scrub brush or a mop with firm bristles to tackle the toilet floor effectively. To guarantee you’re thorough, follow these toilet scrubbing techniques:
- Start scrubbing in small sections, applying firm pressure to remove grime and stains.
- Use a consistent back-and-forth motion, allowing the cleaner to break down dirt without spreading it.
- Rinse your brush frequently to avoid redistributing bacteria.
Maintaining a regular floor cleaning frequency is key. Aim to scrub the toilet floor at least once a week to prevent buildup and keep your space fresh. By being methodical and consistent, you gain the freedom of a hygienic, welcoming bathroom environment. Remember, precise scrubbing not only cleans but also extends the life of your flooring. For best results, gather necessary cleaning items nearby before starting to streamline the process.
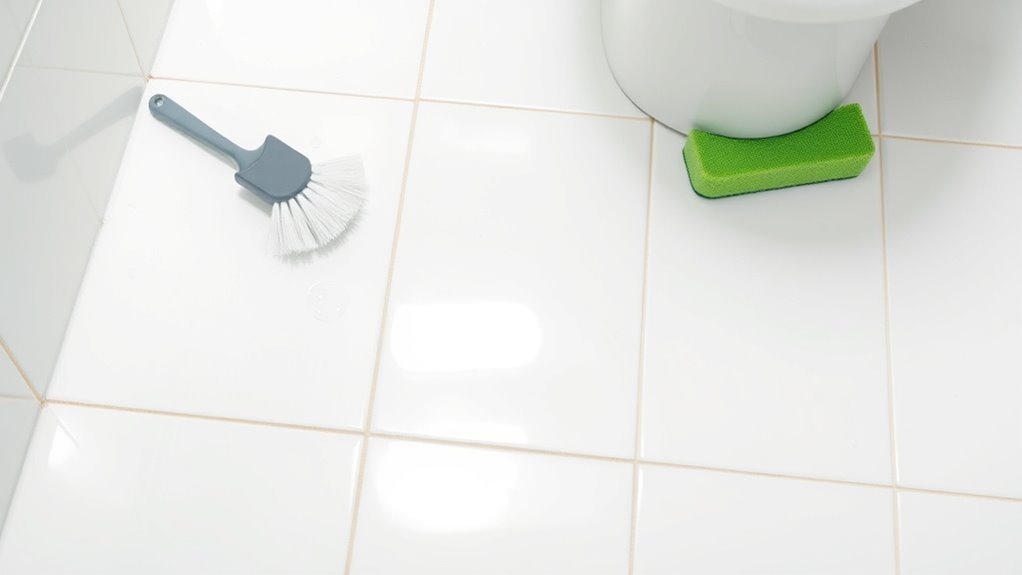
Pay Attention to Corners and Edges
You’ll want to focus on the corners and edges where dirt and grime tend to build up unnoticed. Use a small brush or an old toothbrush to reach these tight spaces effectively. Regularly cleaning these areas helps prevent mold growth and keeps your floor hygienic.
Common Dirt Accumulation Spots
Although toilet floors may look clean at first glance, dirt and grime tend to build up especially along the corners and edges where cleaning tools often miss. Identifying common dirt types and accumulation areas helps you tackle the mess more effectively. Focus on these key spots:
- Base of the Toilet: This area gathers dust, hair, and moisture residue, creating a stubborn grime layer.
- Floor Edges Against Walls: Dirt often settles here unnoticed, mixing with soap scum and causing discoloration.
- Underneath Door Frames: Foot traffic deposits debris and dust in these narrow spaces, making them prime accumulation areas.
Effective Cleaning Tools
When tackling toilet floor cleaning, having the right tools is crucial to reach those tight corners and edges where dirt hides. Choose mop types designed for precision; flat mops with swivel heads allow you to maneuver easily around the toilet base and along wall edges. Microfiber mop pads trap dust and grime effectively without spreading it. For stubborn grime in corners, use scrub brushes with angled or stiff bristles to access narrow gaps. A brush with a long handle gives you leverage without kneeling, preserving your freedom to clean efficiently. Combining these tools guarantees thorough dirt removal in hard-to-reach spots. By selecting appropriate mop types and scrub brushes, you maintain control over the cleaning process, guaranteeing every edge and corner is spotless without extra effort.
Preventing Mold Growth
Selecting the right cleaning tools helps you reach every corner and edge, but preventing mold growth requires more than just thorough dirt removal. Mold prevention hinges on effective moisture control and vigilant cleaning practices, especially in hidden spots.
To keep mold at bay:
- Dry Corners Thoroughly: After cleaning, use a microfiber cloth to eliminate moisture from corners and edges where water lingers.
- Improve Ventilation: Confirm your bathroom has adequate airflow; install vents or use a fan to reduce humidity levels.
- Apply Mold-Resistant Sealant: Regularly inspect and seal grout and caulking to prevent water penetration.
Rinse the Floor With Clean Water
Start by thoroughly rinsing the toilet floor with clean water to remove any remaining cleaning solution and loosened dirt. Use a gentle rinse technique, such as pouring water slowly from a bucket or using a mop dampened with water, to avoid spreading grime. Pay attention to water temperature—lukewarm water works best, as it breaks down residues without causing damage or discomfort. Avoid using hot water, which can warp flooring materials or set stains. Methodically rinse from one corner to the opposite side, directing runoff toward the drain or a designated collection area. This controlled approach guarantees all cleaning agents are fully removed, preventing buildup and maintaining a fresh, hygienic surface. Rinse thoroughly but efficiently, empowering you with a clean floor ready for the next step. Consistently maintaining a gentle care routine helps preserve the floor’s cleanliness and condition over time.
Dry the Floor to Prevent Slips
Although rinsing removes most moisture, you’ll need to thoroughly dry the toilet floor to prevent slips and maintain safety. Different floor materials absorb water differently, so adapt your drying method accordingly to minimize slip hazards. Here’s a precise approach:
- Use a highly absorbent microfiber mop or cloth to quickly soak up residual water, focusing on corners and edges where moisture lingers.
- For non-porous surfaces like tile or vinyl, follow with a dry mop to guarantee no dampness remains.
- Allow air circulation by opening a window or turning on ventilation to speed drying, especially on porous materials like wood or laminate.
- Combining drying with proper ventilation helps reduce moisture and the potential for germ transmission on bathroom floors.
Maintain Cleanliness With Regular Cleaning Sessions
Since toilet floors are prone to frequent exposure to moisture and bacteria, maintaining cleanliness through regular cleaning sessions is crucial to prevent buildup and odors. Establish a consistent cleaning schedule tailored to your usage frequency—ideally, clean at least twice a week. Begin by sweeping or vacuuming loose debris, then mop with a disinfectant solution, paying special attention to corners and baseboards where grime accumulates. Reinforce hygiene habits by wiping down splashes immediately and airing the room to reduce moisture. Consistency in these practices not only preserves the floor’s condition but also curbs harmful bacteria growth. By committing to a methodical routine, you guarantee a sanitary environment that supports your freedom to enjoy a fresh, safe bathroom space without constant worry about cleanliness. Incorporating a consistent cleaning routine helps prevent mess accumulation and maintains overall hygiene.
Frequently Asked Questions
How Often Should I Deep Clean My Toilet Floor?
For toilet cleaning frequency, you should deep clean your toilet floor at least once a week to maintain hygiene and prevent buildup. If your bathroom sees heavy use, consider doing it twice weekly. Follow deep cleaning tips like using a strong disinfectant, scrubbing grout lines, and paying attention to corners. Staying consistent with this routine guarantees a fresh, healthy space without feeling like a chore, giving you freedom from worries about germs.
Can I Use Bleach on All Types of Toilet Floors?
Imagine your toilet floor as a delicate canvas—using bleach on every surface can sometimes be like wielding a sledgehammer. Bleach isn’t safe for all floor materials; vinyl, wood, and some tiles may discolor or degrade. Instead, explore bleach alternatives like vinegar or hydrogen peroxide for gentler cleaning. Always check your floor material’s care instructions, so you can preserve its freedom to shine without harsh damage. Being methodical guarantees a spotless, lasting finish.
What’S the Best Way to Remove Mold From Toilet Floor Grout?
For effective mold removal from toilet floor grout, start by mixing equal parts white vinegar and water in a spray bottle. Spray the solution generously onto the grout, letting it sit for 10-15 minutes to break down mold. Next, scrub the grout lines gently with a stiff brush, focusing on moldy areas. Rinse thoroughly with water and dry the floor to prevent mold’s return. Regular grout cleaning keeps your space fresh and mold-free.
Are There Eco-Friendly Cleaners Suitable for Toilet Floors?
Imagine cleaning your toilet floor with the precision of a Renaissance alchemist. You’ll find plenty of eco-friendly alternatives like vinegar, baking soda, and tea tree oil—natural disinfectants that kill germs without harsh chemicals. Mix vinegar and water for a spray, apply baking soda to grout, then scrub gently. These methods keep your space fresh and safe, letting you maintain cleanliness while honoring your freedom to choose green, sustainable solutions.
How Do I Prevent Water Damage Around the Toilet Base?
To prevent water damage around your toilet base, start by exploring waterproofing options like applying a silicone sealant or waterproof caulk around the toilet’s base. Regular toilet floor maintenance is key—check for leaks and promptly fix any plumbing issues. You should also guarantee the flooring material is water-resistant, and clean spills immediately. Staying proactive lets you enjoy your bathroom freely, without worrying about costly water damage or mold growth.


