Cleaning Mistakes That Damage Your Keyboard
If you clean your keyboard with too much moisture, it can seep inside and cause damage. Using harsh chemicals or abrasive tools can strip coatings and fade keys. Always unplug your keyboard before cleaning to avoid electrical issues. Skipping keycap removal means dirt stays trapped underneath, affecting performance. Also, neglecting regular maintenance or ignoring manufacturer guidelines can shorten your keyboard’s lifespan. Keep these tips in mind, and you’ll soon uncover even more ways to protect your device.
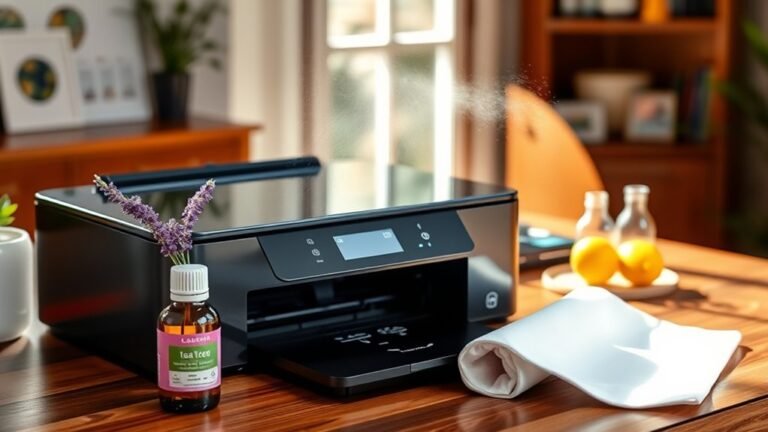
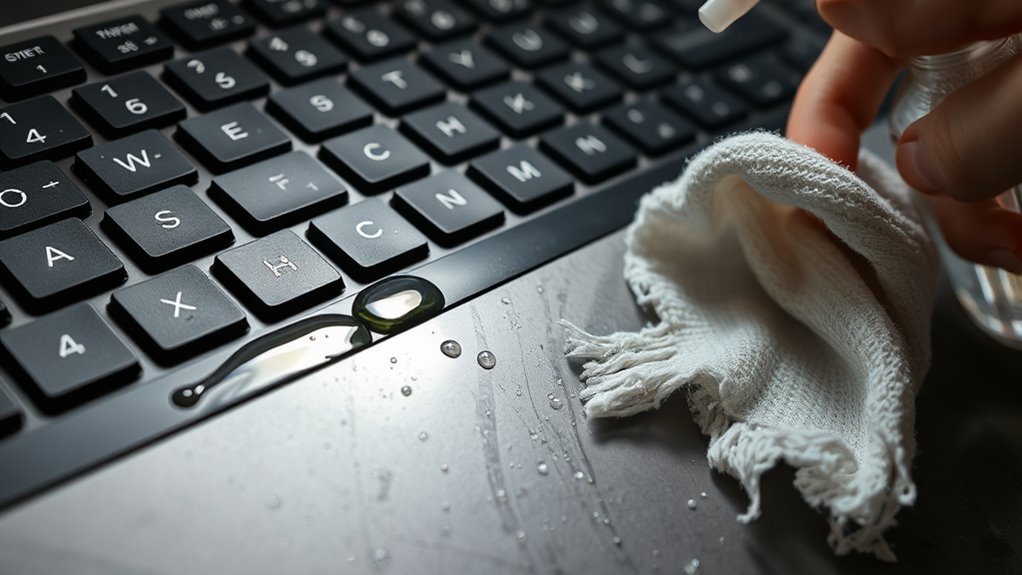
Using Excessive Moisture During Cleaning

One common mistake people make when cleaning their keyboards is using too much moisture. When you apply excessive liquid, it can seep beneath the keys, damaging the internal circuits and causing malfunctions. To maintain your keyboard’s freedom and functionality, mastering moisture control is essential. Instead of soaking, use dampened microfiber cloths or specialized cleaning wipes that allow you to apply just enough moisture. Gentle cleaning techniques like these prevent water damage and extend your keyboard’s lifespan. You want to avoid drips or puddles, so always wring out your cloth thoroughly. By balancing effective cleaning with moisture control, you’ll keep your keyboard fresh and fully operational without risking costly damage or downtime. This approach offers you the freedom to clean confidently and responsibly. Remember to always apply cleaning solutions sparingly with a lightly dampened cloth to protect sensitive components.
Applying Harsh Chemical Cleaners
Using harsh chemical cleaners on your keyboard can cause serious damage to its surface and internal components. These cleaners often contain strong solvents that may strip protective coatings, discolor keys, or corrode delicate parts. When you use incompatible cleaners, chemical residue can build up, attracting dust and grime, which reduces your keyboard’s lifespan and performance. To avoid this, always check cleaner compatibility before applying any solution. Opt for gentle, electronics-safe products or simple alternatives like isopropyl alcohol diluted appropriately. Avoid sprays or liquids that can seep beneath keys. By choosing the right cleaner and applying it carefully, you preserve your keyboard’s look and function, giving you the freedom to type without worry or damage. Additionally, following manufacturer recommendations for cleaning ensures that your keyboard remains in optimal condition and avoids voiding any warranties.
Ignoring the Power Source Before Cleaning
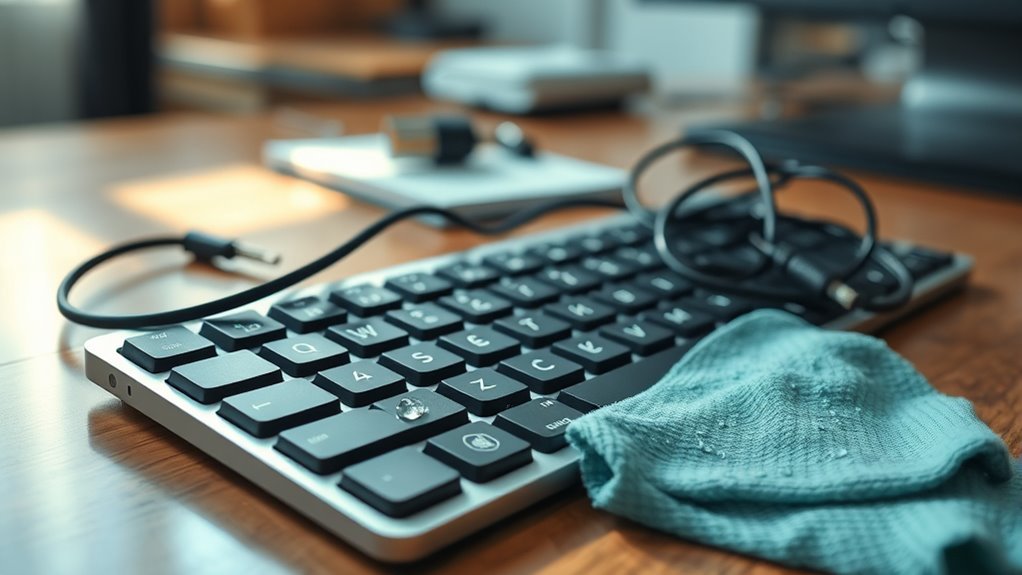
Before you start cleaning, always unplug your keyboard to avoid electrical damage. If your keyboard uses batteries, remove them to prevent any power flow during cleaning. Ignoring these steps can lead to short circuits or other issues. Powering off your device before cleaning also prevents accidental taps and protects sensitive components from moisture or static damage.
Unplugging Prevents Electrical Damage
Although it might seem like a small step, unplugging your keyboard before cleaning is crucial to avoid electrical damage. When your keyboard remains connected to a power source, moisture or cleaning solutions can cause short circuits or corrosion, compromising its functionality. Prioritizing electrical safety not only protects your device but also guarantees your own safety while performing maintenance. By disconnecting your keyboard, you eliminate the risk of accidental shocks and prevent damage to internal components. This simple action is a key part of effective keyboard maintenance, allowing you to clean confidently without worry. Don’t skip this step—unplugging is a quick, straightforward way to extend your keyboard’s lifespan and keep it running smoothly. Your freedom to clean safely starts with cutting the power first.
Battery Removal Importance
If your keyboard has a removable battery, you’ll want to take it out before cleaning to prevent any power flow that could cause damage. Ignoring this simple step risks short circuits or corrosion, undermining battery safety and the overall health of your device. Removing the battery guarantees no accidental power surges happen while you clean, protecting both the keyboard’s electronics and your investment. Proper keyboard maintenance means treating the power source with care—always detach it before wiping down or using any cleaning solutions. This small precaution not only extends your keyboard’s lifespan but also gives you the freedom to clean confidently without worry. Remember, prioritizing battery safety is key to keeping your keyboard in top shape.
Neglecting to Remove Keycaps for Deep Cleaning
When you skip removing keycaps during cleaning, dirt and grime can build up beneath them, making your keyboard less responsive and unhygienic. Keycap removal is essential for deep cleaning, letting you reach hidden debris that regular surface wipes miss. Neglecting this step restricts proper maintenance and can shorten your keyboard’s lifespan.
| Benefit of Keycap Removal | Reason to Deep Clean |
|---|---|
| Access hidden dirt | Prevents sticky keys |
| Improves hygiene | Reduces bacteria buildup |
| Enhances key response | Maintains keyboard function |
| Prolongs keyboard life | Keeps keys looking new |
Using Abrasive Tools on Keyboard Surfaces
You might think scrubbing your keyboard with rough materials helps, but it can cause scratches that ruin the surface. Using stiff brushes can wear down key labels and damage the finish over time. Instead, stick to gentle tools to keep your keyboard looking and working like new. Microfiber cloths are ideal for dusting and wiping without causing scratches.
Scratches From Harsh Materials
Although it might seem effective to scrub your keyboard with rough sponges or brushes, using abrasive materials can easily cause scratches on the surface. To protect your keyboard’s finish and guarantee scratch prevention, you should avoid harsh cleaning tools. Instead, opt for soft cloths and gentle methods. Keep these tips in mind:
- Use microfiber or other soft cloths to wipe down your keyboard.
- Avoid scrubbing with steel wool, rough sponges, or abrasive pads.
- Steer clear of cleaners with harsh chemicals that can wear off coatings.
- Don’t apply excessive pressure while cleaning; gentle motions work best.
- Consider using compressed air to dislodge debris without contact.
Wear Damage From Brushes
Scrubbing your keyboard with abrasive brushes can quickly wear down its surface, causing visible damage over time. Using the wrong bristle types—like stiff or metal ones—can scratch or dull your keys. Instead, opt for soft, synthetic bristles designed to gently clean without harming the plastic. Your brush techniques matter too; avoid aggressive scrubbing or circular motions that grind away coatings. Light, sweeping strokes work best, preserving your keyboard’s finish while loosening dirt. Remember, less pressure often means better results. Choosing the right tools and mastering gentle brush techniques lets you maintain your keyboard’s look and function without sacrificing freedom to clean thoroughly. Avoid abrasive brushes, and you’ll keep your keyboard looking fresh and damage-free much longer.
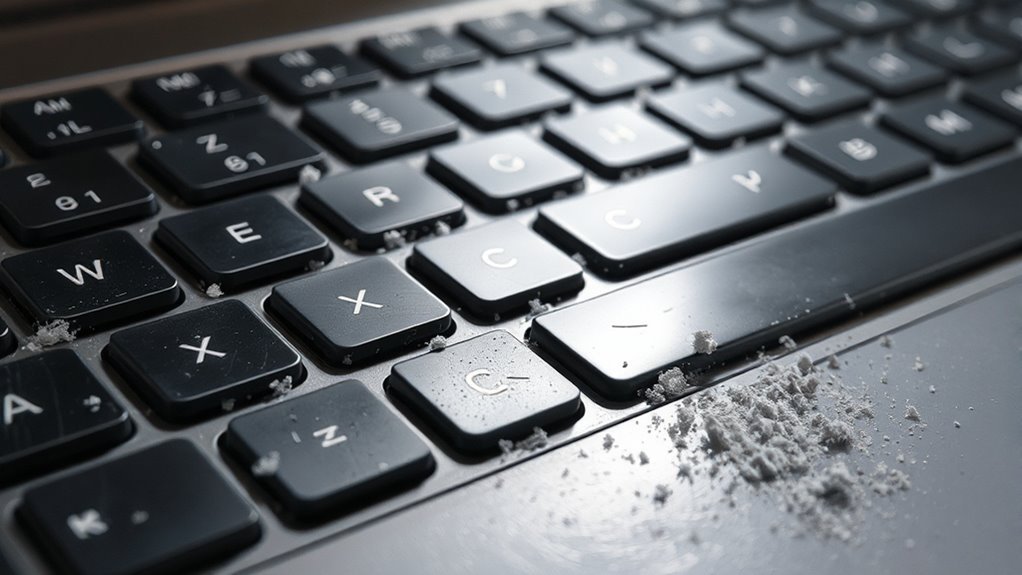
Failing to Regularly Clean to Prevent Buildup
When dust and debris accumulate over time, it can interfere with your keyboard’s performance and hygiene. Failing to regularly clean your keyboard leads to buildup that’s harder to remove and can cause sticky keys or unresponsive buttons. Effective keyboard maintenance is all about consistent upkeep to prevent these issues. For buildup prevention, make it a habit to:
- Wipe down the surface weekly with a microfiber cloth
- Use compressed air to blow out dust from crevices
- Remove keycaps periodically for a deep clean
- Avoid eating or drinking near your keyboard
- Store it in a dust-free environment when not in use
Additionally, using isopropyl alcohol occasionally can help remove oils and stubborn grime effectively.
Overlooking Manufacturer’s Cleaning Instructions
If you don’t follow the manufacturer’s cleaning instructions, you risk damaging your keyboard or voiding its warranty. Each keyboard comes with specific manufacturer guidelines designed to protect its components during cleaning. Ignoring these can lead to moisture damage, key malfunctions, or faded lettering. You might think frequent cleaning is always better, but the recommended cleaning frequency varies. Overdoing it could wear down the keys prematurely or cause other issues. To keep your keyboard in top shape without restrictions, always check the manual or the manufacturer’s website for proper cleaning methods and timing. Sticking to these guidelines guarantees you maintain your keyboard’s functionality and longevity while enjoying the freedom to clean responsibly. Don’t let a simple oversight limit your keyboard’s lifespan. Additionally, always power off and unplug your keyboard before cleaning to reduce the risk of electric shock and prevent accidental key presses, as emphasized in keyboard cleaning safety.
Frequently Asked Questions
Can Keyboard Cleaning Improve Typing Speed or Accuracy?
You might not realize it, but regular keyboard maintenance can boost your typing performance. When your keyboard’s clean and keys respond well, you’ll type faster and with fewer errors. Dirt and grime can slow you down or cause stuck keys, hurting accuracy. Keeping your keyboard in good shape gives you the freedom to type smoothly and confidently, enhancing your overall experience without distractions or frustrating delays.
How Often Should I Replace My Keyboard Instead of Cleaning?
You should consider replacing your keyboard when its performance declines despite regular cleaning. Keyboard lifespan varies but typically lasts 3 to 5 years with proper care. Cleaning frequency depends on use—weekly for heavy use, monthly for casual. If keys stick, responsiveness drops, or physical damage appears, it’s time for a replacement. Don’t wait too long; keeping your gear fresh guarantees freedom to type comfortably and efficiently.
Are Mechanical Keyboards Harder to Clean Than Membrane Ones?
Mechanical keyboards usually need more mechanical maintenance because their individual keys can be removed and cleaned. This lets you get deep into the switches but takes more time and care. Membrane care is simpler since the keys aren’t detachable, so you mostly wipe the surface and avoid moisture. If you want freedom to clean thoroughly, mechanical keyboards give you that option, but they do demand a bit more effort compared to membrane ones.
Can Cleaning My Keyboard Void Its Warranty?
You might think cleaning your keyboard is like defusing a bomb, but it’s usually safe if you follow proper cleaning techniques. However, some manufacturers’ warranty policies are stricter than you’d expect and can be voided if you use harsh chemicals or disassemble your keyboard. To keep your freedom and warranty intact, always check your keyboard’s specific guidelines before cleaning, and stick to gentle, recommended methods to avoid any risk.
Is It Safe to Clean a Wireless Keyboard With Electronics Exposed?
It’s not safe cleaning a wireless keyboard with electronics exposed, as moisture can cause damage or short circuits. For proper keyboard maintenance, always disconnect the device and avoid liquid contact with internal parts. Use a soft, slightly damp cloth for surface cleaning and compressed air to remove debris. This way, you keep your keyboard functioning well without risking harm to its sensitive electronics.