DIY Cleaner for Kitchen Surfaces
You can easily make an effective DIY kitchen cleaner using white vinegar, baking soda, and liquid castile soap—these ingredients tackle grease and grime naturally. Add essential oils for antimicrobial benefits and scent. Mix accurately in a glass container, stir well, and test on a small surface area to guarantee safety. Use a microfiber cloth for application, avoiding harsh scrubbing to protect your countertops. Exploring preparation techniques and maintenance tips will help you optimize its performance and longevity.
Essential Ingredients for Homemade Kitchen Cleaner
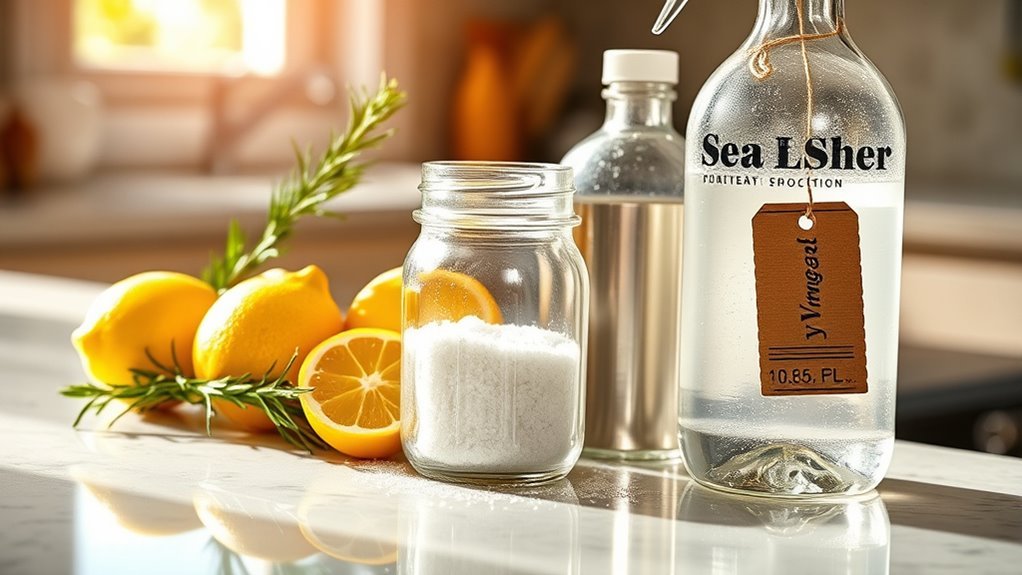
Creating an effective homemade kitchen cleaner starts with selecting the right ingredients known for their cleaning power and safety. You’ll want to base your formulation on components like white vinegar for acidity, baking soda for mild abrasiveness, and liquid castile soap for emulsifying grease. To elevate your cleaner’s appeal and functionality, incorporate herbal infusions—such as rosemary or thyme—known for antimicrobial properties and natural fragrance. These infusions also allow you to customize scent variations, offering freedom to tailor the aroma without synthetic chemicals. Essential oils derived from these herbs can further enhance antibacterial efficacy while providing diverse olfactory experiences. By combining these elements precisely, you guarantee your kitchen cleaner is both potent and safe, giving you control over what touches your surfaces and supporting a healthier, toxin-free environment. Additionally, using eco-friendly containers to store your cleaner helps reduce plastic waste and maintain product integrity.
Tools Needed to Prepare Your DIY Cleaner
Before you start mixing, make certain you have a clear checklist of essential ingredients to verify accuracy and safety. You’ll also need specific tools like measuring cups, mixing bowls, and funnels to combine your ingredients efficiently. Having these ready will streamline the preparation process and assure consistent results. It’s important to select gentle, non-abrasive cleaners to protect your surfaces and maintain their finish.
Essential Ingredients Checklist
To prepare your DIY kitchen cleaner efficiently, you’ll need five essential tools that guarantee accurate mixing and safe handling of ingredients. First, have distilled white vinegar on hand—it’s a powerful natural cleaning agent with antibacterial properties. Next, baking soda acts as a mild abrasive and deodorizer, essential for tough grime. Liquid castile soap serves as a gentle surfactant, enhancing cleaning without harsh chemicals. For ingredient substitutes, lemon juice can replace vinegar, offering a fresh scent and similar acidity. Finally, make sure you use purified water to avoid mineral deposits that reduce effectiveness. These core components provide a flexible, natural cleaning solution, giving you freedom from commercial chemical products while maintaining superior kitchen hygiene. Selecting high-quality ingredients guarantees consistent, efficient cleaning results every time.
Required Mixing Tools
Five essential tools guarantee precise and safe preparation of your DIY kitchen cleaner. First, use sturdy mixing bowls resistant to acidic ingredients to guarantee durability and prevent contamination. Next, measuring spoons are critical for exact ingredient quantities; even small deviations can alter the cleaner’s effectiveness. A reliable funnel helps transfer liquids without spills, maintaining workspace cleanliness. Additionally, a whisk or stirring utensil guarantees thorough blending of components, promoting consistent chemical reactions. Finally, optical clarity in glass containers allows you to verify uniformity before use. Equipping yourself with these tools empowers you to create your cleaner with accuracy and safety, giving you the freedom to customize formulations confidently and maintain superior hygiene in your kitchen environment.
Step-by-Step Guide to Mixing Your Cleaner
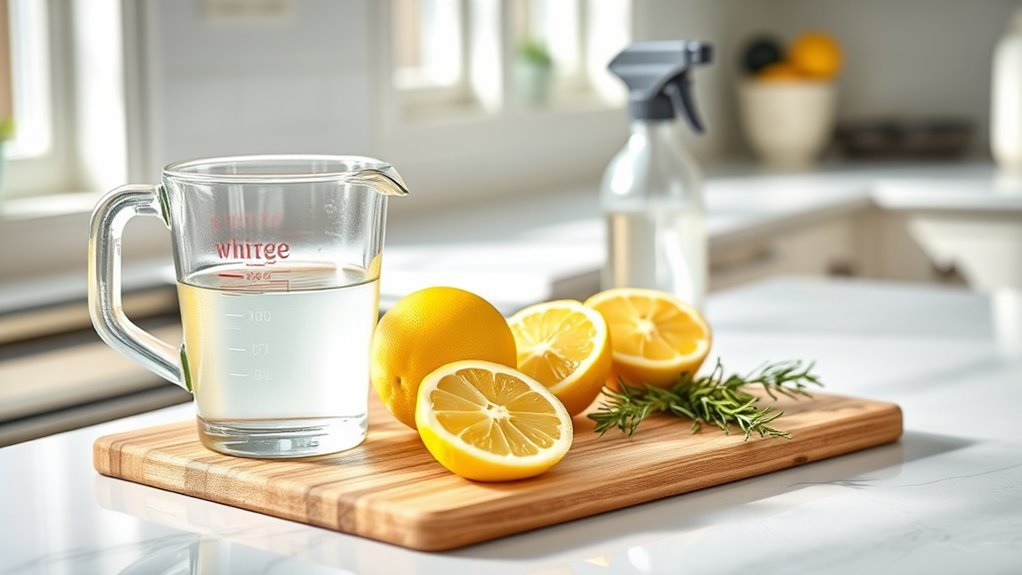
To create an effective kitchen surface cleaner, you’ll need specific essential ingredients like vinegar, water, and a few drops of essential oil for scent. Follow a precise mixing process: measure each component accurately, combine them in a clean container, and stir thoroughly to confirm uniformity. This method guarantees a safe and efficient cleaning solution tailored to your kitchen needs. For enhanced cleaning power and eco-friendliness, consider incorporating enzyme-based cleaners that break down organic matter naturally.
Essential Ingredients Needed
Although you might think mixing a DIY kitchen cleaner is straightforward, selecting the right ingredients is vital for effectiveness and safety. You’ll want to combine components that target grease, kill bacteria, and leave surfaces streak-free. Citrus cleaners provide natural degreasing power and a fresh scent, while vinegar solutions offer antimicrobial properties and gentle acidity suitable for most surfaces.
| Ingredient | Function |
|---|---|
| Citrus Cleaners | Cut through grease, deodorize |
| Vinegar Solutions | Disinfect, dissolve mineral deposits |
| Water (Distilled) | Dilutes, prevents residue buildup |
Choosing these guarantees your cleaner balances potency with safety, granting you freedom from harmful chemicals while maintaining a spotless kitchen environment.
Mixing Process Steps
Begin by gathering all your fundamental ingredients and tools, including a clean measuring cup, mixing container, and a stirring utensil. Measure each component accurately to guarantee consistent efficacy. Pour the base liquid into the container first, followed by additives such as essential oils or vinegar. Stir the mixture thoroughly for at least 30 seconds to achieve a homogeneous solution, vital for maximum surface sanitization. Avoid introducing contaminants by using sterilized equipment. Label your mixture with the preparation date to monitor cleaning frequency effectively. Store the cleaner in a sealed container, away from direct sunlight, to preserve its potency. By adhering to these precise mixing process steps, you maintain control over your kitchen’s hygiene routine, empowering you with safety and freedom in your cleaning practices.
Best Practices for Using the Cleaner on Countertops
Effective application of your DIY cleaner on countertops hinges on proper technique and timing. First, identify your countertop materials—granite, quartz, laminate, or wood—since each requires tailored care to avoid damage. Apply the cleaner with a microfiber cloth, ensuring even distribution without saturation to preserve surface integrity. Adjust cleaning frequency based on usage and material durability; high-traffic counters benefit from daily wiping, while less-used surfaces may need weekly attention. Avoid letting the cleaner sit too long, as prolonged exposure can degrade certain finishes. Always perform a spot test on an inconspicuous area before full application. By adhering to these precise guidelines, you maintain countertop longevity and cleanliness while embracing your freedom to customize your kitchen care routine confidently and effectively. Additionally, using a microfiber cloth helps achieve effective cleaning while protecting your surfaces.
How to Clean Grease and Tough Stains Effectively
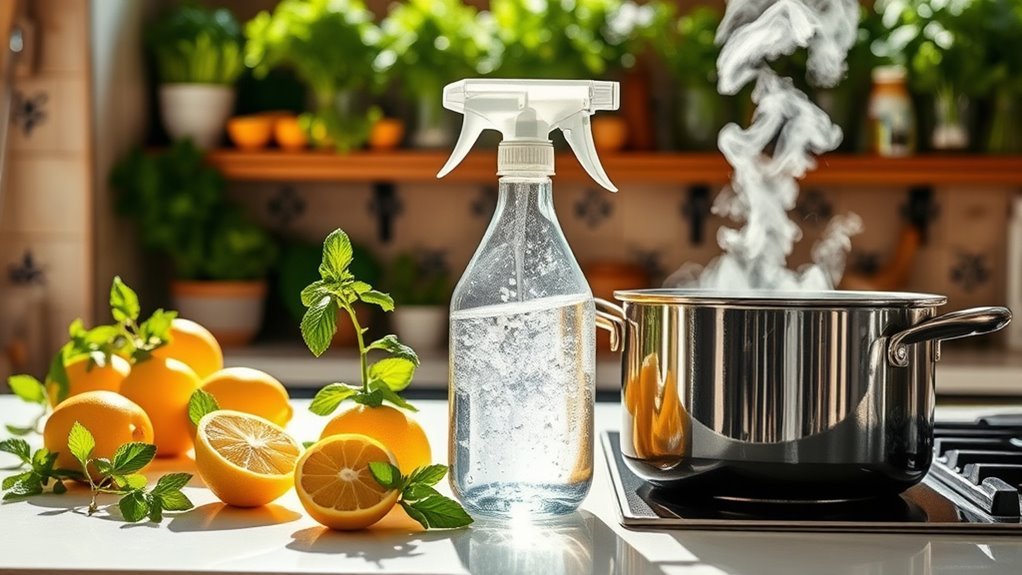
To tackle grease and tough stains effectively, you’ll need the right degreasing ingredients like citrus extracts or vinegar combined with gentle abrasives. Apply targeted stain removal techniques, such as pre-soaking or controlled scrubbing, to break down residues without damaging surfaces. Always test your cleaner on a small area first to guarantee it’s safe for the material you’re treating. Understanding the types of grease stains can help you choose the most effective cleaning method for your kitchen surfaces.
Best Degreasing Ingredients
Grease and tough stains demand potent degreasing agents that break down oils at the molecular level. To achieve this, you’ll want to harness the power of citrus extracts and vinegar. Citrus extracts contain natural solvents like limonene, which effectively dissolve grease without harsh chemicals. Their volatile compounds penetrate greasy residues, allowing you to wipe surfaces clean effortlessly. Vinegar benefits come from its acetic acid content, which emulsifies fats and disrupts oil bonds, making it an ideal degreaser. When combined, these ingredients create a synergistic effect that tackles stubborn buildup while maintaining surface integrity. Using these natural, effective components gives you freedom from commercial chemicals, ensuring a safe, eco-friendly kitchen cleaning routine without sacrificing performance.
Stain Removal Techniques
Harnessing the power of natural degreasers like citrus extracts and vinegar sets the stage for tackling stubborn stains with confidence. You’ll first identify the stain types—protein-based, oil-based, or tannin stains—each requiring specific treatment. For grease, apply a citrus-based cleaner directly, allowing enzymatic action to break down oils. Vinegar solutions excel on tannin stains, neutralizing residues effectively. Adjust your cleaning frequency based on usage intensity; frequent spills demand daily attention, while less exposed areas can be treated weekly. For tough stains, let the cleaner sit briefly to penetrate, then agitate gently with a soft brush. Rinse thoroughly to prevent residue buildup. This methodical approach guarantees you maintain pristine surfaces, granting you freedom from persistent grime without harsh chemicals or excessive effort.
Surface-Safe Cleaning Tips
Although tough stains and grease can seem stubborn, using surface-safe cleaning methods guarantees effective removal without damage. Start by selecting natural ingredients like vinegar, baking soda, and lemon juice, which offer potent grease-cutting properties while ensuring surface compatibility. Test your DIY cleaner on a small, inconspicuous area to confirm it won’t harm finishes. Apply the solution directly to the stain, allowing it to penetrate before gently scrubbing with a non-abrasive cloth or sponge. Avoid harsh chemicals or abrasive tools that can degrade delicate surfaces. For persistent grime, repeat the process rather than increasing concentration, preserving your surface’s integrity. By adhering to these precise techniques, you maintain freedom from damaging cleaners and confidently restore kitchen surfaces to their original condition.
Safe Use on Different Kitchen Surfaces
When using a DIY cleaner on various kitchen surfaces, you’ll need to take into account the material’s sensitivity to guarantee both effectiveness and safety. Ensuring safe surface compatibility demands adherence to material specific guidelines—natural stone like granite requires pH-neutral solutions to prevent etching, while stainless steel benefits from non-abrasive agents to maintain its finish. For laminate and sealed wood, avoid excessive moisture and harsh chemicals that could degrade the protective layer. Always test a small inconspicuous area first to verify no adverse reactions occur. By following these precise protocols, you maintain your kitchen’s integrity and cleanliness without compromising surface quality. This targeted approach empowers you to freely customize your cleaning routine while safeguarding every material type present in your kitchen environment. Additionally, storing your DIY cleaners in airtight containers helps maintain their effectiveness and safety over time.
Tips for Storing Your Homemade Cleaner
Proper storage of your homemade cleaner is crucial to maintain its effectiveness and safety over time. Choose storage containers that are airtight, opaque, and non-reactive, such as glass or high-grade plastic. Always include clear label instructions detailing the contents, date of preparation, and safety warnings. Store your cleaner in a cool, dark place away from direct sunlight and heat sources to prevent degradation.
Many sustainable brands offer effective products without sacrificing quality, supporting innovation in greener packaging solutions.
| Storage Container Type | Material | Key Benefits |
|---|---|---|
| Spray Bottle | PET Plastic | Lightweight, easy to use |
| Amber Glass Bottle | Glass | Protects from UV light |
| HDPE Jug | High-Density Poly | Chemical resistant, durable |
| Aluminum Container | Aluminum | Lightweight, non-reactive |
| Ceramic Jar | Ceramic | Non-reactive, aesthetic option |
Adhering to these guidelines guarantees your cleaner remains potent and safe for repeated use.
Additional Natural Additives for Enhanced Cleaning
Since you want to boost your cleaner’s effectiveness without resorting to harsh chemicals, incorporating natural additives can be a smart strategy. Natural enzyme additives break down organic matter like grease and food residues at a molecular level, enhancing stain removal and deodorization. These enzymes specifically target proteins, fats, and carbohydrates, greatly improving surface hygiene. Additionally, citrus oil benefits extend beyond a pleasant scent; their natural solvents effectively dissolve oily grime and bacteria. Including a small percentage of citrus oils not only amplifies cleaning power but also inhibits microbial growth. When formulating your DIY cleaner, precise measurements of these additives guarantee peak performance without compromising surface safety. By integrating natural enzyme additives and citrus oil benefits, you maintain control over your kitchen’s cleanliness while preserving your freedom from synthetic chemicals. Moreover, selecting essential oils that possess antimicrobial properties can further enhance the healthfulness of your cleaning routine.
Eco-Friendly Benefits of DIY Kitchen Cleaners
Although commercial cleaners often contain harsh chemicals that can harm the environment, DIY kitchen cleaners offer a sustainable alternative by using biodegradable, non-toxic ingredients. When you switch to DIY formulations, you actively reduce your ecological footprint by choosing sustainable materials and chemical free alternatives. These cleaners minimize water and soil pollution, safeguard indoor air quality, and decrease plastic waste from packaging.
Key eco-friendly benefits include:
- Utilization of renewable, biodegradable components that decompose without toxic residue.
- Elimination of volatile organic compounds (VOCs), improving air safety and reducing smog formation.
- Reduction in single-use plastic bottles by reusing containers and mixing your own solutions.
Regular cleaning with natural alternatives also promotes safer indoor environments by minimizing exposure to allergens and irritants.
Troubleshooting Common Cleaning Challenges
Why do some kitchen surfaces resist cleaning even when you use the right DIY solutions? Often, cleaning myths lead you to apply ineffective methods or ingredients, failing to address stubborn stains properly. Understanding the surface type and stain composition is essential for freedom from persistent grime.
| Challenge | Common Cause | Effective Solution |
|---|---|---|
| Streaks on glass | Using oil-based cleaners | Use vinegar-water mix |
| Grease on tiles | Insufficient degreaser action | Apply baking soda paste |
| Stains on wood | Over-wetting | Use mild detergent, dry fast |
| Residue on counters | Wrong pH cleaner | Match cleaner pH to surface |
Proper preparation and cleaning methods, such as using a baking soda poultice for oil-based stains on certain surfaces, can significantly improve stain removal results.
Frequently Asked Questions
Can DIY Cleaners Help Eliminate Kitchen Odors?
You want to freshen your space, you want to breathe easy, and you want effective odor elimination. DIY cleaners using natural ingredients can do just that. Their active compounds neutralize and absorb odors without harsh chemicals. By targeting odor molecules at the source, these solutions provide a thorough cleanse. You gain control, reduce toxins, and enjoy a fresher kitchen environment, all while embracing freedom from commercial product constraints.
How Often Should I Clean My Kitchen Surfaces With the DIY Cleaner?
You should follow frequency guidelines based on your kitchen’s use and contamination levels. For general maintenance, clean surfaces daily to prevent buildup and bacteria growth. If cooking frequently or handling raw foods, increase cleaning frequency accordingly. Establish a cleaning schedule that balances hygiene with your lifestyle, ensuring surfaces are sanitized without overuse. This approach offers freedom to adapt while maintaining peak cleanliness and safety.
Are Homemade Cleaners Safe for Use Around Children and Pets?
Did you know that over 60% of accidental poisonings in homes involve children under five? When it comes to child safety and pet safety, homemade cleaners can be safer than commercial ones if you use natural, non-toxic ingredients like vinegar and baking soda. Just avoid harsh chemicals, keep cleaners out of reach, and label your mixtures clearly. This approach lets you maintain a clean space while protecting your loved ones and enjoying freedom from harmful toxins.
Can I Use This DIY Cleaner for Cleaning Kitchen Appliances?
You can use this DIY cleaner on kitchen appliances, but you need to contemplate appliance materials carefully. Some surfaces, like stainless steel or glass, respond well, guaranteeing ideal cleaning effectiveness without damage. However, avoid applying it on sensitive finishes or electronic components directly. Always test a small area first to verify compatibility. This approach lets you maintain freedom in your cleaning routine while protecting your appliances from harm.
What Is the Shelf Life of a Homemade Kitchen Cleaner?
Wondering how long your homemade cleaner will last? The shelf life generally ranges from one to two weeks, depending on ingredients. Without preservatives, natural components degrade quickly, reducing effectiveness. For best shelf life, store it in a cool, dark place, preferably in an airtight container. Avoid contamination by using clean utensils each time. Following these storage tips guarantees your cleaner remains potent and safe, giving you the freedom to clean confidently every time.
