Cleaning Techniques for Windowsills Owners
To clean your windowsills effectively, first identify the material—wood, vinyl, or metal—to choose the right supplies. Use a soft brush or microfiber cloth with mild soap and warm water, avoiding harsh chemicals that damage finishes. For wood, dampen cloths lightly to prevent moisture absorption; vinyl needs gentle detergent cleaning, while metal benefits from eco-friendly cleaners and thorough drying to prevent rust. Tackling stains and routine upkeep keeps your sills pristine and durable. Explore tailored tips to maintain every type expertly.
Identifying Your Windowsill Material
Before you start cleaning your windowsill, it’s important to identify the material it’s made from, as different surfaces require specific care methods. You’ll first want to examine the wood types if your windowsill is wooden—hardwoods like oak or maple have dense grains, demanding gentler cleaning agents to avoid damage, while softwoods such as pine absorb moisture quickly and need prompt drying. Pay attention to material characteristics: painted wood might tolerate mild detergents but can peel under harsh chemicals, whereas natural wood benefits from oil-based cleaners. If your windowsill is not wood, recognizing its material—be it vinyl, metal, or stone—is vital since each reacts uniquely to cleaning products. Accurately identifying your windowsill’s composition grants you the freedom to maintain it effectively without risking harm. Choosing eco-friendly cleaners helps ensure you avoid damaging surfaces and leaving harmful residues.
Essential Cleaning Supplies for Windowsills
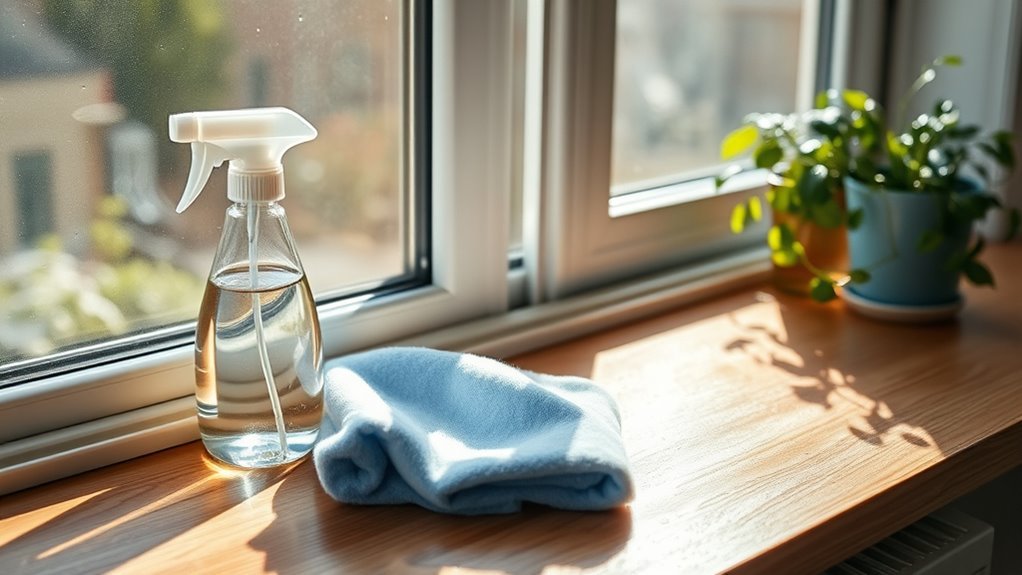
To clean your windowsills effectively, you’ll need specific tools like a soft-bristle brush, microfiber cloths, and a sturdy scraper for stubborn debris. Pair these with targeted cleaning solutions tailored to your windowsill material—whether it’s wood, vinyl, or metal—to avoid damage and guarantee thorough cleanliness. Having the right supplies on hand guarantees you tackle dirt and grime efficiently without compromising the surface. Additionally, using safe cleaning products helps protect both your health and the finish of your windowsills.
Must-Have Cleaning Tools
Although windowsills might seem like small and simple surfaces, having the right cleaning tools is crucial to achieve spotless results efficiently. You’ll want to equip yourself with versatile cleaning gadgets designed for precision—like a narrow brush or a microfiber duster that easily reaches tight corners. Prioritize eco friendly tools, such as reusable cloths and biodegradable brushes, to maintain cleanliness without compromising your values or the environment. A compact vacuum with a crevice attachment can also save time by removing dust and debris quickly. By selecting these must-have tools, you guarantee thorough cleaning while embracing freedom from harsh chemicals and waste. Investing in quality, purpose-built equipment streamlines your routine and delivers pristine windowsills that enhance your living space effortlessly.
Effective Cleaning Solutions
Three essential cleaning solutions will transform your windowsills from dusty to dazzling with minimal effort. First, an eco friendly solution of white vinegar and water effectively cuts through grime without harsh chemicals, preserving your indoor air quality. Next, a mixture of baking soda and water acts as a gentle abrasive to remove stubborn stains without damaging surfaces. Finally, a few drops of mild liquid soap diluted in warm water provide a versatile cleaner for everyday dust and dirt. These homemade cleaners not only save you money but also give you control over what touches your home environment. Using these precise, natural solutions guarantees your windowsills stay pristine while supporting your desire for a healthier, freer living space.
Step-by-Step Cleaning Process for Wooden Windowsills
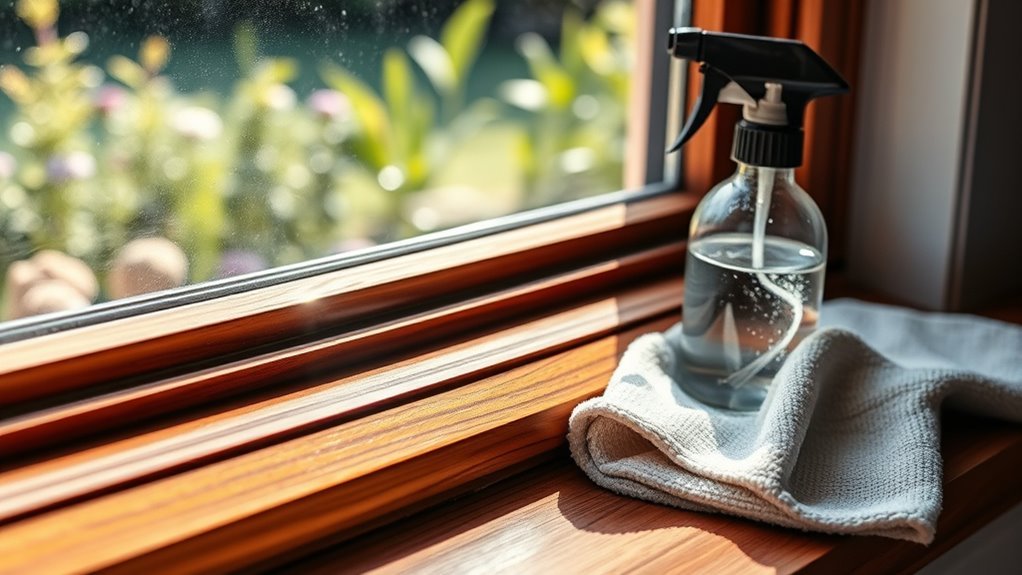
Cleaning wooden windowsills requires a careful approach to preserve the wood’s finish while removing dirt and grime effectively. To maintain excellent wood care and guarantee surface protection, follow these precise steps:
Proper care of wooden windowsills ensures lasting beauty and effective dirt removal without damaging the finish.
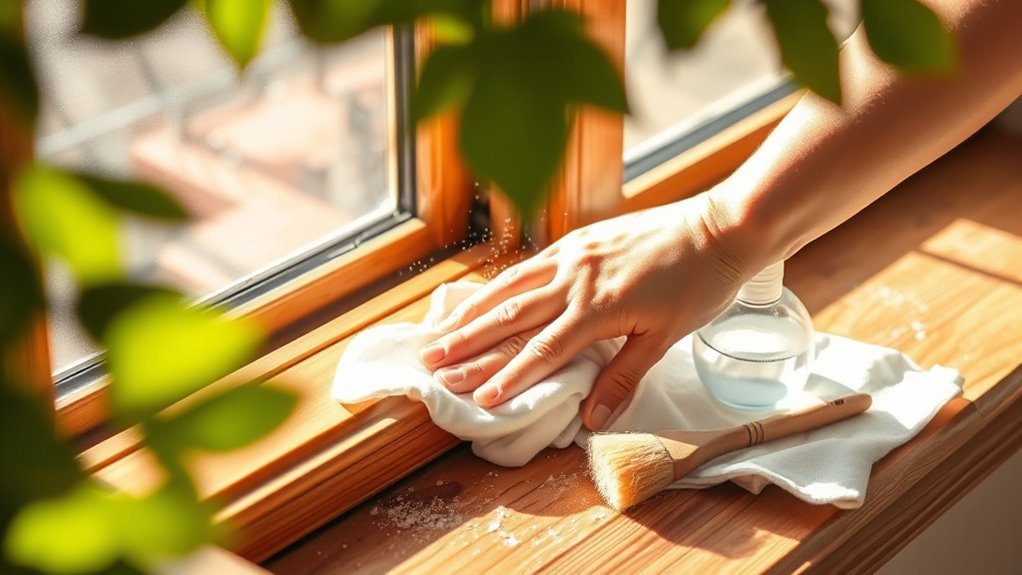
- Dust and Vacuum: Remove loose dirt and dust using a soft cloth or vacuum with a brush attachment to avoid scratching the surface.
- Gentle Cleaning Solution: Mix mild soap with warm water. Dampen a soft cloth in the solution, wring it out well, and wipe the windowsills gently to lift grime without saturating the wood.
- Dry and Condition: Immediately dry the surface using a clean, dry cloth. Apply a wood conditioner or polish designed for your windowsill’s finish to nourish the wood and reinforce surface protection.
- To prevent dust from resettling and maintain a clean environment, it is important to dust surrounding areas regularly during the cleaning process.
Maintaining Vinyl Windowsills: Tips and Tricks
Maintaining vinyl windowsills involves a few straightforward yet vital steps that help preserve their appearance and durability over time. First, regular vinyl window care means wiping down the surface with a mild detergent and water solution to remove dirt and prevent buildup. Avoid abrasive cleaners that can damage the finish. Seasonal maintenance is important—inspect your windowsills for cracks or discoloration each season, especially after harsh weather, and address minor issues promptly to prevent further damage. Use a soft cloth or sponge for cleaning, and rinse thoroughly. Applying a vinyl-safe protectant can enhance longevity and maintain a fresh look. By following these precise steps, you guarantee your vinyl windowsills remain resilient and attractive, giving you the freedom to enjoy hassle-free upkeep year-round. Additionally, incorporating regular dusting and wiping away excess soil promptly helps prevent mold growth and keeps the surface hygienic.
Best Practices for Cleaning Metal Windowsills
When cleaning metal windowsills, you need to select cleaning agents that won’t damage the finish or promote rust. It is crucial to prevent corrosion by drying surfaces thoroughly and applying protective coatings when necessary. Regular maintenance, including prompt removal of dirt and moisture, will keep your metal windowsills looking pristine and durable.
Choosing Suitable Cleaning Agents
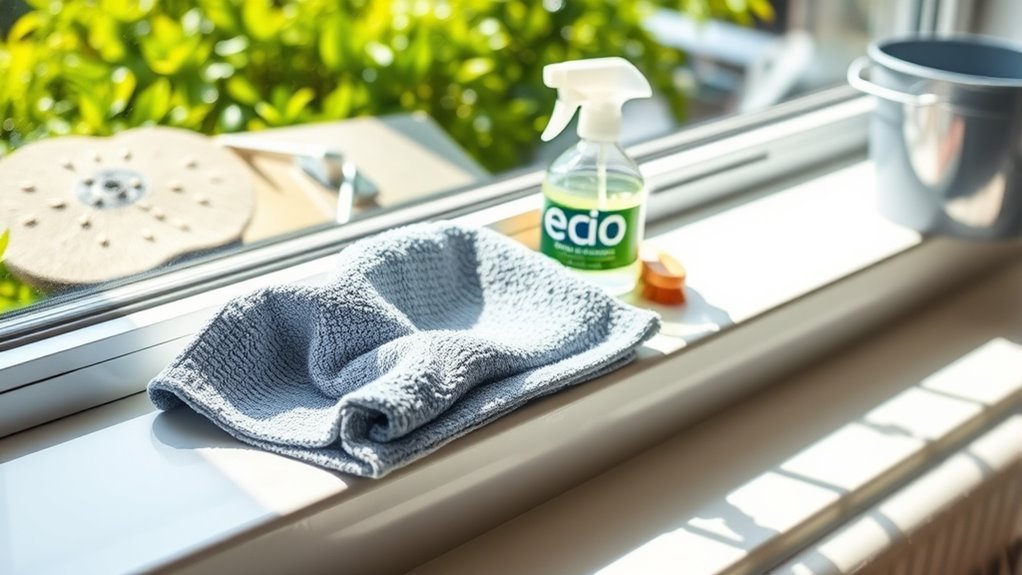
How do you select the right cleaning agents for metal windowsills without risking damage or corrosion? Start by choosing eco friendly cleaners designed specifically for metal surfaces. They’re gentle yet effective, preserving your windowsills’ finish while minimizing environmental impact. Alternatively, commercial products formulated for metal can offer powerful cleaning but require careful use.
- Verify the label for metal compatibility and avoid abrasive ingredients that can scratch or dull surfaces.
- Test any cleaner on a small, inconspicuous area to ascertain it doesn’t cause discoloration or corrosion.
- Opt for pH-neutral formulas to maintain the integrity of the metal and surrounding materials.
Preventing Rust and Corrosion
Although metal windowsills can elevate your home’s aesthetic, they’re prone to rust and corrosion if not cared for properly. To guarantee effective rust prevention, start by keeping the surface dry and clean; moisture is the primary catalyst for corrosion. Use a mild, non-abrasive cleaner to remove dirt without damaging protective coatings. After cleaning, apply a high-quality corrosion resistance sealant or paint designed specifically for metal surfaces. This barrier minimizes exposure to humidity and airborne pollutants that accelerate rust formation. Avoid harsh chemicals that strip protective layers or create micro-abrasions where rust can initiate. By adopting these measures, you’ll preserve your metal windowsills’ structural integrity and appearance, granting you the freedom to enjoy their durability and style without frequent replacements or costly repairs.
Regular Maintenance Tips
Maintaining metal windowsills requires a consistent routine focused on preventing buildup and preserving protective coatings. You want to guarantee your windowsills stay durable and visually appealing by incorporating these key practices into your seasonal cleaning schedule:
- Perform window inspection regularly: Check for signs of corrosion, peeling paint, or debris accumulation that can compromise the metal’s integrity.
- Remove dirt and grime promptly: Use a soft brush or cloth with mild detergent to clean surfaces, avoiding abrasive tools that could damage coatings.
- Apply protective treatments: After cleaning, apply a suitable sealant or paint to reinforce weather resistance and prevent rust formation.
Removing Stubborn Stains and Mold From Windowsills
Tackling stubborn stains and mold on your windowsills requires a combination of the right tools and effective cleaning solutions. Start by wearing gloves and ventilating the area to protect yourself from mold spores. Use a mixture of white vinegar and water or a commercial mold remover for stain removal; apply it directly to affected areas and let it sit for 10-15 minutes. Gently scrub with a soft brush or sponge to avoid damaging the surface. Rinse thoroughly with clean water and dry completely to interrupt mold growth. For persistent stains, a baking soda paste works well without harsh chemicals. Consistent mold prevention hinges on thorough cleaning and drying after each treatment. Maintaining low humidity levels in your home also helps prevent mold from returning by reducing the moisture that mold needs to thrive, making humidity control an essential part of your cleaning routine. By following these precise steps, you’ll regain clean, stain-free windowsills that enhance your home’s appeal and hygiene.
Preventing Dirt and Moisture Buildup on Windowsills
After removing stubborn stains and mold, the next step is to focus on preventing dirt and moisture buildup that can lead to recurring problems. Effective dirt prevention and moisture control on your windowsills will extend their lifespan and maintain their appearance.
- Seal gaps and cracks: Use weatherstripping or caulk to block entry points for dirt and moisture, creating a tight barrier.
- Install drip edges: These redirect water away from your windowsills, minimizing moisture exposure and preventing water pooling.
- Use protective coatings: Apply a water-resistant sealant suitable for your windowsill material to create an additional shield against moisture and dirt accumulation.
- Regularly wiping away condensation and ensuring proper ventilation help reduce humidity levels and prevent mold growth on windowsills, which is crucial for maintaining a clean and healthy environment. This preventive measure supports effective mold and mildew management.
Regular Maintenance Schedule for Long-Lasting Cleanliness
Although thorough cleaning and prevention methods are essential, establishing a regular maintenance schedule is what will guarantee your windowsills stay pristine over time. You need to incorporate seasonal cleaning and routine inspections to detect and address dirt buildup or moisture early. This proactive approach not only preserves appearance but also prevents structural damage. Early detection of issues like cracks and peeling paint allows for timely repairs that extend the life of your windowsills.
| Task | Frequency |
|---|---|
| Dust and wipe surfaces | Weekly |
| Inspect for damage | Monthly |
| Deep seasonal cleaning | Quarterly (Spring, Summer, Fall, Winter) |
Frequently Asked Questions
Can I Use Natural Cleaning Products on All Types of Windowsills?
You might think natural cleaning products are always safer, but natural vs commercial isn’t black and white. While natural options often offer gentler, eco-friendly solutions, some windowsill materials—like delicate wood or painted surfaces—can react poorly to acidic natural ingredients. You’ll want to check cleaning product safety for your specific windowsill type. Testing a small area first lets you enjoy freedom in your choices without risking damage.
How Often Should Windowsills Be Deep Cleaned to Prevent Damage?
You should aim for a deep cleaning frequency of every three to six months to keep your windowsills in peak condition. Regular windowsill maintenance prevents dirt buildup and potential damage, preserving both appearance and integrity. If you live in a dusty or humid area, you might want to clean more often. Staying consistent with this schedule guarantees your windowsills last longer, giving you the freedom to enjoy a cleaner, healthier living space without hassle.
Are There Eco-Friendly Options for Cleaning Stubborn Windowsill Stains?
They say, “a stitch in time saves nine,” and when it comes to stubborn stains, acting promptly is key. For effective stain removal, you can rely on eco-friendly solutions like a mixture of baking soda and white vinegar or lemon juice combined with water. These natural cleaners break down grime without harsh chemicals, giving you a safe, sustainable way to restore your windowsills while preserving your freedom to choose greener options.
What Tools Can Help Reach Narrow or Awkward Windowsill Corners?
To tackle narrow or awkward windowsill corners, you’ll want extension tools that give you extra reach and control. Slim, angled cleaning brushes are perfect—they easily fit into tight spaces without damaging surfaces. You can also use flexible microfiber wands or small detail brushes attached to extendable poles, helping you clean thoroughly without straining. These tools offer freedom to clean every crevice efficiently, making those tricky corners spotless with minimal effort.
Can Cleaning Windowsills Improve Indoor Air Quality?
Absolutely, cleaning your windowsills can greatly improve indoor air quality. Over time, dust accumulation on windowsills traps airborne pollutants, which can easily circulate throughout your space when disturbed. By regularly removing this buildup, you reduce the amount of allergens and contaminants in the air, giving you a fresher, healthier environment. Taking control of this simple task helps you breathe easier and enjoy a cleaner, more liberating living space.


