How to Clean an Implant
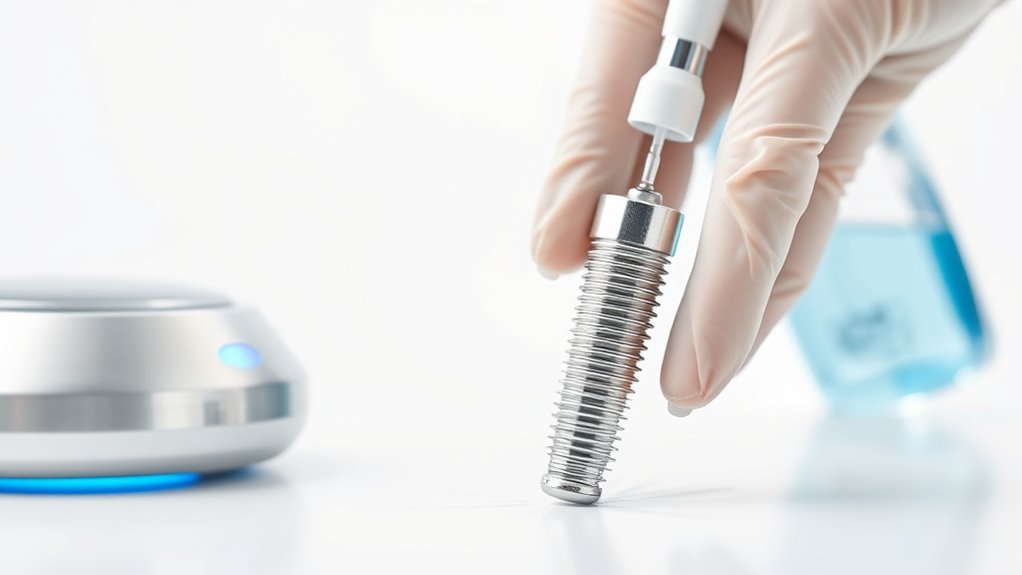
To clean an implant, start by gathering soft brushes, non-abrasive cleaners, and sterile water. Use a soft-bristle brush to gently remove debris, and choose a compatible cleaning solution for the specific implant material. Rinse thoroughly with distilled water and dry the implant with a lint-free cloth. Always wear gloves for hygiene and inspect the implant for any signs of wear. There’s more to know about maintenance and safety to guarantee your implant’s longevity.
Preparation For Cleaning
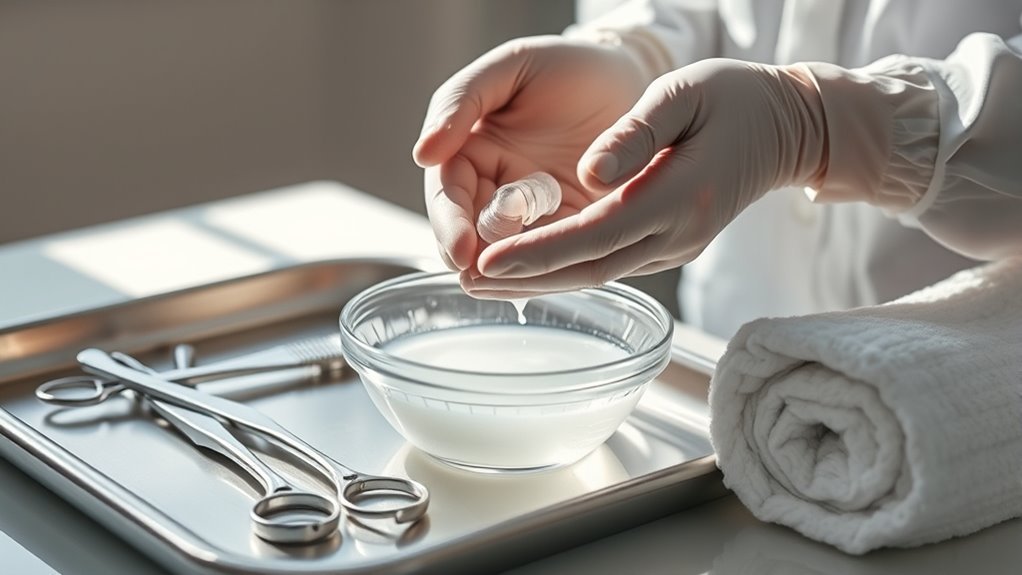
Before you begin cleaning an implant, it’s essential to gather the right materials and tools to guarantee a thorough process. Proper implant maintenance is vital for longevity and functionality. You’ll need soft brushes, non-abrasive cleaners, and sterile water. These items will help you effectively remove debris without damaging the implant surface.
You should also consider the cleaning frequency; regular maintenance prevents buildup and guarantees peak performance. Depending on your specific implant, aim to clean it at least once a week, or as recommended by your healthcare provider. Remember, consistent care not only enhances the implant’s lifespan but also promotes your overall well-being. A well-prepared cleaning routine will set you up for success in maintaining your implant effectively.
Tools and Chemical Required
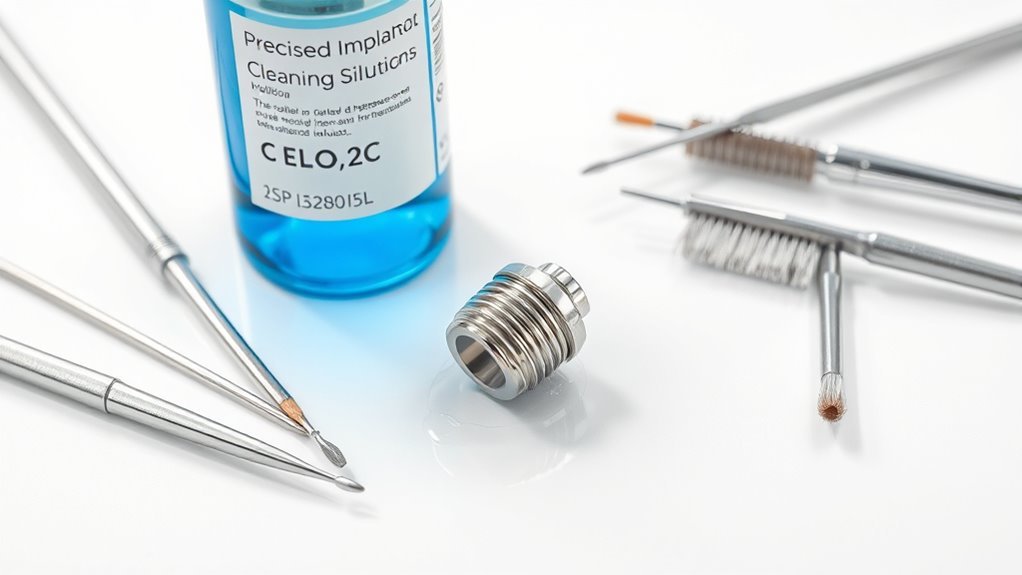
Gathering the right tools and chemicals is essential for effective implant cleaning. You’ll need specific cleaning supplies and maintenance tools to guarantee the process is thorough and safe. Here’s a quick reference table to guide you in selecting what you’ll need:
| Category | Tools | Chemicals |
|---|---|---|
| Cleaning Supplies | Soft brushes | Mild detergent |
| Maintenance Tools | Tweezers | Isopropyl alcohol |
| Protective Gear | Gloves | Disinfectant wipes |
Using these items will not only enhance your cleaning efficiency but also maintain the integrity of the implant. Always prioritize safety and effectiveness by choosing high-quality products tailored for this purpose.
How to Clean:
Step-by-Step Guide on How to Clean Implants
Cleaning implants is crucial to ensure their longevity and optimal performance. Follow these detailed steps to maintain your implants effectively.
Cleaning implants is essential for their durability and performance; follow these steps to keep them in top shape.
Step 1: Gather Your Tools and Chemicals
- Organize your workspace: Before you begin, ensure you have all necessary tools and cleaning solutions at hand. This may include:
- Soft-bristle brush
- Appropriate cleaning solution specific to the implant material
- Distilled water for rinsing
- Lint-free cloth for drying
- Inspection tools (if necessary)
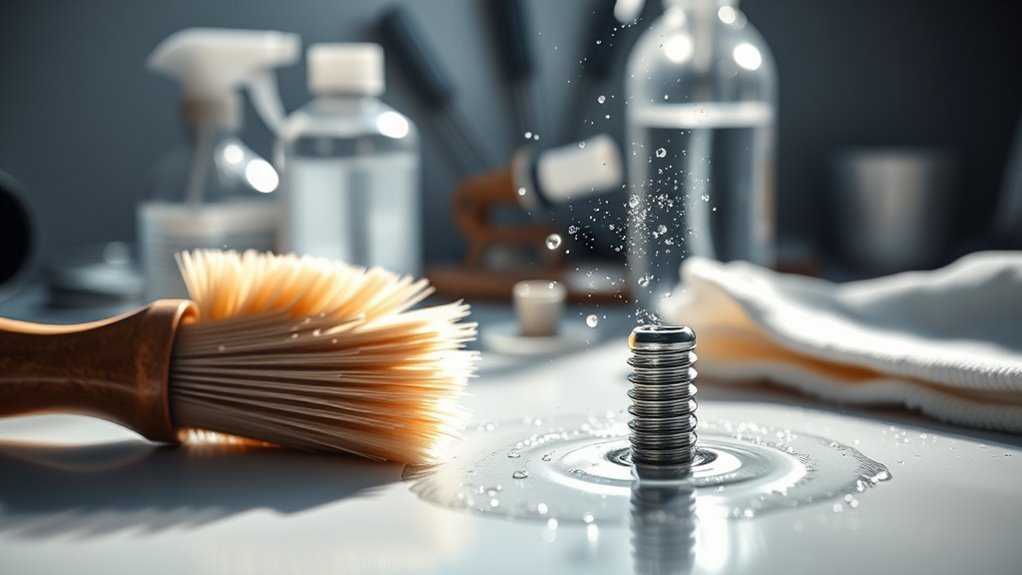
Step 2: Dislodge Debris
- Use a soft-bristle brush: Gently brush the surface of the implant to remove any debris or buildup. Make sure to:
- Work in a well-lit area to see all surfaces clearly.
- Use gentle strokes to avoid scratching the implant.
Step 3: Apply Cleaning Solution
- Choose the right cleaning solution: Select a cleaning solution that is compatible with the material of your implant. Follow these tips:
- Read the label on the cleaning product to ensure it is safe for use on your specific implant type.
- Apply the solution according to the manufacturer’s instructions.
Step 4: Rinse Thoroughly
- Use distilled water: Rinse the implant carefully with distilled water to eliminate any remaining cleaning solution and debris. Consider the following:
- Avoid tap water as it may leave mineral deposits that can harm the implant.
- Ensure that all areas of the implant are rinsed thoroughly.
Step 5: Dry the Implant
- Use a lint-free cloth: Pat the implant dry using a lint-free cloth to prevent scratches and lint residue. Remember to:
- Avoid rubbing the surface vigorously as this may cause damage.
- Ensure the implant is completely dry before storing or using it again.
Step 6: Inspect for Wear or Damage
- Conduct a thorough inspection: After cleaning, carefully examine the implant for any signs of wear or damage. Check for:
- Cracks, chips, or any irregularities on the surface.
- Ensure that all components are intact and functioning properly.
Following these steps will help maintain your implants in peak condition and prevent any potential issues down the line.
Safety Consideration
While cleaning implants is essential, it’s equally important to contemplate safety precautions to protect both yourself and the implant. Start by making sure your workspace is clean and organized to minimize contamination. Always wear disposable gloves to maintain hygiene and prevent infection. Additionally, sterilize all tools before use; this is critical for effective infection control. If you notice any signs of damage or wear on the implant, reconsider your cleaning approach or consult a professional. It’s imperative to follow the manufacturer’s guidelines for cleaning, as improper methods can compromise the implant’s integrity. Finally, wash your hands thoroughly after handling the implant to further reduce any risk of infection. Prioritizing these safety precautions guarantees a successful cleaning process.
Frequently Asked Questions
How Often Should I Clean My Implant?
You should clean your implant regularly, ideally daily, to guarantee peak performance and hygiene. A consistent maintenance schedule helps prevent complications and keeps your implant in top condition. Depending on your lifestyle and environment, you may need to adjust the cleaning frequency. Always follow any specific guidelines provided by your healthcare professional, as they can offer tailored advice for your situation. Regular cleaning not only enhances durability but also promotes your overall well-being.
Can I Use Regular Household Cleaners for Cleaning?
Using regular household cleaners might feel like wielding a sword against dirt, but it’s a risky choice for your implant. These cleaners can compromise both the cleaning effectiveness and the integrity of the material. Instead, opt for specialized products designed for implants. They’re like gentle rain on a parched landscape, ensuring thorough cleaning without damage. Prioritizing the right solutions gives you peace of mind and extends the life of your implant.
What Should I Do if My Implant Gets Damaged?
If your implant gets damaged, start with a damage assessment to determine the extent of the issue. Look for cracks, discomfort, or other signs of failure. Once you’ve evaluated the damage, explore repair options, which may include adjustments or replacements, depending on the severity. It’s vital to consult with a professional to guarantee you’re making the best choice for your needs. Don’t delay; addressing the issue promptly can prevent further complications.
Are There Specific Brands Recommended for Cleaning Supplies?
Choosing cleaning supplies for your implant is like picking the right tools for a craftsman; the quality matters. While specific brands can vary, look for trusted cleaning solutions that are gentle yet effective. Brands like Efferdent and Polident offer solid options, but always compare their ingredients and reviews. Ultimately, it’s about finding what works best for you, ensuring safety and maintaining the integrity of your implant while providing the freedom to live worry-free.
How Can I Tell if My Implant Needs Cleaning?
You can tell if your implant needs cleaning by observing several signs. If you notice a buildup of residue, unpleasant odors, or changes in taste, those are clear indicators. Additionally, consider how frequently you’ve cleaned it—if it’s been longer than your usual schedule, it might be time to clean. Regular maintenance helps guarantee peak performance and longevity, so stay attentive to these signs to maintain your freedom and comfort.


