How to Clean Cedar Shakes
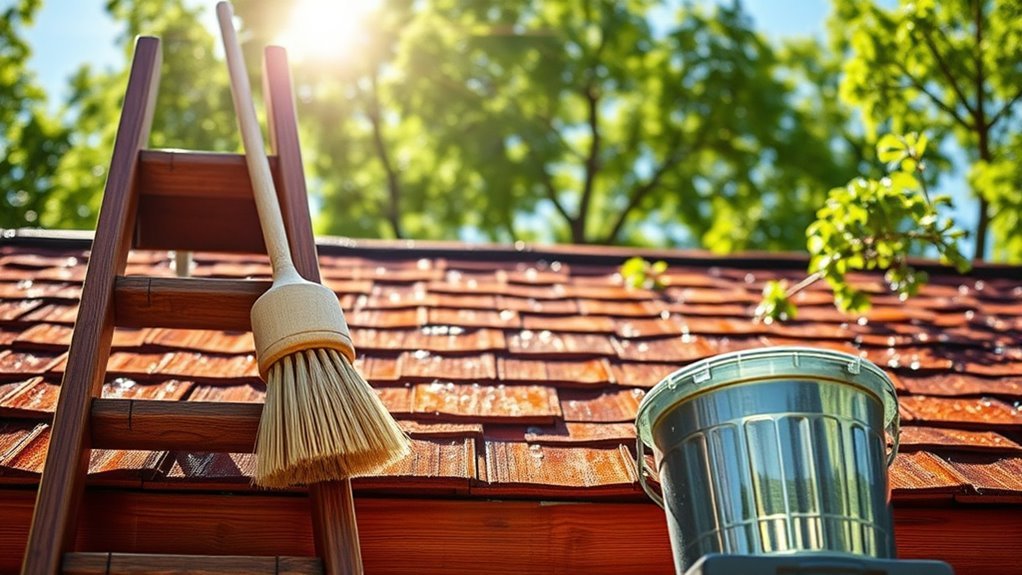
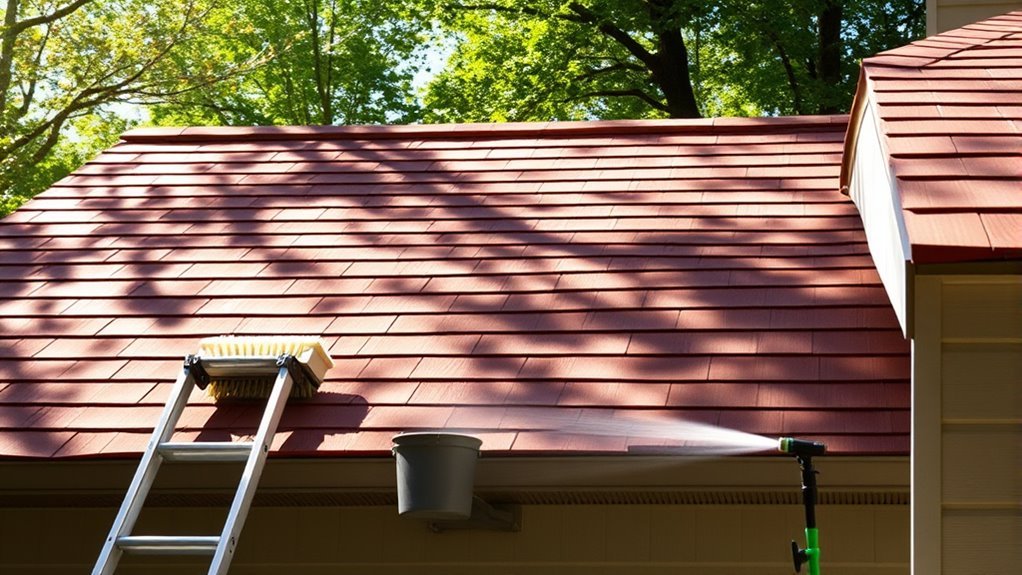
To clean cedar shakes, gather your supplies, including a pressure washer set to low, a non-toxic wood cleaner, and a soft-bristle brush. Wet the shakes, apply the eco-friendly cleaner evenly, and let it sit for 15 minutes. Scrub gently, focusing on stained areas, then rinse thoroughly with a garden hose. Don’t forget to wear gloves and goggles for safety! Regular maintenance keeps your shakes looking fresh, and there’s more to learn about extending their lifespan.
Preparation For Cleaning
Before you start cleaning your cedar shakes, it’s essential to gather the right supplies and assess the condition of your roof. Begin by inspecting for damage, moss, or mildew, as this will dictate which cleaning methods you’ll use. Make sure to wear protective gear, including gloves and safety goggles, to shield yourself from debris and chemicals. You’ll also want to cover plants and nearby surfaces to provide surface protection during the cleaning process. Consider using a gentle, eco-friendly cleaning solution that won’t harm the wood or surrounding environment. If your shakes are heavily stained, a pressure washer might be necessary, but proceed with caution to avoid damaging the wood. Proper preparation sets the stage for a successful cleaning experience. Using the right cleaning materials is crucial, as selecting gentle, non-abrasive cleaners helps preserve the integrity and appearance of your cedar shakes.
Tools and Chemical Required
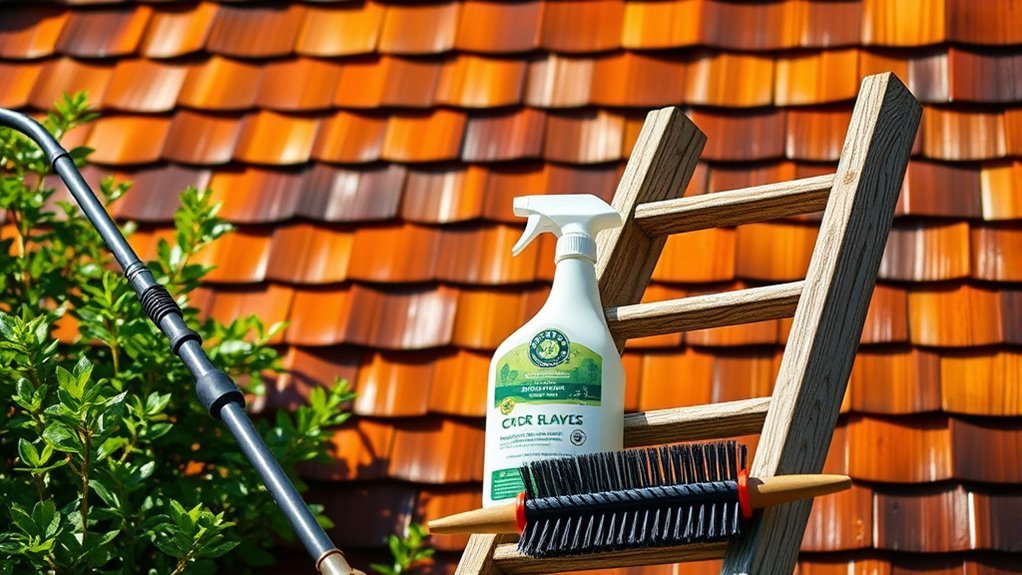
To effectively clean cedar shakes, you’ll need a few essential tools and chemicals that can tackle dirt and stains without damaging the wood. A pressure washer is your best ally, providing the power needed for a thorough cleaning. You’ll also want quality cleaning solutions specifically designed for wood to enhance the results.
Here’s a quick reference table for your cleaning toolkit:
| Tool/Chemical | Purpose | Notes |
|---|---|---|
| Pressure Washer | Removes dirt/stains | Use low pressure settings |
| Wood Cleaner | Gentle cleaning solution | Non-toxic, biodegradable |
| Scrub Brush | Manual scrubbing | Use with cleaning solution |
| Garden Hose | Rinsing after cleaning | guarantee all residue is removed |
| Safety Gear | Protection | Wear gloves and goggles |
With these tools, you’re ready to start your cleaning journey!
How to Clean:
Step 1: Gather Your Tools and Chemicals
- Collect necessary tools:
- Soft-bristle brush
- Garden hose
- Sprayer
- Choose an eco-friendly cleaner suitable for cedar shakes. Look for biodegradable options that are gentle on wood.
Step 2: Apply the Cleaner
- Pour the eco-friendly cleaner into the sprayer.
- Spray the cleaner evenly over the cedar shakes, ensuring full coverage.
- Allow the cleaner to sit for about 15 minutes. This waiting period helps break down dirt, mildew, and stains effectively.
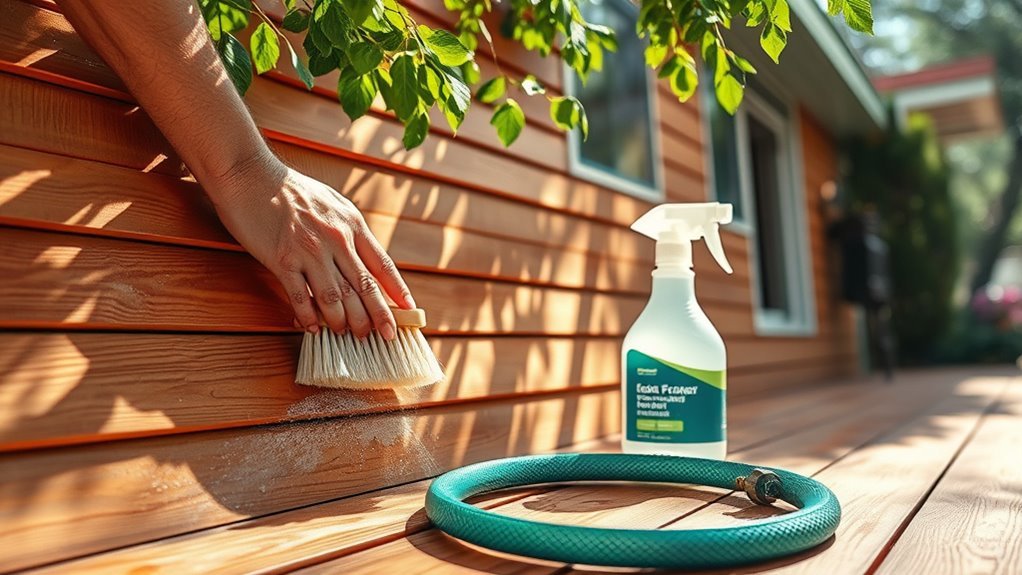
Step 3: Scrub the Shakes
- After the cleaner has had time to work, take the soft-bristle brush.
- Gently scrub the cedar shakes, paying special attention to areas with visible stains or mildew.
- Use a light, circular motion to avoid damaging the wood fibers.
Step 4: Rinse Thoroughly
- Once you’ve scrubbed all the areas, take your garden hose.
- Rinse the cedar shakes thoroughly to remove all residue of the cleaner.
- Ensure that no cleaner remains on the shakes, as it can cause damage over time.
Step 5: Apply Wood Preservative or Sealant (Optional)
- After cleaning, consider applying a wood preservative or sealant to protect the shakes.
- This step is essential for shielding against moisture and UV damage.
- Follow the manufacturer’s instructions for application and drying times.
Step 6: Schedule Regular Maintenance
- Plan to clean your cedar shakes every couple of years to maintain their appearance and longevity.
- Regular maintenance will keep your shakes looking fresh and extend their lifespan.
Step 7: Enjoy Your Clean Shakes
- Take a moment to appreciate the beauty of your freshly cleaned cedar shakes.
- Regular cleaning not only enhances their aesthetic but also protects your investment in your home.
Safety Consideration
While cleaning cedar shakes can rejuvenate their appearance, it’s crucial to prioritize safety during the process. Start by wearing protective gear, including gloves, goggles, and a mask to shield yourself from dust, debris, and any cleaning chemicals you might use. Confirm your work environment is stable, using a sturdy ladder if you need to reach higher areas. Avoid working in wet conditions, as slippery surfaces can lead to accidents. Always have a buddy nearby, especially if you’re working at heights, to assist if needed. Keep your tools organized, and be mindful of your surroundings. By taking these precautions, you can guarantee a safer experience while enhancing the beauty of your cedar shakes.
Frequently Asked Questions
How Often Should I Clean My Cedar Shakes?
You should clean your cedar shakes at least once a year to maintain their appearance and longevity. However, if you live in a particularly damp or shaded area, you might need to increase that cleaning frequency. Regular maintenance tips include checking for moss or mildew and addressing any issues promptly. Keeping your shakes clear of debris will help prevent damage and extend their life, allowing you to enjoy your beautiful home for years to come.
Can I Use a Pressure Washer for Cleaning?
Using a pressure washer can be like releasing a powerful river to cleanse your cedar shakes. However, you need to tread carefully. Employ proper pressure washing techniques, keeping the nozzle at least 12 inches away to avoid damaging the wood. Always wear safety goggles and gloves, and start with a lower pressure setting. Remember, it’s about restoring beauty without risking harm, so take your time and enjoy the freedom of a clean, fresh exterior.
What Is the Lifespan of Cedar Shakes?
Cedar shakes typically last around 20 to 40 years, depending on cedar shake maintenance and environmental factors. Their natural durability makes them a popular choice for roofing, but regular upkeep is key to maximizing their lifespan. You’ll want to inspect for damage, clean them periodically, and guarantee proper ventilation. By doing this, you can enjoy the beauty and longevity of your cedar shakes while maintaining your home’s unique character.
Do Cedar Shakes Require Sealing After Cleaning?
Yes, cedar shakes do require sealing after cleaning. This protects the wood from moisture and UV damage, extending its lifespan. You’ve got several sealing options, including oils and water-based sealers, each offering unique benefits. For best results, wait until the shakes are completely dry before applying the sealant. Regular maintenance tips, like cleaning and inspecting your shakes annually, will keep them looking great and performing well for years to come.
Are There Any Eco-Friendly Cleaning Options Available?
Yes, there are eco-friendly cleaning options available for cedar shakes. You can create natural cleaning solutions using homemade cleaners like a mixture of vinegar and water or baking soda and water. These ingredients effectively lift dirt without harming the environment. Just combine equal parts vinegar and water in a spray bottle or make a paste with baking soda and water. Apply, scrub gently, and rinse—your cedar shakes will look great and stay green!


