How to Clean Out Old Gas Tank
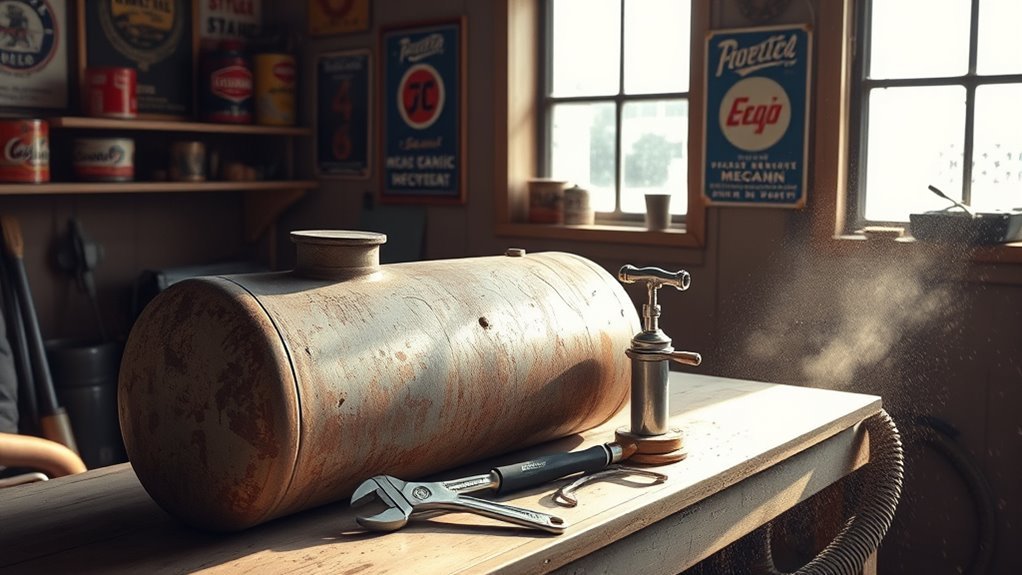
To clean out an old gas tank, gather your tools like wrenches and siphoning equipment. Drain any remaining fuel and inspect the tank for damage. Use a mixture of acetone or a fuel tank cleaner to scrub the interior with a non-abrasive brush. Rinse thoroughly to remove all residues and check for rust or holes. Allow it to dry completely in a ventilated space before reassembly. There are essential tips for maintaining a clean tank over time.
##

If you’re looking to clean out an old gas tank and ensure the process is safe and effective, you’ve come to the right place. This article will guide you through important procedures, from inspecting the tank for leaks and corrosion to arranging for proper gasoline disposal, ensuring you don’t inadvertently harm the environment. You’ll learn about the necessary protective gear to use, such as gloves and goggles, to protect yourself from harmful fumes and residues. By the end of this guide, you will have the knowledge and confidence to tackle your gas tank cleaning project responsibly and safely.
Preparation For Cleaning
Before diving into the cleaning process, you need to gather all necessary tools and materials to guarantee an efficient and safe operation. Start with a thorough tank inspection to identify any damage or rust that may complicate cleaning. Make sure you have safety gear like gloves and goggles to protect yourself from gasoline residue. Clear the area of flammable materials, as gasoline vapors can pose a serious risk. Additionally, have a container ready for the old fuel, as proper disposal is essential. Finally, note any specific requirements for your tank type, as this can vary. By preparing thoroughly, you’ll streamline the cleaning process and enhance safety, making certain you can tackle the task with confidence.
Tools and Chemical Required

To effectively clean an old gas tank, you’ll need a variety of tools and chemicals tailored to the task. Essential removal tools include wrenches, screwdrivers, and siphoning equipment. For cleaning solutions, consider using a mix of acetone or a dedicated fuel tank cleaner to dissolve residues and rust.
Here’s a quick reference table for your convenience:
| Tool/Chemical | Purpose |
|---|---|
| Wrenches | Remove gas tank from vehicle |
| Screwdrivers | Access tank components |
| Siphoning Equipment | Remove old fuel |
| Acetone/Fuel Cleaner | Dissolve residues and rust |
Gathering these materials guarantees you have everything you need for a successful cleaning process.
How to Clean:

Step 1: Gather Necessary Tools and Chemicals
- Collect all the required tools and cleaning agents before starting the cleaning process. This may include:
- Non-abrasive brushes
- Cleaning agents specifically designed for gasoline residue
- A container for draining fuel
- Safety gloves and goggles to protect yourself during the process
Step 2: Drain Remaining Fuel from the Tank
- Carefully drain any remaining fuel from the tank to ensure a safe cleaning environment.
- Use a container that is suitable for holding fuel and make sure to:
- Follow local regulations for fuel disposal.
- Avoid spilling fuel to minimize environmental impact.
Step 3: Prepare Cleaning Mixture
- Create a mixture of cleaning agents that effectively breaks down gasoline residue.
- Follow the instructions on the cleaning agents for proper dilution ratios, ensuring safety and effectiveness.
Step 4: Scrub the Interior Surfaces
- Using a non-abrasive brush, scrub the interior surfaces of the tank.
- Focus on areas that show visible residue buildup or stains:
- Use circular motions to ensure thorough cleaning.
- Be careful not to scratch or damage the tank surfaces.
Step 5: Rinse the Tank Thoroughly
- After scrubbing, rinse the tank thoroughly with clean water to remove all cleaning agents.
- Ensure that all residues are washed away to prevent contamination:
- Pour water into the tank and slosh it around to ensure all surfaces are rinsed.
- Repeat rinsing if necessary until the water runs clear.
Step 6: Inspect for Rust or Damage
- Once rinsed, inspect the tank for any signs of rust or damage as part of your maintenance routine.
- Look for:
- Pitting or flaking of metal surfaces.
- Any holes or weak spots that may need repair.
Step 7: Let the Tank Dry Completely
- Allow the tank to dry completely before reassembling it.
- Position the tank in a well-ventilated area to facilitate drying:
- Ensure no moisture remains, as this can lead to rust and contamination.
Step 8: Regular Maintenance
- Implement a regular maintenance schedule to prevent future buildup of gasoline residue.
- Consider performing this cleaning process:
- At least once a season or as needed based on usage.
- This will help ensure your tank remains in prime condition for use.
Safety Consideration

While cleaning out an old gas tank can be a straightforward process, safety considerations are paramount to protect yourself and the environment. Start by wearing personal protective equipment, including gloves, goggles, and a respirator, to shield yourself from harmful fumes and chemicals. Verify you’re working in a well-ventilated area, away from ignition sources, to minimize fire hazards. Always have a fire extinguisher nearby, just in case. Dispose of any old gas and contaminants responsibly, following local regulations to prevent environmental damage. Remember, the goal is to maintain your freedom to work safely while preventing accidents. By prioritizing these safety measures, you can confidently tackle the task without compromising your health or safety.
Tips to keep clean for long time
After ensuring safety measures are in place, maintaining a clean gas tank over time involves specific practices that prevent sediment buildup and corrosion. Implementing preventive maintenance and conducting regular inspections can enhance the longevity of your tank. Here are key tips to reflect upon:
- Use fuel additives: Incorporate stabilizers to reduce moisture and inhibit rust.
- Keep the tank full: A full tank minimizes air space, reducing condensation and preventing corrosion.
- Inspect fuel lines: Regularly check for leaks or deterioration to avoid contaminants entering the tank.
Frequently Asked Questions
How Often Should I Clean My Gas Tank?
You should clean your gas tank every couple of years, depending on your vehicle’s usage and fuel quality. For instance, if you’ve got an older car that’s been sitting for a while, you might notice sediment buildup affecting performance. Regular gas tank maintenance is essential for maximum fuel system care, preventing issues like clogs and corrosion. Keeping an eye on your fuel helps guarantee you enjoy freedom on the road without unexpected breakdowns.
Can I Use Vinegar for Cleaning the Gas Tank?
Yes, you can use vinegar for cleaning your gas tank. Vinegar’s acetic acid helps dissolve rust and grime, making it an effective cleaning alternative. However, you should dilute it with water to avoid potential damage. After cleaning, thoroughly rinse the tank to remove any residue. While vinegar has benefits, consider other solvents specifically designed for fuel systems for best results. Always prioritize safety and proper disposal when dealing with old fuel and cleaning agents.
What Signs Indicate a Dirty Gas Tank?
When it comes to a dirty gas tank, you’ll notice a few telltale signs. If your engine sputters like a nervous bird or struggles to start, it might be due to dirty fuel. Additionally, if you see tank contaminants—like sediment or discoloration in the fuel—it’s a clear warning. Fuel efficiency may drop, and you might even spot rust in the tank. Don’t ignore these signs; they signal a need for action!
Is It Safe to Clean a Gas Tank Indoors?
No, it’s not safe to clean a gas tank indoors. Gasoline fumes are highly flammable and can lead to dangerous explosions in enclosed spaces. Indoor safety should always be a priority when handling volatile substances like gasoline. It’s best to perform this task outdoors, in a well-ventilated area, away from any potential ignition sources. Make sure you’re wearing proper protective gear to minimize risks associated with handling a gas tank and its residues.
Can I Reuse the Old Gas After Cleaning?
You can reuse old gas after cleaning, but it’s essential to assess its quality first. As the saying goes, “a stitch in time saves nine,” so make sure you’ve thoroughly filtered out impurities. Old gas recycling involves checking for moisture and contaminants. If the fuel passes your quality assessment—smelling and looking acceptable—it might be usable. However, always err on the side of caution; poor-quality fuel can lead to engine issues down the line.


