How to Clear Can-Am Fault Codes
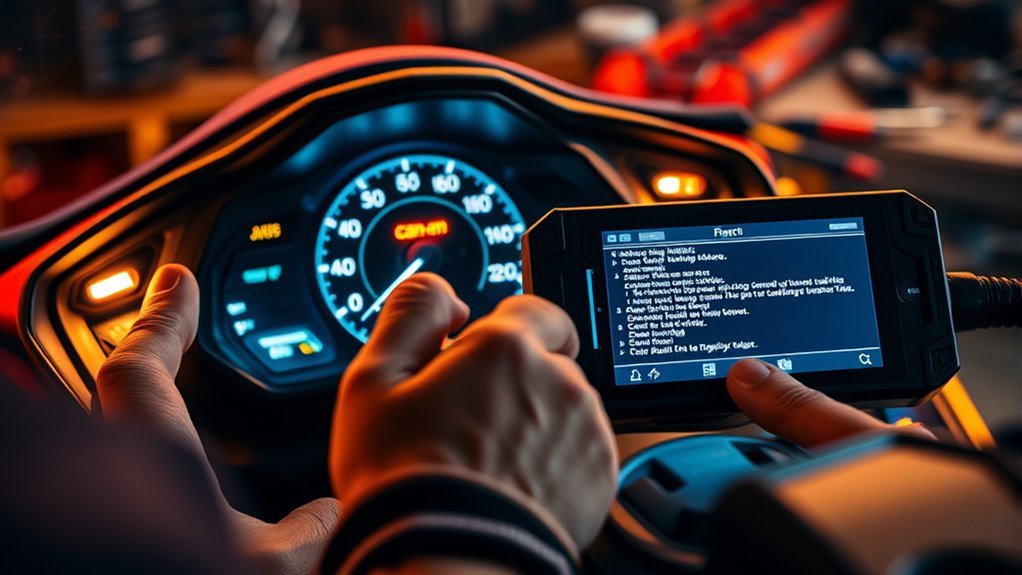
To clear Can-Am fault codes, first gather a diagnostic scanner to read codes. Make certain your vehicle’s parked on a level surface with the ignition off. Disconnect the battery to prevent electrical shocks. Use the scanner to retrieve and clear the fault codes. After clearing, reconnect the battery and start your vehicle to confirm the codes are erased. Regular maintenance and cleaning can prevent future issues, and there’s more essential information to help you keep your vehicle running smoothly.
##
Maintaining your Can-Am vehicle is crucial for ensuring optimal performance and a smooth riding experience. In this article, we will delve into the importance of promptly addressing fault codes, which are vital indicators of potential malfunctions. You’ll learn effective troubleshooting methods, including how to consult the vehicle’s manual and utilize diagnostic tools to accurately read and interpret these codes. By understanding these fault codes and their implications, you can prevent deeper issues, enhance your vehicle’s functionality, and enjoy worry-free rides. Whether you’re a seasoned rider or new to Can-Am vehicles, this guide will equip you with the knowledge you need to keep your vehicle running smoothly.
Preparation For Cleaning
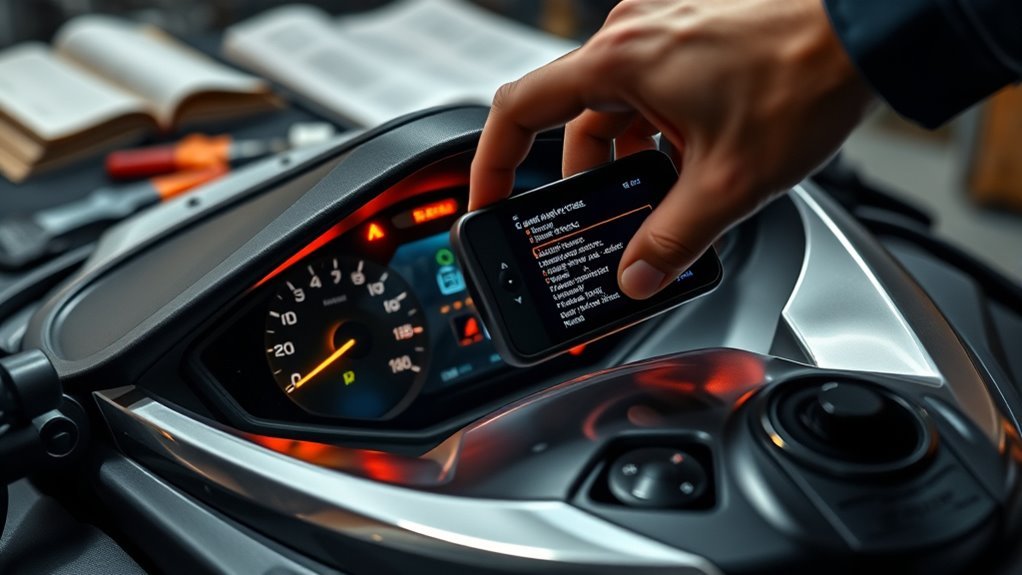
Before diving into the process of clearing fault codes from your Can-Am vehicle, it’s essential to prepare adequately to guarantee an efficient and effective cleaning. Start by making sure your vehicle is parked on a level surface, and the ignition is off. Check your owner’s manual for specific diagnostic procedures related to your model. Familiarize yourself with the fault codes displayed; understanding them will help you address underlying issues rather than just clearing codes. Gather any necessary information on historical fault codes, as this will assist in troubleshooting. Finally, verify you have a clear workspace, free from distractions, so you can focus on the task at hand, assuring a smooth and successful diagnostic experience.
Tools and Chemical Required
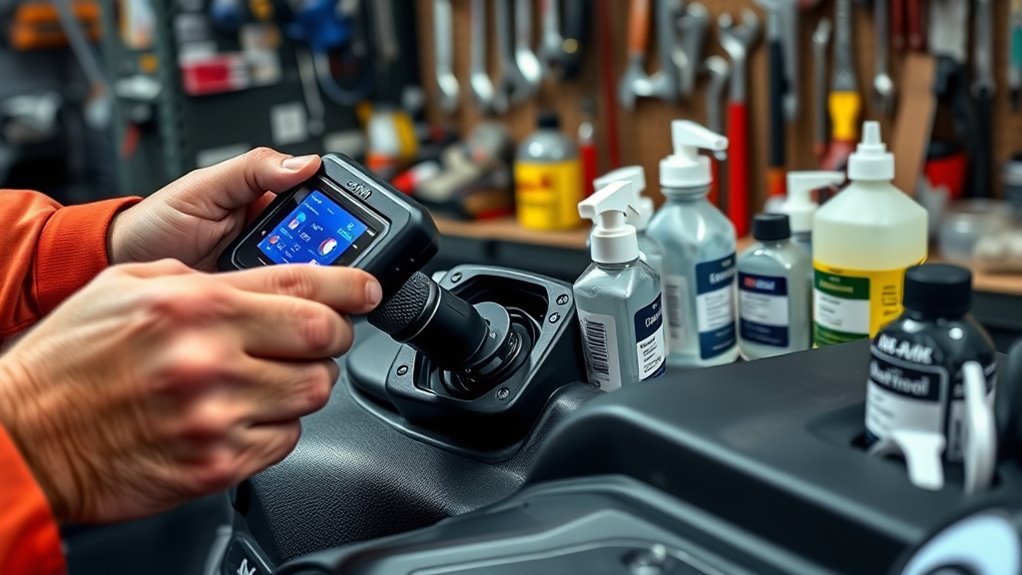
Clearing fault codes from your Can-Am vehicle requires specific tools and chemicals to guarantee a thorough and effective process. To achieve this, you’ll need a reliable diagnostic scanner to read and clear the codes. Additionally, having quality cleaning fluids on hand is essential to maintain the components involved in the process. Here’s a concise overview of what you need:
| Tools/Chemicals | Purpose |
|---|---|
| Diagnostic Scanner | Read and clear fault codes |
| Cleaning Fluids | Clean connectors and sensors |
| Screwdriver Set | Access panels and components |
| Wire Brush | Remove corrosion |
| Safety Gloves | Protect hands during cleaning |
Equipped with these tools and chemicals, you’re ready to tackle fault codes effectively.
How to Clean:

Step 1: Gather Your Tools and Materials
- Required Tools: Ensure you have the following tools ready:
- Screwdriver (if necessary for battery disconnection)
- Soft brush (like a toothbrush)
- Lint-free cloth
- Cleaning Chemicals: Obtain a specialized electronic cleaner that is safe for connectors and terminals.
Step 2: Disconnect the Battery
- Safety First: Before you begin cleaning, disconnect the battery to prevent any electrical hazards while working.
- Locate the Battery: Identify the battery in your vehicle or device.
- Remove the Negative Terminal: Use a screwdriver to loosen the negative terminal clamp and carefully detach it from the battery.
Step 3: Clean the Connectors and Terminals
- Apply Cleaner: Spray the specialized electronic cleaner onto the connectors and terminals associated with your diagnostic tool. Ensure even coverage.
- Follow Instructions: Always adhere to the manufacturer’s instructions regarding the amount of cleaner to use and any recommended waiting times.
Step 4: Scrub the Surfaces
- Use a Soft Brush: Take your soft brush and gently scrub the connectors and terminals to remove any stubborn debris or corrosion.
- Be Gentle: Avoid using excessive force to prevent damaging sensitive components.
Step 5: Wipe Down with a Lint-Free Cloth
- Drying Process: After scrubbing, use a lint-free cloth to wipe down the cleaned areas, ensuring all cleaner residue and debris are removed.
- Inspect the Surfaces: Check for any remaining dirt or corrosion; if necessary, repeat the cleaning process.
Step 6: Reconnect the Battery
- Reconnect the Negative Terminal: Once everything is dry, reattach the negative terminal clamp to the battery and tighten it securely.
- Check Connections: Ensure that all connections are secure and properly fitted.
Step 7: Run the Diagnostic Tool
- Power On: Turn on your vehicle or device to power up the diagnostic system.
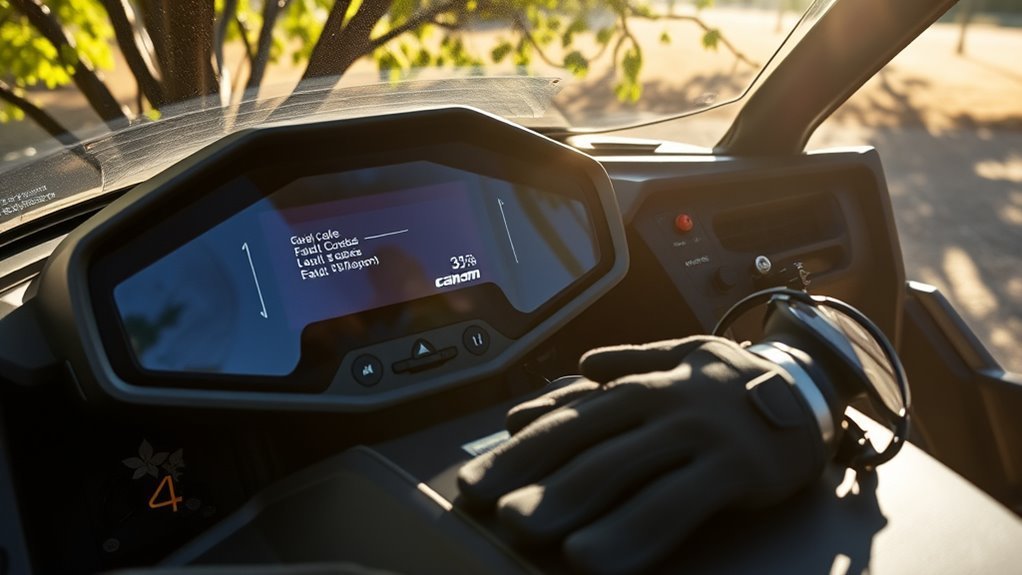
- Test the Tool: Run your diagnostic tool to confirm that the fault code has been successfully cleared.
- Monitor Performance: Keep an eye on the system’s performance to ensure reliability after cleaning.
Step 8: Establish a Regular Cleaning Routine
- Schedule Cleaning: To maintain system integrity and performance, establish a regular cleaning schedule based on usage and environmental conditions.
- Document Maintenance: Keep a log of cleaning activities and any issues encountered for future reference.
Safety Consideration
When working on clearing fault codes in your Can-Am vehicle, it is crucial to prioritize safety to prevent potential accidents or damage. Start by ensuring your vehicle is in a stable position, ideally on level ground, to avoid any movement while you work. Always disconnect the battery before accessing electronic components to eliminate shock risks. Wear safety goggles and gloves to protect yourself from debris and sharp edges. Familiarize yourself with the specific fault code you’re addressing, as this knowledge can guide your actions and mitigate hazards. Additionally, have a fire extinguisher nearby, especially when working with electrical systems. By following these safety precautions, you can confidently address fault codes while minimizing risks, ensuring both your safety and your vehicle’s integrity.
Tips to keep clean for long time
To maintain your Can-Am’s cleanliness over time, regularly washing and inspecting the vehicle is crucial, as dirt and debris can accumulate, leading to potential issues. Implementing best practices for regular maintenance will guarantee peak performance and longevity. Start by rinsing off mud and grime after each ride, paying special attention to the undercarriage and hard-to-reach areas. A gentle soap solution can help remove stubborn stains without damaging surfaces. Inspect seals and components for wear or damage; clean them promptly to prevent corrosion. Additionally, applying a protective wax can shield the paint and plastics from UV damage. Finally, storing your Can-Am in a sheltered area will further protect it from environmental elements, maintaining its pristine condition for years to come. Using microfiber cloths for wiping down surfaces helps prevent scratching and effectively traps dirt and debris during cleaning.
Frequently Asked Questions
What Are Common Fault Codes for Can-Am Vehicles?
Common error codes for Can-Am vehicles include P0122 (throttle position sensor), P0135 (oxygen sensor), and P0571 (cruise control switch). When you encounter these, it’s essential to engage in diagnostic troubleshooting. Understanding these codes helps you pinpoint issues efficiently, ensuring your ride remains smooth and reliable. By addressing these common problems, you can maintain your vehicle’s performance and enjoy the freedom of the open road without unnecessary interruptions.
How Often Should I Check for Fault Codes?
You should check for fault codes regularly, preferably aligning it with your maintenance schedule. This fault code frequency guarantees that any potential issues are identified early, helping you maintain peak performance and safety. If you frequently use your Can-Am for off-roading or demanding conditions, consider checking more often. Staying proactive not only enhances your vehicle’s longevity but also gives you the freedom to enjoy your rides without unexpected interruptions.
Can I Clear Fault Codes Without a Diagnostic Tool?
Yes, you can clear fault codes without a diagnostic tool by performing a manual reset. To do this, turn off the ignition, then disconnect the battery for about 10 minutes. Reconnect it and start your vehicle. This can often reset the system. However, it’s essential to combine this with effective troubleshooting techniques to guarantee underlying issues are addressed. Ignoring faults can lead to bigger problems down the line, so stay vigilant.
Will Clearing Fault Codes Reset My Vehicle’s Settings?
Yes, clearing fault codes can reset your vehicle’s settings. This action may temporarily improve vehicle performance, but it’s vital to understand the fault code implications. If the underlying issue isn’t resolved, the codes will likely return, possibly affecting performance again. You’ll want to verify any adjustments made are for genuine issues rather than just clearing codes for a quick fix. Addressing the root cause is important for maintaining peak vehicle function and freedom on the road.
What Should I Do if Fault Codes Return?
If fault codes return, you should start by revisiting your troubleshooting techniques. Check for any loose connections, damaged wires, or signs of corrosion that might be causing the issue. Implement regular maintenance tips, like ensuring your vehicle’s fluids are at proper levels and replacing any worn components. If problems persist, consult a professional or refer to your owner’s manual for specific guidance, ensuring your Can-Am remains reliable and ready for adventure.


