How Much Clear Coat to Paint a Car
When painting your car, you’ll typically need about 1-2 quarts of clear coat for a standard-sized vehicle. It’s essential to apply multiple light coats, allowing proper drying time between each layer for a durable finish. Make sure you use a high-quality spray gun for even application. Don’t forget to prepare the surface meticulously before applying. For more insights on the process and ideal results, there’s plenty more to reflect on that can enhance your approach.
##
If you’re looking to give your car a stunning finish with the right amount of clear coat, you’ve come to the right place. In this article, we’ll guide you through the essential steps to determine how much clear coat you need based on your vehicle’s surface area. You’ll learn the importance of applying multiple thin coats for the best results, how to achieve the right thickness for each layer, and the optimal drying times to ensure a flawless application. With our expert tips on using a spray gun effectively, you’ll be well on your way to achieving that desired smooth and glossy finish that not only enhances your car’s appearance but also provides lasting protection.
Preparation For Cleaning
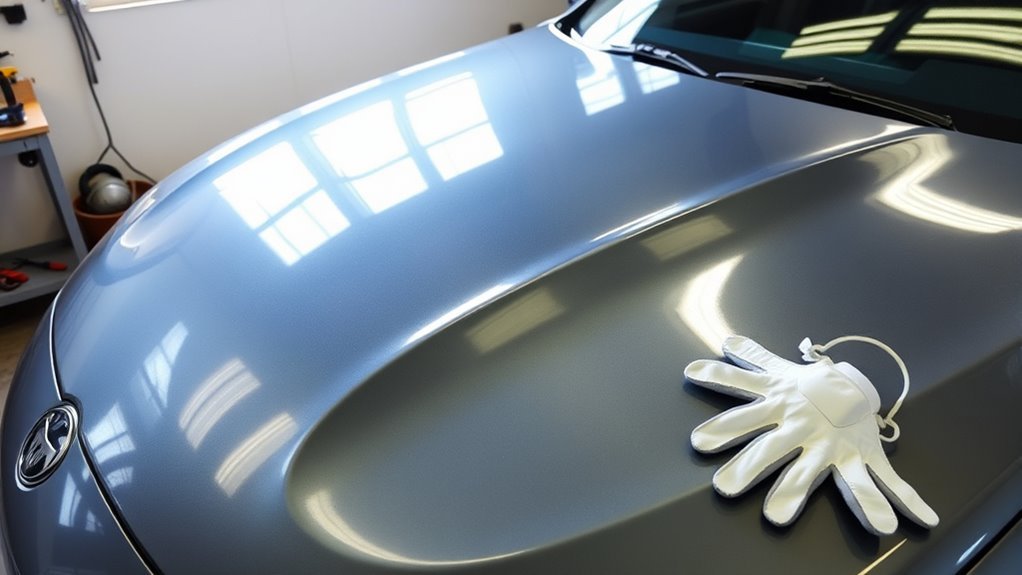
Before diving into the actual cleaning process, it’s vital to gather the right tools and materials to guarantee a smooth preparation phase. Proper surface preparation is significant for effective cleaning techniques that confirm your car’s finish is pristine.
Gather the right tools and materials to ensure effective cleaning and a pristine car finish. Proper preparation is key.
Here are the key items you’ll need:
- Microfiber cloths: They’re gentle on surfaces and prevent scratches.
- Automotive soap: Choose a pH-balanced formula to avoid damaging your paint.
- Buckets: Use two—one for washing and one for rinsing—to minimize contamination.
- Detailing brushes: These help reach tight spaces and remove dirt effectively.
With these essentials in hand, you’ll be well-equipped to start the cleaning process and achieve the best results for your car’s clear coat application. Setting a preparation timer can help keep your cleaning session efficient and focused.
Tools and Chemical Required
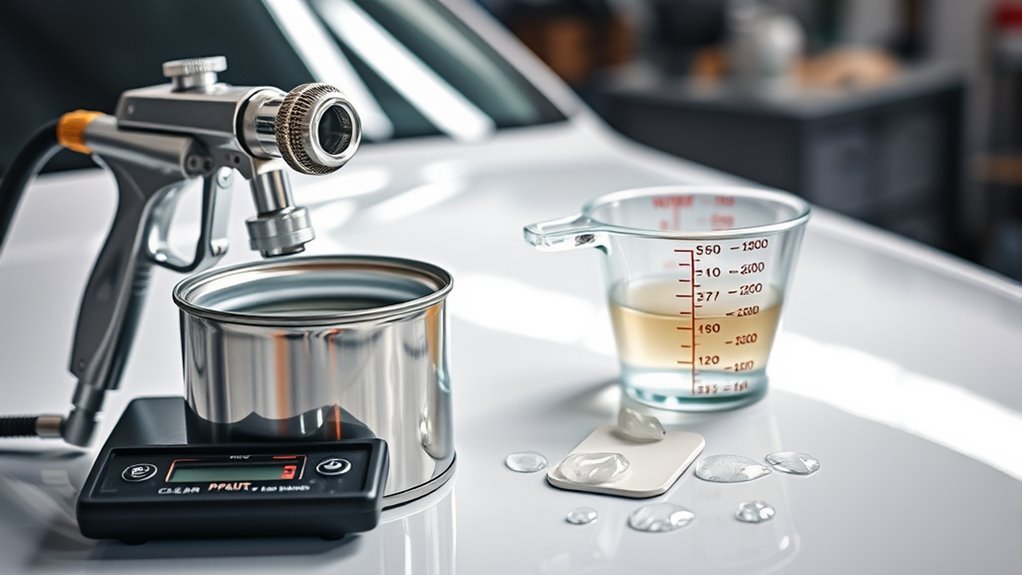
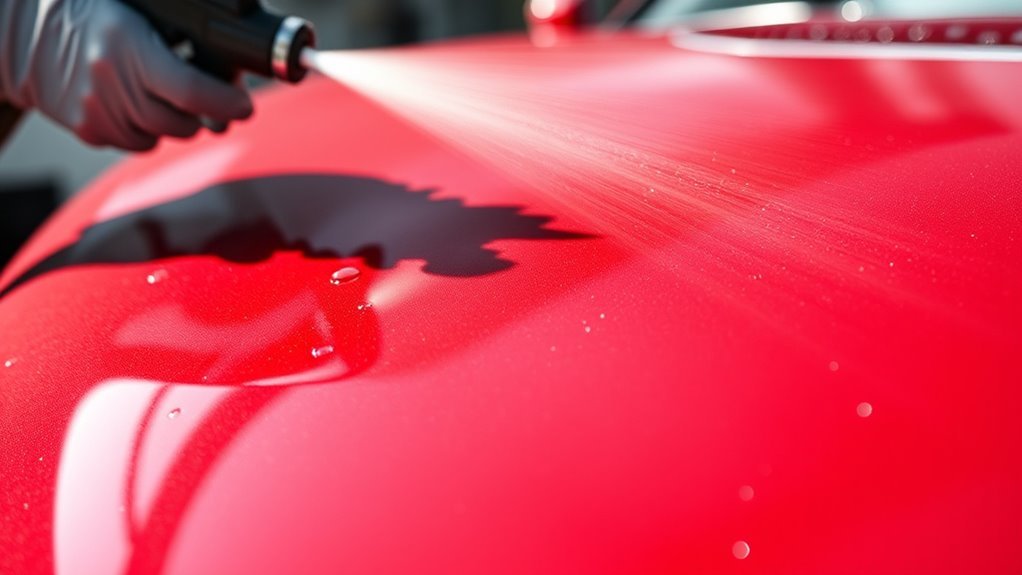
While preparing to apply clear coat on your car, having the right tools and chemicals at your disposal is vital for achieving a flawless finish. You’ll need a high-quality spray gun to guarantee an even application. Additionally, having the correct type of clear coat is important; choose one that suits your specific vehicle needs. Below is a table outlining the necessary tools and chemicals:
| Tools/Chemicals | Purpose |
|---|---|
| Spray Gun | For applying clear coat |
| Clear Coat | Provides protective layer |
| Paint Thinner | Cleans and thins the coat |
| Respirator Mask | Protects from fumes |
| Sandpaper | Prepares surfaces |
With these tools, you’ll be ready to achieve that stunning, professional-grade finish you desire.
How to Clean:
Step 1: Wash
- Begin by selecting a pH-balanced car shampoo specifically designed for automotive surfaces. Avoid using household cleaning products, as they can harm the paint.
- Fill a bucket with water and add the recommended amount of shampoo to create a soapy mixture.
- Using a soft sponge or wash mitt, start washing the vehicle from the top down, ensuring you clean all areas, including the roof, hood, doors, and lower panels.
- Rinse the sponge frequently in a separate bucket of clean water to avoid scratching the surface with dirt particles.
- Once you’ve washed the entire vehicle, thoroughly rinse it with clean water to remove all soap residues.
Step 2: Clay Bar
- Purchase a quality clay bar kit, which typically includes a lubricant spray.
- Divide the clay bar into smaller sections for easier handling.
- Spray the lubricant generously on a small section of the vehicle’s surface.
- Gently glide the clay bar over the lubricated area in a back-and-forth motion. You should feel it glide smoothly once the contaminants are removed.
- Wipe off any residue with a clean microfiber towel and repeat this process over the entire vehicle until all surfaces have been treated.
Step 3: Degrease
- Identify areas that may have oil, wax, or other residues, such as the engine bay, wheel wells, and door jambs.
- Select a suitable degreaser; make sure it is safe for automotive finishes.
- Apply the degreaser directly to the affected areas, allowing it to sit for a few minutes to break down the grime.
- Use a soft brush or cloth to agitate the degreaser on the surface, ensuring you reach any hidden spots.
- Rinse the area thoroughly with clean water to remove all degreaser residues.
Step 4: Rinse and Dry
- After cleaning and degreasing, perform a final rinse of the entire vehicle with clean water. This step will help remove any remaining soap, clay residue, or degreaser.
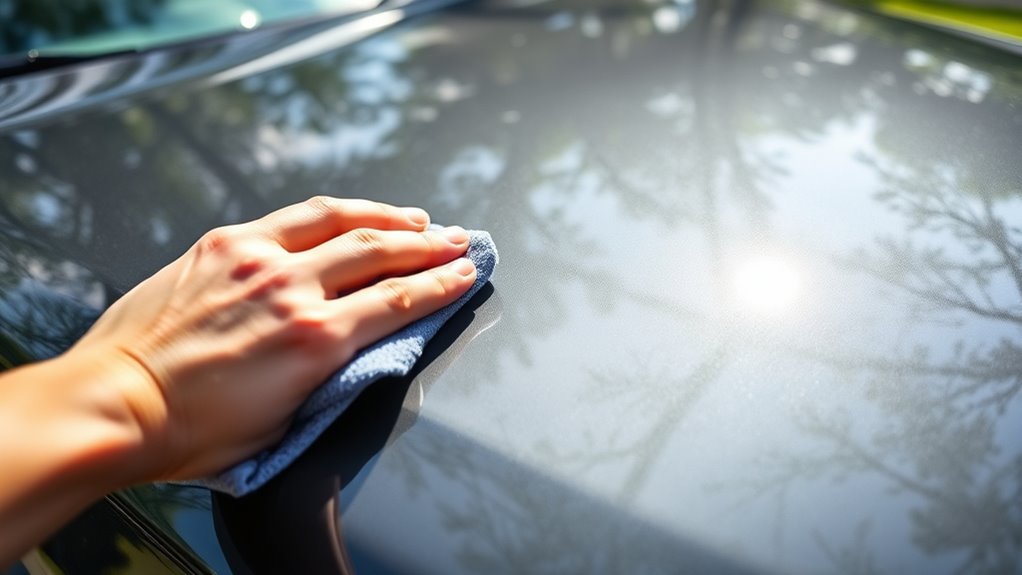
- Use a high-quality microfiber towel to dry the vehicle, starting from the top and working your way down. This prevents water spots from forming on the surface.
- If preferred, you can also use a car drying aid to enhance shine and provide added protection while drying.
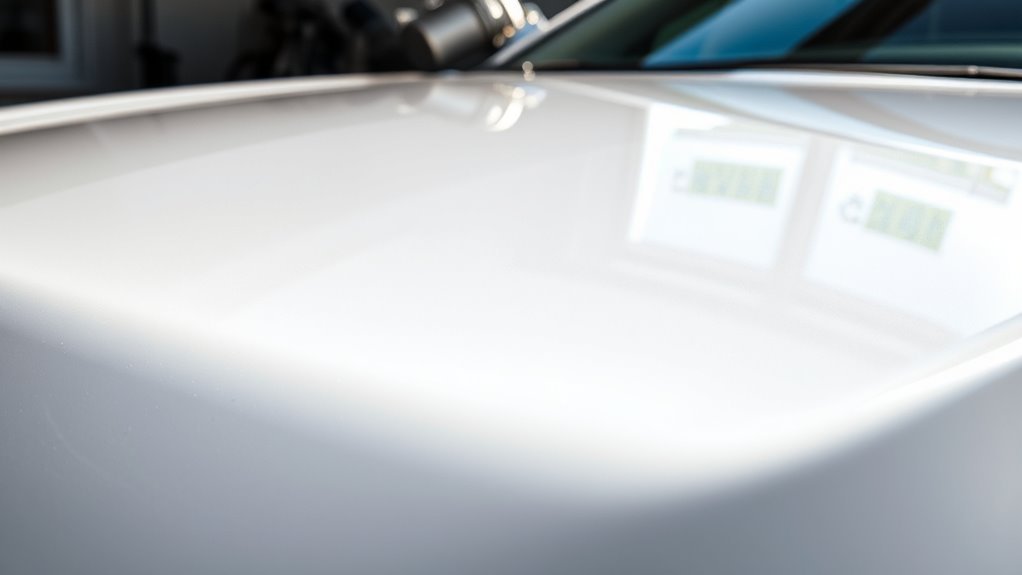
- Ensure the vehicle is completely dry before proceeding to apply any clear coat or protective products.
- Additionally, maintaining hydrophobic coatings on surfaces like mirrors can help reduce water buildup and keep your vehicle cleaner for longer.
Safety Consideration
After guaranteeing the vehicle is clean and dry, it’s important to contemplate safety precautions before applying clear coat. Start by wearing appropriate protective gear, including gloves, goggles, and a respirator to shield yourself from harmful fumes and chemicals. These materials help minimize exposure to isocyanates found in many clear coats, which can be hazardous.
Additionally, guarantee proper ventilation safety in your workspace. Working in a well-ventilated area or using exhaust fans can help disperse toxic vapors and provide fresh air circulation. If you’re in a confined space, consider using a fume extraction system. Taking these safety measures seriously not only protects your health but also enhances your overall painting experience, allowing you to focus on achieving that flawless finish.
Tips to keep clean for long time
Keeping your car’s clear coat clean and intact for an extended period requires consistent maintenance and attention to detail. To preserve that glossy finish and protect against environmental damage, follow these tips:
- Regular Washing: Use a pH-balanced car soap to remove dirt and contaminants without harming the clear coat.
- Waxing Techniques: Employ high-quality wax every 3-6 months to enhance shine and protect against UV rays.
- Protective Coatings: Consider ceramic coatings for long-lasting protection; they form a hard shield against scratches and chemicals.
- Avoid Abrasives: Use soft microfiber cloths and gentle tools to prevent scratches during cleaning.
- Selecting the appropriate cleaning tools is essential, as using abrasive scrubbers can damage delicate surfaces like your car’s clear coat.
Frequently Asked Questions
How Many Coats of Clear Coat Should I Apply?
You should apply at least two to three coats of clear coat for ideal protection and shine. For instance, a car enthusiast like you might choose a high-gloss polyurethane clear coat, using a spray gun for an even finish. Application techniques matter; make certain each layer’s dry before adding the next. This way, you’ll achieve a durable, flawless finish that enhances your car’s appearance while allowing for that freedom of expression you crave.
What Is the Ideal Drying Time Between Coats?
The ideal drying time between coats is typically 30 minutes to an hour, but it can vary based on environmental factors and drying conditions. If it’s humid or cold, you might need to wait longer for the clear coat to set properly. Always guarantee adequate airflow to speed up the process, but don’t rush it. Allowing sufficient time helps avoid issues like wrinkling or improper adhesion, giving you the freedom to achieve a flawless finish.
Can I Use a Different Brand of Clear Coat?
Yes, you can use a different brand of clear coat, but brand compatibility is essential. Make sure that the clear coat types you choose are chemically compatible to avoid issues like poor adhesion or finish defects. Always check the product specifications for compatibility with your base coat. Mixing brands can sometimes work well, but it’s safer to stick with the same manufacturer to guarantee the best results and maintain the integrity of your paint job.
How Do I Know if I Need More Clear Coat?
You’ll know you need more clear coat when the thickness feels inadequate or the gloss appears dull. A proper clear coat thickness typically ranges from 2 to 4 mils. If you notice unevenness or a lack of shine, it’s a sign to apply another coat. Always make sure you’ve allowed sufficient curing time between layers to achieve that desirable, high-gloss finish, giving your car the protection and aesthetic it deserves.
What Are the Signs of a Bad Clear Coat Application?
You’ll notice signs of a bad clear coat application if you see clear coat peeling or clear coat bubbles. Peeling often indicates improper adhesion, while bubbles can result from trapped air or moisture during application. Both issues compromise the finish’s integrity, leading to further deterioration. If you spot these defects, it’s essential to assess the underlying surface and consider reapplication to achieve a smooth, durable finish that enhances your vehicle’s appearance.


