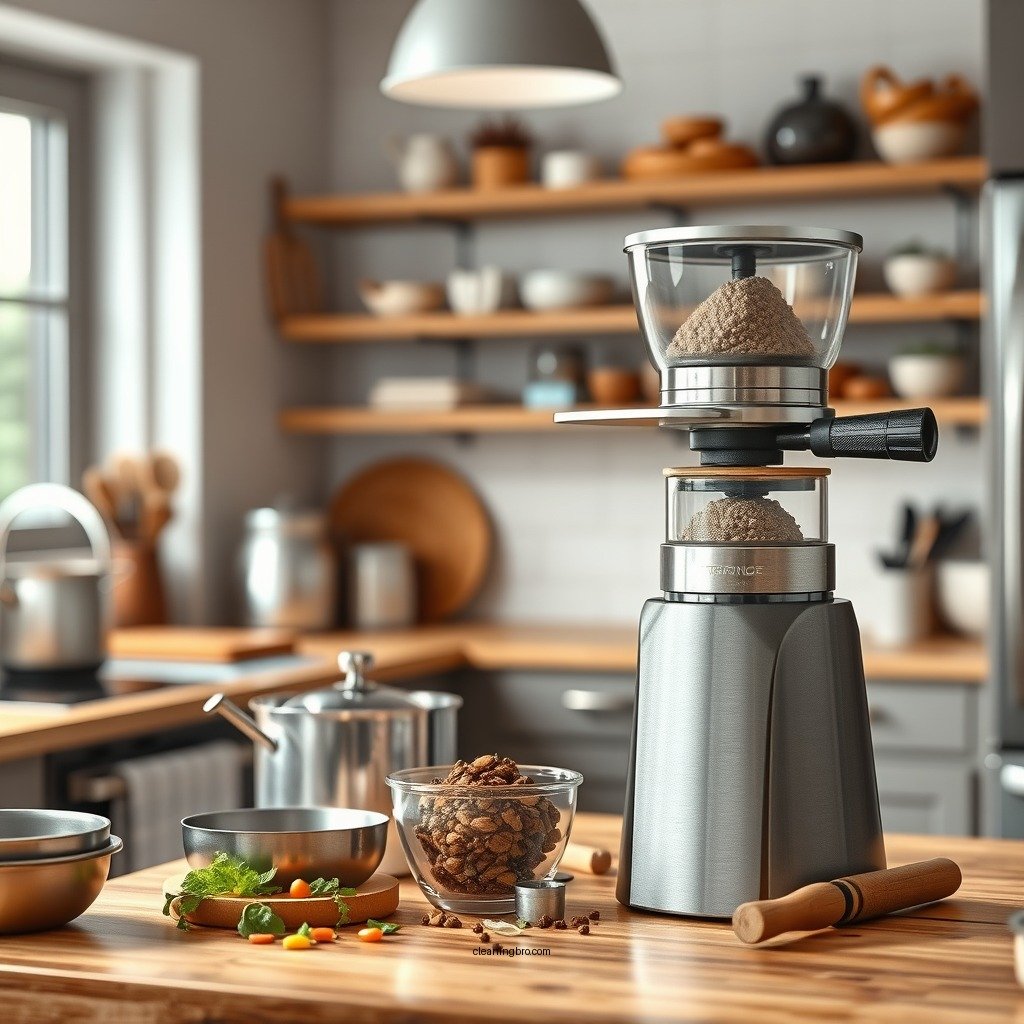
How to Clean a Pot Grinder Effectively
Cleaning a pot grinder is straightforward and essential for maintaining its efficiency and longevity. A clean grinder ensures that your herbs are ground evenly, which enhances flavor and potency in your final product. By following a systematic approach and using a few basic supplies, you can effectively remove residue and buildup. In this article, you’ll learn the best methods to achieve a clean grinder, ensuring optimal performance with each use.
Gather Your Supplies

Before you begin the cleaning process, it’s important to gather the necessary supplies. A well-equipped cleaning station will make the task easier and more efficient. Here’s what you need:
– Isopropyl Alcohol (at least 70%): This is essential for dissolving sticky residues and sanitizing the surfaces of your grinder.
– Soft Brush or Toothbrush: A soft-bristled brush is ideal for reaching into the crevices of your grinder without scratching the surfaces.
– Paper Towels or a Microfiber Cloth: These are necessary for drying the components and keeping your workspace clean.
Having these items ready will streamline the cleaning process and help you achieve the best results.
Disassemble the Grinder


The first step in cleaning your pot grinder is to disassemble it carefully. Most grinders consist of multiple parts, including the lid, grinding chamber, and collection chamber. Here’s how to do it:
– Carefully Take Apart All Components: Open the grinder and remove each part, being cautious not to damage any of the threading or mechanisms.
– Keep Track of All Pieces: Place the components in an organized manner, perhaps on a clean surface or tray, to ensure easy reassembly later. Familiarize yourself with how the grinder fits together, as this will save time when you are putting it back together.
Disassembling the grinder properly is crucial, as it allows you to clean every part thoroughly.
Remove Residue and Debris

After disassembling your grinder, it’s time to remove any leftover material:
– Use a Soft Brush: Begin by using a soft brush to sweep out any leftover herbs or debris from the grinding chamber. This step is essential to prevent any old material from mixing with fresh herbs, which can affect flavor and potency.
– For Sticky Areas: If you encounter sticky or stubborn residue, soak the brush in isopropyl alcohol. This will help dissolve the buildup, making it much easier to clean. Gently scrub these areas until all residue is removed.
This step ensures that your grinder is free from debris that could affect its performance.
Soak the Components
Once you have removed the majority of the residue, soaking the components can help loosen any remaining buildup:
– Place the Grinder Parts in a Bowl with Isopropyl Alcohol: Submerge the disassembled parts in a bowl filled with isopropyl alcohol. Let them soak for about 30 minutes. This soaking process helps to dissolve any sticky residue and sanitize the surfaces.
– Use a Toothbrush for Detailed Cleaning: After soaking, use the soft brush or toothbrush to scrub any remaining residue. Pay special attention to the teeth of the grinder and any grooves, as these areas often hold onto material.
Soaking is a crucial step that enhances the effectiveness of the cleaning process.
Rinse and Dry
After soaking and scrubbing the components, it’s time to rinse and dry them:
– Rinse Each Part Under Warm Water: Carefully rinse each component under warm water to remove all traces of isopropyl alcohol and any remaining residue. Ensure that no alcohol remains, as it can alter the taste of your herbs.
– Dry Thoroughly: Use paper towels or a microfiber cloth to dry each part thoroughly. It’s important to ensure that no moisture is left, as this can lead to mold and mildew formation.
Drying is a critical step that helps maintain the integrity of your grinder.
Reassemble the Grinder
After everything is clean and dry, you can reassemble your grinder:
– Carefully Put All Pieces Back Together: Start reassembling your grinder, ensuring each part fits snugly and securely.
– Test the Grinder: After reassembly, test the grinder with a small amount of material to ensure it functions properly. This will confirm that all components are correctly aligned and that the grinder is working efficiently.
Testing is essential to ensure that your cleaning efforts have been successful.
Maintain Your Grinder
To keep your grinder in optimal condition, regular maintenance is key:
– Regular Cleaning: Clean your grinder every few weeks to prevent heavy buildup. This will make future cleaning sessions easier and maintain the efficiency of the grinder.
– Consider Using a Specialized Cleaning Solution: For added effectiveness, consider using a cleaning solution specifically designed for grinders. These solutions can break down resin and other residues more effectively than isopropyl alcohol alone.
Regular maintenance not only prolongs the life of your grinder but also enhances your overall experience.
Top 7 Pot Grinder Brands of 2024
| # | Brand | Material | Price Range | Customer Rating |
|---|---|---|---|---|
| 1 | Santa Cruz Shredder | Aluminum | $60 – $85 | ★★★★★ |
| 2 | Space Case | Aluminum | $50 – $75 | ★★★★☆ |
| 3 | SharpStone | Aluminum | $40 – $60 | ★★★★☆ |
| 4 | Herb Ripper | Stainless Steel | $70 – $100 | ★★★★★ |
| 5 | King Palm | Plastic | $10 – $15 | ★★★☆☆ |
| 6 | Zam Grinders | Plastic | $15 – $25 | ★★★★☆ |
| 7 | GR8TR | Aluminum | $50 – $70 | ★★★★★ |
Manual vs Electric vs Multi-Chamber Grinders
| Feature | ⭐ Manual Grinder | Electric Grinder | Multi-Chamber Grinder |
|---|---|---|---|
| Price | $15 – $60 | $50 – $200 | $20 – $80 |
| Ease of Use | Manual | Very Easy | Moderate |
| Grind Consistency | ✅ Good | ✅ Excellent | ✅ Very Good |
| Portability | ✅ Very Portable | ❌ Not Portable | ✅ Portable |
| Durability | High | Varies | High |
| Cleaning Difficulty | Moderate | Easy | Moderate |
| Noise Level | Quiet | Loud | Quiet |
| Versatility | Limited | Versatile | Moderate |
| Grind Size Options | Limited | Adjustable | Multi-size |
| 🏆 Best For | Budget-conscious users | Convenience seekers | Multi-taskers |
Keeping your pot grinder clean is crucial for its performance and durability. By following these simple steps, you’ll ensure that every grind is smooth and efficient. Regular maintenance and cleaning will not only enhance your grinding experience but will also prolong the life of your grinder. Start cleaning your grinder today, and enjoy a fresher experience with each use!
Frequently Asked Questions
How do I clean a pot grinder effectively?
To clean a pot grinder effectively, start by disassembling it into its individual parts. Use a small brush or an old toothbrush to remove any residue from the teeth and crevices. For a deeper clean, soak the parts in isopropyl alcohol for about 30 minutes, then rinse thoroughly with warm water and let them air dry completely before reassembling.
What is the best way to remove sticky residue from a pot grinder?
The best way to remove sticky residue from a pot grinder is to use a combination of isopropyl alcohol and a soft brush. Apply the alcohol to the sticky areas, allowing it to break down the residue, and then gently scrub with the brush. For stubborn spots, you may need to repeat this process or use a small amount of baking soda as a mild abrasive.
Why is it important to regularly clean my pot grinder?
Regularly cleaning your pot grinder is important to maintain its efficiency and ensure a smooth grinding experience. Residue buildup can affect the grinder’s performance, lead to contamination of your herbs, and even cause the grinder to become stuck or difficult to use. Cleaning also helps prolong the life of your grinder, keeping it in optimal condition.
Which tools are best for cleaning a pot grinder?
The best tools for cleaning a pot grinder include a small brush or toothbrush, isopropyl alcohol, and a toothpick or pin for removing stubborn debris. Additionally, a microfiber cloth can be useful for wiping down surfaces, while a small bowl can help contain any parts or cleaning solutions during the process.
What should I avoid when cleaning my pot grinder?
When cleaning your pot grinder, avoid using excessive water or soaking the grinder for long periods, as this can damage the metal and any electronic components. Additionally, steer clear of abrasive cleaners or harsh chemicals that could scratch or degrade the surface. Always ensure your grinder is completely dry before reassembling to prevent rust or corrosion.
References
- https://en.wikipedia.org/wiki/Grinder_(appliance
https://en.wikipedia.org/wiki/Grinder_(appliance - https://www.sciencedirect.com/topics/agricultural-and-biological-sciences/grinder
https://www.sciencedirect.com/topics/agricultural-and-biological-sciences/grinder - https://www.britannica.com/technology/grinder
https://www.britannica.com/technology/grinder - https://www.nature.com/articles/s41598-019-48899-9
https://www.nature.com/articles/s41598-019-48899-9 - https://pubmed.ncbi.nlm.nih.gov/30081704/
https://pubmed.ncbi.nlm.nih.gov/30081704/ - https://www.ncbi.nlm.nih.gov/pmc/articles/PMC7071177/
https://www.ncbi.nlm.nih.gov/pmc/articles/PMC7071177/ - https://www.cdc.gov/niosh/topics/safety.html
https://www.cdc.gov/niosh/topics/safety.html - Google Scholar Google Scholar
https://scholar.google.com/scholar?q=pot+grinder+cleaning - Google Scholar Google Scholar
https://scholar.google.com/scholar?q=cleaning+grinders - Google Scholar Google Scholar
https://scholar.google.com/scholar?q=how+to+clean+herb+grinders