Cleaning Techniques for Keyboard Owners
To keep your keyboard clean, start with soft brushes, microfiber cloths, and disinfecting wipes. Daily, shake out debris or use compressed air, and gently wipe surfaces to prevent grime buildup. For deeper dirt, carefully remove keycaps and clean with isopropyl alcohol or try ultrasonic cleaning if you have mechanical keys. Avoid harsh chemicals, and prevent mess with regular dusting and no eating nearby. If you want tips tailored to your keyboard type and lasting cleanliness, there’s more helpful advice ahead.
Gathering the Right Cleaning Supplies
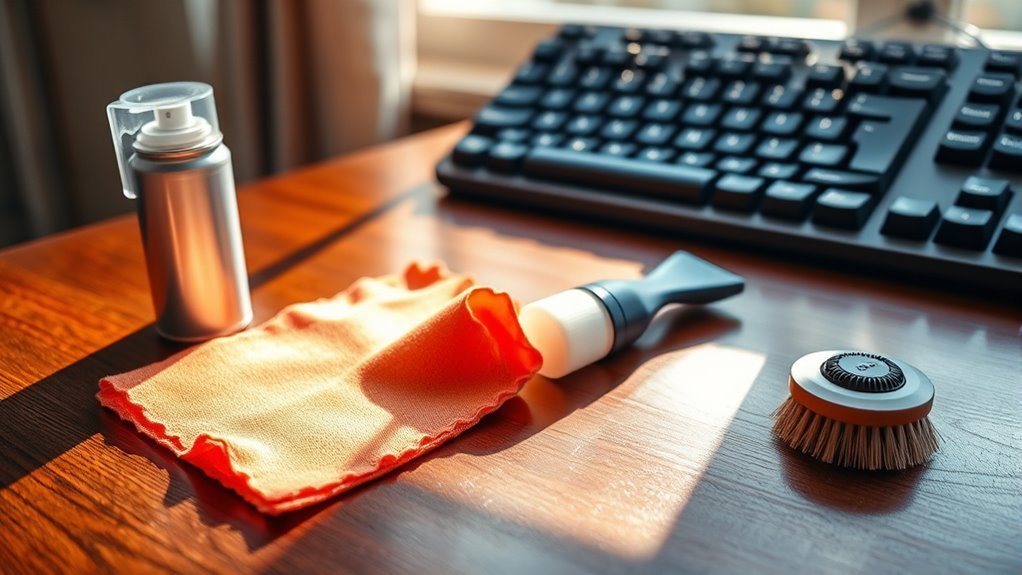
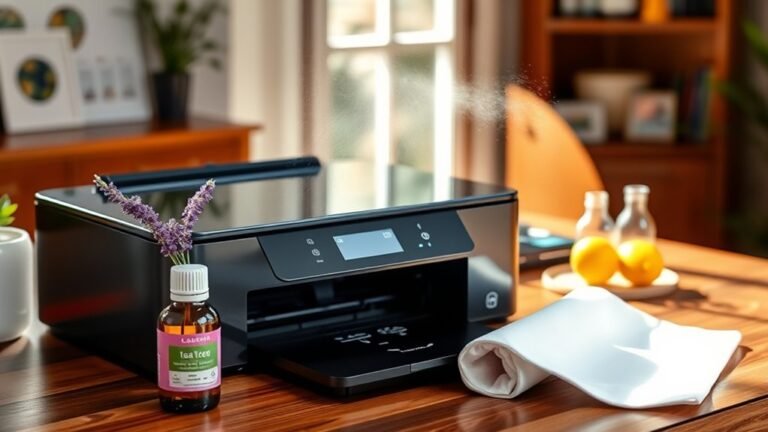
Before you begin cleaning your keyboard, make sure you’ve gathered the essential supplies. Having the right cleaning tools on hand means you’re free to tackle grime efficiently without interruptions. Start with a set of soft brushes or compressed air to reach between keys, and microfiber cloths to gently wipe surfaces. Disinfecting wipes are vital—they kill germs without damaging your keyboard’s finish. Avoid harsh chemicals that restrict your options or harm materials. By preparing these items ahead of time, you empower yourself to maintain a clean, healthy workspace on your own terms. Remember, the freedom to clean well depends on the quality of your tools, so choose wisely and keep everything within reach before you plunge in.
Basic Daily Keyboard Maintenance
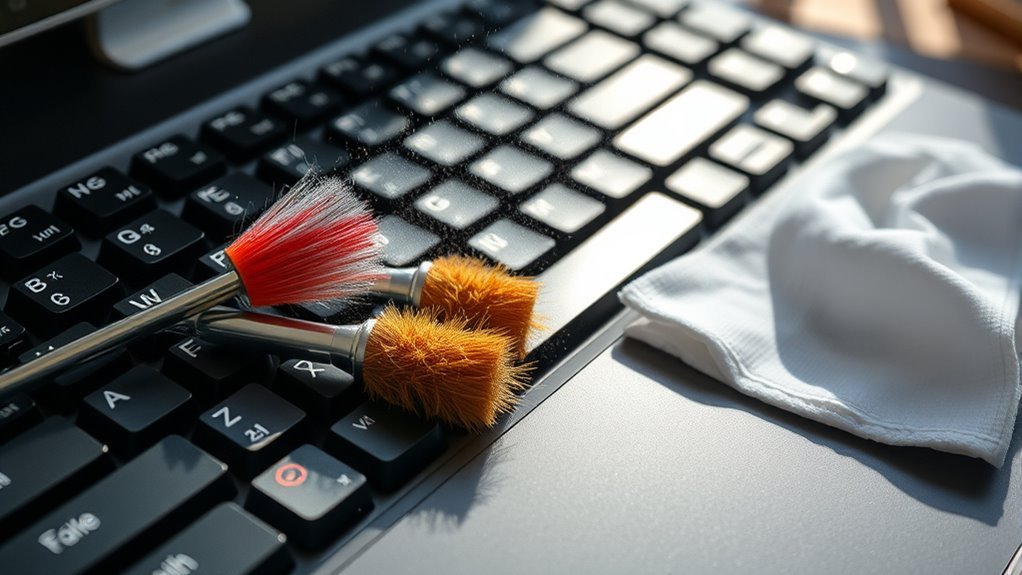
Once you’ve gathered your cleaning supplies, keeping your keyboard clean on a daily basis becomes much easier. To prevent dust accumulation, start by gently shaking your keyboard upside down or using compressed air to dislodge loose particles. Avoid frequent keycap removal daily, as it’s better saved for deeper cleaning sessions. Instead, use a soft brush or microfiber cloth to wipe the surface and between keys, maintaining freedom from grime without hassle. Regularly wiping your keyboard prevents buildup that can affect performance and keeps your workspace feeling fresh. By integrating these simple steps into your routine, you maintain a clean keyboard effortlessly, letting you focus on what matters without being weighed down by dirt or distractions. Freedom starts with a clean, efficient workspace.
Deep Cleaning Methods for Stubborn Dirt

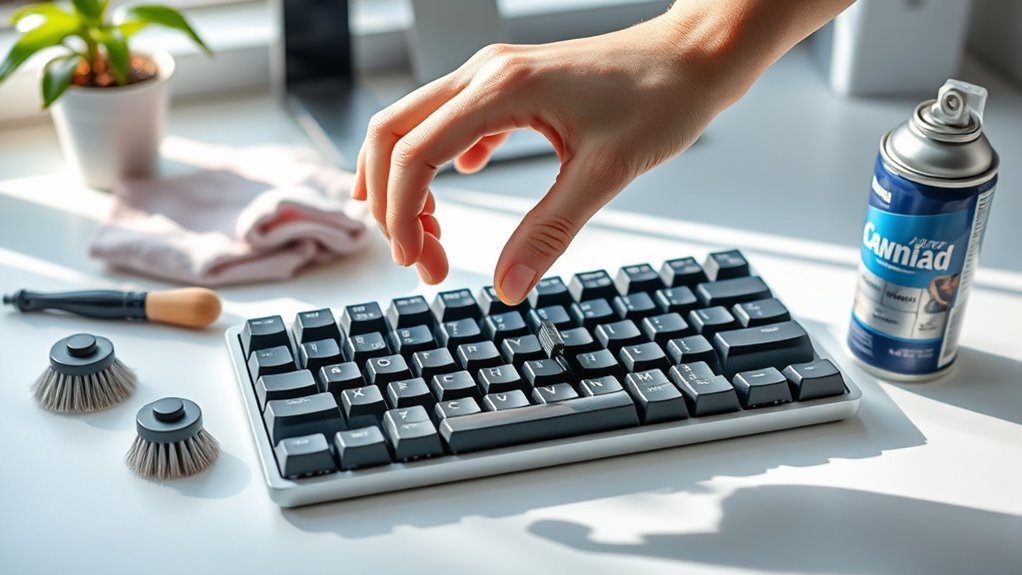
Although daily maintenance keeps your keyboard tidy, stubborn dirt and grime can still build up over time. To regain control, consider deep cleaning methods that free your keyboard from embedded debris. Start by carefully removing keycaps to expose the hard-to-reach areas. Using isopropyl alcohol on a lint-free cloth or cotton swab, gently clean the surfaces, dissolving oils and grime without harming electronics. For a more thorough cleanse, ultrasonic cleaning is a powerful option—this method uses high-frequency sound waves in a liquid bath to dislodge dirt even from tiny crevices. Just verify you detach all electronic components before using ultrasonic cleaning to avoid damage. Embracing these deep cleaning techniques lets you reclaim your keyboard’s cleanliness and enjoy the freedom of a fresh, responsive typing experience.
Cleaning Mechanical vs. Membrane Keyboards
Two main types of keyboards—mechanical and membrane—require different cleaning approaches due to their distinct designs. Mechanical keyboards offer mechanical advantages like easy keycap removal, making thorough cleaning simpler. Membrane keyboards, however, pose membrane disadvantages such as sealed layers that trap dirt, complicating deep cleaning.
| Aspect | Mechanical Keyboards |
|---|---|
| Cleaning Ease | Keycaps removable for deep clean |
| Durability | High due to robust switches |
| Common Issues | Dust under keys |
| Cleaning Method | Use compressed air & gentle wipes |
| Aspect | Membrane Keyboards |
| Cleaning Ease | Difficult, sealed design |
| Durability | Lower, sensitive to moisture |
| Common Issues | Dirt trapped under membrane |
| Cleaning Method | Surface wipe only |
Understanding these differences helps you keep your keyboard fresh without hassle.
Preventive Tips to Keep Your Keyboard Clean Longer
Knowing how to clean mechanical and membrane keyboards differently is just part of keeping them in good shape. To maintain keyboard hygiene longer, you’ll want to adopt simple preventive measures. First, avoid eating or drinking near your keyboard to stop crumbs and spills from causing sticky keys or damage. Regularly dust your keyboard with a soft brush or compressed air to prevent buildup. Consider using a keyboard cover—it acts as a barrier against dirt and makes cleaning easier. Wash your hands before typing to reduce oil and grime transfer. Finally, store your keyboard away from pets and dusty environments when not in use. By taking these steps, you’ll enjoy a cleaner keyboard and more freedom from constant deep cleans, keeping your typing experience smooth and hassle-free.
Frequently Asked Questions
Can I Use Disinfectant Wipes on My Keyboard Without Damage?
You can use disinfectant wipes on your keyboard, but you’ve got to choose the right disinfectant types carefully. Wipes with alcohol or gentle solutions work best since they won’t damage the keys or electronics. Make sure the wipe’s not too wet to avoid moisture seeping inside. The wipe effectiveness depends on the disinfectant and how you use it, so don’t scrub hard—just gently clean and enjoy a germ-free keyboard without hassle.
How Often Should I Replace My Keyboard for Hygiene Reasons?
Think of your keyboard as a trusty steed on a long journey; over time, wear and grime slow its gallop. For hygiene standards, you should consider replacing your keyboard every 2 to 3 years, depending on use and cleaning habits. This keeps your workspace fresh and bacteria-free, giving you the freedom to type confidently without worry. Remember, a well-maintained keyboard lifespan means health and productivity ride side by side.
Are There Any Cleaning Methods Safe for Wireless Keyboards?
You can definitely keep your wireless keyboard in top shape with the right maintenance. To avoid damage, stick to safe cleaning products like isopropyl alcohol wipes or gentle microfiber cloths slightly dampened with water. Avoid spraying liquids directly on it. Regularly dust it off and clean between keys to keep it fresh. This way, you’ll enjoy freedom from sticky keys without risking harm to your wireless keyboard’s delicate electronics.
Can Keyboard Cleaning Improve Typing Performance?
Absolutely, cleaning your keyboard can boost your typing accuracy by removing dirt and grime that cause sticky or unresponsive keys. When you maintain your keyboard regularly, you’ll notice smoother keystrokes and fewer typing errors, giving you more freedom to focus on your work or play. Just keep an eye on your maintenance frequency—doing it too often can be overkill, but too little might let problems build up. Find a rhythm that suits you!
Is It Necessary to Remove Keycaps for Routine Cleaning?
Think of your keyboard as a garden—sometimes, you don’t need to uproot every flower to keep it vibrant. For routine keyboard maintenance, you don’t have to remove keycaps unless dirt or grime hides beneath them. Light cleaning, like wiping surfaces or using compressed air, often keeps things fresh and free. But if you crave true freedom from buildup, keycap removal lets you dive deeper, giving your keyboard a thorough refresh without restrictions.