How to Clean a Deer Skull Cap: Step-by-Step Guide
Cleaning a deer skull cap is an essential process for any hunting enthusiast looking to preserve their trophy while ensuring it remains visually appealing. This guide will detail the most effective methods for cleaning and preparing your deer skull cap, allowing you to showcase your trophy for years to come. By following these steps, you will achieve a clean, well-preserved skull cap that can serve as a stunning display piece or a cherished keepsake.
Gather Your Cleaning Supplies

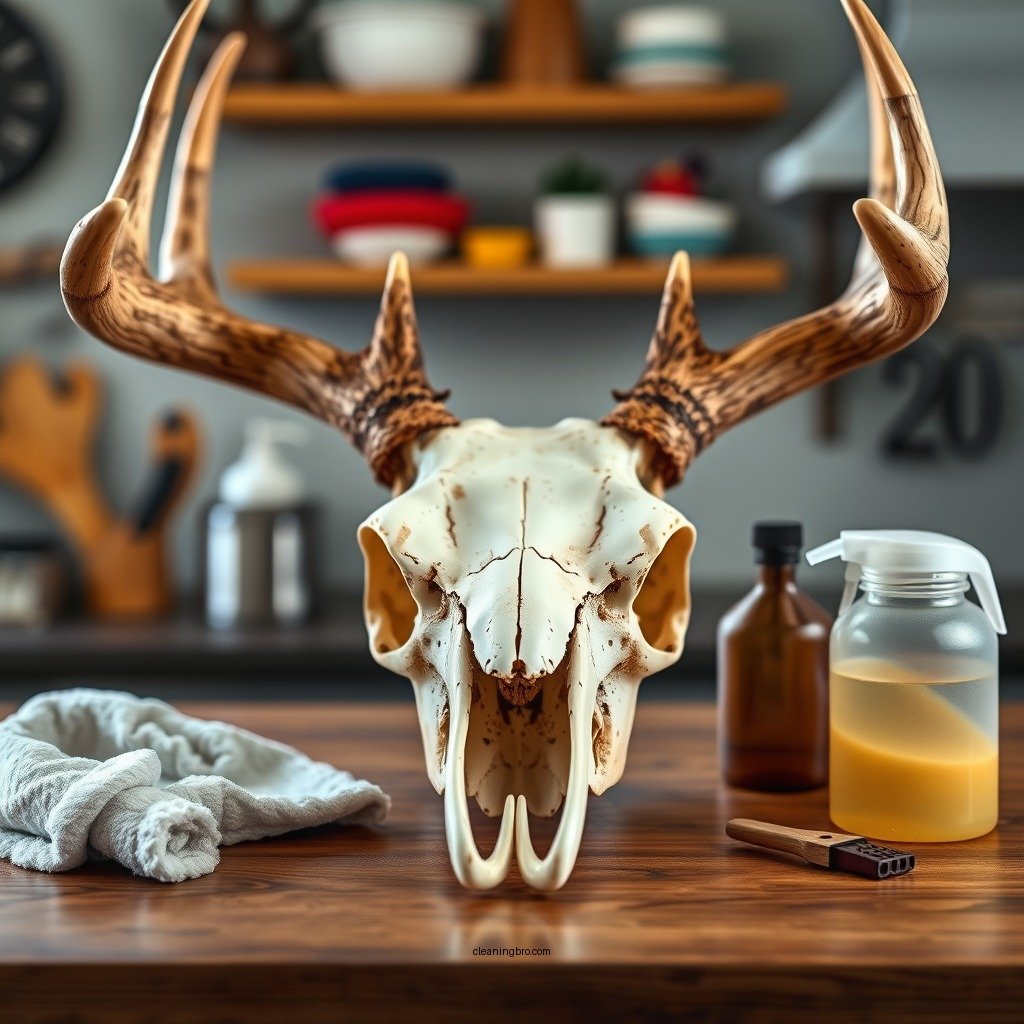
Before diving into the cleaning process, it’s crucial to gather all the necessary supplies. Having the right tools on hand will make the task significantly easier and more efficient. Here’s what you’ll need:
– Hydrogen peroxide or bleach: These chemicals are effective for whitening the skull cap and ensuring it maintains a fresh appearance.
– Soft brush: A soft-bristled brush is essential for scrubbing away any remaining debris without scratching the surface of the skull.
– Water and a container for soaking: A large container will be necessary for soaking the skull cap, which helps loosen any remaining tissue or debris.
Having these supplies ready will streamline the cleaning process, allowing you to focus on the task at hand.
Prepare the Skull Cap


Proper preparation of the skull cap is critical to achieving the best results. Begin by carefully removing any flesh and tissue using a knife or scalpel. This step may require some patience, as it’s important to be thorough to avoid leaving any remnants behind.
Once you have removed the majority of the tissue, soak the skull in water for several hours. This soaking process will help loosen any remaining material, making it easier to clean the skull cap thoroughly. Ensure that the water completely covers the skull cap to maximize the effectiveness of this step.
Boil or Soak the Skull Cap

There are two primary methods to further clean the skull cap: boiling or soaking.
1. Boiling: If you choose to boil the skull, carefully place it in a large pot of water. Bring the water to a gentle boil and maintain a simmer for about 30 minutes. This process will help detach any remaining soft tissue from the bone. Be cautious not to boil for too long, as excessive heat can damage the skull.
2. Soaking: Alternatively, you can opt for a gentler approach by soaking the skull in a mixture of water and hydrogen peroxide. This method is less aggressive and will effectively break down any residual tissue while preserving the integrity of the skull cap. Soak the skull in the solution for several hours or overnight, depending on the amount of residual material.
Top 7 Cleaning Methods for Deer Skull Caps
| # | Method | Effectiveness | Time Required | Risk of Damage |
|---|---|---|---|---|
| 1 | Boiling | High | 30 mins | Medium |
| 2 | Soaking in Hydrogen Peroxide | Medium | Overnight | Low |
| 3 | Soaking in Water | Low | Several hours | Low |
| 4 | Chemical Cleaners | High | Varies | High |
| 5 | Baking Soda Paste | Medium | 2-3 hours | Low |
| 6 | Cold Water Rinse | Low | 5 mins | Low |
| 7 | Enzymatic Cleaners | High | Varies | Medium |
Scrub and Remove Residue
After boiling or soaking, the next step is to scrub the skull cap. Using a soft brush, gently scrub the surface and crevices of the skull to remove any remaining residue or tissue. Pay special attention to areas with intricate designs or grooves where debris may accumulate. This step is vital for ensuring the skull cap is thoroughly cleaned.
Once you have scrubbed the skull cap, rinse it thoroughly with clean water. This rinsing process is essential to eliminate any traces of cleaning solutions and prevent discoloration or damage to the skull cap. Ensure the entire surface is rinsed clean before proceeding to the whitening stage.
Whiten the Skull Cap
To achieve that iconic bright finish that many trophy hunters desire, whitening the skull cap is a crucial step. Hydrogen peroxide is the most effective whitening agent for this purpose.
1. Application: Apply hydrogen peroxide directly to the surface of the skull cap, ensuring even coverage. You can use a brush or a cloth to spread the solution across all visible areas.
2. Setting Time: Allow the hydrogen peroxide to sit for several hours, or even overnight, depending on the brightness you wish to achieve. The longer it sits, the whiter the skull cap will become.
3. Final Rinse: After the desired whitening effect is reached, rinse the skull cap thoroughly with clean water. This final rinse ensures that no hydrogen peroxide remains, which could lead to unwanted side effects such as brittleness or further discoloration.
Dry and Preserve the Skull Cap
Once the skull cap is clean and white, it’s time to dry and preserve it. Follow these steps for the best results:
1. Air Dry: Place the skull cap in a well-ventilated area to air dry completely. It’s essential to ensure that the skull is entirely dry to prevent any potential mold or mildew growth.
2. Optional Sealant: For added protection, consider applying a clear sealant to the surface of the skull cap. This can help preserve its appearance and shield it from environmental factors such as moisture and dust. Ensure the sealant is suitable for use on bone and is compatible with the cleaning methods you used.
Following these steps will not only leave your deer skull cap looking clean and presentable but will also ensure it is well-preserved for future enjoyment.
By adhering to this comprehensive guide, you will effectively clean your deer skull cap, enhancing its appearance for display or storage. Share this guide with fellow hunters or enthusiasts who may be interested in preserving their trophies, ensuring they too can enjoy beautiful, well-maintained skull caps for years to come.
Frequently Asked Questions
How do I properly clean a deer skull cap without damaging it?
To clean a deer skull cap, first remove any flesh and tissue using a sharp knife. Then, soak the skull in warm water and dish soap for a few hours to loosen any remaining debris. After soaking, gently scrub the skull with a soft brush, ensuring to avoid any damage to the antlers or surface. Finally, rinse thoroughly and allow it to dry completely before applying any preservation products.
What is the best method for whitening a deer skull cap after cleaning?
The best method for whitening a deer skull cap is to use hydrogen peroxide. Once the skull is clean and dry, apply a 12% hydrogen peroxide solution evenly over the surface and let it sit for several hours. This will help brighten the skull without causing damage, giving you a clean and aesthetic finish. Be sure to use gloves and work in a well-ventilated area for safety.
Why is it important to degrease a deer skull cap after cleaning?
Degreasing a deer skull cap is crucial because any remaining fats and oils can lead to discoloration and odor over time. If not properly degreased, these substances can also attract pests or cause the skull to deteriorate. To effectively degrease, soak the skull in a degreasing solution like Dawn dish soap or a commercial degreaser for several days, rinsing and changing the solution as needed.
Which tools do I need to clean a deer skull cap effectively?
To clean a deer skull cap effectively, you will need a few essential tools: a sharp knife for initial flesh removal, a soft brush for scrubbing, a container for soaking, and a degreasing agent such as dish soap or a commercial product. Additionally, a pair of gloves, safety goggles, and a well-ventilated area will help ensure a safe and successful cleaning process.
How long does it take to clean and prepare a deer skull cap for display?
The entire process of cleaning and preparing a deer skull cap for display can take anywhere from a few days to a couple of weeks. This timeframe includes the initial cleaning, soaking, degreasing, and whitening stages. Properly allowing each step to take its time ensures a high-quality finish and longevity for your trophy display.
References
- Taxidermy
https://en.wikipedia.org/wiki/Taxidermy - https://www.nature.com/articles/s41598-021-85368-1
https://www.nature.com/articles/s41598-021-85368-1 - https://pubmed.ncbi.nlm.nih.gov/29556679/
https://pubmed.ncbi.nlm.nih.gov/29556679/ - Google Scholar Google Scholar
https://scholar.google.com/scholar?q=clean+deer+skull+cap - https://www.sciencedirect.com/topics/agricultural-and-biological-sciences/deer-skull
https://www.sciencedirect.com/topics/agricultural-and-biological-sciences/deer-skull - Skull | Definition, Anatomy, & Function | Britannica
https://www.britannica.com/science/skull - Google Scholar Google Scholar
https://scholar.google.com/scholar?q=deer+skull+cleaning+methods - https://www.cdc.gov/healthypets/resources/index.html
https://www.cdc.gov/healthypets/resources/index.html - Google Scholar Google Scholar
https://scholar.google.com/scholar?q=how+to+clean+a+deer+skull+cap - how to clean a deer skull cap – Search results
https://en.wikipedia.org/wiki/Special:Search?search=how+to+clean+a+deer+skull+cap


