How to Clean Your Fan in 10 Minutes
To clean your fan in 10 minutes, first unplug it for safety. Gather a soft cloth, mild cleaner, and a small brush. Remove the grille by unscrewing or unclipping it. Dust and wipe the blades gently, then clean the motor housing carefully using a brush or compressed air. Reassemble the grille securely, tighten any loose screws, and plug in to test. With just a few simple steps, you can boost your fan’s performance and lifespan—there’s more helpful advice ahead.
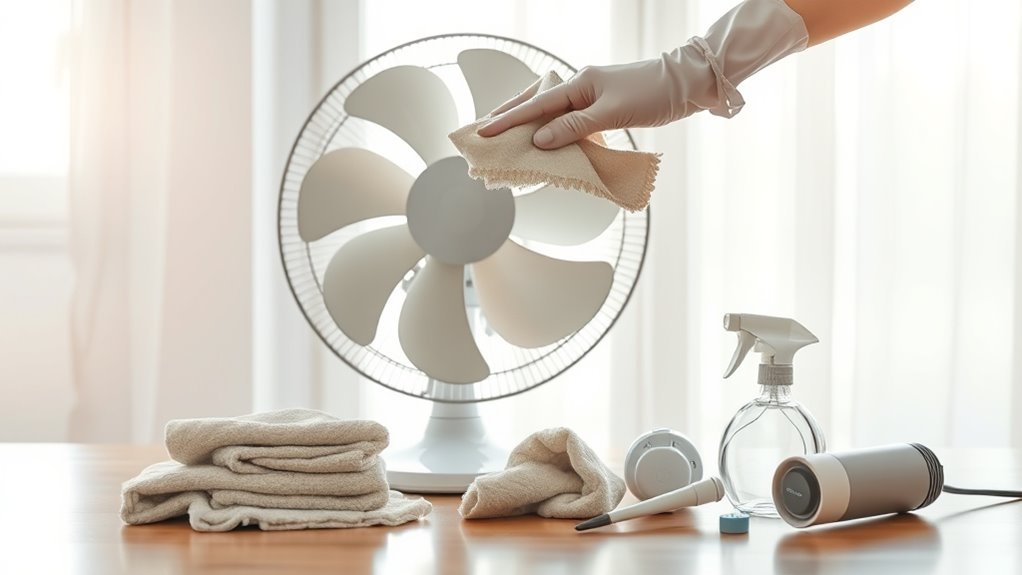
Gather Your Cleaning Supplies
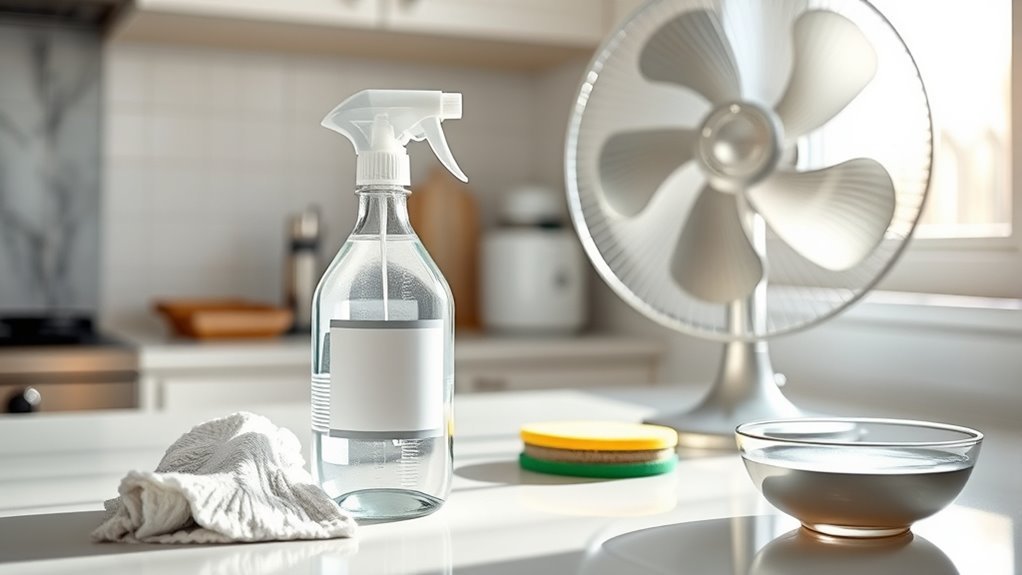
Before you begin cleaning your fan, you’ll want to gather a few essential supplies. Having the right cleaning products at hand makes the process quick and effective, freeing you from lingering dust and grime. Grab a soft cloth or microfiber towel, a small brush or an old toothbrush for tight spots, and a mild detergent or all-purpose cleaner. Avoid harsh chemicals that could damage your fan’s finish. These maintenance tips guarantee your fan stays in top shape, boosting its performance and lifespan. By preparing well, you’ll enjoy the freedom of a spotless, smoothly running fan without hassle. With your supplies ready, you’re set to plunge into the cleaning process confidently and efficiently.
Turn Off and Unplug the Fan
Before you start cleaning, make certain your fan is completely turned off. Locate the power source and unplug it to guarantee safety. Double-check that the fan isn’t running or connected to any power.
Ensure Power Is Disconnected
Although it might seem obvious, you’ll want to make sure the fan is completely turned off and unplugged before you start cleaning. Taking this simple step is essential for your safety and helps you avoid any electrical hazards. When the power is disconnected, you’re free to clean without worrying about accidental starts or shocks. It’s one of the most important safety precautions you can take, especially if you’re handling the blades or motor. Don’t rush this part—double-check that the plug is out of the socket and the switch is off. By ensuring the fan’s power is fully disconnected, you protect yourself and keep the cleaning process smooth and stress-free. Freedom comes with responsibility, so always prioritize safety first.
Locate the Power Source
Once you know the fan needs cleaning, the next step is to locate its power source so you can turn it off and unplug it safely. Prioritizing power safety helps you avoid electrical hazards and keeps your cleaning process worry-free. Here’s how to do it efficiently:
- Find the fan’s power cord and trace it back to the outlet.
- Make sure your hands are dry before touching the plug.
- Switch off any connected power strip or wall switch controlling the fan.
- Firmly unplug the fan from the outlet to cut its power supply.
Confirm Fan Is Off
Since you’ve located the power source, the next crucial step is to make certain the fan is completely off. For your freedom and safety, never skip turning off and unplugging the fan before cleaning. This simple fan safety habit protects you from accidental starts and electrical hazards. Here’s a quick reminder of maintenance tips to keep your process smooth:
| Step | Action | Why It Matters |
|---|---|---|
| 1 | Turn off the fan | Prevents blade movement |
| 2 | Unplug the fan | Eliminates electrical risk |
| 3 | Double-check power | Confirms complete shutdown |
Following these steps guarantees your cleaning routine is safe, letting you enjoy the freedom of worry-free fan maintenance.
Remove the Fan Grille or Cover
Before you start cleaning, locate the screws or clips holding the fan grille in place. Make sure you have the right tools, like a screwdriver, to remove them safely. Keep all parts organized so nothing gets lost during the process.
Locate Screws or Clips
Although it might seem tricky at first, locating the screws or clips that hold your fan’s grille or cover in place is straightforward. Knowing the common screw types and clip mechanisms helps you quickly identify how to remove the cover without hassle. Here’s how to find them:
- Check around the perimeter of the grille for visible screws—usually Phillips or flathead.
- Look for hidden screws beneath stickers or rubber pads.
- Identify clip mechanisms by gently pressing or pulling edges of the cover to spot flexible tabs.
- Inspect the back of the fan housing for additional fasteners.
Once you know what to look for, you’ll feel free to tackle this with confidence, making the cleaning process smooth and quick.
Use Proper Tools
Once you’ve located the screws or clips holding your fan’s grille or cover, having the right tools on hand makes removal much easier. Grab a screwdriver that fits the screws perfectly—using the wrong size can strip them and slow you down. For clips, a small flathead screwdriver or a plastic pry tool works best to gently release them without damage. These simple cleaning techniques streamline your fan maintenance, letting you access the blades quickly and safely. Remember, using proper tools not only speeds up the process but also protects your fan from unnecessary wear. By preparing correctly, you embrace the freedom of easy upkeep, ensuring your fan runs smoothly and efficiently with minimal hassle every time you clean it.
Keep Parts Organized
Keeping track of every screw, clip, and small part is key when you remove your fan’s grille or cover. To keep things running smoothly, create an organized workspace before you start. This approach frees you from frustration and speeds up reassembly. Here are some fan maintenance tips to help you stay on top:
- Use a small container or magnetic tray to hold screws and clips.
- Label parts if necessary, especially if they look similar.
- Lay out parts in the order you remove them for easy tracking.
- Keep your tools nearby to avoid scrambling for them mid-task.
Dust the Fan Blades
Regularly dusting the fan blades is essential to maintain their efficiency and prevent allergens from circulating in your home. You’ll want to make this a habit as part of your fan maintenance routine, adjusting the cleaning frequency based on how often you use the fan and the environment it’s in. Grab a microfiber cloth or a duster, and gently sweep over each blade to remove dust without bending or damaging them. If you skip this step, dust buildup can slow your fan down and reduce airflow, limiting your freedom to enjoy cool, fresh air. Keeping the blades dust-free not only improves performance but also extends the fan’s lifespan, so it’s worth carving out a few minutes regularly for this simple, effective task.
Wipe Down the Fan Blades
Before you start wiping down the fan blades, make sure you have your cleaning supplies ready, like a damp cloth and gentle cleaner. Carefully remove any loose dust first to avoid spreading it around. Then, use the damp cloth to thoroughly clean each blade without soaking them.
Gather Cleaning Supplies
Although it might seem simple, gathering the right cleaning supplies is crucial to effectively wipe down your fan blades without causing damage. Using proper cleaning techniques guarantees your fan maintenance routine is safe and efficient, letting you enjoy a fresh breeze without hassle. To get started, you’ll want to collect these essentials:
- A microfiber cloth – gentle yet effective for dust removal
- Mild detergent or all-purpose cleaner – avoids harsh chemicals
- A spray bottle filled with water – helps loosen dirt without soaking
- Cotton swabs or a soft brush – perfect for tight spots
Having these supplies ready lets you clean quickly and thoroughly, maintaining your fan’s performance and extending its life. Freedom from dust is just a few steps away!
Remove Dust Safely
To remove dust safely from your fan blades, start by turning off and unplugging the fan to guarantee your safety. Next, use a soft microfiber cloth or a duster to gently wipe each blade, preventing dust from scattering into the air. Stick to safe cleaning methods—avoid harsh chemicals that can damage the blades or irritate your skin. Taking these steps not only cleans effectively but also contributes to dust prevention tips by keeping buildup minimal over time. Focus on reaching all the nooks and crannies where dust hides. By handling your fan with care and using proper techniques, you maintain a clean, efficient fan without compromising your safety or freedom to enjoy fresh air effortlessly.
Use Damp Cloth
When you’re ready to go beyond dry dusting, using a damp cloth is a simple way to remove stubborn grime from your fan blades. This effective cleaning technique helps maintain your fan’s performance and prolongs its life. Here’s how to do it right:
- Lightly dampen a soft cloth with water or a mild cleaner—avoid soaking it.
- Wipe each blade carefully, following its shape to catch all dust and dirt.
- Use a second dry cloth to remove any leftover moisture, preventing damage.
- Repeat regularly as part of your fan maintenance tips to keep your space fresh.
With these steps, you gain the freedom to enjoy cleaner, more efficient fans without hassle. It’s a quick, smart method that fits your lifestyle perfectly.
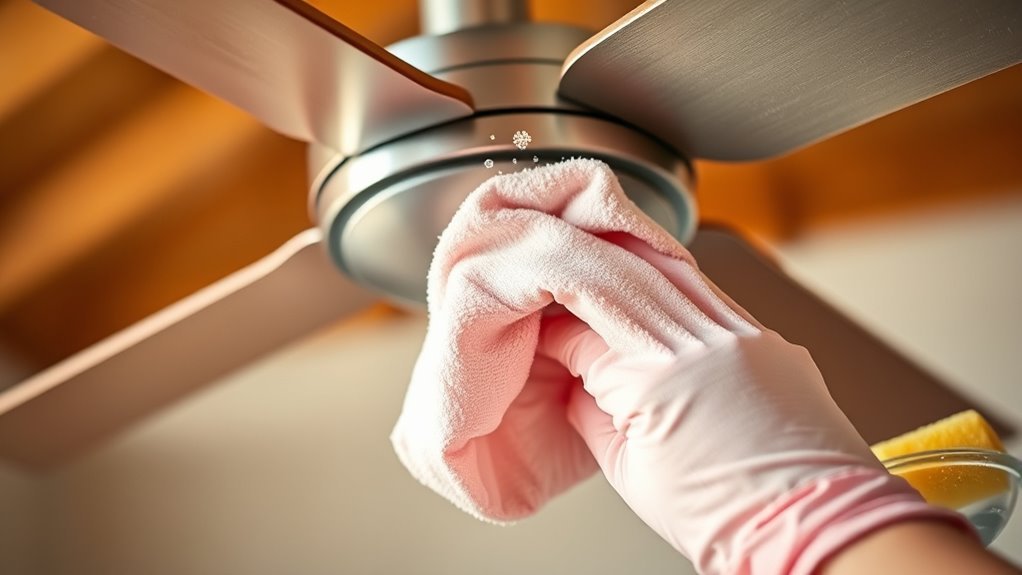
Clean the Fan Grille or Cover
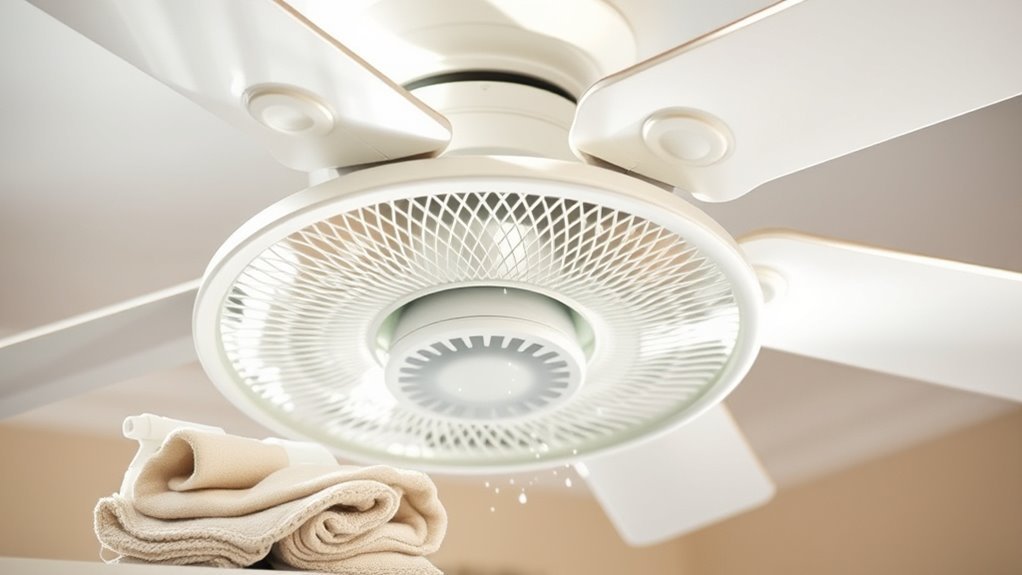
The fan grille or cover tends to collect dust and dirt, which can reduce airflow and efficiency. To keep your fan running freely, regular grille cleaning techniques are vital. Here’s how to do it quickly and effectively:
| Step | Action |
|---|---|
| 1. | Unplug the fan |
| 2. | Remove the grille or cover |
| 3. | Use a soft brush or cloth |
| 4. | Wash with mild soapy water |
| 5. | Dry completely before reassembling |
Following these fan maintenance tips guarantees better air circulation and a longer lifespan for your fan. By keeping the grille clean, you’re reclaiming control over your space’s comfort—freedom from stale air and clogged blades. Stick to this routine, and your fan will reward you with consistent, fresh airflow.
Clean the Fan Motor Housing
Although the fan motor housing isn’t as accessible as the grille, cleaning it is just as important for maintaining your fan’s performance. Proper motor housing care guarantees your fan runs smoothly and lasts longer. Here are some fan maintenance tips to keep this essential part in top shape:
Cleaning the fan motor housing is key to smooth operation and extending your fan’s lifespan.
- Unplug the fan before you start to avoid any accidents.
- Use a soft brush or compressed air to gently remove dust from the motor housing vents.
- Avoid using water or cleaning solutions directly on the motor to prevent damage.
- Check for any debris or buildup that might block airflow, and clear it carefully.
Taking these simple steps gives you freedom from overheating issues and keeps your fan running efficiently.
Reassemble the Fan Components
After carefully cleaning the motor housing, you’re ready to put your fan back together. Start by aligning the blades onto the motor shaft, ensuring they fit snugly as you reverse your earlier steps. Use gentle pressure to avoid bending or damaging the blades. Next, reattach the front grille, locking it into place securely. These fan assembly techniques help maintain balance and smooth operation.
Check for Loose Screws and Parts
Before you finish reassembling your fan, take a few minutes to check for any loose screws or parts. Proper screw maintenance and part inspection guarantee your fan runs smoothly and safely. Here’s how to quickly secure everything:
- Inspect each screw to see if it’s tight; use a screwdriver to snug any that feel loose.
- Check moving parts for stability—wobbly blades or guards need adjustment.
- Look for missing screws or parts that might have fallen out during cleaning and replace them.
- Give the entire fan a gentle shake to catch any hidden looseness.
This simple routine keeps your fan reliable and lets you enjoy the freedom of a well-maintained breeze. Don’t skip this step—it’s key to lasting performance.
Plug In and Test the Fan
Once you’ve reassembled your fan and secured all parts, it’s time to plug it in and test its operation. Turn it on and listen carefully for any unusual noises or vibrations that could indicate loose components. Watch how the blades spin—smooth, steady movement means your cleaning and maintenance were successful. This step is essential for ensuring fan efficiency; a well-maintained fan uses less energy and cools your space more effectively. If something feels off, unplug it immediately and double-check your work. Remember, regular maintenance tips like cleaning and checking connections keep your fan running freely without hassle. Testing your fan not only confirms your work but also guarantees you enjoy the full freedom of comfort and cool air without interruptions.
Frequently Asked Questions
How Often Should I Clean My Fan for Optimal Performance?
You should do weekly maintenance to keep your fan running smoothly and avoid dust buildup that can slow it down. Quick wipe-downs help maintain good airflow and efficiency. Then, go for a thorough seasonal cleaning every few months to deep clean the blades and motor housing. This combo gives you the freedom to enjoy fresh air without worrying about clogged fans or reduced performance. Staying consistent keeps your fan at its best effortlessly.
Can I Use a Vacuum Cleaner Instead of Dusting?
You can definitely use a vacuum cleaner instead of traditional dusting—it offers some great vacuum benefits like quick and efficient dust removal, especially for hard-to-reach areas. Just make sure to use a brush attachment and keep the suction low to avoid damaging the fan. This way, you’ll enjoy a cleaner fan without much hassle, giving you more freedom to focus on the things you love rather than tedious cleaning tasks.
Is It Safe to Use Water on Electric Fan Parts?
You might wonder if water safety applies when cleaning your electric fan. Imagine this: water and electricity don’t mix well — a recipe for sparks or damage. So, it’s not safe to directly soak or spray water on electrical parts. Instead, unplug your fan and gently wipe the blades and grills with a damp cloth, avoiding the motor or wiring. This way, you keep freedom from hazards while maintaining your fan’s health.
What Should I Do if My Fan Is Still Noisy After Cleaning?
If your fan is still noisy after cleaning, don’t worry. You can try some fan maintenance tips like tightening loose screws and lubricating the motor bearings to cut down on noise. Noise reduction strategies also include checking if the blades are balanced or if any parts are worn out and need replacing. Taking these steps will help your fan run smoother, giving you the freedom to enjoy a quiet, cool breeze without distractions.
Are There Specific Cleaning Products Recommended for Fan Blades?
Cleaning fan blades without the right products is like trying to catch the wind with a net! You don’t have to be stuck with harsh chemicals—there are fan blade cleaners designed to gently cut through dust and grime. If you prefer freedom from toxins, natural cleaning solutions like vinegar mixed with water or mild soap work wonders, too. These options keep your blades spotless and your space fresh without locking you into any chemical dependency.


