How to Remove Ceilings From Printer
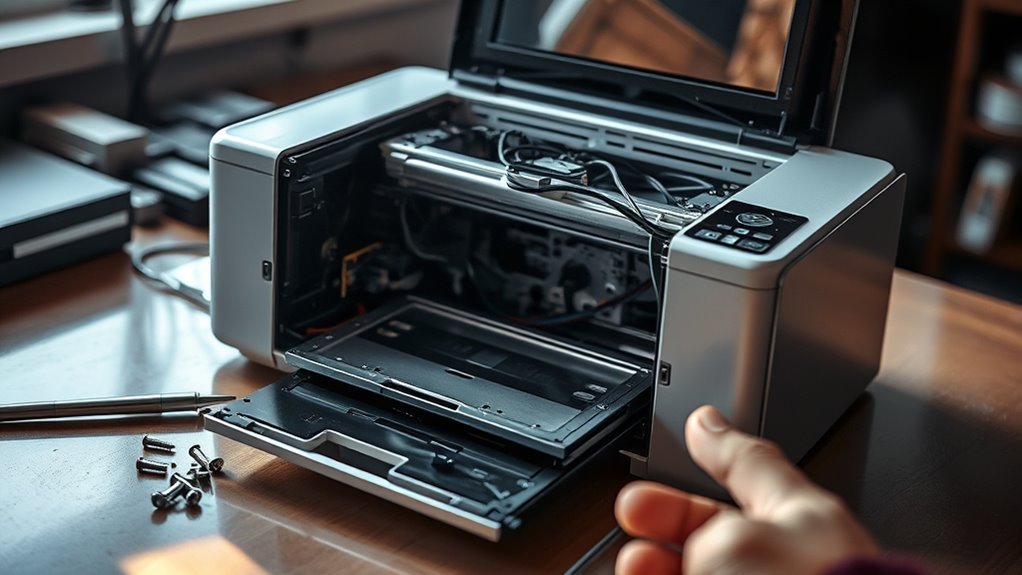
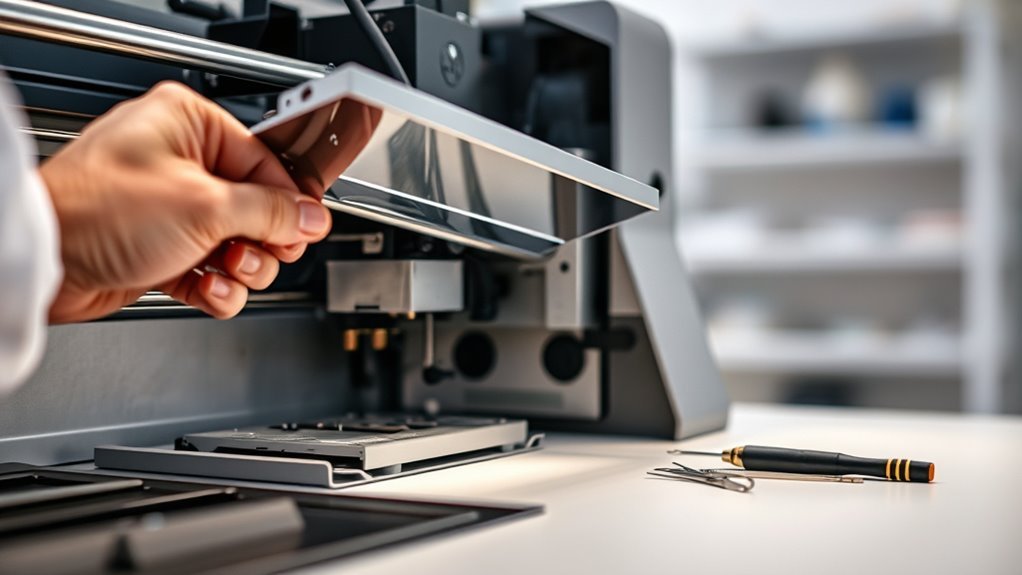
To remove the ceiling panel of your printer, first unplug it and remove cartridges or trays to work safely. Use Phillips and flathead screwdrivers to unscrew fasteners holding the panel in place, then gently lift it, watching for connected cables. Carefully disconnect any attachments to free the ceiling completely. Remember to organize screws to simplify reassembly. If you want to avoid damage and handle tricky parts smoothly, there’s a detailed process that can help you manage each step confidently.
Tools Required for Removing Printer Ceilings
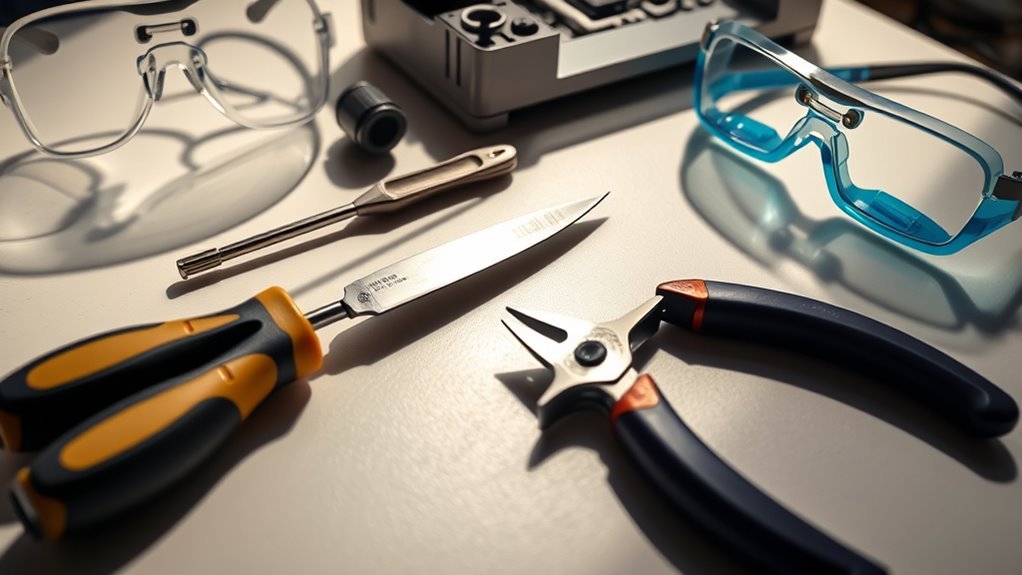
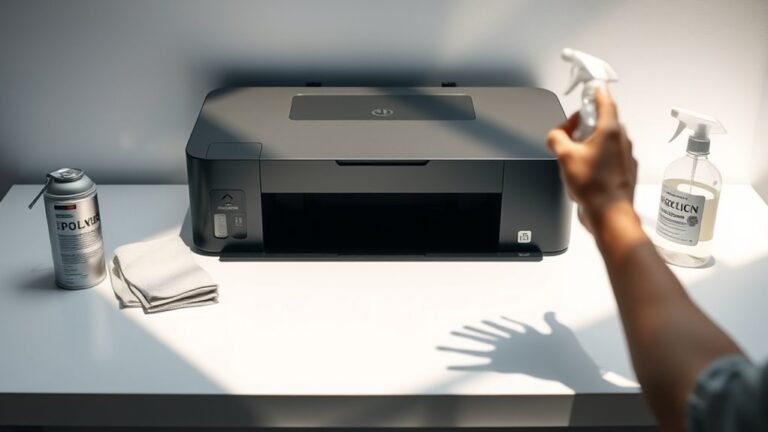
To remove printer ceilings effectively, you’ll need a few essential tools. First, gather the right screwdriver types—usually Phillips and flathead—to match the screws securing the ceiling panels. Using the correct screwdriver prevents stripping screws and saves time. Alongside these, a pair of tweezers or small pliers can help with tight spaces or stubborn clips. Don’t forget to wear gloves and eye protection as safety precautions; printer components can have sharp edges or debris that might cause injury. Having a well-lit, clutter-free workspace also supports your freedom to work efficiently and confidently. With these tools and precautions, you’ll be ready to take apart your printer ceiling smoothly and safely, gaining control over your device without unnecessary hassle.
Preparing Your Printer for Disassembly
Before you start disassembling your printer, make certain it’s completely powered off and unplugged to avoid any electrical hazards. Proper printer maintenance begins with careful preparation, guaranteeing disassembly safety. Clear your workspace, gather tools, and wear anti-static gloves if available. Organize screws and parts as you remove them to avoid confusion later.
| Step | Action | Tip |
|---|---|---|
| 1 | Power off & unplug | Prevents electrical shock |
| 2 | Clear workspace | Avoids losing small parts |
| 3 | Gather tools | Keeps process smooth |
| 4 | Use anti-static gloves | Protects sensitive parts |
| 5 | Organize screws & components | Simplifies reassembly |
Following these steps guarantees a safe, efficient start to your printer ceiling removal journey.
Step-by-Step Guide to Removing the Printer Ceiling
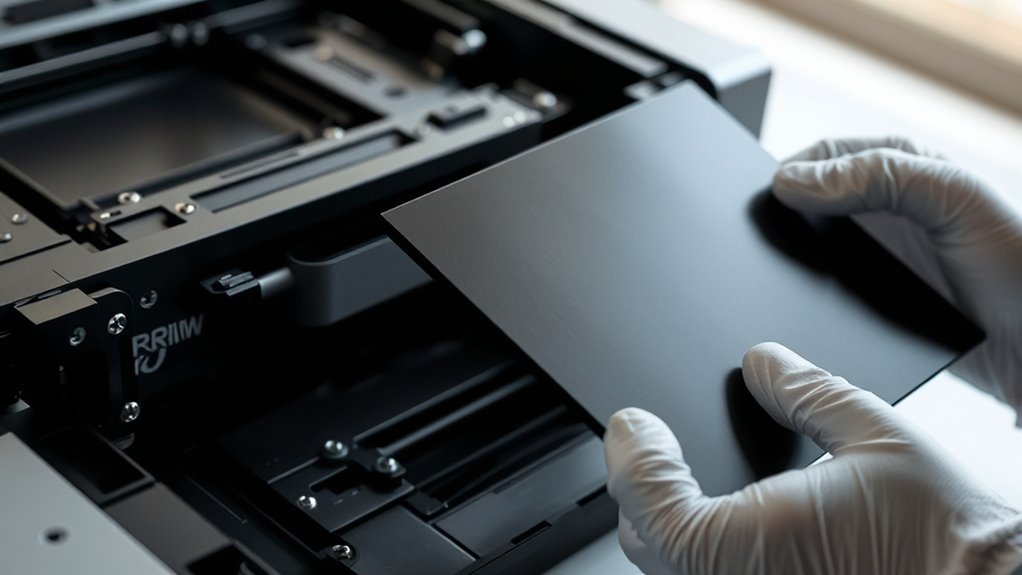
Removing the printer ceiling involves a few vital steps that you’ll want to follow carefully to avoid damaging any components. First, disconnect the printer from power and remove any cartridges or paper trays. Next, locate and unscrew the fasteners holding the ceiling in place—these are usually small screws along the edges. Gently lift the ceiling panel, being mindful of any connected cables. If cables are attached, carefully unplug them to free the ceiling entirely. This process is essential for effective printer maintenance and prepares you for a smooth ceiling replacement if needed. Keep track of all screws and parts to guarantee easy reassembly. By taking these deliberate steps, you maintain control over your printer’s condition and embrace the freedom to fix or upgrade it yourself.
Common Challenges and How to Overcome Them
Although taking off the printer ceiling might seem straightforward, you’ll likely face some common challenges along the way. Staying safe and following troubleshooting tips guarantees you maintain freedom from frustration and damage. Here’s a quick guide to help you navigate obstacles while keeping safety precautions in mind:
| Challenge | Cause | Troubleshooting Tips |
|---|---|---|
| Stuck Screws | Rust or over-tightening | Use penetrating oil; apply gentle pressure |
| Fragile Clips | Wear and tear | Handle clips gently; avoid force |
| Static Electricity | Lack of grounding | Use anti-static wrist strap |
| Complex Wiring | Confusing connections | Take photos before removal |
Reassembling Your Printer After Maintenance
Once you’ve tackled the common challenges of removing your printer ceiling, putting everything back together carefully guarantees your device works smoothly. Start by aligning all components exactly as they were before disassembly. If you’ve replaced printer parts during your maintenance, double-check each connection to avoid misalignment or loose fittings. Use printer maintenance techniques like cleaning contact points to guarantee peak performance. Don’t rush this step—taking your time prevents damage and avoids repeated disassembly. Remember, every clip and screw has its place, so keep track of them throughout the process. Once reassembled, power on your printer to test functionality, and you’ll enjoy the freedom of a smoothly operating device, ready to serve without hiccups or delays.
Frequently Asked Questions
Can Removing the Printer Ceiling Void the Warranty?
If you’re thinking about removing parts from your printer, you should know that printer modifications often come with warranty implications. When you alter or tamper with your device, manufacturers usually see it as voiding the warranty. So, if you want to keep your freedom to fix things but also want protection, be cautious. Always check the warranty terms before making any changes, or you might lose official support and coverage.
Is It Safe to Remove the Printer Ceiling Without Professional Help?
When it comes to tinkering with your printer, you’ve got to be careful not to bite off more than you can chew. Printer safety is essential, especially if you’re diving into DIY maintenance. If you’re confident and follow the right steps, you can handle it yourself. But if you’re unsure, it’s better to call in a pro to avoid damaging your machine or voiding the warranty. Your freedom to fix things is great, just stay safe!
How Do I Prevent Static Damage When Removing Printer Parts?
To prevent static damage when working with printer parts, you’ll want to follow anti static measures like grounding yourself using an anti-static wrist strap or touching a metal object before handling components. Make sure you work on a clean, static-free surface and avoid wearing synthetic clothing that generates static. Safe handling means being gentle and deliberate, so you can confidently take apart and reassemble parts without risking damage or losing your freedom to tinker.
Can I Replace the Printer Ceiling With a Different Material?
Sure, swapping sturdy surfaces sounds like a savvy switch! When considering printer materials, you can choose ceiling alternatives that suit your style and functionality. Just make sure the new material won’t interfere with your printer’s performance or ventilation. Freedom means experimenting with flexible, fan-friendly fabrics or lightweight plastics. Keep compatibility in mind, and you’ll craft a custom ceiling that complements your printer’s design while keeping it cool and capable.
Will Removing the Printer Ceiling Improve Printer Performance?
You might think removing the printer ceiling could boost printer efficiency, but it usually won’t make much difference. The ceiling often protects internal parts from dust and damage, so taking it off might lead to more maintenance headaches. Instead, focus on solid maintenance tips like regular cleaning and using quality ink. That way, you keep your printer running smoothly without sacrificing protection or freedom to customize.