How to Clean a Coolant Reservoir: Step-by-Step Guide
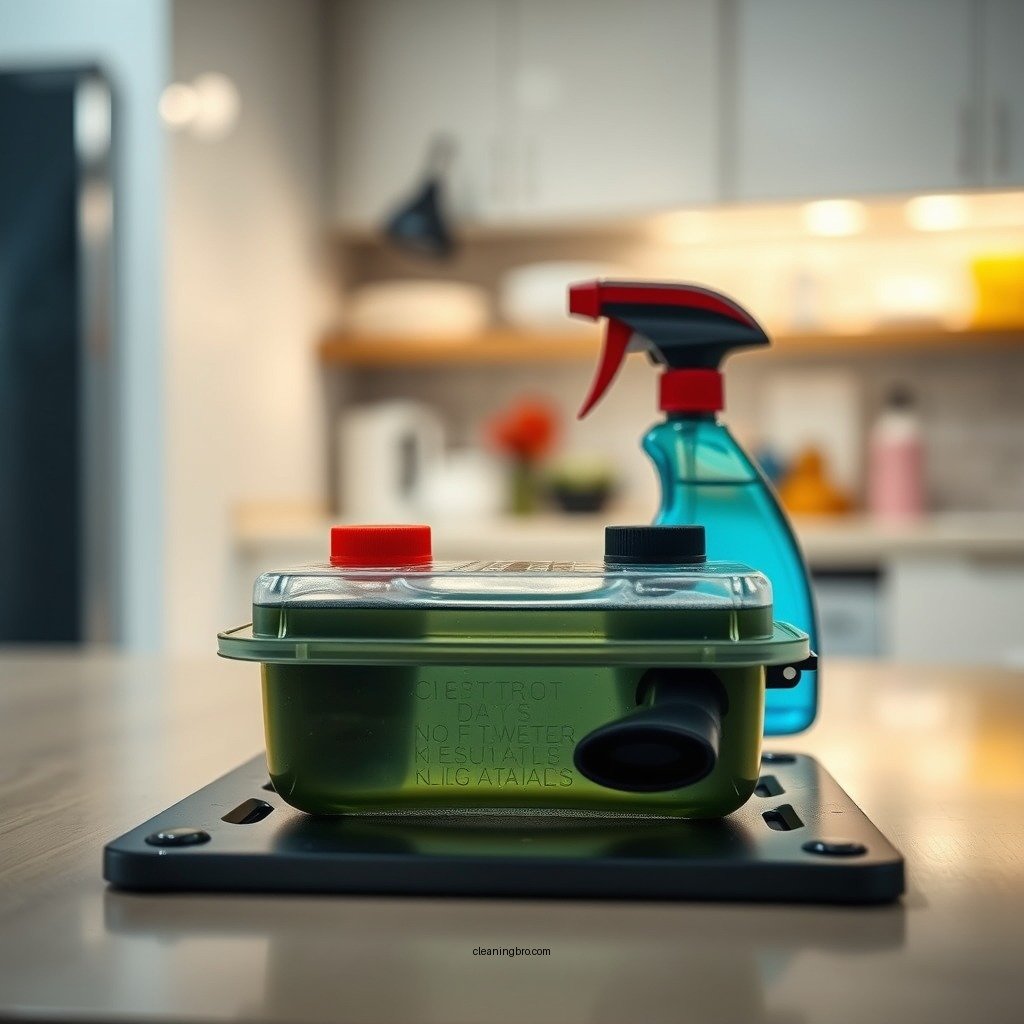
Cleaning a coolant reservoir is essential for maintaining your vehicle’s cooling system and preventing overheating. A clean reservoir ensures that the coolant can flow freely, reducing the risk of engine damage due to overheating. In this guide, we will explore the necessary tools, precautions, and a step-by-step process for cleaning your coolant reservoir effectively. Following these steps will help keep your vehicle in optimal condition and extend its lifespan.
Gather Necessary Supplies

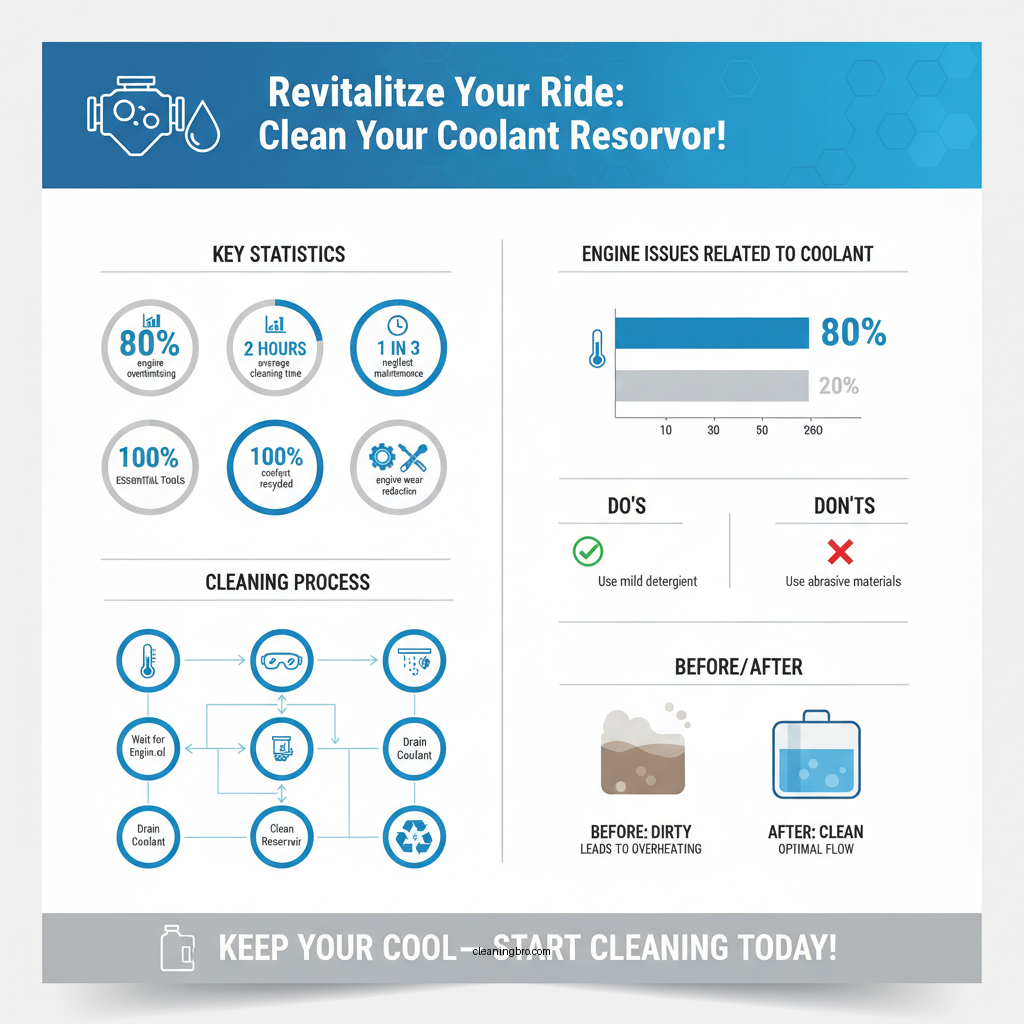
Before you begin the cleaning process, it’s crucial to gather all the necessary supplies. Having everything on hand will make the process smoother and more efficient. Here’s what you’ll need:
– Clean Water: This will be used for rinsing the reservoir after cleaning.
– Mild Detergent: A gentle soap will help break down any grime or residue without damaging the reservoir.
– Soft Brush or Cloth: A soft brush or microfiber cloth is ideal for scrubbing the interior surfaces without scratching them. Avoid abrasive materials that could cause damage.
Having these supplies ready will ensure a hassle-free cleaning experience.
Safety Precautions

Safety should always be your top priority when working on your vehicle. Here are some essential precautions to take before starting:
– Ensure the Engine is Cool: Always wait for the engine to cool down before attempting to clean the coolant reservoir. Hot coolant can cause burns or other injuries.
– Wear Gloves and Safety Glasses: Protect your skin and eyes from potential irritants found in old coolant and cleaning solutions. Gloves will also help maintain a better grip on tools while preventing contamination.
Taking these safety measures will help you avoid any unnecessary accidents or injuries during the cleaning process.
Draining the Coolant Reservoir
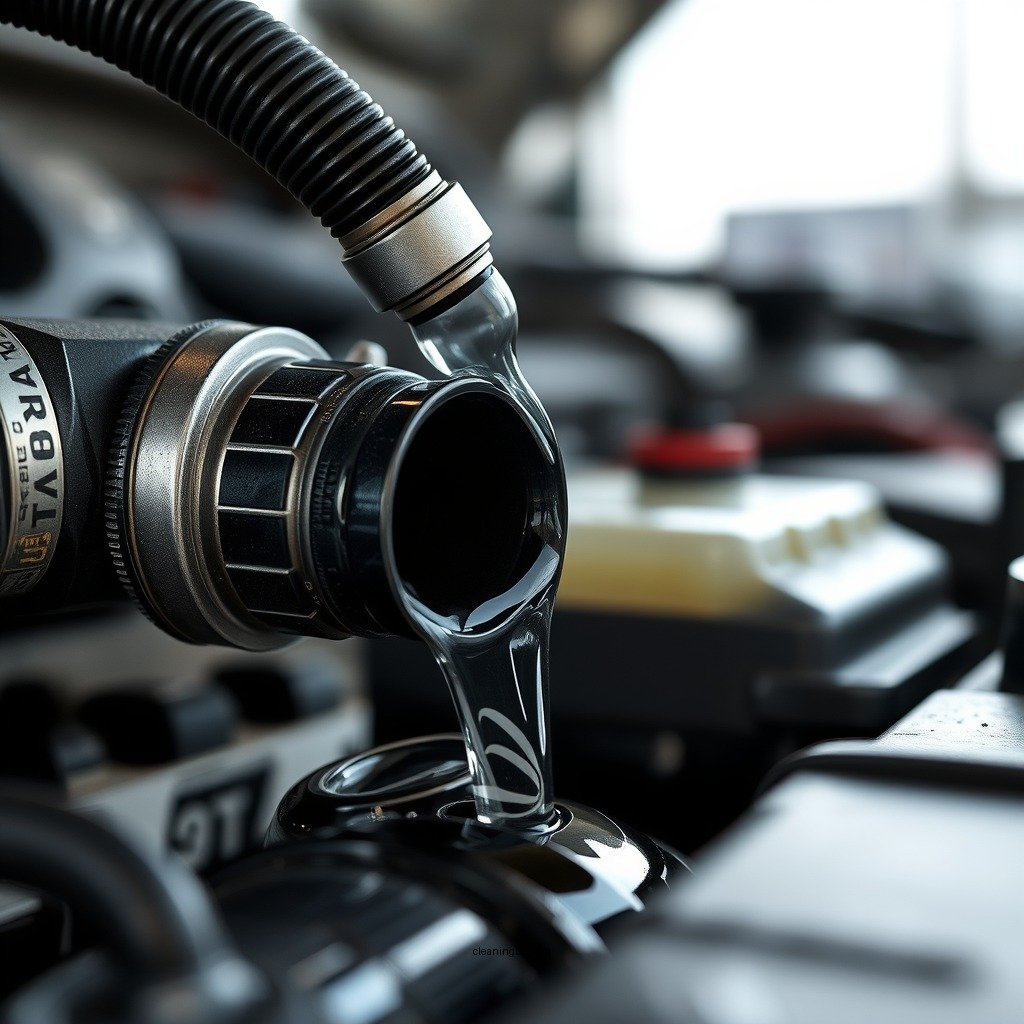
The first step in cleaning the coolant reservoir is to drain the old coolant. Here’s how to do it:
1. Locate the Drain Valve or Remove the Cap: Most coolant reservoirs have a drain valve, but if yours doesn’t, you can simply remove the reservoir cap.
2. Collect the Old Coolant: Use a suitable container to catch the old coolant as it drains out. Ensure that the container is large enough to hold the entire volume of coolant in the reservoir.
3. Dispose of the Old Coolant Properly: Never pour old coolant down the drain or throw it in the trash. Instead, take it to a recycling center or a local auto parts store that accepts used coolant.
Properly draining and disposing of old coolant is crucial for environmental safety and compliance with local regulations.
Cleaning the Reservoir
Now that the reservoir is drained, it’s time to clean it thoroughly:
1. Prepare the Cleaning Solution: Mix clean water with a mild detergent in a bowl or bucket. The ratio should be approximately one part detergent to four parts water.
2. Scrub the Interior: Dip your soft brush or cloth into the cleaning solution and use it to scrub the interior of the reservoir. Focus on areas with visible grime or buildup.
3. Pay Attention to Corners and Edges: Ensure you clean all corners and edges where residue can accumulate. A soft brush will help you reach these difficult areas without damaging the reservoir.
Cleaning the reservoir will help prevent clogging in the cooling system and ensure that the coolant can circulate efficiently.
Rinsing and Drying
After cleaning, it’s essential to rinse and dry the reservoir properly:
1. Rinse Thoroughly with Clean Water: Use clean water to rinse the reservoir several times to remove any soap residue. Ensure that no detergent remains, as it can contaminate the coolant.
2. Allow to Dry Completely: Place the reservoir in a well-ventilated area and allow it to dry completely before refilling it with coolant. Any moisture left inside can dilute the coolant and compromise its effectiveness.
Taking the time to rinse and dry the reservoir will enhance its longevity and performance.
Refilling the Coolant
Once the reservoir is clean and dry, it’s time to refill it with coolant:
1. Use Manufacturer-Recommended Coolant: Always refer to your vehicle’s owner manual for the specific type of coolant recommended by the manufacturer. Using the right type of coolant is vital for optimal performance.
2. Check for Leaks After Refilling: Once you refill the reservoir, start your vehicle and check for any leaks around the reservoir and hoses. If you notice any leaks, it may indicate a faulty seal or a need for further inspection.
Refilling the coolant correctly will ensure that your vehicle’s cooling system operates efficiently.
Regular Maintenance Tips
Maintaining a clean coolant reservoir is not a one-time task; it should be part of your regular vehicle maintenance routine. Here are some tips to keep in mind:
– Inspect the Reservoir Regularly: Check the coolant reservoir for signs of buildup or discoloration. If you notice any, it may be time for another cleaning.
– Schedule Routine Coolant Flushes: Depending on your vehicle and its usage, schedule coolant flushes every 30,000 to 50,000 miles. This process will help remove contaminants from the entire cooling system, not just the reservoir.
By incorporating these maintenance practices, you can enhance the longevity and efficiency of your vehicle’s cooling system.
Common Coolant Types and Their Properties
| # | Coolant Type | Boiling Point | Freezing Point | Lifespan |
|---|---|---|---|---|
| 1 | Ethylene Glycol | +197°C | -37°C | 2-5 years |
| 2 | Propylene Glycol | +188°C | -26°C | 2-5 years |
| 3 | Hybrid Organic Acid Technology (HOAT) | +180°C | -37°C | 5 years |
| 4 | Organic Acid Technology (OAT) | +200°C | -50°C | 5 years |
| 5 | Silicate | +192°C | -30°C | 1-2 years |
| 6 | Water-based | +100°C | 0°C | 6 months |
| 7 | Inorganic Acid Technology (IAT) | +190°C | -37°C | 2 years |
Coolant Types Comparison: Ethylene Glycol vs Propylene Glycol vs OAT
| Feature | ⭐ Ethylene Glycol | Propylene Glycol | OAT |
|---|---|---|---|
| Toxicity | High | Low | N/A |
| Environmental Impact | Negative | Positive | Neutral |
| Corrosion Protection | ✅ High | ✅ Moderate | ✅ Very High |
| Mixing Compatibility | Not Recommended | Can Mix | Not Recommended |
| Performance | ✅ Excellent | ✅ Good | ✅ Excellent |
| Cost | $$ | $ | $$$ |
| Maintenance | Requires | Minimal | Requires |
| Shelf Life | 2-5 years | 2-5 years | 5 years |
| Overall Performance | Excellent | Good | Excellent |
| 🏆 Best For | General use and performance | Eco-friendly applications | Long-lasting corrosion protection |
Keeping your coolant reservoir clean is crucial for your vehicle’s health. By following these steps, you can ensure optimal performance and prevent costly repairs. Make cleaning your coolant reservoir a part of your regular vehicle maintenance routine for lasting results. Regular inspections and appropriate coolant management will significantly contribute to the longevity of your engine and enhance its efficiency.
Frequently Asked Questions
How do I safely clean my coolant reservoir?
To safely clean your coolant reservoir, start by ensuring the engine is cool and the vehicle is off. Remove the cap and drain any old coolant. Use a mixture of warm water and a few drops of dish soap to scrub the interior with a soft brush, then rinse thoroughly to remove any soap residue before refilling with fresh coolant.
What tools do I need to clean my coolant reservoir effectively?
To clean your coolant reservoir effectively, you will need a soft-bristled brush or sponge, a funnel for refilling, and possibly a spray bottle for your cleaning solution. Additionally, gloves and safety glasses are recommended to protect your skin and eyes from any residual coolant or cleaning agents.
Why is it important to clean the coolant reservoir regularly?
Cleaning the coolant reservoir regularly is important because it prevents the buildup of sludge and contaminants that can lead to overheating and engine damage. A clean reservoir ensures proper coolant flow and helps maintain optimal engine temperature, ultimately prolonging the life of your vehicle.
What is the best solution for cleaning a dirty coolant reservoir?
The best solution for cleaning a dirty coolant reservoir is a mixture of vinegar and water or a specialized automotive cleaner designed for cooling systems. Both options effectively break down deposits and contaminants without damaging the reservoir material, ensuring a thorough clean.
Which signs indicate that my coolant reservoir needs cleaning?
Signs that your coolant reservoir needs cleaning include visible sludge buildup, discoloration of the coolant, or frequent overheating of the engine. Additionally, if you notice a strong odor coming from the reservoir or if the coolant appears rusty or dirty, it’s time for a cleaning to maintain proper engine function.
References
- Coolant
https://en.wikipedia.org/wiki/Coolant - https://www.sciencedirect.com/topics/engineering/coolant
https://www.sciencedirect.com/topics/engineering/coolant - Google Scholar Google Scholar
https://scholar.google.com/scholar?q=cleaning+coolant+reservoir - https://www.ncbi.nlm.nih.gov/pmc/articles/PMC7777771/
https://www.ncbi.nlm.nih.gov/pmc/articles/PMC7777771/ - Coolant | energy conversion | Britannica
https://www.britannica.com/science/coolant - JetStream | National Oceanic and Atmospheric Administration
https://www.weather.gov/jetstream/coolant - https://www.nytimes.com/2021/01/05/automobiles/cleaning-coolant.html
https://www.nytimes.com/2021/01/05/automobiles/cleaning-coolant.html - Google Scholar Google Scholar
https://scholar.google.com/scholar?q=automotive+coolant+maintenance - https://www.cdc.gov/niosh/topics/coolants.html
https://www.cdc.gov/niosh/topics/coolants.html - https://www.who.int/news-room/fact-sheets/detail/coolants-in-refrigeration
https://www.who.int/news-room/fact-sheets/detail/coolants-in-refrigeration