How to Clean Cross Stitch: A Comprehensive Guide
Cleaning your cross stitch pieces is essential to preserve their beauty and longevity. By using the right techniques and materials, you can effectively remove dirt and stains without damaging your work. In this guide, you will learn the best methods for cleaning your cross stitch projects, ensuring they remain vibrant and intact for years to come.
Understanding the Materials
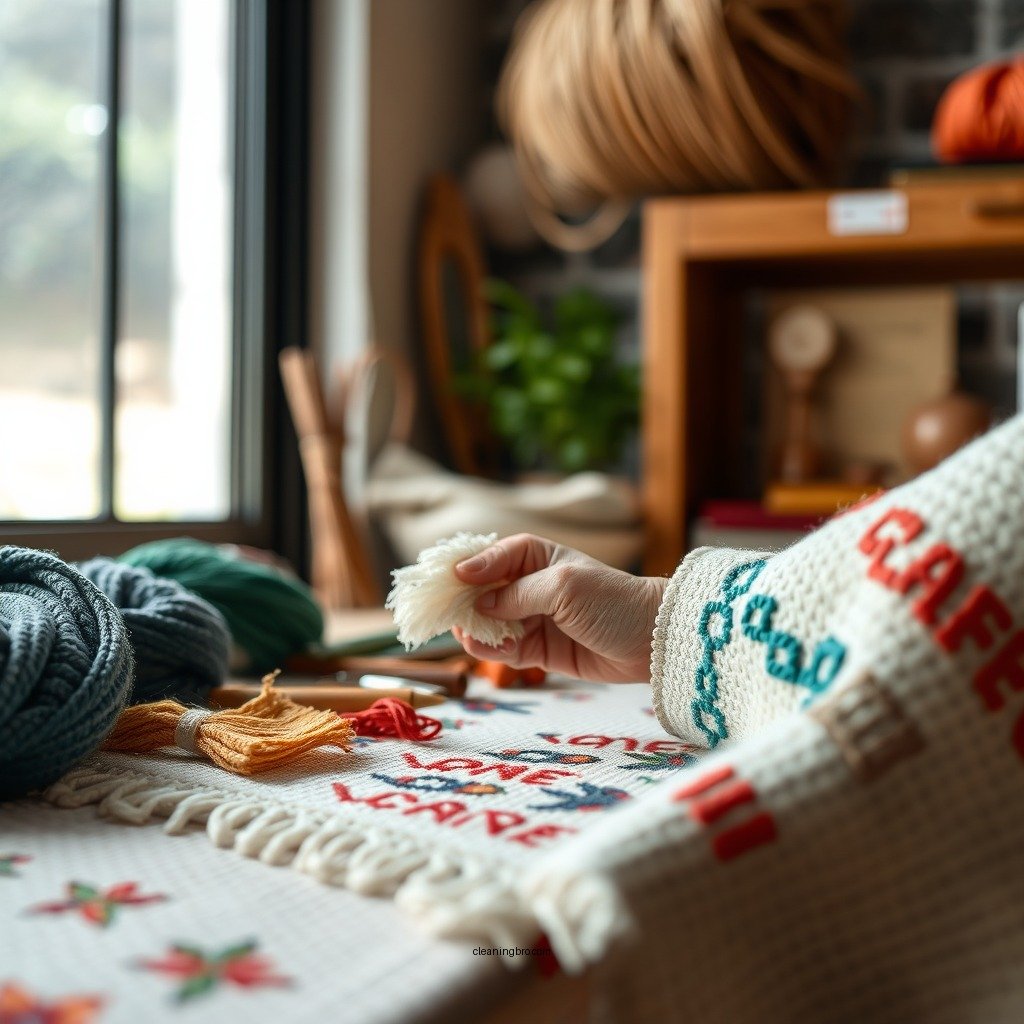
Before you begin the cleaning process, it’s crucial to identify the materials used in your cross stitch piece. Common fabrics include cotton, linen, and even blends that may have specific care instructions. Each fabric type has varying degrees of durability and susceptibility to damage from cleaning methods. For example, linen is more delicate and can fray easily, while cotton is generally more robust. Similarly, threads may vary from cotton to silk, affecting their colorfastness and durability during cleaning. Understanding these materials will guide you in selecting the appropriate cleaning methods to avoid any potential harm to your artwork.
Preparing for Cleaning
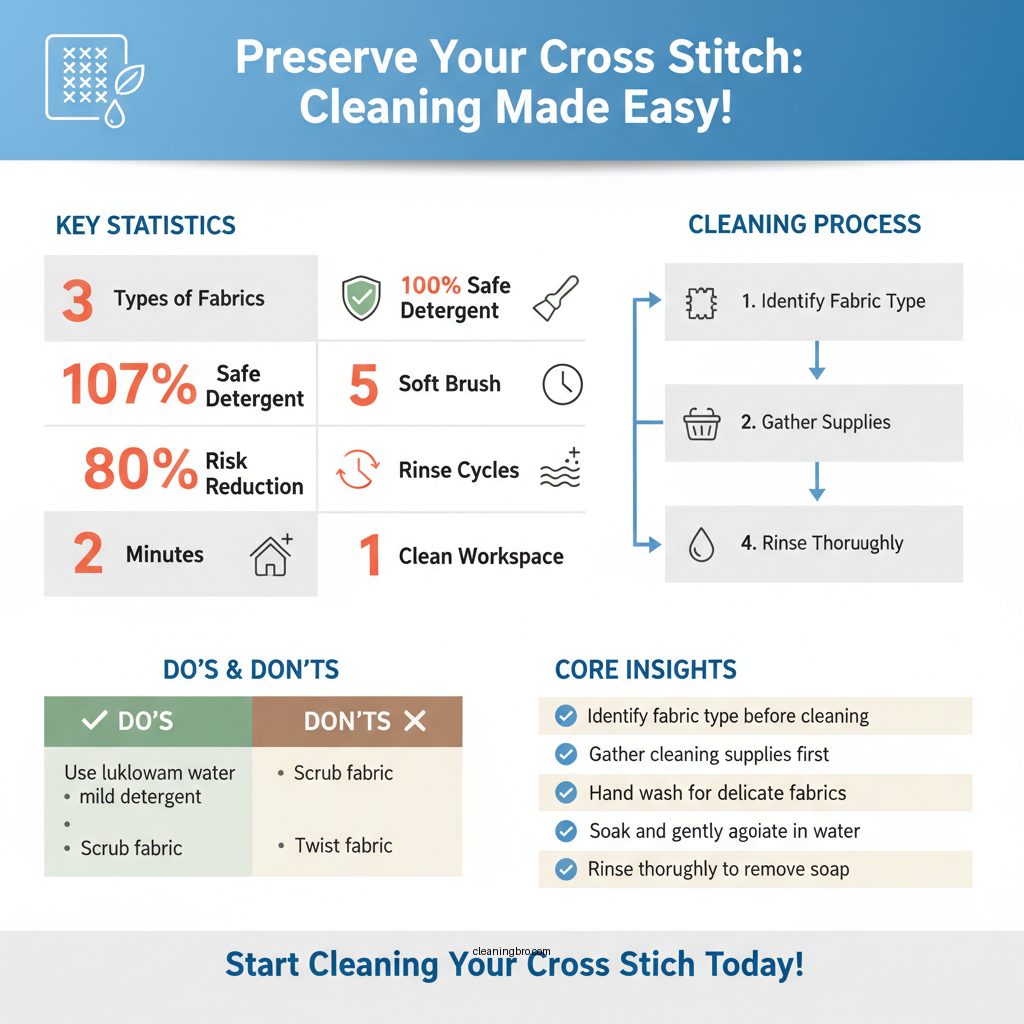

Preparation is key to ensuring a successful cleaning process. Start by gathering the necessary supplies. You will need a mild detergent that is free of bleach and harsh chemicals, as these can cause fading or discoloration. Additionally, a soft brush and a clean sink or basin are essential for the washing process. Ensure that your workspace is clean and devoid of any debris that could transfer to your cross stitch piece during cleaning. Creating a controlled environment will help you avoid further staining your artwork.
Hand Washing Techniques
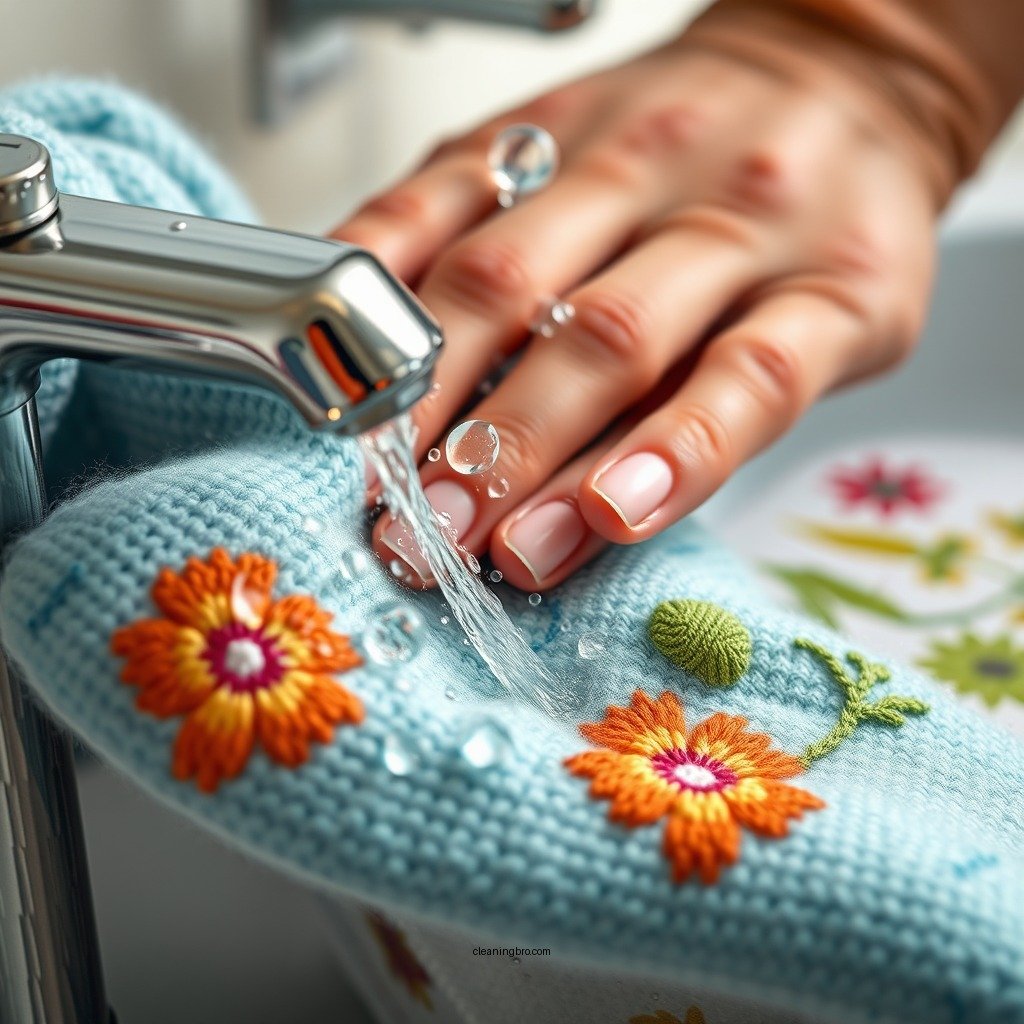
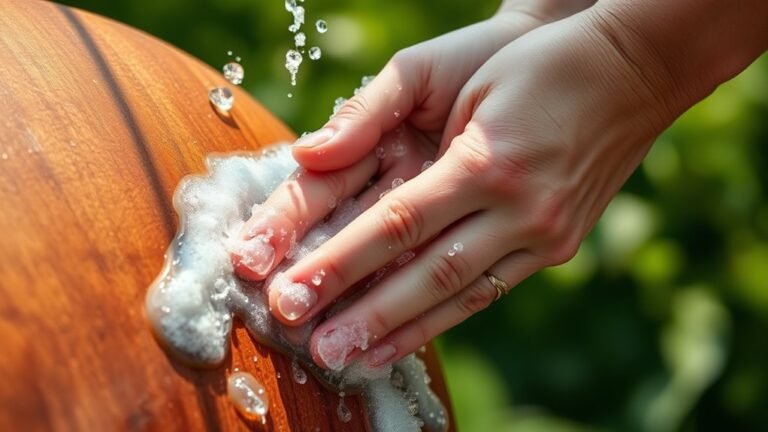
Hand washing is often the safest method for cleaning cross stitch pieces, especially those made from delicate fabrics. Begin by filling your basin with lukewarm water and adding a few drops of the gentle detergent. Carefully submerge the cross stitch piece in the water, allowing it to soak for a few minutes. Gently agitate the water with your hands to loosen dirt and grime, but avoid scrubbing or twisting the fabric, as this can lead to distortion or fraying. Once the dirt has been loosened, rinse the piece thoroughly under cool running water until all soap has been removed. This method ensures that your cross stitch remains intact while effectively cleaning it.
Top 5 Cross Stitch Fabrics and Their Care Requirements
| # | Fabric Type | Durability | Wash Method | Drying Method |
|---|---|---|---|---|
| 1 | Cotton | High | Hand wash | Lay flat |
| 2 | Linen | Medium | Gentle cycle | Hang dry |
| 3 | Aida | High | Hand wash | Lay flat |
| 4 | Evenweave | Medium | Gentle cycle | Hang dry |
| 5 | Silk | Low | Hand wash | Air dry only |
| 6 | Blend | Medium | Gentle cycle | Lay flat |
Spot Cleaning Methods
For stubborn stains that persist despite hand washing, spot cleaning is an effective alternative. Start by applying a small amount of the mild detergent directly onto the stained area. It’s important to use a clean, damp cloth to gently blot the stain rather than rub it, as rubbing can damage the fibers of the fabric. This method allows you to focus on the specific area without exposing the entire piece to unnecessary wear. After blotting, rinse the area gently with cool water and blot dry with a clean cloth. This targeted approach can significantly improve the appearance of your cross stitch without compromising its integrity.
Drying and Ironing
Once your cross stitch piece is clean, proper drying techniques are essential to prevent distortion. Lay the cleaned piece flat on a clean, dry towel to absorb excess moisture. Avoid wringing or twisting the fabric, as this can alter its shape. After a few minutes, you can transfer the piece to another towel for further drying. If the fabric appears wrinkled, you may choose to iron the piece. Use a low heat setting and place a pressing cloth between the iron and the fabric to protect the threads from direct heat. This will help restore the crispness of the fabric without causing any damage.
Storing Your Cleaned Cross Stitch
Proper storage is vital for maintaining the condition of your cleaned cross stitch pieces. Choose a cool, dry place that is away from direct sunlight to prevent fading and discoloration. Consider using acid-free tissue paper to wrap the piece, which will help preserve its shape and prevent creasing. Avoid folding the fabric whenever possible, as creases can become permanent over time. If you are storing multiple pieces, separate them with layers of tissue paper to avoid them sticking together.
Regular Maintenance Tips
To extend the life of your cross stitch projects, regular maintenance is crucial. Dust your pieces gently with a soft brush or a lint-free cloth to prevent dirt buildup. It’s also advisable to check your storage conditions periodically, ensuring that humidity levels are not too high, as this can lead to mold or mildew. When displaying your cross stitch, consider using UV-filtering glass in frames to protect against fading from light exposure. Proper handling and care will allow you to enjoy your cross stitch art for many years.
Storage Options for Cross Stitch Projects
| Feature | ⭐ Acid-free Tissue | Cotton Bag | Plastic Container |
|---|---|---|---|
| Protection from Dust | ✅ | ✅ | ❌ |
| Prevent Creasing | ✅ | ✅ | ❌ |
| Humidity Control | ✅ | ❌ | ❌ |
| Light Protection | ✅ | ❌ | ❌ |
| Breathability | ✅ | ✅ | ❌ |
| Cost | Moderate | Low | Varies |
| Ease of Use | ✅ | ✅ | ✅ |
| Accessibility | Widely available | Common | Available |
| 🏆 Best For | Archival storage | Casual users | Budget-conscious |
By following these steps, you can ensure your cross stitch pieces remain in excellent condition, showcasing your hard work and creativity. Regular cleaning and proper maintenance will extend the life of your projects, allowing you to enjoy them for many years. Don’t hesitate to implement these tips and keep your cross stitch art looking its best!
Frequently Asked Questions
What is the best way to clean a cross stitch project without damaging it?
The best way to clean a cross stitch project is to hand wash it in cold water using a gentle detergent specifically designed for delicate fabrics. Avoid scrubbing or twisting the fabric; instead, gently agitate the water and let it soak for about 10-15 minutes before rinsing thoroughly.
How can I remove stains from my cross stitch embroidery?
To remove stains from your cross stitch embroidery, first identify the type of stain and treat it promptly. Use a mild stain remover or a mixture of equal parts white vinegar and water, dabbing the stained area gently with a soft cloth. Always test on a small, inconspicuous area first to ensure it won’t damage the fabric.
Why is it important to clean cross stitch projects regularly?
Cleaning cross stitch projects regularly is important to prevent dirt, oils, and dust from accumulating, which can lead to discoloration and fabric deterioration over time. Regular cleaning helps maintain the vibrancy of the colors and extends the life of your embroidery, ensuring it remains a cherished piece for years to come.
Which cleaning products are safe to use on cross stitch fabrics?
Safe cleaning products for cross stitch fabrics include gentle, pH-neutral detergents and non-chlorine stain removers. Look for products that are specifically labeled as safe for delicate fabrics and avoid bleach, as it can cause irreversible damage to the threads and fabric.
How should I dry my cleaned cross stitch project to avoid damage?
After cleaning your cross stitch project, the best way to dry it is by laying it flat on a clean, dry towel away from direct sunlight. Avoid wringing or twisting the fabric; instead, gently pat it to remove excess water, and allow it to air-dry completely to maintain its shape and prevent any potential shrinkage.
References
- https://www.craftsy.com/post/how-to-clean-cross-stitch/
https://www.craftsy.com/post/how-to-clean-cross-stitch/ - https://www.embroidery.com/cleaning-and-storing-your-cross-stitch/
https://www.embroidery.com/cleaning-and-storing-your-cross-stitch/ - Google Scholar Google Scholar
https://scholar.google.com/scholar?q=cleaning+cross+stitch - Google Scholar Google Scholar
https://scholar.google.com/scholar?q=how+to+clean+embroidery - Google Scholar Google Scholar
https://scholar.google.com/scholar?q=care+for+cross+stitch+projects - https://www.britannica.com/art/cross-stitch
https://www.britannica.com/art/cross-stitch - https://www.cdc.gov/healthywater/hygiene/cleaning/index.html
https://www.cdc.gov/healthywater/hygiene/cleaning/index.html - Google Scholar Google Scholar
https://scholar.google.com/scholar?q=how+to+clean+cross+stitch - how to clean cross stitch – Search results
https://en.wikipedia.org/wiki/Special:Search?search=how+to+clean+cross+stitch - https://www.ncbi.nlm.nih.gov/search/research-articles/?term=how+to+clean+cross+stitch
https://www.ncbi.nlm.nih.gov/search/research-articles/?term=how+to+clean+cross+stitch