DIY Cleaner for Attic Surfaces
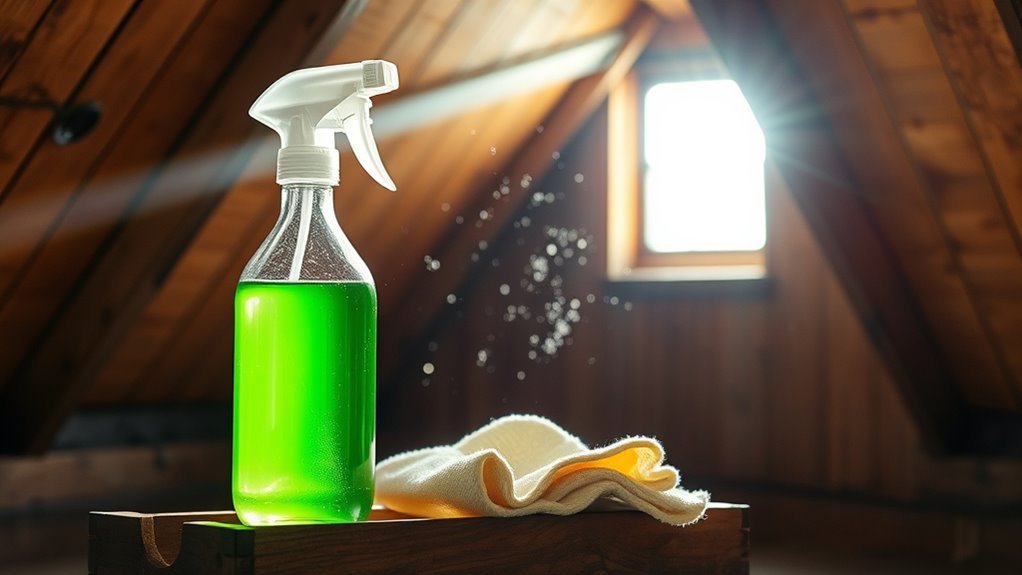
You can make a safe, natural cleaner for your attic using white vinegar, baking soda, and liquid castile soap. Just mix these with water, adding essential oils like tea tree for extra antimicrobial power. Spray or wipe the solution on dust and grime, working in small sections with gloves and a mask for safety. This gentle mix won’t harm wood or insulation. Keep going to discover how to apply it properly and maintain a dust-free attic.
Essential Ingredients for a Homemade Attic Cleaner
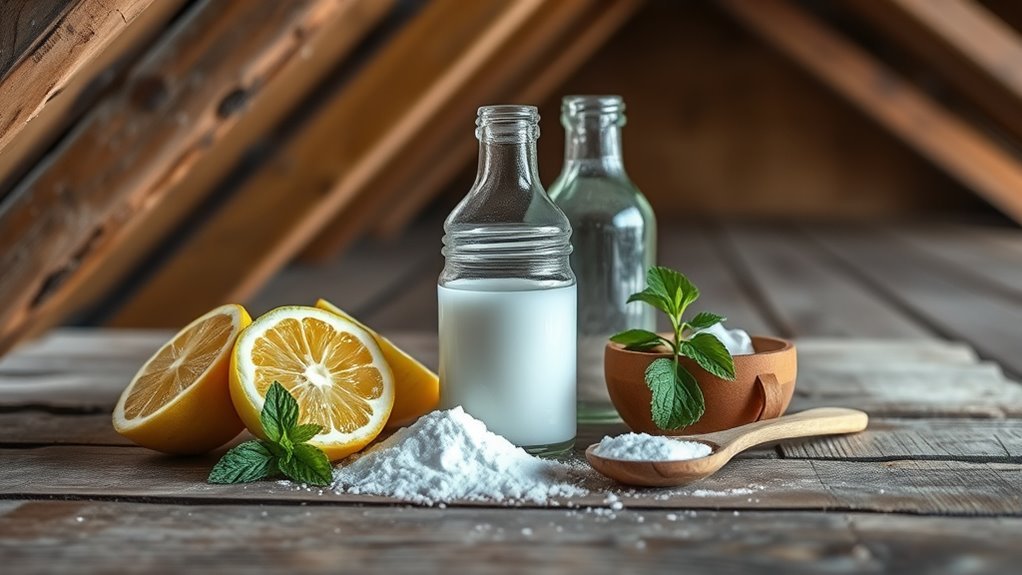
When making a homemade attic cleaner, you’ll need just a few essential ingredients that are effective yet safe for delicate surfaces. Choosing natural alternatives like white vinegar, baking soda, and liquid castile soap guarantees you avoid harsh chemicals while maintaining cleaning effectiveness. These ingredients work together to break down dust, grime, and mildew without damaging wood, insulation, or drywall. You can also add a few drops of essential oils such as tea tree or eucalyptus to boost antimicrobial properties and leave a fresh scent. By opting for these simple, natural components, you’re not only protecting your attic but also embracing freedom from toxic cleaners. This approach lets you tailor your solution to your attic’s specific needs while keeping the environment and your health in mind.
Step-by-Step Guide to Mixing Your Cleaner
Mixing your attic cleaner takes just a few simple steps that anyone can follow. With the right cleaning supplies and attention to mixing ratios, you’ll create a powerful solution that’s safe and effective. Here’s how you do it:
Creating your own attic cleaner is easy and ensures a safe, effective solution tailored to your needs.
- Gather all cleaning supplies, including measuring cups and a sturdy container.
- Measure each ingredient carefully, sticking to recommended mixing ratios.
- Pour the liquids slowly into the container to avoid spills.
- Stir the mixture gently but thoroughly until everything blends evenly.
- Label your cleaner and store it in a cool, dry place for future use.
This method keeps you in control, ensuring you craft a cleaner that fits your attic’s unique needs without relying on harsh chemicals or expensive store-bought alternatives.
Best Practices for Applying the Cleaner to Attic Surfaces

Now that you’ve prepared your cleaner, applying it correctly will make all the difference in how well it works on your attic surfaces. Start by ensuring proper attic ventilation—open vents or use fans to keep fresh air flowing, protecting your lungs and speeding drying time. Before application, focus on thorough surface preparation: remove loose dust and debris with a brush or vacuum to let the cleaner penetrate effectively. Apply the solution evenly using a spray bottle or a soft cloth, avoiding oversaturation that could damage insulation or wood. Work in small sections for better control, and always wear gloves and a mask for safety. Following these steps lets you take control of your attic’s condition while maintaining a healthy, breathable environment.
Tips for Maintaining a Dust-Free Attic
Although keeping your attic spotless can be challenging, regular maintenance helps minimize dust buildup and improves air quality. You’ll feel freer knowing your attic stays cleaner and more comfortable. Focus on optimizing attic ventilation to reduce moisture and prevent dust accumulation. Here are some practical dust control tips:
- Inspect and clean vents regularly to guarantee proper airflow
- Use a vacuum with a HEPA filter for thorough dust removal
- Seal gaps and cracks to block dust entry
- Store items in airtight containers to limit dust gathering
- Schedule routine cleanings to maintain a dust-free space
Safety Precautions When Cleaning Your Attic
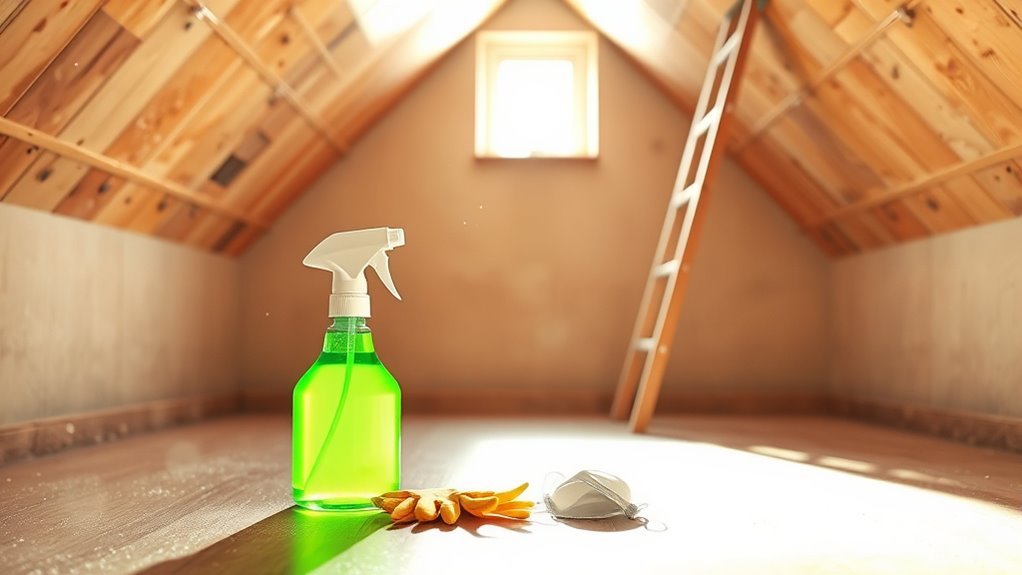
Before you start cleaning your attic, it’s important to prioritize safety to avoid injury or exposure to harmful substances. Make sure you wear protective gear like gloves, goggles, and a mask to shield yourself from dust, mold, and insulation fibers. Proper attic ventilation is essential; open any vents or windows to let fresh air circulate, reducing the buildup of dust and chemical fumes from your DIY cleaner. Avoid working alone—bring someone along or let someone know your plan in case of emergencies. Use sturdy footwear and watch your step to prevent falls on uneven surfaces or exposed nails. Taking these precautions gives you the freedom to clean confidently and efficiently without risking your health or safety.
Frequently Asked Questions
Can This Cleaner Be Used on Painted Attic Walls?
You’ll want to check the paint compatibility before using any cleaner on your painted attic walls. Some cleaners can strip or dull paint, so it’s key to protect the surface. You can test a small, hidden spot first to see how it reacts. This way, you keep your freedom to maintain your space without damage. Always prioritize surface protection to guarantee your walls stay vibrant and intact.
How Often Should I Clean My Attic Surfaces?
You don’t want dust piling up like a mountain in your attic! For attic cleaning frequency, aim to clean at least once a year to keep things fresh and free from allergens. Regular cleaning brings benefits of cleaning such as improved air quality and preventing pest infestations. Staying on top of it lets you enjoy a healthier, freer living space without the hassle of deep, overwhelming cleanups later on.
Is This Cleaner Safe for Mold Removal?
You’ll want to be cautious when tackling mold removal because mold toxicity can pose serious health risks. While some DIY cleaners offer reasonable cleaner effectiveness against mild mold, they might not fully eliminate toxic spores. If you’re aiming for freedom from harmful mold, consider products specifically designed to neutralize mold toxicity. Always wear protective gear and guarantee good ventilation to keep yourself safe during the cleaning process.
Can Pets Be in the Attic During Cleaning?
They say, “Better safe than sorry,” and when it comes to pet safety, that couldn’t be truer. You shouldn’t let your pets be in the attic during cleaning because fumes and dust can harm them. Taking cleaning precautions means keeping your furry friends out to guarantee they stay safe and healthy. You want freedom for both you and your pets, so it’s best to clear the area until the job’s fully done and the space is well-ventilated.
Will the Cleaner Damage Insulation Materials?
You’ll want to be cautious because some cleaner ingredients can harm certain insulation types, like fiberglass or foam. Harsh chemicals might degrade the material or reduce its effectiveness. To keep your freedom to clean safely, choose gentle, non-toxic cleaners with natural ingredients. Always test a small area first and avoid soaking the insulation to prevent damage. This way, your attic stays protected while you enjoy a fresh space.


