DIY Cleaner for Laundry Surfaces
You can make a simple, eco-friendly DIY cleaner for your laundry surfaces using common ingredients like white vinegar, baking soda, castile soap, and essential oils. Mix them with water in a spray bottle for a powerful yet natural solution that cuts grease, deodorizes, and disinfects without harsh chemicals. It’s cost-effective and easy to customize based on your preferences. Using this cleaner helps keep your laundry space fresh and safe, and there’s plenty more to explore about maintaining and storing it properly.
Benefits of Using a DIY Cleaner for Laundry Areas
Although commercial cleaners are widely available, using a DIY cleaner for your laundry area offers several benefits you might not have considered. When you make your own cleaner, you’re choosing eco friendly benefits that reduce harmful chemicals in your home and the environment. It’s empowering to control exactly what goes into your cleaning products, giving you freedom from harsh, synthetic ingredients. Plus, DIY solutions are incredibly cost effective solutions since you use simple, everyday items that won’t drain your wallet. You’re not locked into buying expensive brands or refills, and you can customize your cleaner to suit your preferences. This approach not only saves money but also aligns with a lifestyle that values sustainability and independence. You get a cleaner laundry space while staying true to your values.
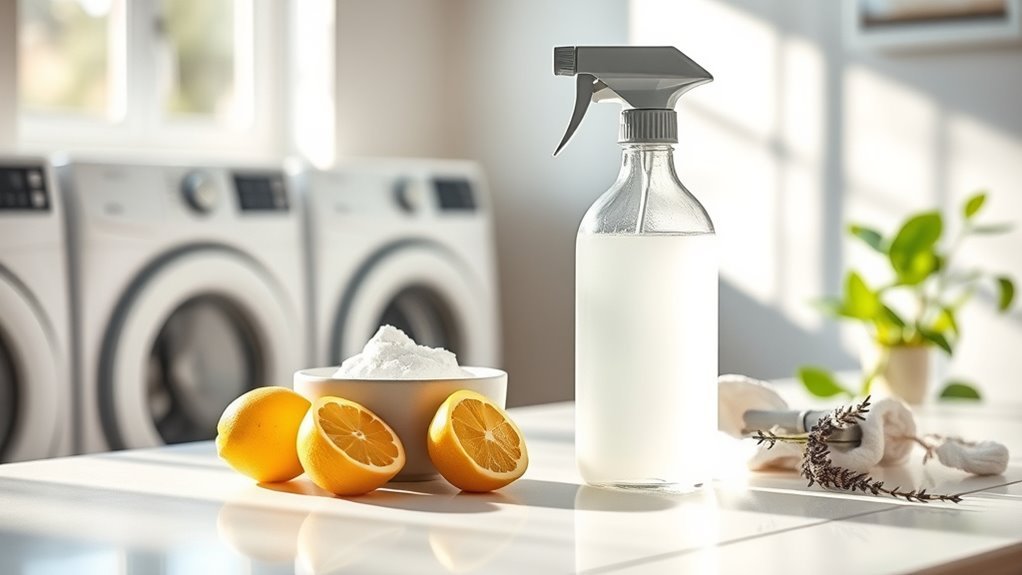
Essential Ingredients for Homemade Laundry Surface Cleaner
To create an effective homemade laundry surface cleaner, you’ll need just a handful of essential ingredients that are easy to find and use. These components harness natural power and offer freedom from harsh chemicals. Here’s what you’ll want on hand:
Craft a natural, effective laundry surface cleaner with simple, easy-to-find ingredients—clean smart and chemical-free.
- White vinegar: known for its impressive vinegar benefits, it cuts grease and disinfects.
- Baking soda: a gentle abrasive that deodorizes and lifts grime.
- Liquid castile soap: a natural, biodegradable cleanser.
- Essential oils: add your favorite scents like lavender or tea tree for extra antibacterial properties.
- Water: the base that ties everything together.
With these essentials, you’re set to clean smart, safe, and sustainably—giving your laundry space a fresh, toxin-free boost without any fuss.
Step-by-Step Guide to Mixing Your Cleaner
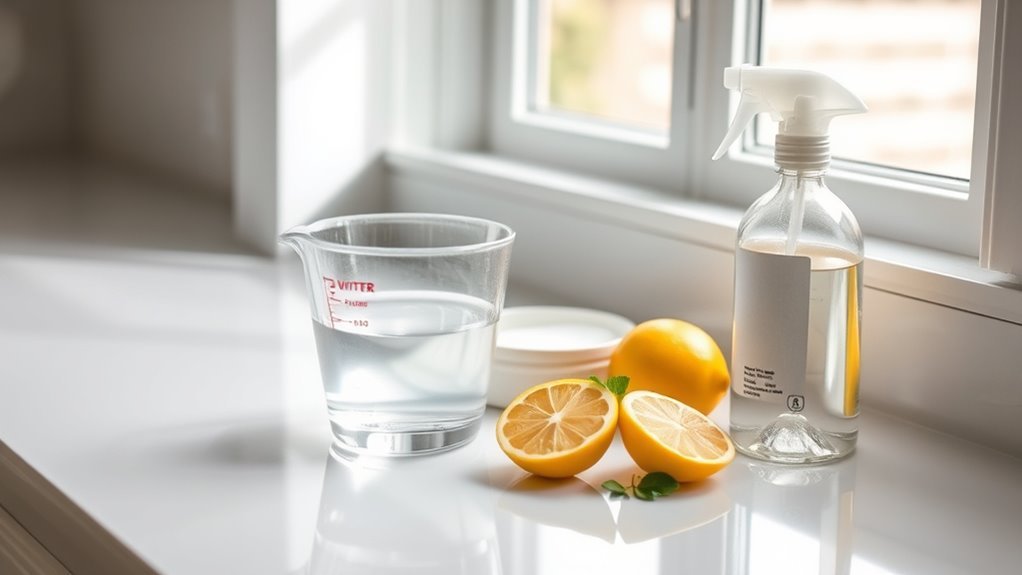
Now that you have all the ingredients ready, it’s time to mix your cleaner. Start by pouring one cup of distilled water into a clean spray bottle. Add half a cup of white vinegar, a quarter cup of baking soda, and a few drops of your favorite essential oil for a fresh scent. Secure the spray top, then gently shake to combine—avoid vigorous shaking to prevent fizzing overflow. This blend uses eco friendly options that respect your space and the planet. Remember, mastering these simple cleaning techniques lets you take control of your environment while reducing waste. Label your bottle clearly and store it in a cool, dark place. With this easy step-by-step, you’re set to enjoy a powerful, natural laundry surface cleaner that’s safe and effective.
How to Safely Clean Different Laundry Surfaces
When caring for various laundry surfaces, you’ll want to tailor your cleaning approach to avoid damage while achieving the best results. Different laundry surface materials respond uniquely to cleaning, so matching your method keeps everything looking fresh longer. Here’s a quick guide with cleaning frequency recommendations:
Tailor your cleaning methods to each laundry surface for effective care and lasting freshness.
- Ceramic tiles: Wipe weekly with a gentle solution to prevent grime buildup.
- Laminate countertops: Use a damp cloth and mild cleaner biweekly; avoid excess water.
- Stainless steel: Clean monthly with a vinegar-water mix to maintain shine.
- Plastic tubs: Rinse after each use; deep clean monthly to stop mold.
- Wood surfaces: Dust regularly; use wood-safe cleaner monthly to avoid warping.
Tips for Maintaining a Spotless Laundry Space
Keeping your laundry space spotless doesn’t have to be a chore if you develop simple habits that prevent messes from piling up. Start by embracing laundry organization—use labeled baskets or bins to sort clothes immediately, so you avoid clutter. Create a cleaning schedule that fits your lifestyle; even a quick wipe down of surfaces after each laundry day keeps grime at bay. You don’t need to spend hours cleaning; consistency is your ally. Make it a habit to check and clean lint traps and wipe detergent spills right away. When everything has its place and you stick to your cleaning schedules, your laundry space stays tidy without stress. This freedom from mess lets you enjoy laundry time, not dread it.
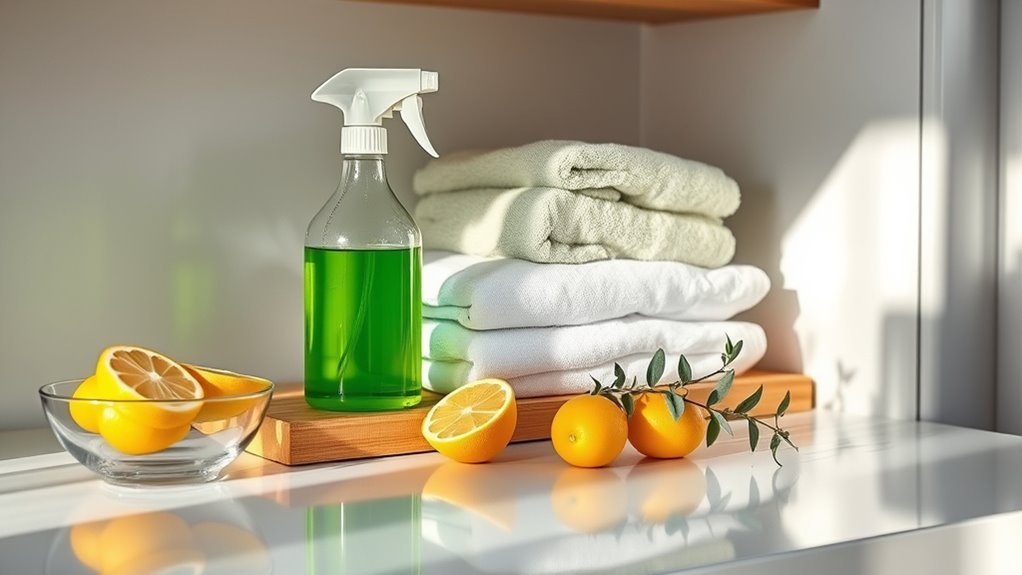
Natural Alternatives to Commercial Laundry Cleaners
Although commercial laundry cleaners are convenient, you might find natural alternatives just as effective and better for your health and the environment. Choosing eco friendly options means you’re reducing harsh chemicals in your space while embracing budget friendly solutions that don’t sacrifice quality. Here are some natural alternatives you can try:
- White vinegar: deodorizes and softens fabrics
- Baking soda: boosts cleaning power and neutralizes odors
- Lemon juice: naturally brightens whites and removes stains
- Castile soap: gentle yet effective for washing surfaces
- Essential oils: add a fresh scent without synthetic fragrances
Using these simple, natural ingredients gives you freedom from pricey, chemical-laden products and keeps your laundry area clean and safe.
Troubleshooting Common Laundry Surface Stains
When you spot a stain, the first step is figuring out what kind it is so you can treat it right. Different stains need different removal methods, so knowing the best technique makes a big difference. Plus, you’ll want to learn how to prevent those pesky marks from showing up again in the future.
Identifying Stain Types
Since different stains require different treatments, identifying the type of stain on your laundry is essential before you start cleaning. Stain identification helps you choose the best approach, while stain classification organizes stains into common groups so you’re not guessing. Here’s a quick guide to recognize what you’re dealing with:
- Protein-based stains: Think blood or sweat; usually dark and can set when dried.
- Oil-based stains: Grease, makeup, or cooking oil; slippery and shiny.
- Tannin stains: Coffee, tea, or wine; often brownish and water-soluble.
- Dye stains: Ink or grass; usually brightly colored and stubborn.
- Combination stains: A mix of types, needing careful attention.
Knowing exactly what you’re facing sets you free to tackle stains effectively without wasting time.
Effective Stain Removal Techniques
If you want to get your laundry spotless, knowing the right stain removal techniques is essential. Start by treating stains as soon as possible to prevent them from setting. For oily stains, sprinkle baking soda to absorb grease before applying your DIY cleaner. Protein-based stains like blood benefit from cold water rinses and gentle detergents to avoid fabric damage. Always test your stain removal solution on a hidden area first to protect fabric care. Use a soft brush or cloth to gently work the cleaner into the stain without spreading it. Rinse thoroughly and repeat if necessary, but avoid harsh scrubbing that can wear out fibers. Mastering these techniques lets you take control of your laundry, saving money and keeping fabrics fresh and free from stubborn stains.
Preventing Future Stains
Knowing how to remove stains is just part of keeping your laundry looking fresh. To truly enjoy freedom from stubborn marks, you need smart preventive measures that boost stain resistance. Here’s how you can stay ahead:
- Treat surfaces with DIY stain-resistant sprays to repel spills.
- Clean laundry areas regularly to prevent buildup that attracts dirt.
- Use protective covers on surfaces where stains often occur.
- Handle stained clothes promptly to stop stains from setting.
- Choose fabrics and finishes that naturally resist stains for your laundry space.
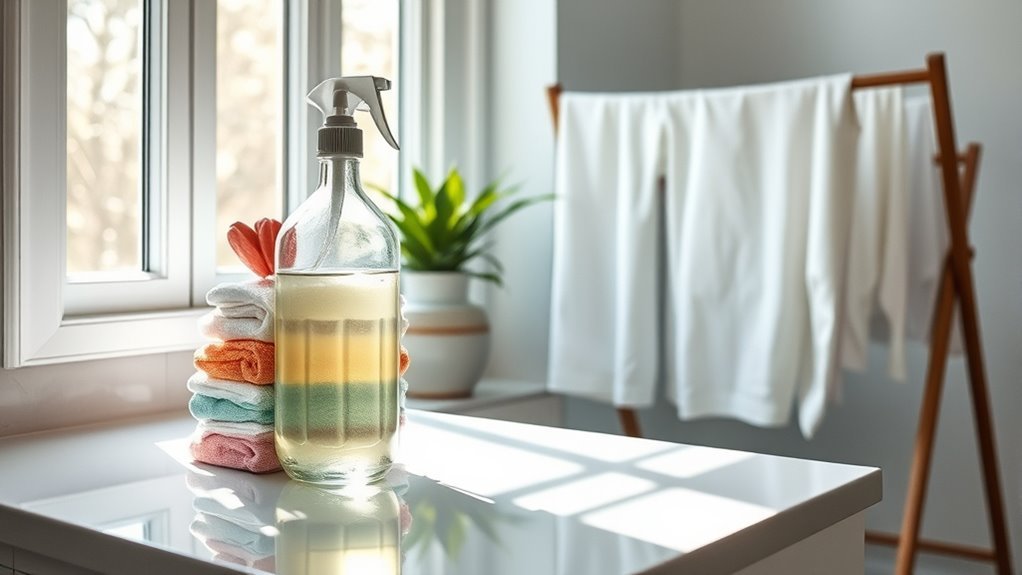
Storing and Preserving Your Homemade Cleaner Safely
When storing your homemade laundry cleaner, you’ll want to keep it in a cool, dry place away from direct sunlight to maintain its effectiveness. Using proper storage containers is essential—opt for airtight glass or BPA-free plastic bottles to prevent contamination. Remember safety precautions: label your containers clearly, and keep them out of reach of children and pets. This simple routine preserves your cleaner’s power and guarantees safe use.
| Storage Tip | Reason | Safety Benefit |
|---|---|---|
| Cool, dry place | Prevents degradation | Maintains cleaner’s strength |
| Airtight container | Avoids contamination | Keeps cleaner safe to use |
| Clear labeling | Identifies contents easily | Prevents accidental misuse |
Frequently Asked Questions
Can DIY Cleaners Be Used on Washing Machine Interiors?
Think of your washing machine interior as a castle’s hidden chambers—if you want it to shine, you must choose your cleaning knights wisely. You can absolutely use DIY cleaners for washing machine maintenance, but be sure they’re gentle enough to protect seals and metal parts. This way, you keep your machine’s heart strong without sacrificing cleaning effectiveness. Embrace the freedom to maintain your appliance naturally, knowing you’re safeguarding its longevity and power.
How Often Should I Deep Clean My Laundry Surfaces?
How often you deep clean your laundry surfaces depends on your laundry frequency. If you do laundry daily or multiple times a week, aim for deep cleaning every month to keep things fresh and free from buildup. For less frequent laundry days, every two to three months should do. Deep cleaning regularly gives you the freedom to enjoy a spotless, efficient space without worrying about grime or odors piling up.
Are DIY Cleaners Safe for Septic Systems?
Did you know that over 20% of homes in the U.S. rely on septic systems? When you use DIY cleaners with natural ingredients, you’re usually promoting septic safety since harsh chemicals can harm beneficial bacteria. You’ve got the freedom to make eco-friendly choices that protect your system and the environment. Just avoid excessive use of vinegar or bleach, and your septic tank will thank you while you enjoy cleaner, safer surfaces.
Can I Add Essential Oils for Fragrance in My Cleaner?
You can totally add essential oils for fragrance in your cleaner! Just pick essential oil types like lavender, eucalyptus, or lemon for a fresh scent. Keep in mind, fragrance longevity varies—some oils fade faster, so you might need to add a bit more to keep that vibe going. Experiment freely to find what suits you best, and enjoy a personalized, uplifting aroma every time you clean.
What Should I Do if My DIY Cleaner Causes Skin Irritation?
If your DIY cleaner causes skin irritation, it’s likely due to ingredient sensitivity. Stop using it immediately to prevent further discomfort. You can try skin irritation remedies like rinsing the area with cool water, applying aloe vera, or using a gentle moisturizer to soothe your skin. In the future, test small amounts of ingredients on your skin before mixing, so you can freely customize your cleaner without worry.


