Mistakes to Avoid When Cleaning Your Grout
You’ll want to avoid harsh chemicals that can erode or discolor your grout, and scrubbing too hard which wears it down. Make certain you know your grout type before cleaning, as different types need different care. Don’t skip regular maintenance or sealing, and avoid soaking grout with excess water to prevent mold. Always test cleaners on a small spot first and guarantee good ventilation while cleaning. Keep these tips in mind to protect your grout effectively—and discover even more ways to keep it looking great.
Using Harsh Chemicals That Damage Grout
While it might seem easier to grab a strong cleaner, using harsh chemicals can actually damage your grout. You want your grout to last, not wear down or discolor. Instead of reaching for aggressive products, consider chemical alternatives that protect your grout’s integrity. These gentler options help maintain the original look without compromising strength. Choosing safer solutions gives you the freedom to clean confidently, knowing you’re preserving your floors. Plus, if damage does occur, grout restoration can be costly and time-consuming. By avoiding harsh chemicals, you minimize the risk of permanent harm and the need for repairs. Embrace smarter cleaning habits that free you from worries about ruining your grout, letting you enjoy your space without restrictions or regrets.
Scrubbing Too Vigorously and Causing Wear
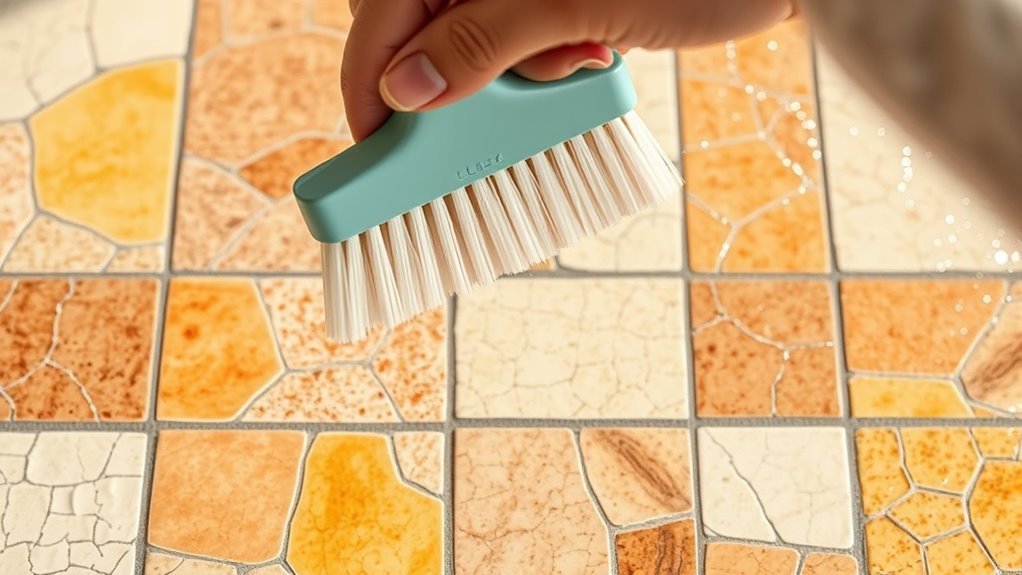
Choosing gentle cleaners is just one part of protecting your grout—how you scrub matters too. Scrubbing too vigorously can lead to grout wear, eroding its surface and making it vulnerable to stains and damage. You want to clean effectively without sacrificing the grout’s integrity. Focus on using the right scrubbing techniques: gentle circular motions with a soft brush work best. Avoid hard scrubbing or harsh back-and-forth motions that wear down the grout. Remember, less force and consistent care maintain grout appearance longer. By mastering these scrubbing techniques, you keep your grout intact and looking fresh, giving you the freedom to enjoy a clean space without worrying about premature grout damage.
Ignoring the Type of Grout Before Cleaning
Before you start cleaning, it’s essential to know what type of grout you’re dealing with. Different grout types—like sanded, unsanded, epoxy, or urethane—react differently to cleaning methods. Using the wrong approach can damage the grout or leave it stained. For example, sanded grout is tougher and can handle stronger scrubs, while unsanded grout is more delicate and requires gentler methods. Epoxy grout resists stains but needs specific cleaners to avoid surface damage. Ignoring these differences limits your freedom to clean effectively and risks ruining your grout. Take a moment to identify your grout type first; it’s the smart move that protects your investment and keeps your tiles looking sharp without unnecessary hassle.
Skipping Routine Maintenance and Sealing
If you don’t keep up with routine maintenance and sealing, your grout will quickly become vulnerable to dirt, stains, and moisture. Neglecting routine cleaning lets grime settle deep, making it harder to restore that fresh look you want. Skipping sealing means your grout loses its protective barrier, leaving it open to damage and discoloration. To keep your space feeling open and clean, embrace sealing techniques that lock out debris and water.
Regular maintenance and sealing protect grout from stains, moisture, and damage, keeping your space fresh and clean.
Imagine your grout like a shield that needs regular care:
- A quick wipe after spills prevents stubborn stains.
- Applying sealant every year blocks moisture and mold.
- Spot cleaning keeps the grout lines crisp and bright.
Stick to these habits, and your grout will stay as free and fresh as you want your home to be.
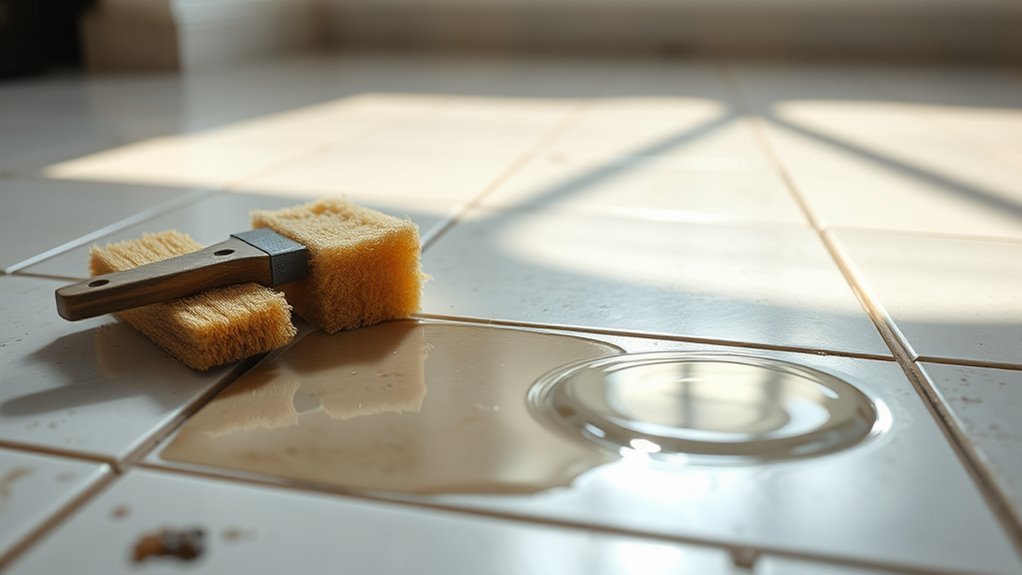
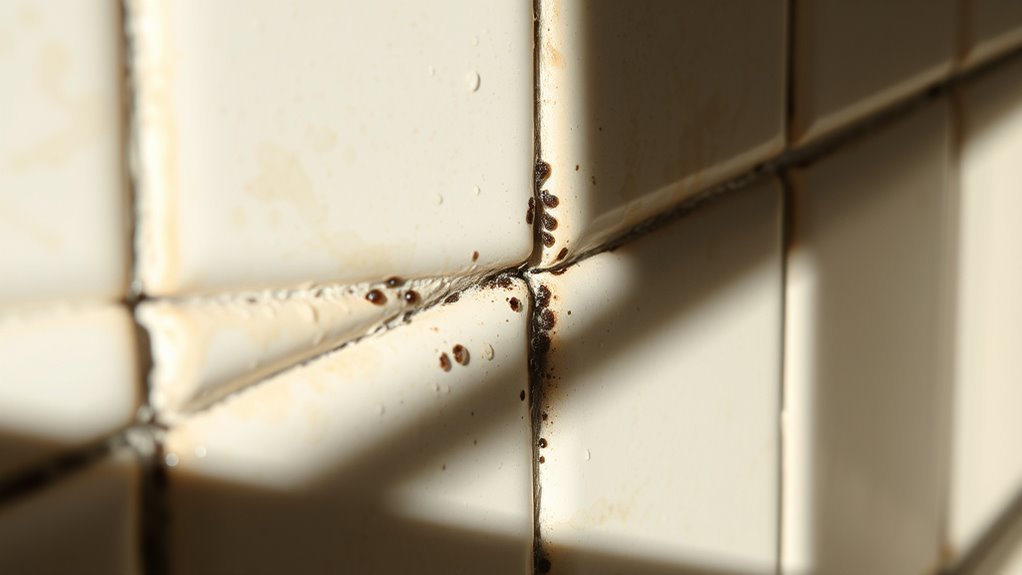
Applying Excessive Water Leading to Mold Growth
When cleaning grout, using too much water can trap moisture and encourage mold growth. You’ll want to control the amount of water you apply and dry the area thoroughly afterward. Taking these steps helps keep your grout clean and mold-free.
Water Amount Control
Controlling the amount of water you use while cleaning grout is essential to prevent mold growth. Overusing water can trap moisture deep within the grout lines, creating the perfect environment for mold to thrive. To maintain proper moisture control, be mindful of your water usage and keep grout as dry as possible after cleaning. Imagine:
- A sponge soaking up just enough water without dripping
- A spray bottle misting grout lightly, not flooding it
- A towel quickly wiping away excess moisture to let the grout breathe
Mold Prevention Tips
Though it might seem harmless, applying too much water during grout cleaning can quickly lead to mold growth. You want your space to feel fresh and free, but excess moisture creates the perfect environment for mold to thrive. To keep your freedom intact and your grout safe, focus on smart prevention strategies. Use a damp—not soaked—sponge or mop, and clean in small sections to avoid pooling water. After cleaning, make sure you ventilate the area well, letting air circulate and dry every nook. Quick drying stops mold growth before it even starts. Remember, controlling water use isn’t just about cleaning—it’s about protecting your home from long-term damage and preserving your freedom to enjoy a healthy, mold-free space.
Using Colored Cleaners That Stain Grout
Many colored cleaners contain dyes that can easily leave permanent stains on your grout if you’re not careful. These stains happen because some dyes lack color fastness and seep into the porous grout, making it tough to restore. Plus, leftover cleaner residue can trap dirt, causing discoloration over time. To avoid this, steer clear of vibrant cleaners that aren’t specifically designed for grout. Imagine:
- Bright red cleaner pooling in grout lines, leaving a hue that won’t budge
- Blue-tinted residue settling into cracks, dulling your tile’s shine
- Spotty patches where color fastness failed, ruining your clean look
Choose clear, grout-safe products to keep your freedom to clean without staining. Your grout deserves care that enhances, not confines.
Overlooking Proper Ventilation While Cleaning
When you’re cleaning grout, proper ventilation is essential to keep the air fresh and reduce exposure to harsh fumes. Ignoring airflow can lead to headaches, dizziness, or even respiratory issues. Make sure to open windows, use fans, or wear a mask to stay safe while you clean.
Importance of Airflow
If you don’t guarantee proper airflow while cleaning grout, you could expose yourself to harmful fumes from cleaning products. Understanding airflow importance is key to maintaining a safe, fresh space where you’re free to breathe easy. Without good ventilation methods, those fumes can linger, making your cleaning routine risky rather than invigorating.
To keep the air moving and your freedom intact, consider these simple ventilation methods:
- Opening windows wide to invite fresh air in
- Using fans to push stale air out
- Running an exhaust or vent fan during and after cleaning
Risks of Poor Ventilation
Because poor ventilation traps fumes from grout cleaners, you could face headaches, dizziness, or respiratory issues without realizing the cause. Ignoring the ventilation significance limits fresh air circulation, allowing harmful chemicals to build up around you. When cleaning grout, it’s easy to focus solely on scrubbing and forget that managing airflow is critical for your safety. Without proper airflow management, these toxic vapors linger, impacting your comfort and health. Don’t underestimate how important ventilation is—not just for avoiding immediate discomfort but for protecting your lungs long-term. If you want the freedom to clean confidently and safely, recognizing the risks of poor ventilation is essential. Overlooking this can turn a routine chore into an unnecessary hazard you’d rather avoid.
Tips for Adequate Ventilation
Why risk your health by ignoring ventilation while cleaning grout? Proper ventilation methods are essential to keep harmful fumes at bay and guarantee the airflow importance is never underestimated. You want to breathe freely, not be trapped in a stuffy, chemical-laden room. Here are simple tips to boost your space’s airflow:
- Open multiple windows and doors to create a cross breeze, flushing out toxins.
- Use fans positioned near open windows to pull fresh air in and push stale air out.
- Consider wearing a mask for extra protection when using strong cleaners.
Neglecting to Test Cleaners on a Small Area First
Before applying any grout cleaner broadly, you should always test it on a small, inconspicuous area first. This patch test verifies cleaner compatibility with your grout and tiles, preventing damage or discoloration. Skipping this step can lead to costly repairs and frustration, limiting your freedom to experiment with different products confidently. Here’s a quick guide to help you:
| Cleaner Type | Ideal Surface | Patch Test Tip |
|---|---|---|
| Acid-based | Ceramic, porcelain | Test behind a fixture |
| Oxygen bleach | Most grout types | Wait 24 hours for results |
| Homemade mix | Natural stone | Use sparingly, observe closely |
| Commercial gel | Tough stains | Apply thin layer |
| Enzyme cleaner | Organic stains | Check for residue |
Always start small—your grout deserves it.
Frequently Asked Questions
How Often Should Grout Be Professionally Cleaned?
You should consider grout maintenance frequency based on your lifestyle and space usage, but typically, professional grout cleaning every 12 to 18 months works well. This keeps grout looking fresh and extends its life. The grout cleaning benefits include removing deep-seated dirt and mold that regular cleaning can’t reach, giving you more freedom to enjoy your space without worrying about grime buildup or potential damage.
Can Natural Remedies Effectively Clean Grout?
Imagine your grout as a canvas longing to shine. You might find that natural solutions, like baking soda and vinegar, can work wonders, offering a gentle yet satisfying cleaning effectiveness. These remedies free you from harsh chemicals, letting you embrace a more organic approach. While they may need a bit more elbow grease, they’re perfect for those craving freedom from toxins and ready to bring their grout back to life naturally.
What Tools Are Best for Grout Cleaning?
When you’re tackling grout cleaning, the best tools to reach that freedom from dirt are grout brushes paired with effective cleaning solutions. Grout brushes have stiff bristles designed to scrub deep without damaging your tiles. You’ll want cleaning solutions that break down grime but aren’t harsh, so you can keep your space fresh without hassle. Using these tools together lets you enjoy a cleaner, freer home with less effort.
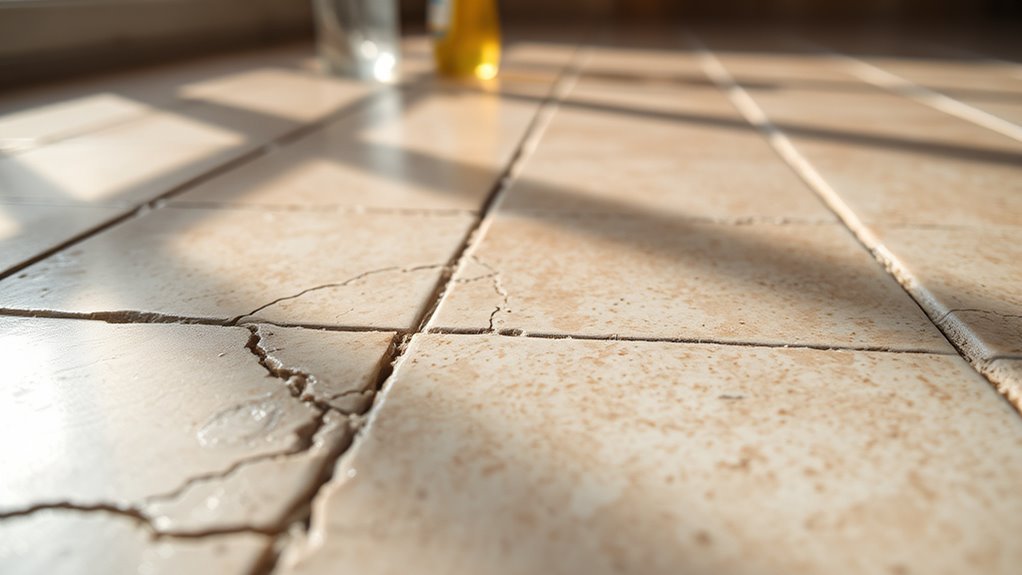
Is Grout Repair Necessary After Deep Cleaning?
Imagine your grout as the sturdy lines holding a vibrant mosaic together. After deep cleaning, if you notice grout discoloration causes like stains or cracks that cleaning can’t erase, grout repair becomes necessary. You’ve got options—from simple patching to full regrouting—that let you restore freedom to your floors without replacing tiles. So while cleaning revives, repair guarantees your grout stays strong and beautiful, keeping your space feeling fresh and open.
How Long Does Grout Sealer Last Before Reapplication?
You’ll find grout sealer typically lasts about one to three years before you need to reapply it. The grout longevity depends on factors like foot traffic and moisture exposure. To maintain sealer effectiveness, you should watch for signs of wear, like water absorption or discoloration. Keeping an eye on your grout guarantees you can enjoy the freedom of a fresh, protected surface without worrying about damage or stains sneaking in.


