Top 10 Tips for Cleaning Fan
To clean your fan efficiently, start by gathering soft cloths, gentle brushes, and mild detergent. Always unplug it and carefully disassemble the blades and grill. Dust thoroughly, using a vacuum with a brush attachment if needed, then wash blades with soapy water. Dry all parts completely before putting it back together. Lubricate any moving parts to keep it running smoothly. Stick to a regular cleaning schedule to avoid buildup. Keep going for tips on maintenance and safety to keep your fan in top shape.
Gather the Right Cleaning Supplies
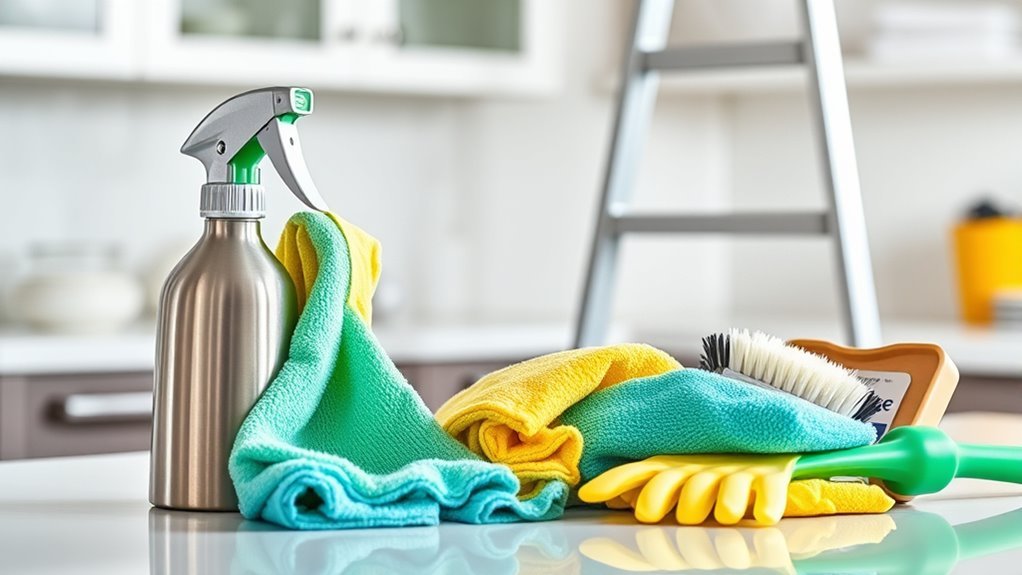
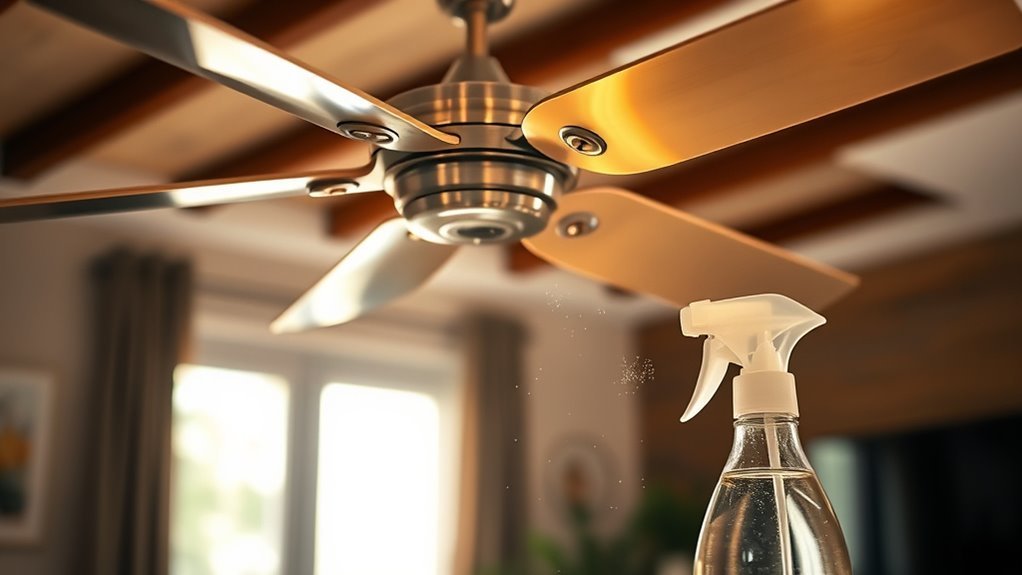
Before you begin cleaning your fan, make sure you have the right supplies on hand. Having the proper cleaning supplies is essential to efficient fan maintenance, letting you keep your fan in top shape without hassle. You’ll want a soft cloth or microfiber towels to avoid scratches, a gentle brush for dust in tight spots, and a mild detergent or cleaning spray that won’t damage the fan’s surface. Gloves can protect your hands, while a can of compressed air can help clear stubborn dust from hard-to-reach areas. Gathering these items beforehand means you won’t be interrupted mid-cleaning, giving you the freedom to maintain your fan quickly and effectively. With the right tools, fan maintenance becomes a simple task that supports your comfortable, unrestricted lifestyle.
Unplug and Disassemble the Fan
Before you start cleaning, make sure to unplug your fan to keep things safe. Next, carefully disassemble the fan according to the manufacturer’s instructions. This helps you reach all the parts that need cleaning without risking damage or injury.
Safety First: Power Off
Since safety is your top priority, always make certain to unplug your fan before you start cleaning. Taking this simple step guarantees fan safety and helps you avoid electrical hazards. Before touching any part, confirm that no power is running through the device—this freedom from risk lets you clean with confidence.
| Step | Why It Matters |
|---|---|
| Unplug the fan | Cuts off electrical power |
| Wait a few minutes | Allows internal parts to stop moving |
| Check the cord | Avoids damaged wiring risks |
| Use dry hands | Prevents electric shocks |
| Work in a dry area | Minimizes slipping or accidents |
Proper Fan Disassembly
Once you’ve confirmed the fan is unplugged and safe to handle, you can start taking it apart carefully. Different fan types call for specific disassembly techniques, so knowing your model helps you avoid damage. Whether it’s a pedestal, box, or ceiling fan, the goal is to free the blades and grills without forcing anything. Here’s a simple approach:
- Remove screws or clips holding the front grill—some twist off, others snap.
- Gently pull or slide the blades off their shaft, noting their alignment.
- Detach the rear grill or motor housing if needed for a thorough clean.
Dust the Blades and Grill Thoroughly

When dusting the blades and grill, make sure to use a soft cloth to avoid scratches. If you run into stubborn dust, gently wipe it away without applying too much pressure. Taking your time here helps keep your fan in great shape.
Use Soft Cloth
A soft cloth is your best tool for dusting fan blades and grills without causing damage. When it comes to fan maintenance, choosing the right cloth types is key to protecting your fan’s surfaces while giving you freedom from dust buildup. Here’s how to make the most of your cloth:
- Opt for microfiber or cotton cloths—they trap dust effectively and won’t scratch delicate parts.
- Lightly dampen the cloth if dry dusting isn’t enough, but avoid soaking it to prevent moisture damage.
- Use gentle, sweeping motions to lift dust without forcing it into crevices, keeping your fan clean and unhindered.
Remove Stubborn Dust
If lightly dampened cloths don’t fully remove the dust, you’ll need to tackle the fan blades and grill more thoroughly. Using effective cleaning methods like a soft brush or compressed air can loosen stubborn particles. Here’s a quick guide on dust removal techniques:
| Step | Tool Needed | Tip |
|---|---|---|
| 1. Power Off | Switch | Always unplug first |
| 2. Dust Blades | Soft brush | Sweep gently, don’t scratch |
| 3. Clean Grill | Vacuum or cloth | Remove trapped dust |
| 4. Final Wipe | Damp cloth | Dry completely |
Use a Vacuum With Brush Attachment
One effective way to remove dust and debris from your fan is by using a vacuum with a brush attachment. This method gives you control and speed, letting you maintain your fan without hassle. By incorporating this into your fan maintenance routine, you can keep your fan running smoothly and enjoy fresher air.
Using a vacuum with a brush attachment offers quick, controlled fan cleaning for smoother operation and fresher air.
Follow these simple steps for efficient cleaning:
- Attach the brush to your vacuum and set it to low suction to avoid damage.
- Gently vacuum the fan blades, grill, and motor housing to lift dust without scattering it.
- Repeat this process regularly to reduce buildup and improve cleaning frequency.
Using a vacuum brush attachment saves time, keeps your space free, and gives you the freedom to enjoy your fan’s full potential.
Clean Blades With Soapy Water
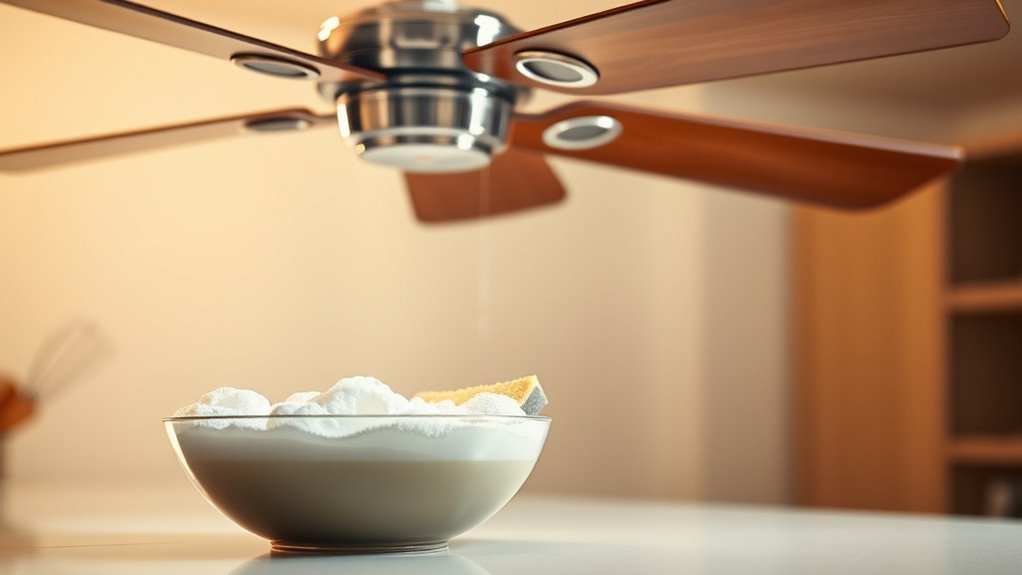
Two simple ingredients—warm water and mild soap—can make cleaning your fan blades much easier and more effective. You don’t need harsh chemicals; just mix a gentle cleaning solution to protect various blade materials without damage. Dip a soft cloth or sponge into the soapy water, wring it out, and carefully wipe each blade to remove dust and grime. This method offers freedom from stubborn dirt while being safe and eco-friendly.
| Blade Material | Recommended Cleaning Solution | Tips |
|---|---|---|
| Plastic | Mild soap + warm water | Avoid abrasive scrubbers |
| Metal | Mild soap + warm water | Dry thoroughly |
| Wood | Mild soap + minimal water | Wipe quickly, avoid soaking |
Using soapy water keeps your fan blades clean and lasting longer.
Wipe Down the Motor and Base
Before you start wiping down the motor and base, make sure the fan is unplugged for safety. Use a soft cloth to gently clean these parts without causing damage. Be careful not to let any water touch the motor to avoid electrical issues.
Unplug Before Cleaning
To safely clean your fan, always unplug it first to prevent any risk of electric shock. This simple safety precaution guarantees you can freely maintain your fan without worry. Before wiping down the motor and base, disconnecting from power is essential for effective fan maintenance.
Here’s how to make unplugging part of your cleaning routine:
- Locate the power cord and gently pull the plug from the outlet—never yank the cord.
- Wait a few minutes to let any residual electrical charge dissipate.
- Confirm the fan is completely off before you start wiping down the motor and base.
Use Soft Cloth
Once your fan is unplugged and safely powered down, grab a soft cloth to start wiping the motor and base. Choosing the right soft cloth types guarantees you clean effectively without damaging delicate parts. Cleaning cloths like microfiber or cotton work great—they trap dust without scratching surfaces. Gently wipe in smooth strokes, freeing your fan from built-up grime and letting it run smoothly again. Here’s a quick guide to help you pick the best cloth:
| Soft Cloth Type | Best For |
|---|---|
| Microfiber | Dust and fine particles |
| Cotton | General cleaning |
| Flannel | Delicate surfaces |
| Chamois | Polishing |
| Terry Cloth | Absorbing spills |
Using the right cleaning cloths keeps your fan clean and lets you enjoy fresh air freedom.
Avoid Water Contact
Although it might seem tempting to clean your fan with water, you should avoid any contact between moisture and the motor or base. Water damage can cause serious electrical hazards, putting you and your freedom at risk. Instead, focus on these safe cleaning steps:
- Use a dry or slightly damp soft cloth to gently wipe the motor and base.
- Avoid spraying any cleaning solutions directly onto the fan; apply them to the cloth first.
- Make sure the fan is unplugged and completely dry before plugging it back in.
Dry All Parts Completely Before Reassembly
Before you put your fan back together, make certain every part is completely dry. Using effective drying techniques like air drying or wiping parts with a microfiber cloth guarantees no moisture remains, preventing rust or electrical issues. Don’t rush this step—taking your time here gives you freedom from future maintenance headaches. Lay components on a clean towel in a well-ventilated area, or use a fan to speed up drying without heat damage. Once dry, follow assembly tips carefully, aligning parts precisely to avoid misfits or wobbling. Double-check that blades and grills are free of moisture before reassembling. By prioritizing thorough drying, you protect your fan’s longevity and keep your space safe, letting you enjoy cool breezes without worry.
Lubricate Moving Parts if Necessary
Check your fan’s moving parts to see if they need lubrication, especially if you notice any squeaking or resistance when it spins. Keeping up with proper cleaning frequency helps prevent buildup that can strain these components. When it’s time to lubricate, here are some lubrication tips to keep your fan running smoothly:
- Use a lightweight machine oil designed for small motors—avoid heavy oils or grease that attract dust.
- Apply a few drops directly onto the motor shaft and bearings to reduce friction.
- Wipe away any excess oil to prevent dripping or grime accumulation.
Reassemble the Fan Carefully
Once all the parts are clean and lubricated, you’ll want to reassemble the fan carefully to guarantee it operates correctly. Start by aligning the blades and housing properly, ensuring each component fits snugly without forcing anything. Use fan maintenance tips like tightening screws evenly to avoid imbalance, which can reduce performance and cause noise. Pay close attention to any wiring or connectors, securing them as they were to maintain safety and function. Following proper reassembly techniques prevents damage and keeps your fan running smoothly. Take your time and double-check each step; rushing can lead to mistakes that compromise your fan’s efficiency. With careful reassembly, you’ll enjoy a free, breezy environment without unnecessary hassle or repairs.
Schedule Regular Cleaning Sessions
Taking the time to reassemble your fan properly sets the stage for consistent performance, but keeping it running smoothly means you’ll want to schedule regular cleaning sessions. Establishing a cleaning frequency tailored to your environment guarantees your fan stays efficient and durable. Here are three maintenance tips to keep in mind:
- Mark your calendar to clean your fan every 4-6 weeks, or more often if you live in a dusty area.
- Use a soft cloth or brush to remove dust buildup before it affects performance.
- Check moving parts for wear during each session, lubricating as needed to avoid noisy operation.
Frequently Asked Questions
Can I Use a Dishwasher to Clean Fan Blades?
You might be tempted to toss fan blades in the dishwasher for a quick clean, but it’s not the best idea. Dishwasher safety is a concern since the high heat and strong detergents can warp or damage the blades. For proper fan maintenance, it’s better to wipe them down with a damp cloth and mild soap. This way, you keep your fan in great shape without risking any damage.
How Often Should I Replace My Fan for Safety?
How long do you want to compromise your comfort and safety? Knowing your fan lifespan is key to fan safety. Generally, fans last about 8-10 years, but if you notice unusual noises, wobbling, or reduced airflow, it’s time to replace it. Don’t wait for a breakdown to take action—your peace of mind and freedom to relax safely depend on it. Regular checks help you enjoy cool, worry-free breezes.
Are There Specific Cleaning Products to Avoid on Fan Parts?
You should avoid harsh cleaning solutions like bleach or ammonia on your fan components since they can damage plastic or metal parts. Stick to mild soap and water or specialized cleaners designed for electronics. Also, steer clear of abrasive materials that might scratch surfaces. Keeping your cleaning approach gentle lets you maintain your fan’s freedom to operate smoothly without risking damage or voiding warranties. Always check the manufacturer’s recommendations before using any product.
Can Fan Cleaning Improve Air Quality Significantly?
Did you know that indoor air can be up to five times more polluted than outdoor air? When you commit to regular fan maintenance, you’re not just keeping your fan running smoothly—you’re boosting air purification by reducing dust and allergens circulating in your space. This simple routine gives you cleaner air and more freedom to breathe easy without relying solely on expensive air purifiers. It’s a small effort with a big payoff for your health.
What Are Signs My Fan Needs Professional Maintenance?
If your fan starts making louder fan noise or you feel unusual vibrations, it’s a clear sign you might need professional maintenance. You don’t want to be stuck with a noisy, inefficient fan that limits your comfort. When things don’t feel right, trust your instincts and get an expert to check it out—this way, you’ll keep your space breezy and enjoy the freedom of fresh, clean air without hassle.


