How to Remove Walls From Attic
Before removing walls from your attic, you’ll want to identify which ones support the structure—load-bearing walls need special care to avoid damage. Get the proper permits to meet local codes, and prepare your attic safely with the right gear. Turn off any wiring or plumbing and remove drywall carefully. Taking these steps helps protect your home and you. Keep going, and you’ll uncover how to handle each phase smoothly and safely.
Assessing Structural Support Before Wall Removal
Before you begin removing any walls in your attic, it’s important to assess the structural support they provide. These walls often play a critical role in load distribution, helping to keep your attic stable and secure. If you overlook this, you risk compromising your home’s integrity. You’ll want to identify which walls are load-bearing and consider necessary wall reinforcement before taking any action. Evaluating the support system allows you to plan smartly, ensuring freedom in redesign without sacrificing safety. By understanding how loads shift when walls come down, you can make informed decisions about where to add beams or supports. This approach keeps your attic safe and open, giving you the liberty to transform your space confidently.
Obtaining Necessary Permits and Approvals
Once you understand which walls support your attic’s structure, the next step is making certain you comply with local building regulations. You’ll need to submit a permit application before knocking down any walls. This isn’t just red tape—it’s an essential step to protect your home and guarantee your project’s safe. The approval process varies by location but generally involves submitting detailed plans showing how you’ll maintain structural integrity. Be prepared to answer questions or provide additional information. Skipping this step can lead to fines, forced rebuilds, or insurance issues later on. Embrace the freedom of a well-planned renovation by respecting these rules upfront, making your attic transformation smooth and worry-free. Taking care of permits means you’re free to create without future headaches.
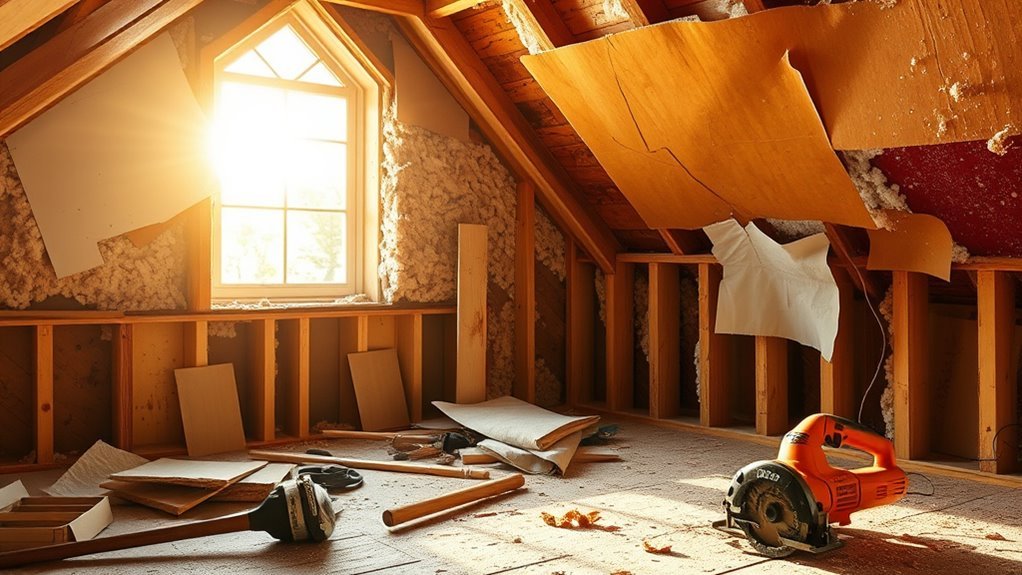
Preparing the Attic Space and Ensuring Safety
Before you start removing walls, make sure to assess the attic’s structural integrity to avoid any unexpected collapses. You’ll also want to gather the right protective equipment like gloves, goggles, and a dust mask to keep yourself safe. Taking these steps will help you work confidently and securely.
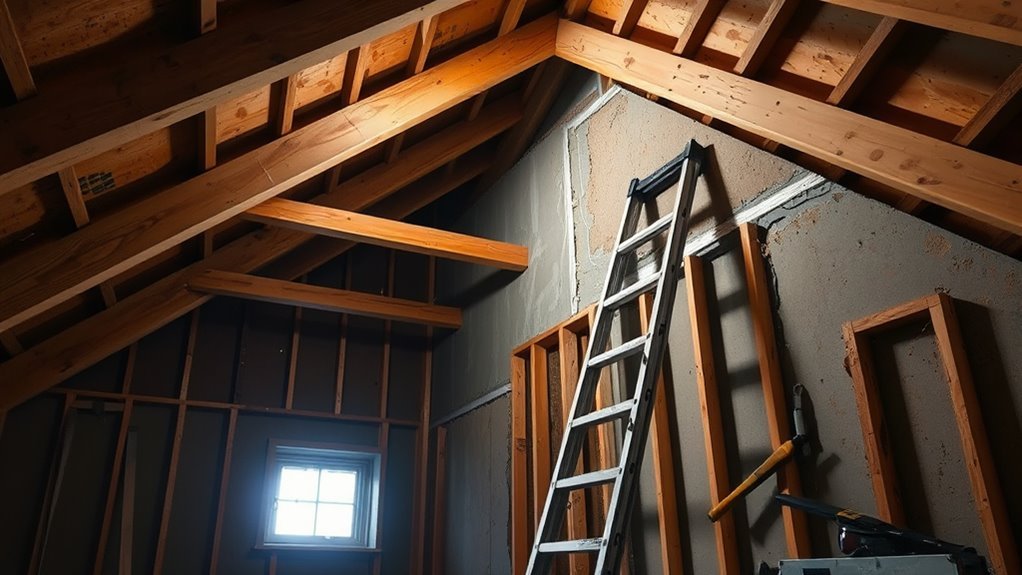
Assess Structural Integrity
Although it might be tempting to dive right into removing walls, you need to carefully assess the attic’s structural integrity first to avoid compromising safety. Start with a thorough structural analysis to identify load-bearing walls and critical supports. Removing walls without this knowledge can lead to dangerous instability. You might discover that some walls are essential for holding up the roof or upper floors. Once you’ve pinpointed these, consider reinforcement techniques like adding beams or braces to redistribute weight safely. This step guarantees your attic remains secure while opening up the space you crave. Taking the time for this careful assessment empowers you to make changes confidently, preserving both the freedom of your design and the safety of your home.
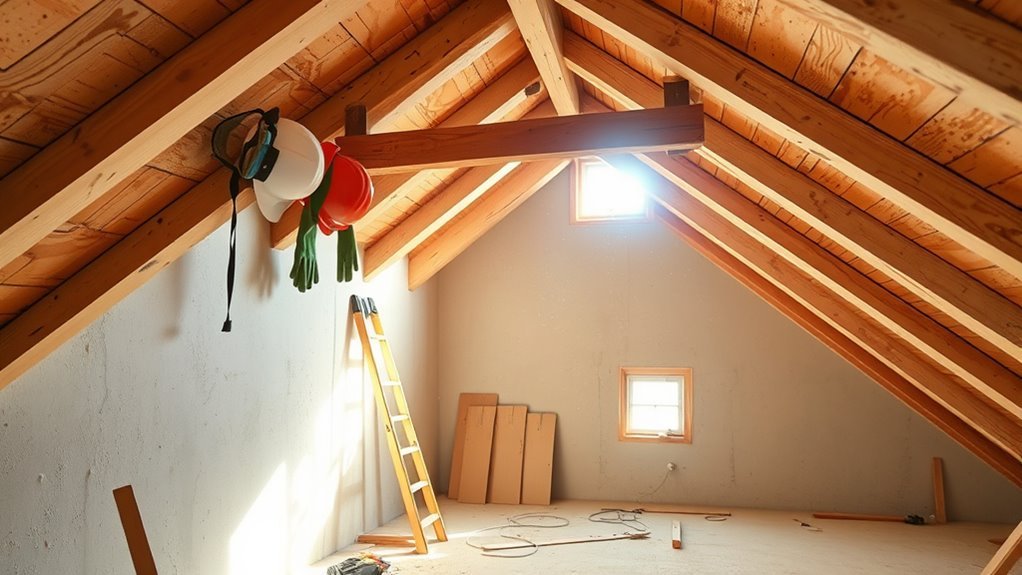
Gather Protective Equipment
After confirming which walls can be safely removed, your next step is to protect yourself and the attic space. Don’t skip gathering essential safety gear—you’ll want sturdy gloves, a dust mask, and especially protective eyewear to shield your eyes from dust and debris. Attics can be full of insulation particles and sharp nails, so having the right gear guarantees you stay safe and comfortable. Wearing long sleeves and durable pants will protect your skin from irritants. Also, consider knee pads if you’ll be kneeling a lot. By prepping with the right protective equipment, you’re not just following rules—you’re empowering yourself to work freely and confidently in the attic without risking injury. Safety gear is your ticket to freedom in this project.
Identifying Load-Bearing vs. Non-Load-Bearing Walls
When you’re planning to remove walls from your attic, knowing whether they’re load-bearing is crucial because these walls support the structure above. Start with load bearing identification by checking your attic’s blueprints or consulting a professional if you’re unsure. Load-bearing walls usually run perpendicular to floor joists and align with beams or posts beneath. Non-load-bearing walls don’t carry structural weight, so they’re safer to remove. Understanding this difference gives you the freedom to alter your space without risking damage. Once you’ve identified the wall type, you can choose the right wall removal techniques that suit your project and maintain your attic’s integrity. Remember, accurate load bearing identification guarantees your renovation stays safe and successful.
Step-by-Step Wall Removal Process
Before you start knocking down walls, make sure your workspace is clear and protected to keep things safe and organized. You’ll need to gather the right tools and follow a careful process to remove the walls properly. Let’s walk through each step to help you get the job done efficiently.
Preparing the Workspace
Although removing walls from your attic can seem intimidating, preparing your workspace properly will make the process much smoother and safer. Start by clearing out the area, removing clutter, and ensuring good lighting. Workspace organization is essential—you want easy access to tools and a clean floor to move freely without hazards. Next, focus on tool selection. Gather essential tools like a pry bar, hammer, utility knife, and safety gear such as gloves and goggles. Having everything within reach saves time and keeps you in control. Finally, mark off the work zone to keep others safe and maintain focus. By setting up your workspace thoughtfully, you create an environment that empowers you to remove walls confidently and efficiently.
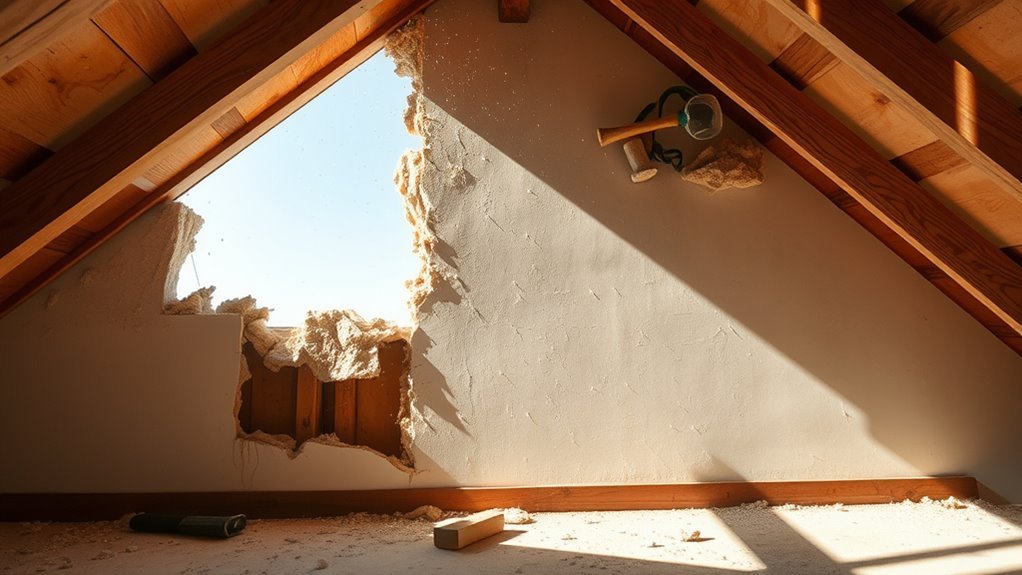
Executing Wall Removal
Start by identifying and cutting any electrical wiring or plumbing within the wall to prevent hazards. Once cleared, focus on tools selection—grab a reciprocating saw, pry bar, and safety gear like gloves and goggles. Begin removing drywall carefully, exposing the studs. Use the saw to cut through these supports, working methodically to avoid damaging surrounding structures. As you dismantle, keep your space tidy by organizing debris for efficient wall disposal. Consider renting a dumpster or checking local regulations for disposal options. Staying organized not only speeds up the process but also keeps your attic safe and clutter-free. Remember, removing walls is about reclaiming your space—take control and enjoy the freedom that comes with transforming your attic exactly how you want it.
Finishing Touches After Wall Removal
Once you’ve removed the walls, you’ll want to focus on cleaning up the space and restoring the attic’s surfaces to guarantee a polished look. Start by sanding and patching any rough spots or holes left behind, then repaint or refinish to create a fresh, open atmosphere. Next, consider your lighting options—freedom thrives in well-lit spaces, so choose fixtures that enhance brightness while complementing the attic’s style. Don’t forget to add decorative accents that express your personality; whether it’s bold artwork, cozy textiles, or minimalist shelves, these touches make the space truly yours. By thoughtfully combining practical restoration with creative flair, you’ll transform your attic into an inviting retreat that celebrates openness and individuality.
Frequently Asked Questions
Can Wall Removal Increase Attic Insulation Efficiency?
Did you know that up to 30% of your home’s heat can escape through poorly insulated spaces? Removing walls in your attic can actually boost energy efficiency by allowing better airflow and enabling you to install more effective insulation types, like spray foam or rigid foam boards. This means you get more freedom from high energy bills and a cozier home. Just be sure to consult a pro to keep your space safe and efficient.
What Tools Are Best for Cleaning Debris After Removal?
When tackling debris disposal after a project, you’ll want sturdy gloves, a dust mask, and a heavy-duty broom or shop vacuum to keep cleanup safety a priority. Using a dust mask protects your lungs, while gloves shield your hands from sharp fragments. A durable trash bin or contractor bags make hauling debris easier, giving you the freedom to enjoy a tidy space sooner without worrying about leftover mess slowing you down.
How Does Wall Removal Affect Attic Ventilation?
When you remove walls, it can seriously impact your attic’s ventilation balance. Walls often help direct airflow, so taking them down means you’ll need a careful airflow assessment to avoid stuffy or overly hot spaces. You’ll want to maintain freedom for air to move, preventing moisture buildup or heat traps. Staying on top of ventilation balance guarantees your attic stays fresh and safe, giving you the open, breathable space you’re aiming for.
Can Removing Walls Improve Attic Lighting?
Imagine you’re in a cozy Victorian parlor where natural light streams through grand windows, brightening every corner. Removing walls in your attic can do the same—letting more natural light flood the space, instantly boosting its aesthetic appeal. You’ll feel a sense of freedom as the open layout invites sunlight and air, transforming the attic into an airy, inviting haven where creativity and relaxation flow effortlessly.
What Alternative Materials Can Replace Removed Walls?
If you’re thinking about replacing walls, consider sustainable materials like bamboo panels, recycled wood, or reclaimed metal for a fresh, eco-friendly look. Design alternatives such as open shelving or glass partitions can keep the space airy and bright, giving you freedom while maintaining structure. These options not only boost natural light but also add character and sustainability to your space, letting you create a unique attic that feels open and inviting.


