Deep Cleaning Checklist for Walls
Start by evaluating your wall’s material and condition to choose the right cleaning method. Gather supplies like microfiber cloths, gentle cleaners, and protective gloves. Dust walls with soft brushes, then spot-test cleaning solutions on a hidden area. Use mild detergent or baking soda paste for stains, avoiding harsh scrubbing. Rinse with a damp cloth, dry thoroughly, and keep up with weekly dusting to maintain freshness. Follow these steps to make your walls look like new—there’s more helpful advice ahead.
Assessing Wall Material and Condition

Before you begin deep cleaning your walls, it’s important to first assess the material and condition. Different wall types—like drywall, plaster, brick, or wood—each require specific care to avoid damage. You’ll want to take a close look for any signs of wear, peeling paint, cracks, or moisture damage. This damage assessment helps you decide the right cleaning method and prevent worsening any issues. Knowing what you’re dealing with lets you clean confidently without risking your walls’ integrity. Taking this initial step guarantees you’re not just cleaning blindly but preserving your living space exactly how you want it—free, fresh, and ready for whatever comes next. So, get up close, examine carefully, and prepare to treat your walls with the respect they deserve.
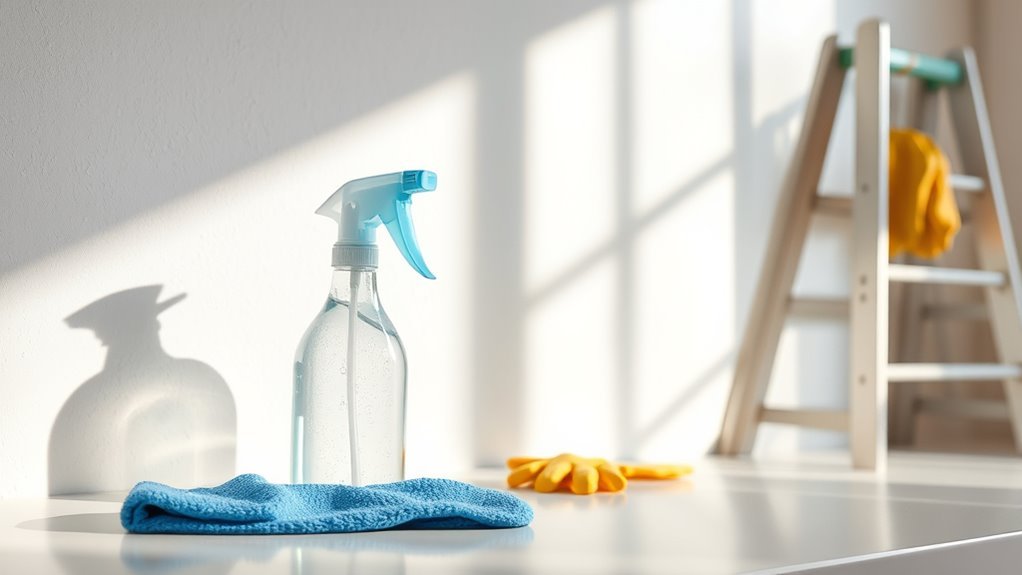
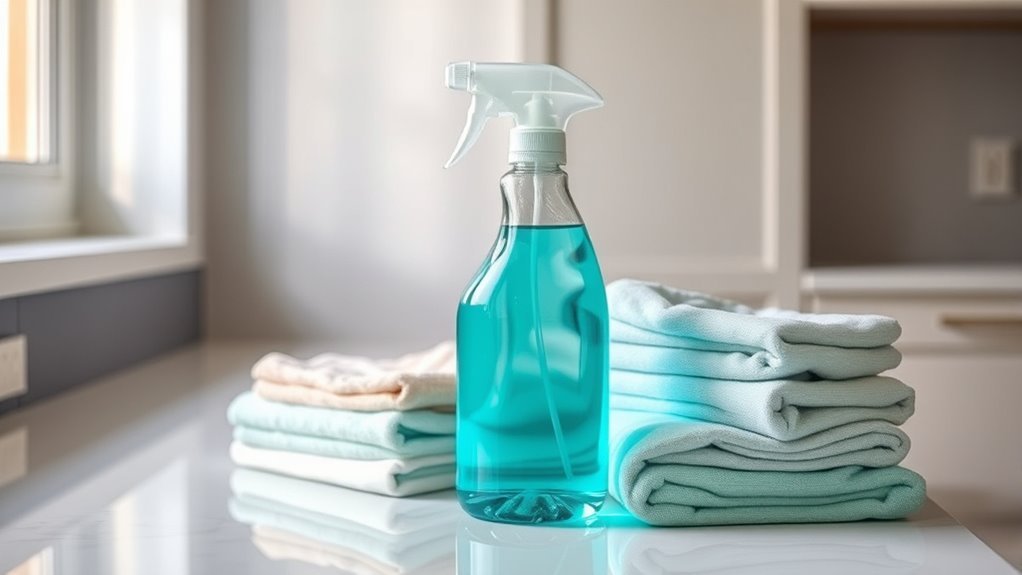
Gathering Necessary Cleaning Supplies
Before you start cleaning, make sure you have all the essential tools like sponges, brushes, and microfiber cloths. It’s important to pick cleaning agents that are safe for your specific wall material to avoid damage. Don’t forget protective gear like gloves and masks to keep yourself safe during the process.
Essential Cleaning Tools
Gathering the right tools is key to making your deep cleaning session efficient and effective. Start by selecting versatile cleaning gadgets that suit your wall materials—whether it’s drywall, brick, or wood. A microfiber cloth, extendable duster, and soft-bristle brush will help you tackle dust and grime without damaging surfaces. For stubborn spots, a gentle scrub sponge is crucial. Don’t forget a sturdy bucket and spray bottle to mix and apply your cleaning solutions smoothly. Having these tools on hand means you’re ready to move freely through your space, addressing every nook and cranny with ease. Choosing the right gadgets tailored to your walls guarantees your cleaning feels less like a chore and more like reclaiming your home’s fresh, vibrant spirit.
Choosing Safe Cleaning Agents
Once you’ve got your cleaning tools ready, the next step is picking cleaning agents that won’t harm your walls. You want products that respect your space and your freedom to keep it fresh without damage. Natural cleaners are your best bet—they’re gentle, effective, and avoid harsh chemicals that can erode paint or wallpaper. Think vinegar, baking soda, or mild soap solutions. Always check labels for chemical safety; avoid anything with bleach or ammonia, which might cause discoloration or weaken surfaces. Test any cleaner on a small, hidden spot first to guarantee it won’t leave marks. By choosing safe cleaning agents, you maintain your walls’ integrity while embracing a healthier, more liberating approach to deep cleaning. Keep it simple, safe, and free.
Protective Gear Essentials
While choosing safe cleaning agents is essential, you’ll also want to equip yourself with the right protective gear to keep the process safe and comfortable. Start with gloves selection—opt for durable, chemical-resistant gloves that fit well to protect your skin without restricting movement. Nitrile gloves are a great choice if you want freedom from latex allergies. Next, consider mask types: a simple cloth mask can block dust, but for stronger cleaning agents or heavy dust, a respirator or N95 mask offers better protection. These masks help you breathe easy and stay safe from airborne irritants. By choosing the right gloves and mask, you maintain your freedom to clean thoroughly without compromising your health. Protective gear isn’t just safety; it’s empowerment for your cleaning mission.
Dusting and Removing Loose Dirt
Before you start scrubbing, grab the right tools like a microfiber cloth or a soft-bristled brush to gently dust your walls. Use slow, sweeping motions to remove loose dirt without damaging the paint or wallpaper. Taking this step guarantees a cleaner surface and makes the next part of deep cleaning much easier.
Tools for Dusting
Several essential tools can make dusting your walls easier and more effective. Choosing the right duster types is key—extendable dusters help you reach high spots without a ladder, while feather or microfiber dusters trap dust instead of just moving it around. Microfiber cloths are a must-have; they’re great for wiping down walls gently yet thoroughly, capturing even fine dust particles. You’ll want a combination of these tools to adapt to different wall textures and heights. Keep your dusters and cloths clean to avoid spreading dirt back onto your walls. With the right tools, dusting becomes less of a chore and more of a straightforward step toward a fresher, clearer space—letting you enjoy your home without feeling stuck in endless cleaning.
Techniques to Remove Dirt
If you want your walls to look their best, mastering the right techniques for dusting and removing loose dirt is crucial. Start with a dry microfiber cloth or a soft-bristle brush to lift dust without spreading it. For stubborn grime, slightly dampen your cloth, but avoid soaking the wall to prevent damage. These cleaning techniques guarantee effective dirt removal while preserving your wall’s finish.
Here’s a quick guide to get you started:
| Technique | Tool Needed | Best For |
|---|---|---|
| Dry Dusting | Microfiber cloth | Light dust |
| Soft Brushing | Soft-bristle brush | Cobwebs, corners |
| Damp Wiping | Slightly damp cloth | Stubborn dirt spots |
Use these simple steps to free your walls from hidden dirt effortlessly.
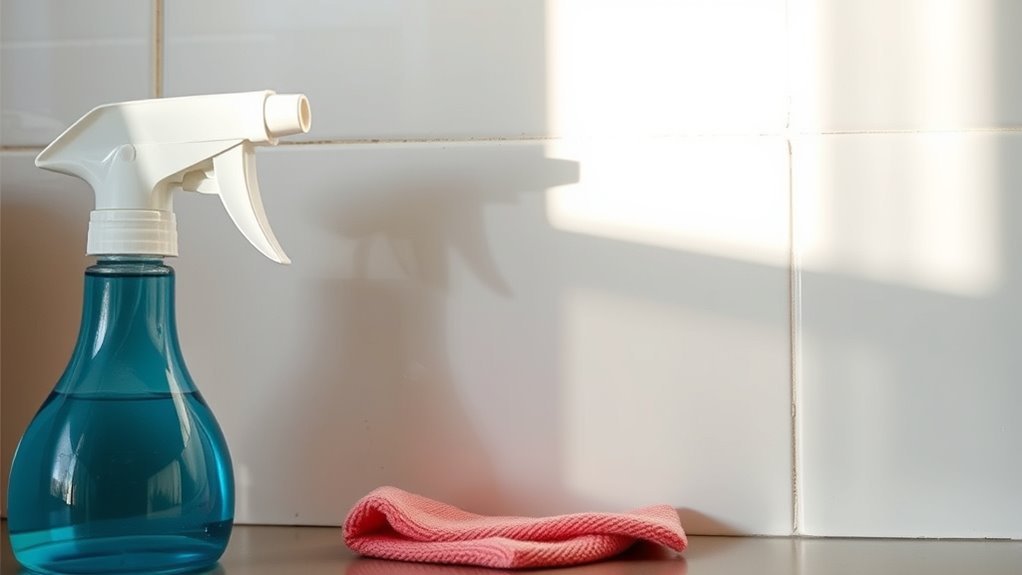
Preparing a Cleaning Solution
To get started with preparing a cleaning solution, you’ll need just a few simple ingredients that are easy to find around your home. Whether it’s mild dish soap, white vinegar, or baking soda, these basics form the foundation of effective cleaning techniques. Mixing a few drops of dish soap with warm water creates a gentle yet powerful solution perfect for most walls. For tougher grime, combine equal parts white vinegar and water—this natural recipe tackles dirt without harsh chemicals. Always measure carefully to keep your solution safe for your wall surfaces. By mastering these simple solution recipes, you gain the freedom to clean thoroughly without relying on expensive commercial products. This approach empowers you to maintain your home with confidence and ease.
Spot Testing for Paint and Wallpaper Safety
Before you plunge into cleaning your walls, you’ll want to spot test a small, hidden area to make sure your cleaning solution won’t damage the paint or wallpaper. This quick step protects your paint durability and preserves wallpaper integrity, giving you the freedom to clean without worry. Apply a small amount of your solution, wait a few minutes, then check for any discoloration, peeling, or texture changes. If the area looks good, you’re safe to proceed. If not, adjust your solution or try a gentler approach. Spot testing empowers you to clean your walls confidently, keeping your space looking fresh while respecting the materials that make your walls unique. It’s a simple way to avoid costly damage and enjoy your home your way.
Cleaning Stubborn Stains and Marks
When stubborn stains and marks refuse to budge, you’ll need targeted techniques to tackle them effectively. Start with a gentle stain removal approach by mixing warm water and mild detergent. Apply it to the affected area using a soft cloth, rubbing gently to avoid damage. For tougher marks, try a baking soda paste—blend baking soda with water, then dab it on the stain for a few minutes before wiping off. Always test your mark treatment method on a hidden spot first to guarantee no discoloration occurs. Avoid harsh scrubbing that could strip paint or wallpaper. With patience and the right strategy, you can reclaim your walls’ fresh look and enjoy the freedom of a clean, inviting space without worrying about permanent blemishes.
Rinsing and Drying the Walls
After tackling stubborn stains, you’ll want to remove any leftover cleaning residue to keep your walls looking their best. Start by choosing rinsing methods that suit your wall type—usually, a damp microfiber cloth or sponge with clean water does the trick. Avoid soaking the walls; instead, gently wipe to lift away soap and grime without damaging the paint or wallpaper.
Once rinsed, drying techniques are essential to prevent streaks or water spots. Use a dry microfiber cloth or soft towel to blot and absorb moisture. You can also open windows or turn on fans to speed up air circulation, letting your walls dry naturally. Taking these simple steps guarantees your walls stay fresh and clean, giving you the freedom to enjoy a pristine living space without hassle.
Preventative Tips for Maintaining Clean Walls
Keeping your walls clean doesn’t have to be a constant chore if you follow a few simple preventative tips. Regular wall maintenance is key to preserving that fresh, vibrant look without spending hours scrubbing. Start by dusting your walls weekly to prevent dirt buildup. Use washable paint in high-traffic areas to make cleaning easier. Implement preventive measures like placing mats near entrances to reduce grime transfer and encouraging family members to avoid touching walls unnecessarily. Controlling humidity with a dehumidifier also helps prevent mold and mildew growth. By integrating these steps into your routine, you’ll minimize deep cleaning needs and enjoy cleaner walls effortlessly. Taking these preventive measures grants you the freedom to focus on what matters most, without worrying about constant wall upkeep.
Frequently Asked Questions
How Often Should Deep Wall Cleaning Be Performed?
How often should you plunge into deep wall cleaning? While monthly maintenance keeps dirt and grime at bay, you don’t want to feel trapped by constant chores. Seasonal cleaning, like during spring or fall, lets you refresh your space without hassle. This balance gives you freedom to enjoy your home’s vibe without overwhelming routines. So, stick to regular upkeep monthly and plan thorough cleanings each season to keep your walls looking great.
Can I Use a Pressure Washer on Exterior Walls?
You can use a pressure washer on exterior walls, but you’ve got to keep pressure washer safety in mind. Before you start, make sure you do proper exterior wall preparation—clear debris, cover nearby plants, and test a small area first. Too much pressure can damage surfaces, so adjust the settings carefully. By taking these steps, you’ll enjoy the freedom to clean effectively without risking harm to your walls or surroundings.
Are There Eco-Friendly Cleaning Solutions for Walls?
You can definitely opt for eco-friendly cleaning solutions for your walls. Natural cleaners like vinegar, baking soda, and lemon juice work wonders without harsh chemicals. These wall disinfectants not only keep your space fresh but also respect the environment, giving you the freedom to clean without guilt. Plus, they’re safe for your family and pets, so you don’t have to worry about toxic residues lingering around your home.
How Do I Remove Mold From Walls Safely?
Imagine mold as an unwelcome shadow creeping across your walls, threatening your home’s freedom. To remove it safely, you’ll want to wear gloves and guarantee good ventilation. Use a mixture of vinegar or baking soda with water—natural cleaning techniques that fight mold without harsh chemicals. After cleaning, focus on mold prevention by keeping walls dry and well-ventilated, so you can reclaim your space and breathe freely again.
Is It Necessary to Repaint After Deep Cleaning Walls?
You don’t always have to repaint after deep cleaning walls, but it can freshen up the space and protect your surfaces. If stains or damage remain, repainting helps restore the look and adds a protective layer. For wall maintenance, keep your walls dry and clean to prevent issues. When you do repaint, follow repainting tips like prepping the surface well and using quality paint to guarantee lasting freedom from frequent touch-ups.


