How to Clean Windowsills in Office Spaces
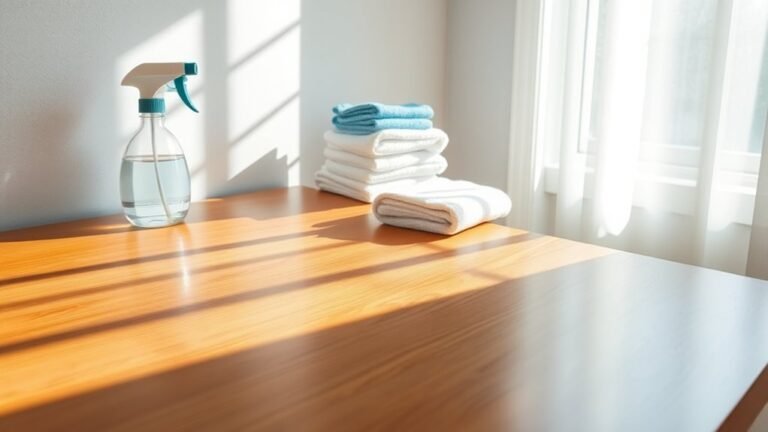
You’ll want to start by gathering eco-friendly supplies like microfiber cloths and a gentle cleaner made from water, vinegar, and a bit of dish soap. Begin by dusting off loose debris to avoid smearing, then spray your solution and wipe thoroughly, paying attention to corners and stains. Finish by drying and gently polishing to prevent streaks. Keeping a regular cleaning schedule helps maintain freshness. If you stick with this, you’ll discover even better ways to keep your office windowsills spotless and inviting.
Gather the Necessary Cleaning Supplies
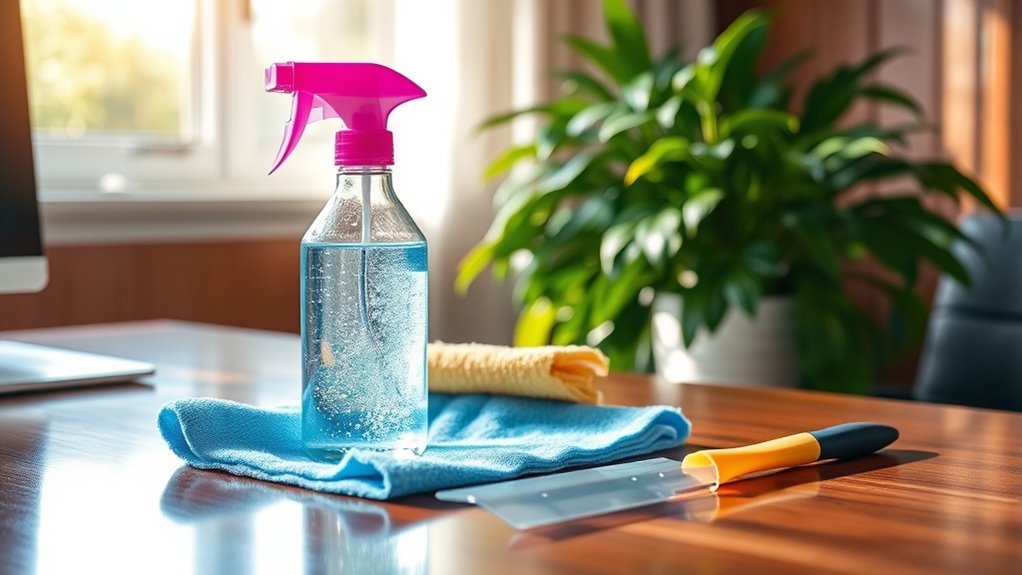
Before you begin cleaning, make certain you’ve gathered all the necessary supplies. Choosing eco friendly products is key—not only do they protect the environment, but they also keep your office space fresh without harsh chemicals. Grab a few microfiber cloths, a gentle spray cleaner, and a small brush to reach tight corners. Having these ready means you won’t be interrupted once you start. Sticking to regular cleaning schedules guarantees your windowsills stay spotless and your workspace feels open and inviting. By planning ahead and using green products, you take control of your environment, making the task less of a chore and more a step toward a freer, healthier office atmosphere. Preparation is your first move toward effortless, sustainable upkeep.
Remove Dust and Loose Debris
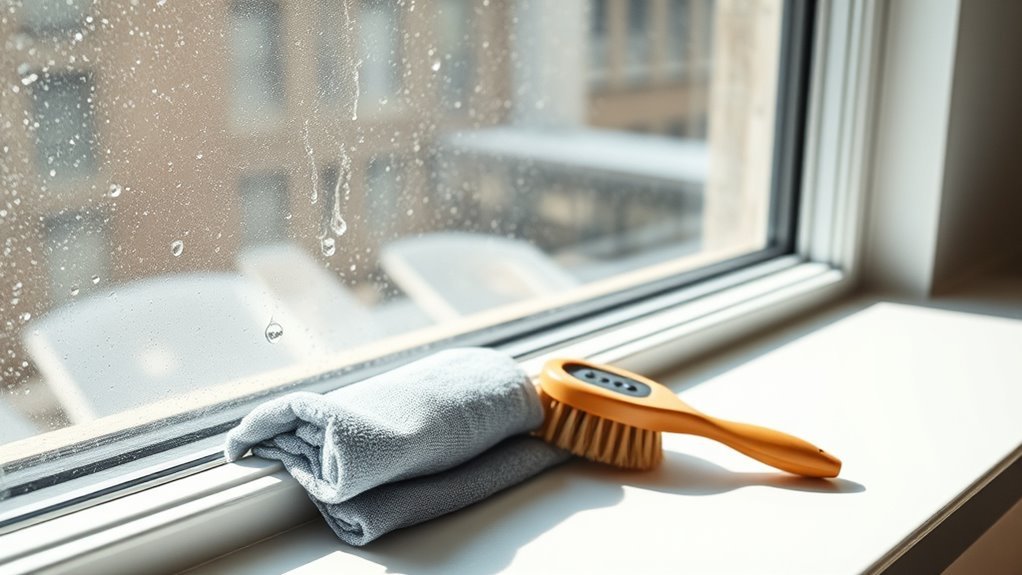
To start, grab the right dusting tools like a microfiber cloth or a soft-bristle brush to effectively capture dust without scratching surfaces. You’ll want to remove all loose debris with dry dusting before moving on to any wet cleaning. This step guarantees you don’t smear dirt around and keeps your windowsills looking fresh.
Dusting Tools Selection
Although dusting windowsills might seem straightforward, choosing the right tools makes the job much easier and more effective. You’ll want to grab microfiber cloths—they’re great at trapping dust without spreading it around, giving you that fresh, clean feel without extra effort. For hard-to-reach spots or tall windowsills, extension dusters are your best friends. They let you reach every corner without straining or climbing on chairs, keeping you safe and efficient. Both tools are lightweight and easy to maneuver, so you can breeze through your cleaning routine and get back to what matters. Picking the right dusting tools frees you from hassle and lets you enjoy a spotless workspace with minimal fuss.
Dry Dust Removal
Once you’ve picked the right dusting tools, the next step is removing dust and loose debris from your windowsills. This step is essential to prevent dust allergies and maintain good air quality in your office space. Here’s how to do it effectively:
- Use a microfiber cloth or duster to trap dust without scattering it.
- Gently sweep the windowsill, focusing on corners where dust accumulates.
- Avoid shaking or flicking dust off, as it can worsen air quality.
- Dispose of collected dust immediately to prevent it from spreading.
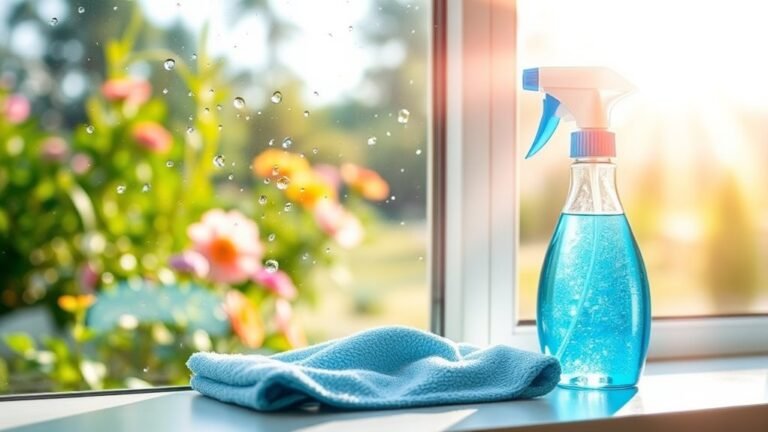
Prepare a Gentle Cleaning Solution

Start by mixing a few simple ingredients you probably already have at hand to create a gentle cleaning solution. Opt for natural ingredients like white vinegar, water, and a touch of mild dish soap to keep things eco friendly. This blend is effective yet safe for your office windowsills, avoiding harsh chemicals that can harm surfaces or the environment. Combine one cup of water with a half cup of vinegar and a few drops of dish soap in a spray bottle. Shake gently to mix. This solution cuts through dirt and grime without leaving residues or strong odors, giving you freedom from worrying about toxic cleaners. Using these eco friendly options supports a healthier workspace and aligns with your desire for practical, sustainable cleaning solutions.
Wipe Down the Windowsills Thoroughly
After mixing your gentle cleaning solution, spray it generously onto the windowsills. To keep your office space fresh and inviting, wiping down thoroughly is key. Here’s how you can nail this step as part of your window maintenance tips and office cleaning strategies:
- Use a microfiber cloth to avoid scratching surfaces.
- Wipe in one direction to capture dust and dirt effectively.
- Pay attention to corners and edges where grime hides.
- Rinse or switch cloths when it gets too dirty to avoid spreading debris.
Address Stubborn Stains and Grime
When you spot stubborn stains or grime on your office windowsills, it helps to know what type you’re dealing with. Using the right cleaning solutions tailored for those stains makes a big difference. Let’s explore some effective methods to tackle even the toughest buildup.
Identifying Common Stain Types
There are several common types of stains you’ll encounter on office windowsills, from dust and dirt buildup to stubborn coffee or ink marks. Proper stain identification helps you tackle grime effectively, freeing your space from persistent messes. Knowing the common sources makes it easier to prevent future buildup, too.
Here are four typical stain types:
- Dust and dirt: Accumulate from open windows and foot traffic.
- Coffee and beverage spills: Often from nearby desks or break areas.
- Ink stains: Result from pens leaking or accidental smudges.
- Watermarks: Caused by condensation or plant watering spills.
Recognizing these stains lets you target the right cleaning method, keeping your windowsills spotless and your office vibe fresh.
Effective Cleaning Solutions
Although some stains on your office windowsills may seem tough to remove, the right cleaning solutions can make the job much easier. You don’t have to rely solely on harsh commercial cleaners; eco friendly solutions can be just as effective without compromising your workspace’s air quality. For everyday grime, a mixture of vinegar and water works wonders and keeps things green. When facing more stubborn stains, look for commercial cleaners designed specifically for office environments—they often balance power with safety. Remember, choosing the right product means you maintain a clean, fresh space without feeling locked into harmful chemicals. By selecting effective, eco friendly options or trusted commercial cleaners, you’re giving yourself the freedom to keep your windowsills spotless while staying mindful of your health and the planet.
Techniques for Tough Grime
Choosing the right cleaning solution is just the first step; tackling tough grime on your office windowsills requires specific techniques to get the job done without damaging surfaces. For effective grime removal, you’ll want to:
- Use a soft-bristle brush to gently loosen dirt in corners without scratching.
- Apply a paste of baking soda and water on stubborn stains, letting it sit for 10 minutes before wiping.
- Employ a microfiber cloth dampened with vinegar for a streak-free finish.
- Increase cleaning frequency if grime builds up quickly, preventing tough stains from settling.
Dry and Polish for a Clean Finish
Once you’ve removed all moisture from the windowsill, you’ll want to dry and polish it thoroughly to prevent streaks and water spots. This step is essential for achieving that clean finish that lets your windowsills shine freely. Use soft, lint-free cloths and apply gentle polishing techniques to bring out the natural gleam. The finishing touches make all the difference in your office space’s vibe—clean, crisp, and inviting.
| Task | Tip |
|---|---|
| Drying | Use microfiber cloths only |
| Polishing techniques | Circular motions, gentle pressure |
| Finishing touches | Buff with a dry cloth for shine |
With these steps, you’ll enjoy spotless windowsills that reflect your desire for freedom and freshness.
Maintain Clean Windowsills Regularly
To keep your office windowsills looking fresh, you’ll want to clean them regularly rather than waiting for dirt to build up. Regular cleaning not only boosts office hygiene but also creates a more inviting workspace, giving you the freedom to focus on what truly matters. Here’s how to maintain clean windowsills with ease:
Regularly cleaning your office windowsills keeps your workspace inviting and lets you focus on what truly matters.
- Schedule weekly wipe-downs using a damp cloth to catch dust and dirt early.
- Use mild cleaning solutions to prevent damage while removing stubborn grime.
- Clear clutter from windowsills to make cleaning quick and effective.
- Check for mold or mildew monthly to address issues before they spread.
Frequently Asked Questions
Can I Use a Vacuum Cleaner for Windowsill Cleaning?
You can definitely use a vacuum cleaner for cleaning windowsills, especially if it has the right vacuum attachments like a brush or crevice tool. These attachments help you get into tight spots and remove dust and debris effectively. Combining vacuuming with other cleaning techniques, like wiping down with a damp cloth afterward, gives you freedom from stubborn grime. So, don’t hesitate to use your vacuum—it’s a smart, efficient way to keep windowsills spotless.
How Often Should I Deep Clean Office Windowsills?
You should set your cleaning frequency based on how busy your office is, but generally, a deep clean every 1-2 months works well. This maintenance schedule keeps dirt and dust from piling up, making your space feel fresh and inviting. If you want more freedom from constant upkeep, sticking to this routine prevents overwhelming messes. Adjust as needed, but consistency is key to effortless, clean windowsills.
Are There Eco-Friendly Cleaning Products for Windowsills?
Absolutely, you can choose eco friendly alternatives to keep your windowsills spotless without harming the planet. Natural cleaning agents like vinegar, baking soda, and lemon juice work wonders and give you freedom from harsh chemicals. These options are not only effective but also safe for your office environment. By using them, you’re making a conscious choice to protect both your workspace and the earth, giving you peace of mind while cleaning.
Can Cleaning Windowsills Reduce Office Allergens?
Imagine dust piling up like mountains on your windowsills, turning your office into an allergen jungle! By tackling these allergen sources head-on, you’re not just cleaning—you’re reclaiming your freedom from sneezes and sniffles. Dust accumulation is a major culprit for office allergens, so wiping it away regularly can dramatically reduce your symptoms. You’ll breathe easier and feel more in control of your workspace’s air quality.
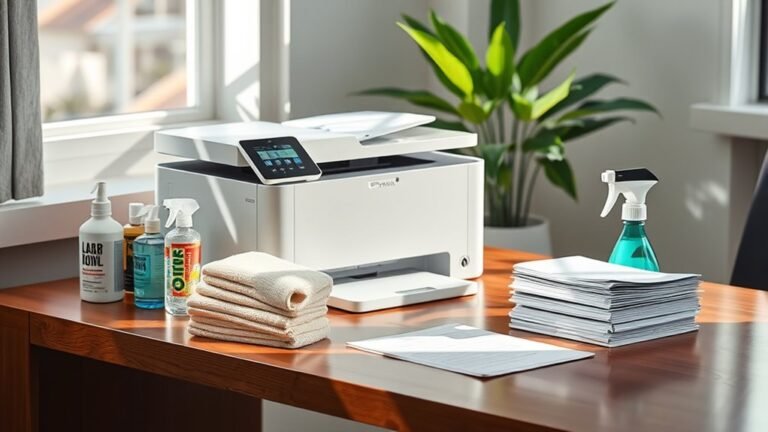
What Precautions Should Be Taken When Cleaning Near Electronics?
When cleaning near electronics, you’ll want to prioritize electronic safety by turning off and unplugging devices first. Use gentle cleaning techniques like a slightly damp microfiber cloth to avoid moisture damage. Avoid spraying cleaners directly onto surfaces; instead, spray on the cloth to maintain control. Keeping liquids away from electronics guarantees you stay safe and preserve your freedom to enjoy a clean, hazard-free workspace without worrying about damaging pricey gear.