Common Mistakes When Cleaning Keyboard
When cleaning your keyboard, don’t use too much liquid or spray cleaners directly, as moisture can damage the electronics and cause sticky keys. Always unplug it first to avoid short circuits, and skip abrasive materials to protect the key surfaces. Ignoring manufacturer instructions or not drying thoroughly can shorten your keyboard’s lifespan. Using compressed air incorrectly or neglecting regular cleanings can push debris deeper or cause buildup. Keep these in mind, and you’ll find even better ways to keep your keyboard in top shape.
Using Excessive Liquid Cleaner
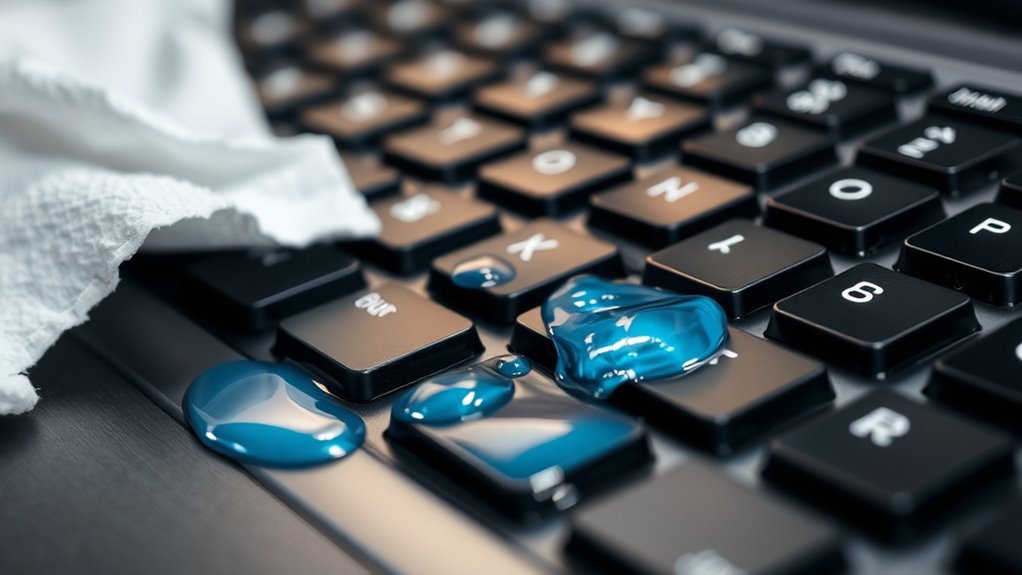
One common mistake people make when cleaning their keyboard is using too much liquid cleaner. You want to avoid saturating your keyboard, as excessive moisture can seep into the circuits and cause damage. Instead, pick the right liquid types—preferably isopropyl alcohol or specially designed electronic cleaners—because water or household cleaners might harm your device. Also, consider your cleaning frequency; frequent light cleanings with a barely damp cloth work better than occasional deep scrubs soaked in liquid. By controlling the amount and type of liquid you use, you protect your keyboard while keeping it fresh. Remember, freedom means taking control of your tools without risking them—so clean smart, not wet.
Cleaning Keyboard While Plugged In
Besides controlling the amount of liquid you use, you should never clean your keyboard while it’s plugged in. Doing so risks short-circuiting your device or even shocking yourself. It’s an essential keyboard safety tip that protects both you and your gear. Always unplug your keyboard before you start cleaning to avoid any electrical hazards. Following cleaning frequency recommendations helps keep your keyboard in top shape without unnecessary risks. Regularly cleaning every few weeks, depending on your usage, prevents grime buildup and keeps your workspace fresh. Remember, freedom in maintaining your tech means doing it safely. So, unplug first, then clean—this simple habit guarantees your keyboard lasts longer and keeps you safe while enjoying the freedom to work or play worry-free.
Using Abrasive Materials
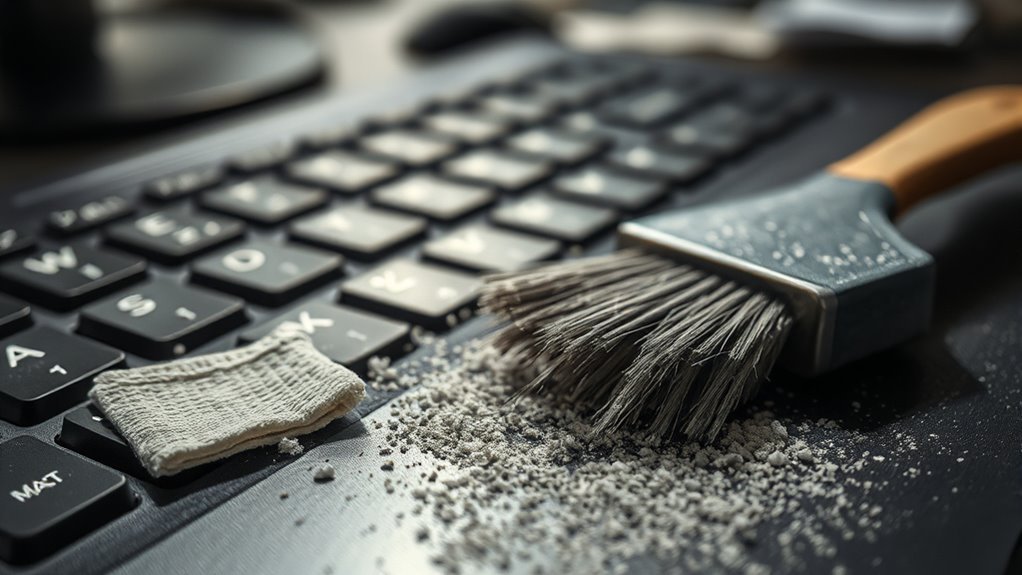
You might think scrubbing hard will get your keyboard cleaner, but using abrasive materials can actually damage the key surfaces. Scratches can quickly ruin the finish and make your keyboard look worn out. It’s better to stick with gentle cleaning tools to keep everything intact.
Damaging Key Surfaces
Many people don’t realize that using abrasive materials can quickly wear down your keyboard’s key surfaces. When you scrub with rough brushes or harsh cleaners, you risk stripping away the protective coatings that keep your keys looking fresh. If you want to maintain key surface protection, it’s essential to stick to proper cleaning techniques. Use a soft microfiber cloth lightly dampened with a gentle cleaner, avoiding anything abrasive that could scratch or dull the keys. By treating your keyboard with care, you preserve not only its appearance but also its functionality over time. Freedom in your workspace means you’re not chained to replacing worn-out keyboards—just clean them the right way and enjoy the smooth feel of well-maintained keys every day.
Scratching Keyboard Finish
One common mistake that can ruin your keyboard’s finish is using abrasive materials during cleaning. Scrubbing with rough sponges or harsh brushes might seem effective, but it easily leads to scratches that diminish your keyboard’s sleek look. For proper keyboard finish care, always opt for soft microfiber cloths and gentle cleaning solutions. This approach not only preserves the smooth surface but also supports long-term scratch prevention. Remember, freedom in your workspace comes with maintaining your gear, not damaging it. Avoid anything gritty or rough that could wear down the finish. By choosing the right tools, you guarantee your keyboard stays both functional and visually appealing, letting you focus on what matters most without worrying about cosmetic damage.
Ignoring Manufacturer’s Cleaning Instructions
You might be tempted to skip the manufacturer’s cleaning instructions, but that can lead to using the wrong tools or methods. Ignoring these guidelines could even void your warranty without you realizing it. Always check what your keyboard’s maker recommends before you start cleaning.
Skipping Specific Guidelines
Although it might seem easier to skip the manufacturer’s cleaning instructions, doing so can damage your keyboard or void its warranty. You might feel tempted to freestyle your cleaning routine, but the guideline importance shouldn’t be underestimated. Manufacturers design these instructions to guarantee your keyboard stays in prime condition without risking harm. Ignoring them can lead to problems like moisture damage or worn-out keys.
Pay close attention to the recommended cleaning frequency, too. Cleaning too often or too rarely can both cause issues, so sticking to the suggested schedule helps maintain ideal performance. By following specific guidelines, you preserve your keyboard’s lifespan and avoid costly repairs. Embracing these instructions doesn’t limit your freedom—it actually frees you from unnecessary damage and frustration.
Using Incorrect Cleaning Tools
Following the manufacturer’s cleaning guidelines also means choosing the right tools for the job. You want to avoid grabbing just any cleaning materials lying around. Using incorrect cleaning tools can damage your keyboard’s surface or internal components, limiting your freedom to enjoy a fully functional device. Pay close attention to the recommended tool selection—whether it’s a soft microfiber cloth, gentle brush, or specific cleaning solution. Ignoring these instructions might seem like a shortcut, but it often leads to more harm than good. By sticking to the approved cleaning materials, you not only protect your keyboard but also maintain its longevity and performance. Remember, the right tools empower you to clean effectively without risking damage or voiding any care advice.
Overlooking Warranty Terms
When cleaning your keyboard, ignoring the manufacturer’s warranty terms can cost you more than just a quick fix. You might think you’re saving time or effort, but skipping over warranty coverage details could void your protection if something goes wrong. Manufacturers often include specific cleaning precautions to keep your device safe. By not following these, you risk damaging sensitive components or using harmful products. Before you start, check the manual or website for recommended methods and approved cleaning agents. Sticking to these guidelines lets you maintain your keyboard freely, without worrying about losing warranty benefits. Respecting warranty coverage guarantees your freedom to clean confidently, knowing you won’t be stuck with unexpected repair costs down the line. Don’t let impatience cost you more than it should.
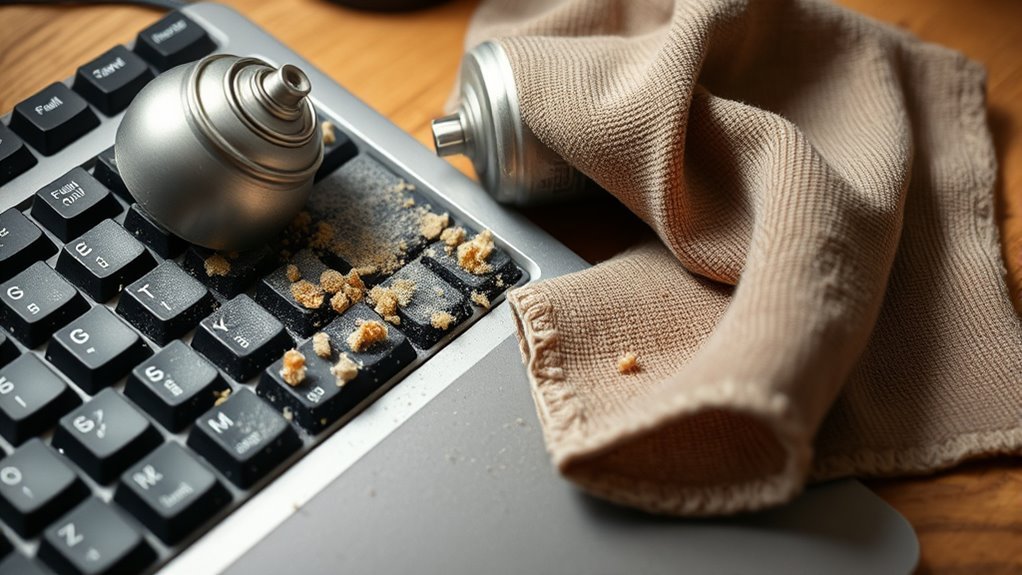
Not Removing Keycaps Properly
If you don’t remove your keycaps carefully, you risk damaging the switches or the keys themselves. Proper keycap removal is essential for effective keyboard maintenance, especially if you want to keep your keyboard in top shape and extend its life. Don’t just yank the keycaps off; use the right tools, like a keycap puller, to avoid bending or breaking the stems. Take your time and apply even pressure to prevent any harm. Remember, rushing through keycap removal can lead to costly repairs or replacements, limiting your freedom to customize or clean your keyboard thoroughly. By mastering careful keycap removal, you maintain your keyboard’s performance and keep your options open for future upgrades or deep cleaning sessions.
Using Compressed Air Incorrectly
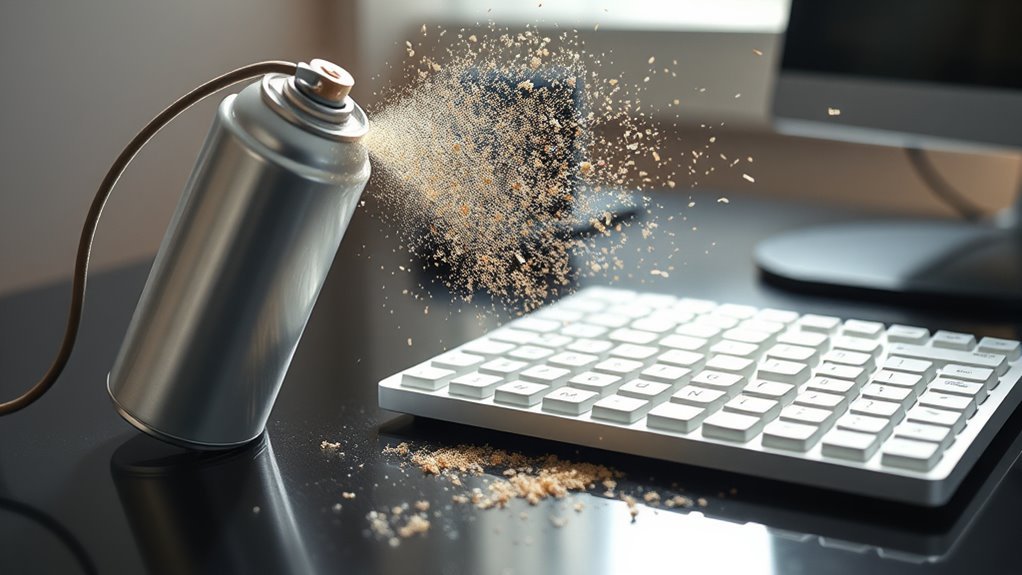
Although compressed air is a popular tool for cleaning keyboards, using it incorrectly can cause more harm than good. If you’re not careful with compressed air usage, you might push debris deeper or damage delicate components. To maintain your keyboard’s freedom from dirt and guarantee long-lasting keyboard maintenance, you need to use it wisely.
| Mistake | What Happens |
|---|---|
| Holding can upside down | Liquid propellant sprays out |
| Using too close | Blasts debris further inside |
| Prolonged spraying | Freezes components with cold air |
| Shaking can | Releases harmful liquid droplets |
Avoid these pitfalls to keep your keyboard clean and functional without risking damage or trapped dirt.
Skipping Regular Cleaning
Neglecting regular cleaning might seem harmless, but it allows dirt, dust, and grime to build up, which can affect your keyboard’s performance and lifespan. When you skip regular maintenance, keys can stick, responsiveness drops, and your device might even collect bacteria. To keep your keyboard working smoothly, set up a cleaning schedule that fits your routine—whether it’s weekly or biweekly. Regular maintenance doesn’t have to be complicated or time-consuming; a quick wipe-down and occasional deeper clean can make a big difference. Taking control of your keyboard’s cleanliness guarantees you stay productive and free from unexpected issues. Don’t let neglect hold you back—embrace a simple cleaning habit and enjoy a keyboard that feels fresh and reliable every day.
Applying Direct Spray to the Keyboard
Keeping up with regular cleaning is just one part of proper keyboard care, but how you clean it matters just as much. One common mistake is applying direct spray to the keyboard. It might seem like a quick fix, but spraying liquids straight onto your keyboard can lead to serious keyboard damage. Moisture can seep beneath the keys, causing sticky keys, electrical issues, or even permanent failure. Instead, spray your cleaning solution onto a soft cloth first, then gently wipe the keyboard. This method gives you control, prevents excess liquid from pooling, and keeps your keyboard safe. Remember, freedom to clean doesn’t mean freedom to risk damage—handle your keyboard with care to enjoy its full lifespan without costly repairs.
Neglecting to Dry Thoroughly
If you don’t dry your keyboard thoroughly after cleaning, moisture can linger beneath the keys, leading to sticky buttons or electrical problems. Ignoring proper drying techniques increases moisture risks that could damage your device or disrupt your work flow. To avoid this, unplug your keyboard and let it air dry completely in a warm, well-ventilated space. Avoid using heat sources like hair dryers, which can warp plastic or push moisture deeper inside. You can also gently pat the surface with a lint-free cloth to absorb excess water. Taking these simple steps guarantees your keyboard stays functional and responsive, giving you the freedom to work or play without interruption. Don’t rush the drying process—it’s essential for protecting your investment.
Frequently Asked Questions
Can I Use a Vacuum Cleaner to Clean My Keyboard?
You can use a vacuum cleaner for keyboard cleaning techniques, but you’ll want to be careful. Vacuum cleaner benefits include quickly removing loose dust and crumbs without disassembling your keyboard. However, avoid strong suction or rotating brushes that might damage keys. For freedom in cleaning, use a handheld vacuum with gentle power or attach a soft brush to loosen debris. This way, you keep your keyboard clean without risking harm.
How Often Should I Deep Clean My Keyboard?
Did you know that keyboards can harbor up to 400 times more bacteria than a toilet seat? For your freedom and health, following keyboard maintenance tips is key. Deep clean your keyboard every 1 to 3 months, depending on use, to keep it fresh and functional. Cleaning frequency guidelines suggest more frequent deep cleans if you eat at your desk or share your keyboard. Stay clean, stay free!
Are Keyboard Cleaning Wipes Safe for All Keyboard Types?
You’ll want to check the wipes materials before using keyboard cleaning wipes, as not all are safe for every keyboard type. Some wipes contain alcohol or harsh chemicals that can damage delicate surfaces or key labels. Make certain the wipes you pick have gentle, non-abrasive ingredients to guarantee keyboard compatibility. When in doubt, test on a small area first or use wipes specifically designed for electronics to keep your keyboard looking fresh without risk.
Does Humidity Affect Keyboard Cleaning Effectiveness?
Yes, humidity levels can definitely impact how well your keyboard cleaning solutions work. If the air’s too humid, moisture might make cleaning less effective or even cause damage by seeping into your keyboard. On the flip side, very dry conditions can cause dust to stick more stubbornly. So, finding a balanced humidity level helps your cleaning solutions perform effectively, giving you the freedom to keep your keyboard spotless without worry.
Can Cleaning My Keyboard Improve Typing Performance?
Cleaning your keyboard can definitely improve your typing accuracy by removing dirt and debris that cause sticky or unresponsive keys. When your keyboard feels smoother, you’ll type faster and make fewer mistakes, boosting your freedom to express ideas effortlessly. Plus, a clean keyboard supports ergonomic benefits by reducing strain from awkward key presses, helping you maintain a comfortable, fluid typing experience over long sessions.