Deep Cleaning Checklist for Mirror
To deep clean your mirror, first gather microfiber cloths, a gentle cleaner, and cotton swabs. Check for cracks or chips, then dust off surface dirt with a soft cloth. Use a vinegar-water mix or mild glass cleaner applied to the cloth, not the mirror, focusing on edges and corners with cotton swabs. Dry and buff with a lint-free cloth to avoid streaks. Don’t forget to clean the frame and nearby areas for a pristine finish. Keep going to discover expert tips for lasting sparkle.
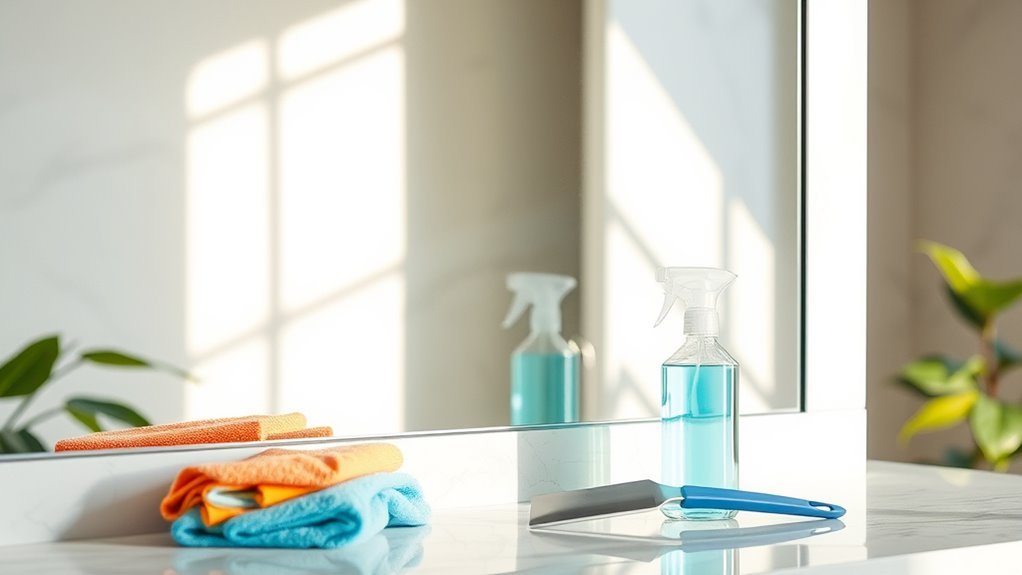
Gather Essential Cleaning Supplies

Before you begin deep cleaning your mirror, you’ll need to gather a few essential supplies. Having the right cleaning supplies and essential tools at your fingertips gives you the freedom to work efficiently without interruptions. Start with a microfiber cloth—it’s gentle and won’t scratch the surface. Next, grab a spray bottle filled with a simple mixture of water and vinegar or a commercial glass cleaner. You’ll also want cotton swabs or a soft-bristled brush to reach tricky corners. Avoid harsh chemicals that could damage your mirror’s finish. By assembling these essential tools, you set yourself up for a smooth, hassle-free cleaning session. With everything ready, you’re free to plunge into it and make your mirror sparkle like new.
Inspect the Mirror for Damage and Dirt
Before you start cleaning, take a close look at your mirror for any cracks or chips that might need attention. Also, spot any smudges or fingerprints on the surface that could affect your cleaning approach. Identifying these issues early helps you clean more effectively and avoid causing further damage.
Check for Cracks
When you check for cracks on your mirror, you’ll want to carefully inspect every inch for any signs of damage or dirt buildup. A thorough crack inspection is crucial to guarantee your mirror maintains its durability and doesn’t compromise your space’s freedom and safety. Here’s how to do it:
- Use good lighting: Shine a flashlight or natural light across the surface to spot any hairline cracks or chips.
- Run your fingers gently: Feel along the edges and surface for unevenness or rough spots that could indicate damage.
- Look for dirt in cracks: Dirt accumulation can worsen existing cracks, affecting the mirror’s lifespan.
Identify Surface Smudges
One of the easiest ways to tell if your mirror needs cleaning is by spotting surface smudges. These smudge types can range from fingerprints and water spots to dust and makeup residues. Identifying them quickly helps you decide the right cleaning frequency, keeping your mirror crystal clear without overdoing it. Here’s a quick guide to help you spot and tackle these smudges:
| Smudge Type | Common Causes | Recommended Cleaning Frequency |
|---|---|---|
| Fingerprints | Touching mirror surface | Weekly |
| Water Spots | Splash from sinks | Bi-weekly |
| Dust & Residue | Airborne particles | Weekly |
Remove Surface Dust and Debris
Start by wiping your mirror with a soft, dry microfiber cloth to lift away dust and loose debris. This simple step frees your mirror from surface particles without scratching or smearing. To master dust removal techniques, try these effective cleaning methods:
Begin with a soft, dry microfiber cloth to gently lift dust and loose debris without scratching.
- Use gentle, sweeping motions to avoid pushing dust into corners.
- For stubborn spots, lightly dampen the cloth with water—never spray directly on the mirror.
- Regularly shake out or wash your cloth to prevent re-depositing dust.
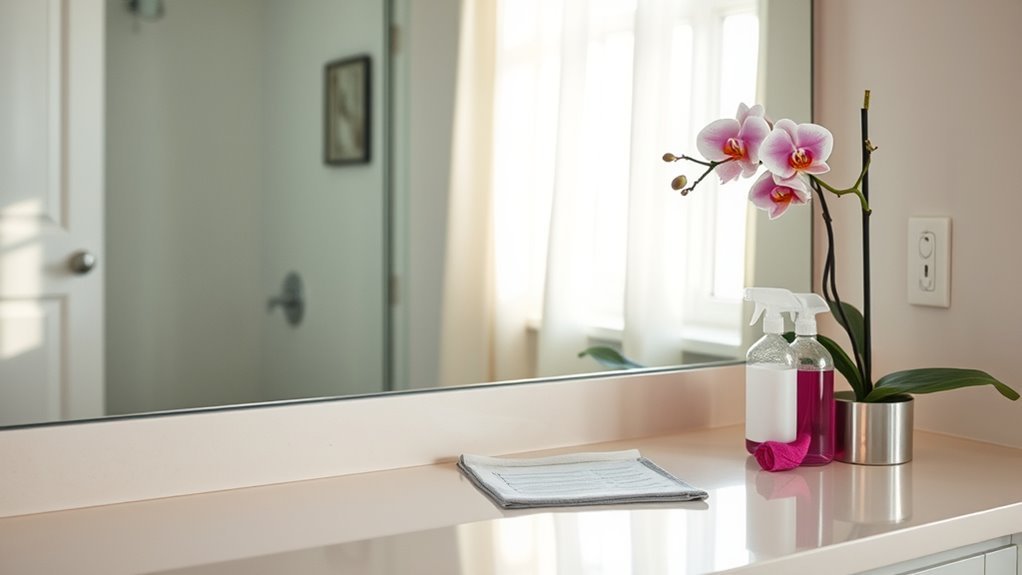
Choose the Right Cleaning Solution
After removing dust and debris, the next step is picking the right cleaning solution to get your mirror sparkling without damage. You want something effective yet gentle, so consider eco friendly solutions that protect both your space and the planet. Homemade cleaners are a fantastic choice—they’re simple to make with ingredients like vinegar, water, and a drop of essential oil for freshness. These natural options avoid harsh chemicals and give you control over what touches your mirror’s surface. Plus, using homemade cleaners supports your freedom to customize and avoid unnecessary toxins. By choosing the right cleaning solution, you guarantee your mirror shines brilliantly while staying safe for your health and the environment. Keep it simple, effective, and eco conscious for the best results.
Apply Cleaner to the Mirror Surface
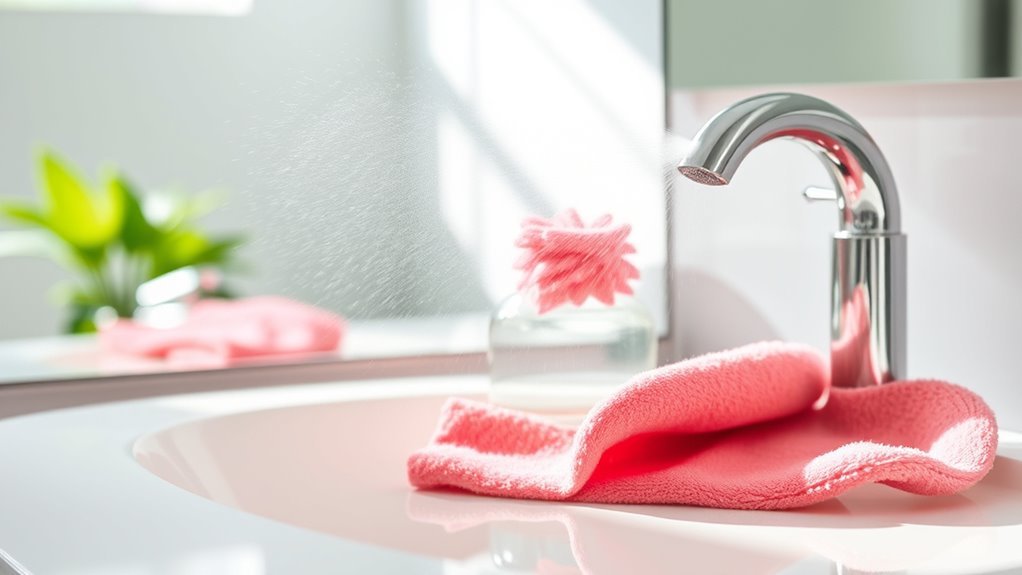
Now that you’ve picked the right cleaner, it’s important to apply it carefully to avoid streaks or damage. Use a soft cloth or sponge to spread the solution evenly across the mirror’s surface. This helps guarantee a spotless, streak-free shine every time.
Choose Proper Cleaning Solution
Selecting the right cleaning solution is key to achieving a spotless mirror without streaks or damage. You want a product that suits your mirror type and lets you clean freely without worry. Here’s how to choose smartly:
- Know your mirror type – Some mirrors have coatings or special finishes needing gentle, ammonia-free cleaning solutions.
- Opt for gentle, streak-free cleaners – Glass cleaners or homemade mixes with vinegar and water work well for most mirrors.
- Avoid harsh chemicals – Bleach or abrasive cleaners can ruin the mirror’s surface and edges.
Use Soft Cleaning Tools
A soft cleaning tool is essential to protect your mirror while applying the cleaner. Using soft cloths or gentle brushes lets you control the process without scratching the surface. These tools glide smoothly, ensuring the cleaner spreads without damaging the glass or frame. You don’t want anything abrasive interfering with your mirror’s shine—that’s where soft cloths come in handy. Gentle brushes help reach corners or edges that cloths might miss, giving you freedom to clean every detail thoroughly. By choosing the right tool, you avoid harsh scrubbing and preserve your mirror’s clarity. So, grab your soft cloths and gentle brushes, and treat your mirror with the care it deserves while applying the cleaner confidently and effectively.
Apply Cleaner Evenly
Once you’ve picked the right soft tools, the next step is to apply the cleaner evenly across the mirror surface. This guarantees streak-free results and protects the mirror’s finish. Mastering this part of your mirror maintenance routine gives you the freedom to enjoy a spotless reflection anytime.
Here are three effective cleaning techniques to apply cleaner evenly:
- Spray the cleaner onto your cloth, not directly on the mirror, to control the amount and avoid drips.
- Use gentle, circular motions starting from the top, moving downward to cover the entire surface.
- Finish with horizontal strokes to eliminate remaining streaks and guarantee even distribution.
Use a Microfiber Cloth for Wiping
Although many cleaning tools claim to work well on mirrors, you’ll find that a microfiber cloth is your best bet for streak-free wiping. The microfiber benefits are clear: its fine fibers trap dirt and moisture without scratching the surface or leaving lint behind. When you use this cloth, you gain control over your cleaning techniques, allowing you to glide smoothly across the glass with minimal effort. Plus, microfiber cloths absorb liquids better than paper towels, reducing drips and smudges. To make the most of this freedom, wipe in gentle, circular motions or follow a vertical pattern to guarantee even coverage. This simple switch to a microfiber cloth will elevate your mirror cleaning game, giving you a sparkling finish every time without hassle.
Pay Attention to Edges and Corners
When you clean your mirror, don’t overlook the edges and corners where dirt tends to build up. Use soft tools like cotton swabs or small brushes to reach these tight spots without scratching. Applying targeted cleaning solutions can help break down stubborn grime in these tricky areas.
Identify Dirt Accumulation Areas
Several spots on your mirror tend to gather the most dirt, especially along the edges and in the corners. These areas trap various dirt types, making them prime accumulation sources you can’t overlook. To truly free your mirror from grime, start by pinpointing these trouble zones.
- Dust and lint collect near the frame’s seams.
- Fingerprints and smudges often settle in the lower corners.
- Moisture and residue buildup happens along the edges where air circulation is limited.
Use Soft Cleaning Tools
Since dirt tends to build up in the edges and corners of your mirror, using soft cleaning tools is essential to avoid scratches and damage. You want to preserve the mirror’s clarity without feeling restricted by harsh cleaning methods. Grab soft cloths that won’t leave fibers behind or cause abrasions. For those tight spots where grime hides, gentle brushes work perfectly—they reach corners without forcing you to scrub aggressively. Using these tools allows you to clean thoroughly while keeping your mirror’s surface intact. Remember, freedom in your cleaning routine means choosing tools that protect your mirror and maintain its shine effortlessly. Stay mindful in those edges and corners, and you’ll enjoy a spotless mirror without any risk to its delicate surface.
Apply Targeted Cleaning Solutions
Although soft tools are key, applying the right cleaning solutions is just as important to tackle stubborn spots, especially around edges and corners. Targeted solutions let you break free from generic cleaning and focus on areas that really need attention. Here are three cleaning techniques to master:
- Use a cotton swab dipped in a mild glass cleaner to reach tight corners without damaging the frame.
- Apply a vinegar-water mix with a microfiber cloth for streak-free shine, focusing on buildup near the edges.
- For tough grime, try a gentle paste made from baking soda and water; apply it carefully with a soft brush.
Dry and Buff for a Streak-Free Shine
Once you’ve wiped down the mirror, it’s crucial to dry and buff it properly to avoid streaks. Streak prevention is key to maintaining the clarity of reflective surfaces, giving you a flawless finish. Use a clean, lint-free cloth and gentle circular motions to bring out the mirror’s natural shine without leaving marks.
| Step | Tool Needed | Tip for Best Results |
|---|---|---|
| 1. Choose cloth | Microfiber cloth | Avoid paper towels |
| 2. Start drying | Dry cloth | Work from top to bottom |
| 3. Buff in circles | Soft, dry cloth | Light pressure only |
| 4. Check lighting | Natural light | Spot streaks and re-buff |
| 5. Final polish | Cotton cloth | Confirm no residue remains |
This approach frees you from streaks and keeps your mirror crystal clear.
Clean the Mirror Frame and Surroundings
Before you finish, don’t forget to clean the mirror frame and its surroundings, as dust and grime can easily accumulate there and dull the overall appearance. Whether your frame materials are wood, metal, or plastic, each requires a tailored approach to preserve its look and integrity. Decorative designs often trap dirt, so pay close attention to crevices and edges.
Don’t overlook cleaning mirror frames and edges to keep their beauty and prevent dust buildup.
- Use a soft brush or microfiber cloth to gently remove dust from intricate decorative designs.
- Apply a mild cleaner suitable for your frame materials, avoiding harsh chemicals that might damage finishes.
- Wipe down the surrounding wall or surface to prevent dirt from transferring back onto the frame.
Taking these steps guarantees your mirror looks flawless and complements your space’s freedom and style.
Maintain Mirror Cleanliness Regularly
To keep your mirror looking its best, you should clean it regularly rather than waiting for heavy buildup. Regular maintenance is key to effortless mirror care, allowing you to enjoy a clear and spotless reflection every day. By incorporating quick wipe-downs into your routine, you prevent grime and streaks from settling in, saving you from intense scrubbing later. Use a gentle cleaner and a microfiber cloth to maintain its shine without damaging the surface. This simple habit frees you from the hassle of deep cleaning sessions and keeps your space feeling fresh and open. Embrace regular mirror care as part of your lifestyle—it’s a small effort that offers you the freedom to focus on what truly matters.
Frequently Asked Questions
Can Deep Cleaning Damage the Mirror’S Reflective Coating?
You might worry that deep cleaning could damage your mirror’s reflective coating, but with proper mirror maintenance, it won’t. Just avoid harsh chemicals or abrasive tools that can scratch or wear down that delicate layer. Instead, use gentle cleaners and soft cloths to keep your mirror shining without risking harm. Taking care this way lets you enjoy a crystal-clear reflection while keeping your freedom to clean confidently and safely.
How Often Should Deep Cleaning Be Done for Bathroom Mirrors?
Back in the days of quills and parchment, folks knew the value of routine. You should follow frequency recommendations suggesting deep cleaning your bathroom mirrors about once a month. Setting up cleaning schedules helps keep your space fresh without hassle. You want to enjoy your freedom, not be chained to chores, so a monthly deep clean strikes the perfect balance—keeping mirrors sparkling and reflective while giving you time to live boldly.
Are There Eco-Friendly Solutions Safe for Mirror Cleaning?
You can totally switch to eco friendly alternatives when cleaning your mirrors, using natural ingredients like vinegar, baking soda, and lemon juice. These options are safe, effective, and won’t trap you in harsh chemical fumes. Just mix vinegar with water in a spray bottle, or dab lemon juice on a cloth for a streak-free shine. Choosing these natural ingredients gives you the freedom to clean responsibly while keeping your space fresh and green.
Can Humidity Affect the Mirror’S Cleanliness or Cause Spots?
Yes, humidity can definitely affect your mirror’s cleanliness and cause spots. When moisture lingers on the surface, it can lead to fogging, water spots, or even mold growth if not addressed. For effective mirror maintenance, it’s key to control indoor humidity levels and wipe mirrors dry after a shower or in damp rooms. Doing so keeps your mirror clear and lets you enjoy a spotless reflection without hassle.
Is It Safe to Use Vinegar on Antique or Framed Mirrors?
Did you know 70% of antiques lose value from improper cleaning? When it comes to antique mirror care, vinegar isn’t your best bet—it can damage delicate surfaces and frames. Instead, try vinegar alternatives like diluted dish soap or specialized glass cleaners that won’t harm the aging glass or wood. You deserve to enjoy your vintage treasures freely, so opt for gentle methods that preserve their charm without risking damage.


