
Best Way to Sanitize Your Fan
To sanitize your fan effectively, start by unplugging it and disassembling the front grill and blades. Use a soft brush or microfiber cloth to remove dust, then apply a gentle sanitizing solution like diluted vinegar or bleach. Wipe blades and exterior thoroughly, making sure everything dries completely before reassembling. Regular cleaning keeps your fan running smoothly and improves air quality. If you want to guarantee the best technique and care, there’s more helpful advice ahead to make the process effortless.
Gather Your Cleaning Supplies
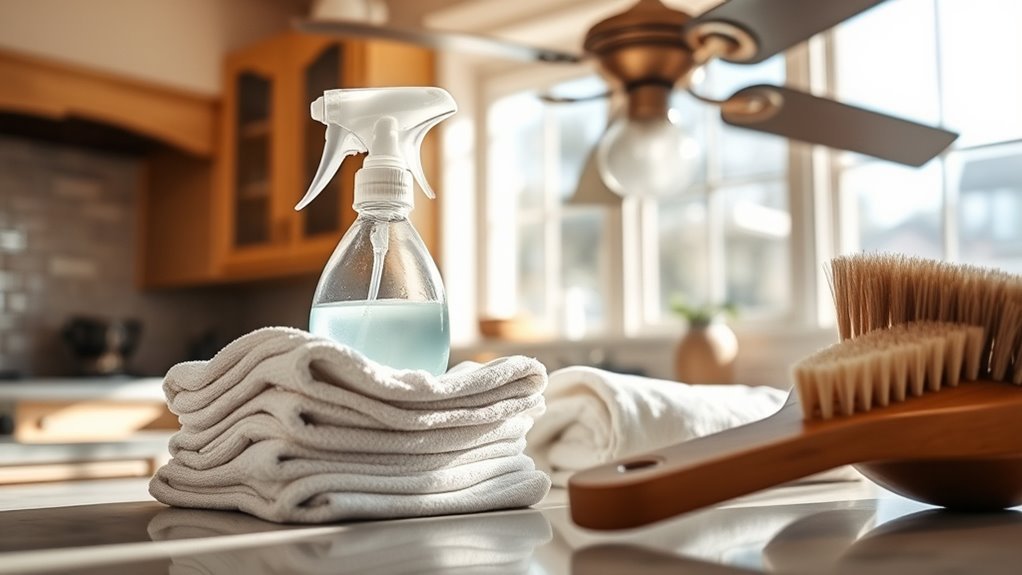
Before you begin cleaning your fan, you’ll need to gather a few essential supplies. Having the right cleaning products ready makes the process quicker and more effective, freeing you from hassle. Grab a microfiber cloth, a soft brush, and a gentle disinfectant spray that won’t damage your fan’s surface. You might also want a vacuum with a brush attachment to reach stubborn dust. These tools not only help sanitize your fan but also play an important role in dust prevention, keeping your space cleaner longer. By preparing properly, you take control and make cleaning less of a chore, allowing you to enjoy your freedom without the constant worry of dust buildup or germs lurking on your fan blades.
Unplug and Disassemble the Fan
Safety is key when cleaning your fan, so always unplug it before you start. This simple step guarantees fan safety by preventing any accidental power surges or injuries. Once unplugged, you’re free to disassemble your fan for thorough fan maintenance. Remove the front grill by loosening screws or clips, then carefully take off the blades. Keep track of all parts so reassembly is hassle-free. Disassembling lets you access hidden spots where dust and germs hide, making your cleaning more effective. Taking these steps not only keeps your fan safe to use but also extends its lifespan. By prioritizing fan safety and proper maintenance, you maintain the freedom to enjoy fresh, clean air without worry or hassle.
Remove Dust and Debris
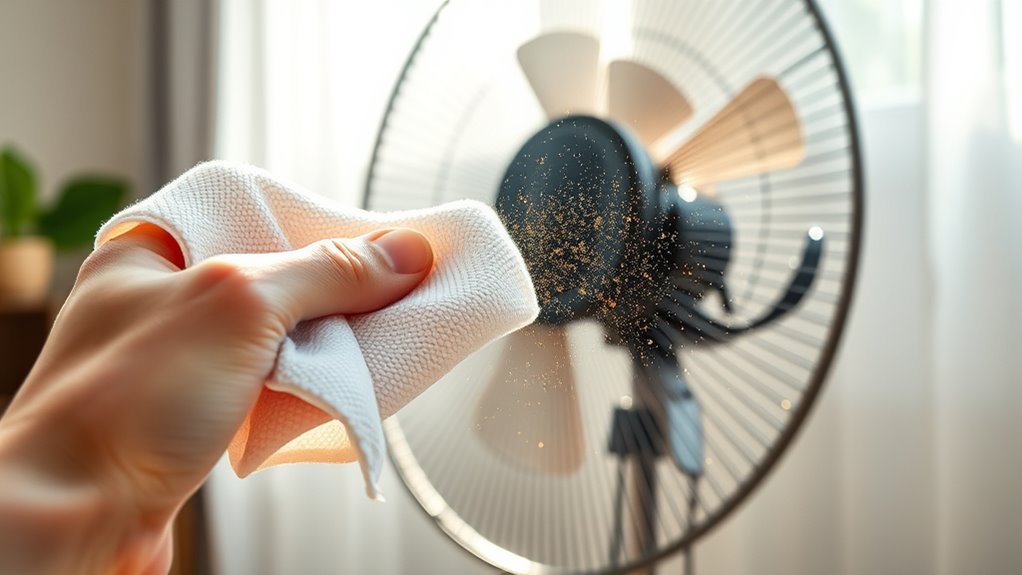
To effectively remove dust and debris from your fan, you’ll need the right tools like a soft brush or microfiber cloth. We’ll cover simple cleaning techniques that make the job quick and thorough. Plus, I’ll suggest how often you should dust to keep your fan running smoothly.
Tools for Dust Removal
Three essential tools can make dust removal from your fan quick and effective: a microfiber cloth, a soft-bristle brush, and a vacuum with a brush attachment. These cleaning tools help you break free from stubborn dust without damaging delicate fan parts. The microfiber cloth traps dust efficiently, giving you control over every surface. Meanwhile, the soft-bristle brush reaches tight spots and vents where dust hides, letting you tackle buildup easily. Using a vacuum with a brush attachment guarantees that loose debris doesn’t scatter, keeping your space clean and carefree. By choosing the right tools, you empower yourself to maintain your fan effortlessly. These dusting techniques put you in charge, freeing you from tedious chores and helping you enjoy fresh, clean air every day.
Cleaning Techniques Overview
Effective cleaning of your fan starts with mastering a few simple techniques to remove dust and debris quickly. First, unplug your fan to guarantee safety, then use a soft brush or microfiber cloth to gently wipe the blades and grills. For stubborn dust, a vacuum with a brush attachment works wonders without spreading particles around. Don’t forget to clean the motor housing and vents, as trapped dust can reduce efficiency. This approach makes fan maintenance straightforward while boosting your fan’s longevity. By regularly removing buildup, you’re taking charge of dust prevention, protecting both your fan and your air quality. Keep it simple and consistent, and you’ll enjoy fresh, unrestricted airflow that supports your freedom from allergens and grime.
Frequency of Dusting
Keeping your fan clean is only part of the equation; knowing how often to dust it makes all the difference in maintaining air quality and performance. You want to stay ahead of dust accumulation, which can reduce efficiency and circulate allergens. Ideally, set a regular cleaning frequency—once every one to two weeks works well for most environments. If you live in a dusty area or have pets, you might need to dust more often. By sticking to a consistent schedule, you keep your fan running smoothly and the air fresh, granting you the freedom to enjoy a healthier, more comfortable space. Don’t wait until dust visibly builds up; proactive dusting helps prevent larger cleaning tasks and keeps your fan’s lifespan intact.
Prepare a Sanitizing Solution
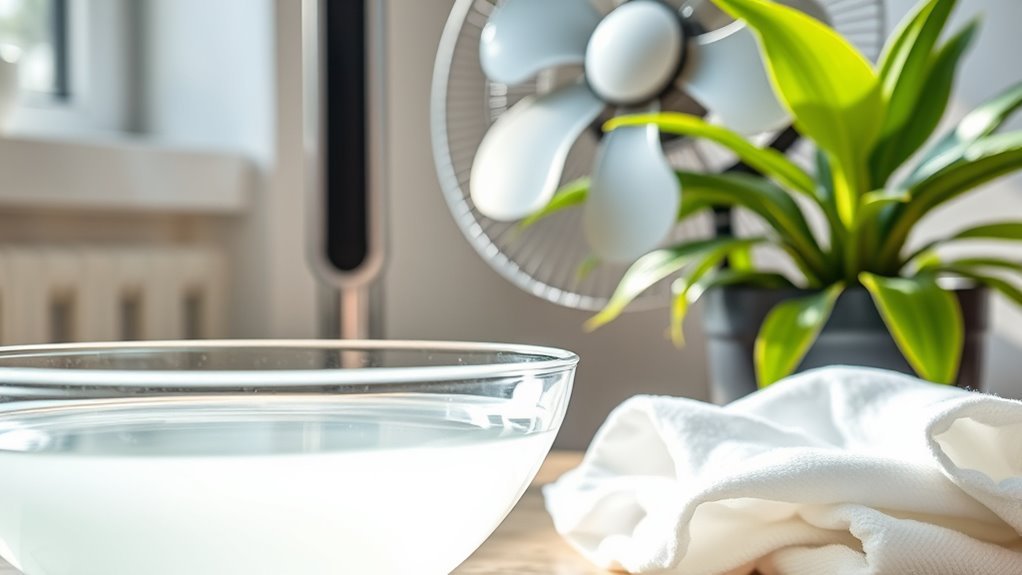
To get started, you’ll need a simple sanitizing solution that’s both safe and efficient. You don’t have to rely on expensive store-bought products; there are plenty of sanitizing solution recipes you can whip up quickly at home. A popular mix is one part white vinegar to three parts water—it’s a natural, effective disinfectant that fights germs without harsh chemicals. Alternatively, you can use a diluted bleach solution, but be sure to follow proper dilution guidelines to keep it safe. Whatever you choose, make sure your solution disinfects without damaging your fan’s materials. Having this ready empowers you to clean confidently and thoroughly, giving you freedom from worries about lingering germs and dust. Your fan will thank you with fresher, cleaner air.
Clean the Fan Blades Thoroughly
Before you start, gather all your cleaning supplies so you’re ready to go. Carefully remove the fan blades to make cleaning easier and more effective. Use gentle cleaners to avoid damaging the blades while ensuring they get thoroughly sanitized.
Gather Cleaning Supplies
You’ll need a handful of essential supplies to clean your fan blades thoroughly and effectively. Choosing the right cleaning methods and essential tools is key to freeing your fan from dust and grime without hassle. Here’s what you’ll want to gather:
- Microfiber Cloths – Perfect for trapping dust without scratching surfaces.
- Mild Cleaning Solution – A gentle mix of water and dish soap, safe for fan blades and effective against buildup.
- Soft-Bristled Brush – Helps reach corners and crevices where dust loves to hide.
With these supplies in hand, you’re set to reclaim clean, fresh air flow. These tools let you take control, making the cleaning process straightforward and freeing you from dirt’s grip.
Remove Fan Blades
After gathering your cleaning supplies, the next step is removing the fan blades for a more thorough clean. Start by unplugging the fan to guarantee your safety—never skip these safety precautions. Locate the screws or clips holding the blades in place and carefully loosen them using the right tools. Keep track of all parts to avoid losing anything during blade removal. You’ll feel a sense of freedom knowing you’re taking control over your environment by cleaning those hidden dust traps. Once the blades are off, you can clean every inch with ease, making your fan truly fresh again. Taking these steps not only improves air quality but also extends your fan’s life, giving you more freedom from frequent replacements.
Use Gentle Cleaners
Since fan blades can be delicate, it’s best to use gentle cleaners that won’t damage their surface. You want your fan clean and fresh without compromising its finish. Here are some effective, eco friendly options you can try:
- Mix equal parts water and white vinegar in a spray bottle for a natural, homemade cleaner that cuts through dust and grime.
- Combine a few drops of mild dish soap with warm water to create a gentle solution that lifts dirt without harsh chemicals.
- Use a microfiber cloth dampened with your chosen cleaner to wipe blades carefully, avoiding excess moisture that could harm the fan.
Wipe Down the Fan’s Exterior and Grill
Before diving into deeper cleaning, take a moment to wipe down your fan’s exterior and grill. This step is essential for simple fan maintenance and keeps dust and grime from building up on surfaces you see and touch daily. Grab a soft cloth dampened with a mild cleaner or a mix of water and vinegar—something gentle that won’t damage the finish. Carefully run the cloth over the grill bars and outer shell, paying attention to corners where dust loves to hide. Exterior cleaning not only improves your fan’s look but also prevents allergens from circulating in your space. By staying consistent with this easy wipe-down, you maintain freedom from stubborn dirt and keep your fan running smoothly and safely without hassle.
Dry and Reassemble the Fan
Once you’ve thoroughly cleaned all the parts, make sure each component is completely dry to prevent any damage or mold growth. Proper drying is an essential step in fan maintenance, ensuring your fan stays fresh and functions well. Here are some effective drying techniques:
- Air-dry each piece on a clean towel in a well-ventilated area, avoiding direct sunlight to prevent warping.
- Use a microfiber cloth to gently wipe down surfaces, speeding up moisture removal.
- For hard-to-reach spots, a hairdryer set on cool can help eliminate residual dampness.
After everything is dry, carefully reassemble your fan, making sure each part fits securely. This step guarantees your fan is ready to deliver freedom from heat with clean, fresh airflow.
Maintain Regular Cleaning Schedule
To keep your fan working efficiently and hygienically, you should stick to a regular cleaning schedule. Setting a consistent cleaning frequency prevents dust buildup that can reduce airflow and harbor allergens. Depending on your environment, aim to clean your fan at least once a month, or more often if you’re in a dusty area. This routine keeps your fan running smoothly and maintains the freedom to enjoy fresh, clean air without hassle. Don’t wait until dirt accumulates—regular maintenance saves you time and effort in the long run. By committing to a simple schedule, you guarantee your fan stays in top shape, giving you effortless comfort and control over your space’s air quality.
Frequently Asked Questions
How Often Should I Sanitize My Fan in High Pollen Seasons?
During high pollen seasons, you should sanitize your fan every one to two weeks to keep allergens at bay. Regular fan maintenance tips, like wiping down blades and grills with a damp cloth, help prevent pollen buildup. Taking these pollen season precautions guarantees you breathe cleaner air and enjoy your freedom without sneezing fits. Staying consistent with cleaning lets you maintain your fan’s performance and your comfort all season long.
Can Using Disinfectant Sprays Damage My Fan’S Motor?
Yes, using disinfectant sprays directly on your fan’s motor can cause damage over time. For effective fan maintenance tips, avoid spraying liquids near electrical components. Instead, use a dry cloth or compressed air to clean the motor area. Following motor protection techniques like keeping moisture away guarantees your fan runs smoothly and lasts longer. This way, you maintain your freedom to enjoy a clean, well-functioning fan without risking costly repairs.
Are There Any Natural Alternatives to Chemical Sanitizers for Fans?
Think of natural alternatives as a gentle breeze cleansing your fan without harsh chemicals. You can mix a vinegar solution—equal parts water and white vinegar—to sanitize safely. Adding a few drops of essential oils like tea tree or lavender not only boosts cleaning power but leaves a fresh scent. This approach lets you free yourself from harsh chemicals, keeping your fan clean and your environment naturally fresh and safe.
Should I Sanitize My Fan if I Have Allergies or Asthma?
If you have allergies or asthma, you should definitely sanitize your fan regularly. Dust, pollen, and mold can build up on the blades and grills, worsening allergy symptoms and triggering asthma attacks. Keeping your fan clean helps reduce these asthma triggers, letting you breathe easier and enjoy your space freely. You don’t have to feel confined by your symptoms—sanitizing your fan is a simple step toward reclaiming your comfort.
Can Fan Sanitizing Reduce the Spread of Airborne Viruses Indoors?
You might think sanitizing your fan won’t make much difference, but it actually helps reduce airborne transmission indoors. Fans can circulate dust, germs, and viruses, impacting indoor air quality. By keeping your fan clean and sanitized, you cut down on particles that spread viruses, giving you more control over your environment. It’s a simple way to breathe easier and enjoy your space freely, without invisible threats lingering in the air.


