Best Way to Sanitize Your Tile
To sanitize your tile effectively, first identify your tile type—glossy surfaces tolerate mild disinfectants, while textured tiles need soft-bristled brushes for deeper cleaning. Use pH-neutral or EPA-approved cleaning agents suited to your tile material, and avoid abrasive tools to prevent damage. Always follow manufacturer dilution guidelines, rinse thoroughly to remove residues, and maintain grout seals to block moisture. Proper technique keeps tiles hygienic and durable. For thorough strategies and common pitfalls, explore tailored cleaning protocols.
Understanding Different Types of Tile Surfaces
Tiles come in various materials, each with distinct properties that influence how you should sanitize them effectively. When dealing with glossy tiles, their smooth, reflective surfaces resist dirt penetration, allowing you to use mild disinfectants without abrasive agents that might cause scratches. Conversely, textured tiles have uneven surfaces that trap grime and bacteria more readily, requiring more thorough cleaning methods. For these, applying a disinfectant with a soft-bristled brush guarantees deeper sanitation without damaging the tile’s integrity. It’s vital to select cleaning agents compatible with the tile material to avoid deterioration. Understanding these differences empowers you to maintain tile hygiene efficiently while preserving surface quality, giving you freedom from frequent replacements or damage caused by improper sanitization techniques. Additionally, using eco-friendly cleaning products helps protect both your tiles and the environment during the sanitization process.
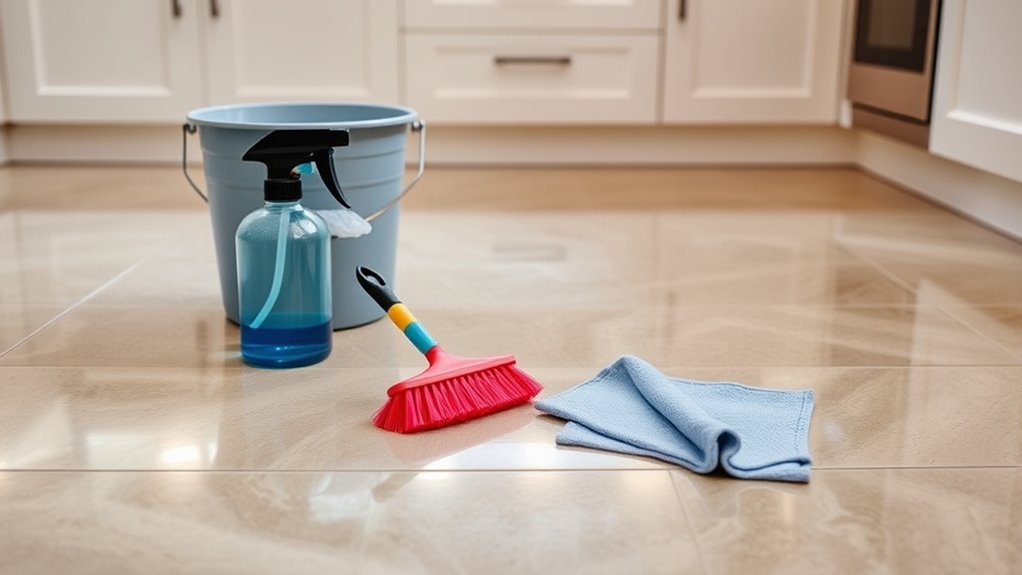
Essential Tools and Materials for Tile Sanitization
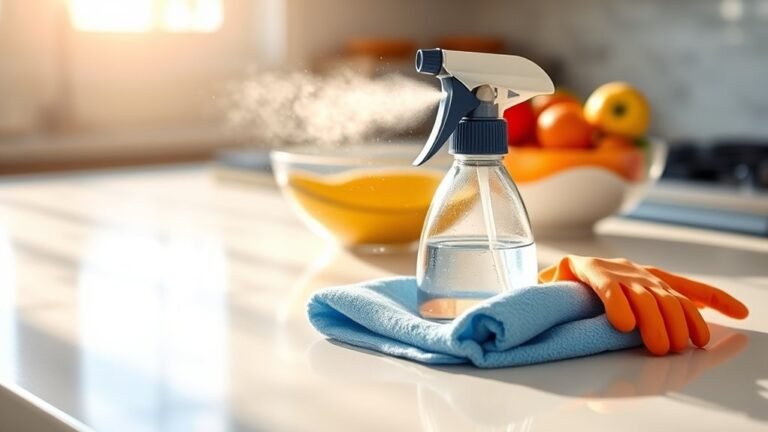
To sanitize tile effectively, you’ll need to choose cleaning agents compatible with your tile type, such as pH-neutral cleaners for natural stone or diluted bleach solutions for ceramic. Equipping yourself with the right tools—like microfiber mops, soft-bristle brushes, and spray bottles—ensures thorough application and removal of contaminants. Selecting appropriate materials based on evidence-supported sanitization protocols enhances both cleaning efficacy and tile longevity. It is also important to avoid harsh chemicals that could damage your tiles while maintaining effective sanitization.
Cleaning Agents Selection
Although selecting the right cleaning agents might seem straightforward, choosing products with proven antimicrobial efficacy and compatibility with tile materials is essential for effective sanitization. You need agents that eliminate pathogens without damaging grout or tile surfaces. Commercial products often contain potent biocides, verified through standardized testing, ensuring reliable microbial control. However, if you prefer eco friendly options, select formulations certified for biodegradability and low toxicity, which still meet efficacy standards. Avoid mixing chemicals, as interactions can reduce effectiveness or cause harm. Always verify the product’s suitability for your tile type—ceramic, porcelain, or natural stone—to prevent surface degradation. By prioritizing scientifically validated agents tailored to your tile, you maintain both hygiene and material integrity, granting you freedom from frequent replacements and health risks.
Necessary Cleaning Tools
Selecting the right cleaning agents is only part of achieving thorough tile sanitization; having the appropriate tools guarantees these agents are applied effectively and safely. You’ll need high-quality cleaning brushes with stiff, yet non-abrasive bristles to agitate grout lines and textured surfaces without damaging tile integrity. Microfiber cloths are essential for wiping down tiles post-cleaning, as their fine fibers trap dirt and residual chemicals, preventing streaks and ensuring a hygienic finish. Additionally, using ergonomic handles on brushes reduces fatigue during extended cleaning sessions, enhancing precision. Avoid tools that can scratch or degrade tile surfaces. By combining scientifically selected cleaning agents with these specialized tools, you maintain tile durability while maximizing sanitation, giving you freedom from frequent re-cleaning and potential surface damage.
Step-by-Step Guide to Cleaning and Disinfecting Tiles
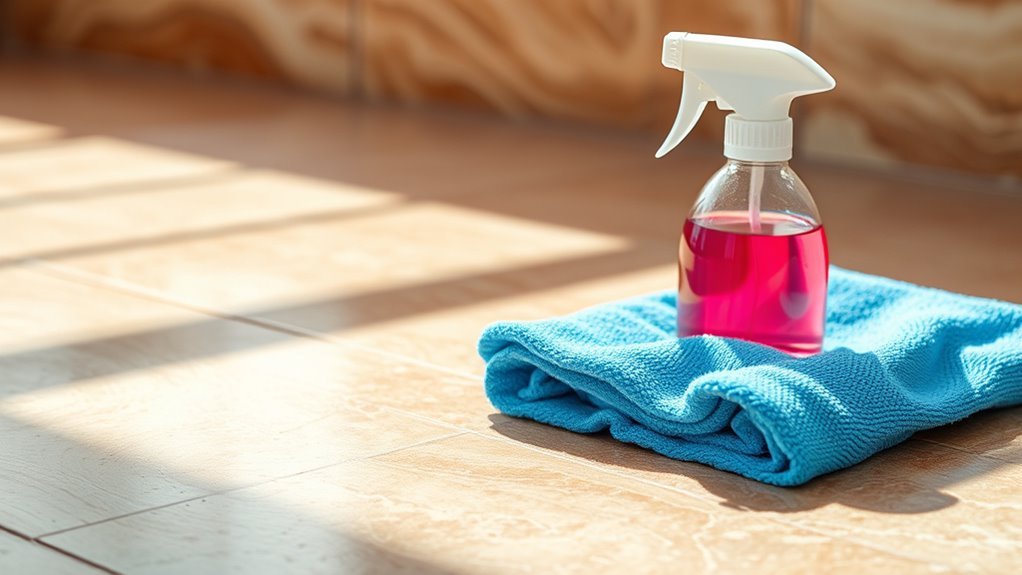
You’ll need specific cleaning supplies like pH-neutral detergents and microfiber cloths to avoid damaging your tiles. Effective disinfection relies on applying EPA-approved agents with proper contact time to eliminate pathogens. Following precise techniques guarantees both cleanliness and tile integrity are maintained. Additionally, using pH-neutral cleaners for delicate tiles ensures the longevity and appearance of natural stone surfaces.
Essential Cleaning Supplies
Before you begin sanitizing your tiles, gathering the right cleaning supplies is essential to guarantee effective disinfection and prevent damage. Select pH-neutral cleaners compatible with your tile’s surface type—whether ceramic, porcelain, or natural stone—to avoid etching or discoloration. Use microfiber cloths or soft-bristle brushes to gently remove dirt without scratching. Incorporate a mop or sponge for larger areas, making sure materials retain cleaning agents effectively. Consider gloves for skin protection and a spray bottle to evenly apply solutions. Adjust your cleaning frequency based on foot traffic and environmental exposure; high-traffic zones demand more frequent maintenance to inhibit microbial buildup. Proper supply selection aligned with surface types and cleaning frequency ensures sanitization efficacy while preserving tile integrity, supporting your freedom to maintain a safe, attractive space with confidence.
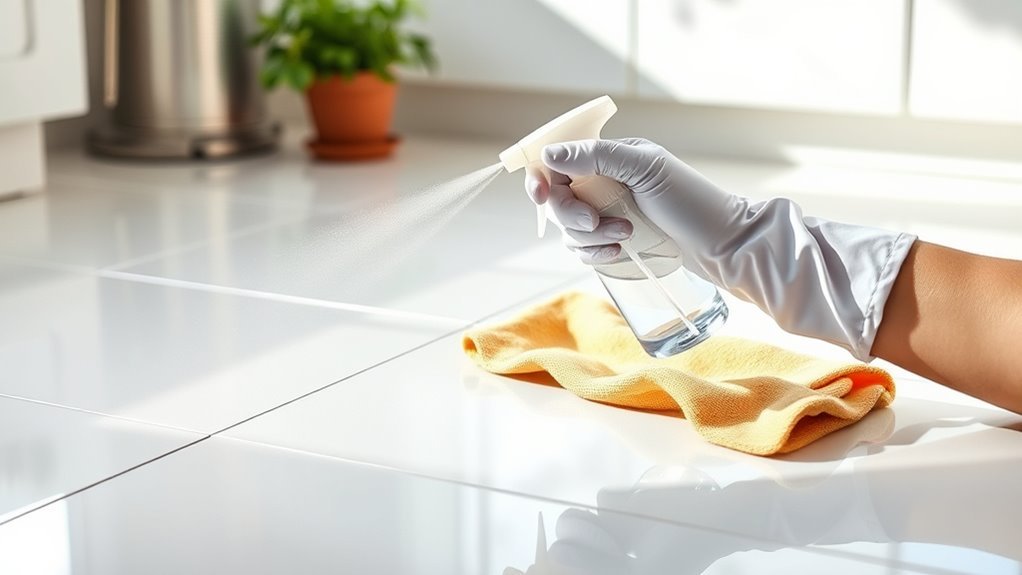
Disinfection Techniques Explained
Although effective tile disinfection requires a methodical approach, understanding each step guarantees thorough microbial elimination without compromising the surface. Begin by removing loose debris with a vacuum or broom. Next, apply an appropriate cleaning solution to break down organic matter and grime. After rinsing, select a disinfection method proven effective against common pathogens—such as quaternary ammonium compounds or diluted bleach at recommended concentrations. Confirm contact time aligns with product guidelines for peak efficacy. Rinse thoroughly to avoid residue buildup, which can degrade tile integrity over time. Maintain a consistent sanitization frequency based on tile usage and exposure risk—daily in high-traffic areas, weekly in low-use zones. By adhering to these evidence-based disinfection methods, you’ll safeguard both your health and the longevity of your tile surfaces without unnecessary restrictions.
Natural vs. Chemical Sanitizers: What Works Best?
How do natural and chemical sanitizers compare when it comes to effectively sanitizing tile surfaces? Natural alternatives, such as vinegar or hydrogen peroxide, offer a less toxic approach, appealing if you value freedom from harsh chemicals. However, their antimicrobial spectrum is generally narrower, and contact time must be longer to achieve significant sanitization. Chemical sanitizers, especially those containing sodium hypochlorite or quaternary ammonium compounds, demonstrate superior chemical efficacy with proven rapid microbial kill rates across a broad range of pathogens. While chemicals provide consistent, measurable results, they may risk tile damage or health concerns if misused. Choosing between these depends on your prioritization of environmental impact, safety, and sanitization performance. Ultimately, chemical sanitizers deliver more reliable microbial control, but natural alternatives can suffice for routine maintenance with proper application. Additionally, selecting products with fewer toxic ingredients can help reduce environmental harm and protect indoor air quality.
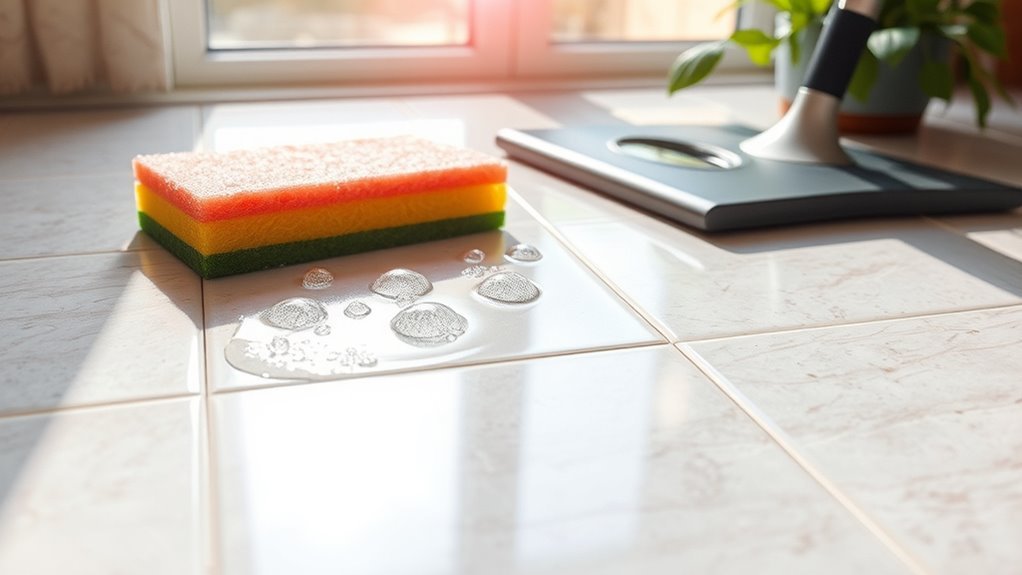
Tips for Maintaining Sanitized and Stain-Free Tiles
Selecting an appropriate sanitizer is just one part of keeping your tile surfaces both sanitized and stain-free. Effective tile maintenance involves routine cleaning with pH-neutral solutions to avoid surface etching and preserve grout integrity. You should promptly address spills to prevent staining agents from penetrating porous materials. Employ microfiber cloths or soft-bristle brushes to minimize abrasion and maintain surface finish. Regular sealing of grout lines is essential, as it creates a barrier against moisture and contaminants, enhancing stain prevention. Additionally, controlling humidity levels in tiled areas reduces microbial growth, supporting sanitation efforts. By integrating these evidence-based practices into your cleaning regimen, you guarantee durable, hygienic tiles that resist stains while granting you the freedom to enjoy clean, resilient surfaces without excessive chemical dependence. Understanding the importance of grout sealing further simplifies maintenance and protects against dirt and moisture intrusion.
Common Mistakes to Avoid When Sanitizing Tiles
When sanitizing tiles, you need to avoid common pitfalls that can undermine both cleanliness and surface integrity. One frequent error is relying on common misconceptions, such as using bleach indiscriminately, which can damage grout and tile finishes over time. Another improper technique is neglecting to dilute cleaning agents according to manufacturer guidelines, risking surface corrosion or residue buildup. Avoid using abrasive tools that scratch tiles, creating microenvironments for bacteria. Skipping the step of thoroughly rinsing after disinfectant application leaves harmful chemicals behind, reducing safety and effectiveness. Additionally, over-saturating porous tiles can cause moisture entrapment, promoting mold growth. By steering clear of these mistakes and employing evidence-based sanitizing methods, you maintain both the tile’s appearance and hygienic standards, granting you the freedom to enjoy a clean, durable surface without compromise. Proper sealing is also essential to protect grout from damage and staining during cleaning, extending the life of your tile installation and maintaining grout durability.
Frequently Asked Questions
How Often Should Tiles Be Professionally Deep-Cleaned?
You’ll want to follow frequency recommendations based on tile usage and environment. Typically, professional deep-cleaning is advised every 6 to 12 months. This aligns with cleaning schedules designed to maintain longevity and hygiene, especially in high-traffic or moisture-prone areas. By adhering to these evidence-based intervals, you guarantee your tiles remain in peak condition without unnecessary effort, giving you freedom from constant upkeep while preserving their appearance and durability.
Can Tile Grout Be Sealed After Sanitizing?
Like a knight reforging armor after battle, you can seal tile grout after sanitizing to reinforce its defenses. Grout sealing locks in the sanitizing benefits by creating a protective barrier against moisture, dirt, and microbes. Studies show sealing post-sanitization extends grout lifespan and maintains cleanliness longer. For best results, verify grout is fully dry and clean before applying sealant. This step grants you freedom from frequent deep cleans and preserves tile integrity.
Are Steam Cleaners Safe for All Tile Types?
You’ll want to contemplate steam cleaner types carefully because not all are safe for every tile material. High-temperature steam cleaners work well on glazed ceramic and porcelain but can damage natural stones like marble or travertine due to heat and moisture sensitivity. For tile material compatibility, always check manufacturer guidelines and test a small area first. Choosing the right steam cleaner lets you sanitize effectively without risking tile damage, giving you freedom and confidence in your cleaning routine.
What Are the Best Sanitizers for Outdoor Tiles?
For outdoor cleaning and effective tile maintenance, you’ll want sanitizers that tackle dirt, mold, and bacteria without damaging surfaces. Sodium hypochlorite solutions (bleach diluted to 1:10) are proven to disinfect thoroughly. Alternatively, hydrogen peroxide offers a less corrosive, eco-friendlier option. Avoid acidic cleaners on porous tiles, as they can cause etching. Always test a small area first and rinse thoroughly to maintain your tiles’ integrity and your freedom to enjoy a clean, safe outdoor space.
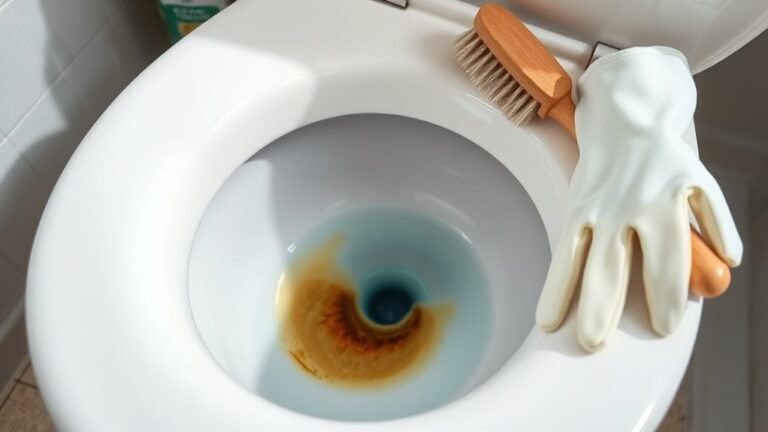
How to Remove Mold From Bathroom Tiles Effectively?
You’re dealing with nature’s little unwelcome guests—mold—on your bathroom tiles. For effective mold removal techniques, start with a solution of one part bleach to ten parts water. Apply it carefully, let it sit for 10 minutes, then scrub with a stiff brush. Rinse thoroughly and dry to prevent recurrence. Incorporate these bathroom cleaning tips regularly to maintain a fresh, mold-free space, giving you the freedom to enjoy a healthy environment.