Best Way to Sanitize Your Walls
To sanitize your walls effectively, start by identifying your wall type and paint finish to avoid damage. Use a mild soap and warm water solution applied with a soft cloth for gentle cleaning. Afterward, apply a compatible disinfectant, letting it air dry for maximum germ-killing power. Avoid harsh chemicals that can strip paint or harm surfaces. For tougher spots and high-traffic areas, certain methods work better. Keep following for helpful tips to make your walls last and stay fresh.
Understanding Wall Surfaces and Paint Types
Before you start sanitizing, it’s important to understand the type of wall surfaces and paint you’re dealing with. Different wall materials like drywall, plaster, or wood react differently to cleaning methods. You don’t want to damage your walls by using harsh cleaners on delicate surfaces. Paint finishes also play a significant role—flat or matte paints absorb moisture easily, so you’ll need to be gentle. Satin, semi-gloss, and gloss finishes are more durable and can handle stronger cleaning solutions. Knowing these details gives you the freedom to choose the right sanitizing approach without fear of ruining your walls. By understanding your wall materials and paint finishes, you’ll protect your space while keeping it fresh and clean, all on your terms.
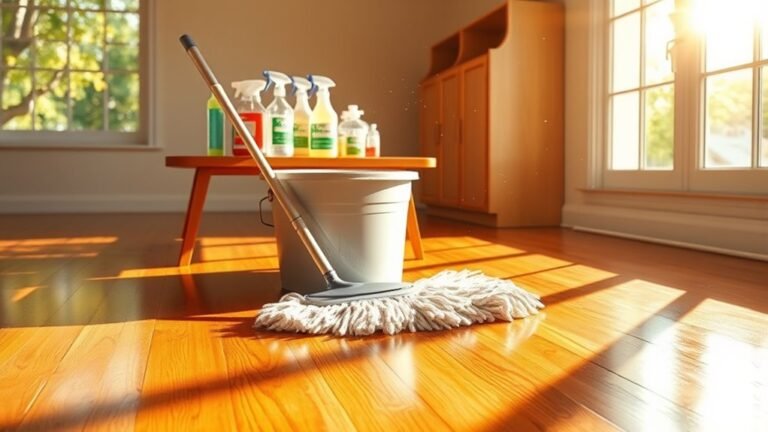
Essential Cleaning Supplies for Wall Sanitization
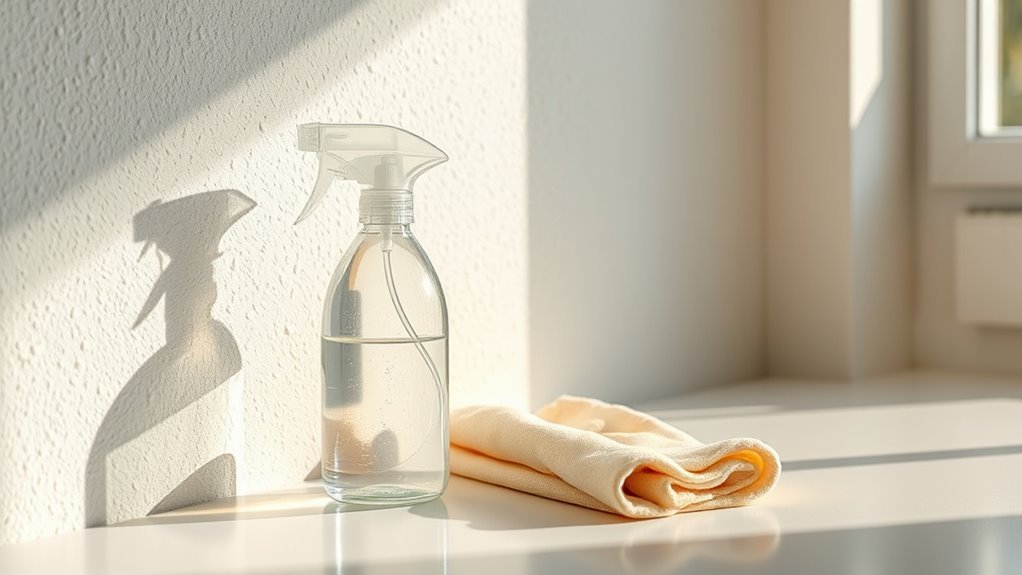
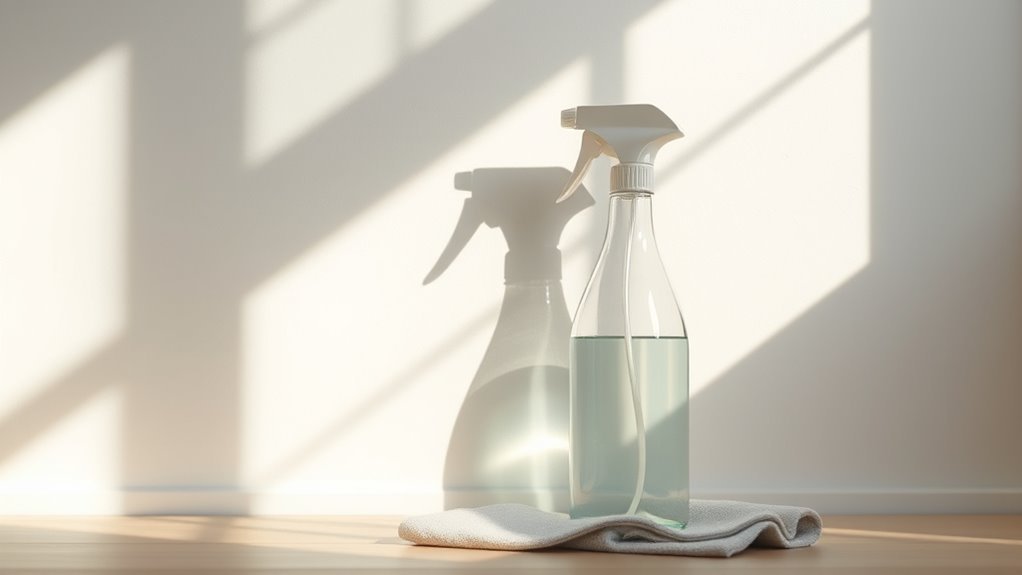
A few key cleaning supplies will make sanitizing your walls both effective and safe. You’ll want a gentle, non-abrasive cleaner that’s suitable for your wall type to avoid damage. A spray bottle lets you control application, so you’re not overdoing it. Microfiber cloths are essential—they trap dirt without scratching surfaces and dry quickly. For tougher spots, a soft-bristle brush helps without harming paint or wallpaper. Don’t forget gloves to protect your hands from harsh chemicals. If you prefer natural options, a vinegar and water solution works well for many surfaces. Having all these cleaning supplies ready gives you the freedom to tackle wall sanitization confidently, ensuring your walls stay pristine without compromising their finish or your peace of mind.
Preparing Your Walls for Sanitizing
Though it might seem simple, preparing your walls properly is essential to effective sanitizing. Start with thorough wall surface preparation by removing dust, dirt, and grime using a dry cloth or vacuum. This clears the way for sanitizers to work without interference. Next, consider your cleaning product selection carefully; pick products compatible with your wall material to avoid damage. Test a small hidden area first to verify no discoloration or peeling occurs. Also, protect surrounding furniture and floors before you begin. By preparing your walls well, you’ll maximize the sanitizing effect, keeping your space fresh and safe. Taking these steps lets you maintain control over your environment and enjoy a truly clean, healthy home.
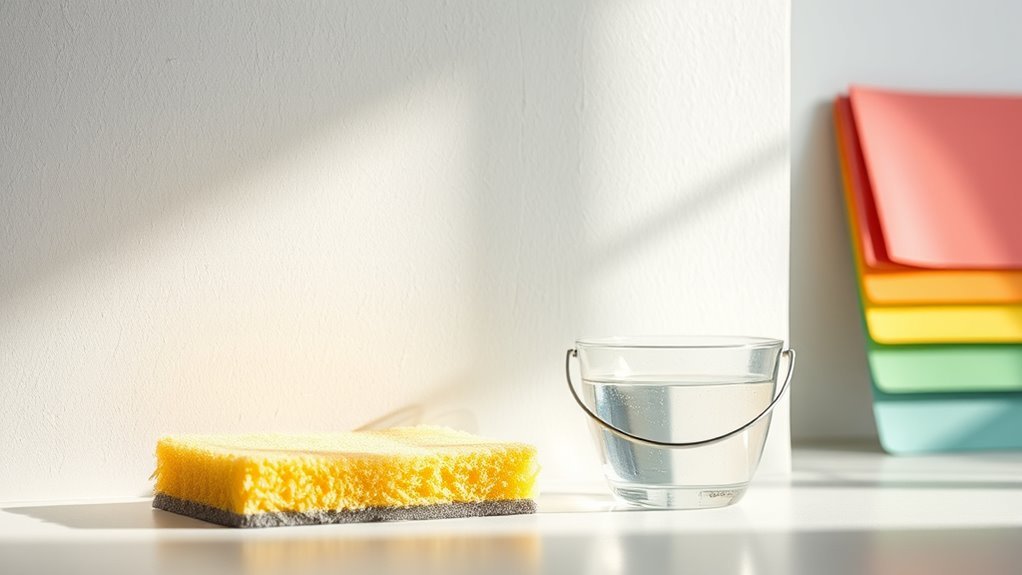
Using Mild Soap Solutions for Routine Cleaning
Once you’ve prepped your walls, routine cleaning with mild soap solutions can keep them looking fresh without risking damage. Mild soap benefits include gentle removal of dirt and grime while preserving paint and finishes. Using mild soap solutions lets you maintain your space freely, avoiding harsh chemicals that could harm your walls or health.
Here are some routine cleaning techniques to try:
- Mix a few drops of mild soap with warm water for an effective, safe solution.
- Use a soft cloth or sponge to gently wipe walls without scrubbing aggressively.
- Rinse with clean water and dry with a microfiber cloth to prevent streaks or residue.
These simple steps give you control over your environment, ensuring your walls stay clean and vibrant without hassle.
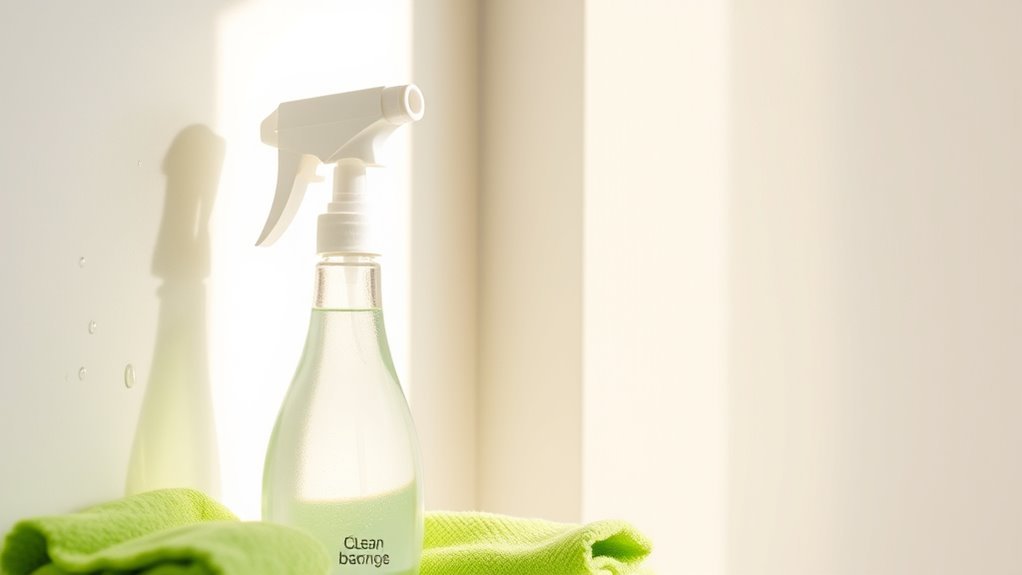
Effective Use of Disinfectants on Walls
When it comes to disinfecting your walls, picking the right product is key to both safety and effectiveness. You’ll want to follow proper application techniques to guarantee the disinfectant works without damaging your paint or finish. Let’s explore how to choose and use disinfectants properly for the best results.
Choosing the Right Disinfectant
How do you select the best disinfectant for your walls? It’s all about balancing disinfectant types and surface compatibility to keep your space safe without damage. Not all disinfectants work well on every wall surface, so choosing wisely lets you maintain freedom over your environment without restrictions.
Consider these points:
- Identify your wall’s material to guarantee surface compatibility.
- Choose disinfectant types proven to kill germs effectively on that surface.
- Check for non-toxic, low-odor options if you want a fresh, hassle-free experience.
Application Techniques and Tips
Three key steps will help you apply disinfectants on your walls effectively: preparation, application, and drying. First, clear the area and dust the walls to guarantee the disinfectant sticks properly. When it’s time to apply, choose the right method to suit your wall’s surface—spray techniques work well for large, smooth areas, while wall wipes offer precision for corners and textured spots. Hold the spray nozzle about 6-8 inches from the surface for even coverage without drips. With wall wipes, gently but thoroughly wipe in a consistent pattern to avoid missing spots. After application, let the disinfectant air dry completely to maximize its effectiveness. Following these tips lets you keep your walls clean and lets you enjoy the freedom of a fresh, sanitized space.
Natural and Homemade Sanitizing Alternatives
Looking for effective ways to sanitize your walls without harsh chemicals? You can take control by using natural and homemade alternatives that are safe, affordable, and easy to make. A vinegar solution is a powerful disinfectant; just mix equal parts white vinegar and water in a spray bottle. Baking soda is another versatile option—it deodorizes and gently scrubs away grime without damaging surfaces. Here are three natural sanitizing alternatives to try:
- Vinegar Solution: Mix equal parts water and white vinegar for a simple disinfectant.
- Baking Soda Paste: Combine baking soda with a bit of water to create a paste for scrubbing.
- Lemon Juice: Use diluted lemon juice for its antibacterial and freshening properties.
These choices let you sanitize your walls while embracing freedom from harsh chemicals.
Dealing With Stubborn Stains and Spots
When you spot stubborn stains on your walls, the first step is figuring out what type of stain you’re dealing with. Once you know that, you can choose the most effective method to remove it without damaging your paint or wallpaper. Plus, taking a few simple precautions can help prevent those stains from coming back in the future.
Identifying Stain Types
Although stains on your walls can be frustrating, understanding what type of stain you’re dealing with is key to removing it effectively. Stain identification helps you choose the right stain removal approach without damaging your wall’s surface. By recognizing the stain, you gain control over the cleaning process, giving you the freedom to restore your walls confidently.
Here’s a quick guide to common wall stains:
- Grease or oil stains: Often from cooking or hands, these need degreasing agents.
- Water stains: Usually caused by leaks or humidity, requiring drying and mild cleaners.
- Ink or marker stains: These demand solvents or specialized removers.
Knowing your stain type lets you tackle it smartly, saving time and effort while keeping your walls pristine.
Effective Spot Removal
Since stubborn stains can resist basic cleaning, you’ll need targeted methods to remove them without harming your walls. Start with gentle spot cleaning using a soft cloth and mild detergent to test the stain’s reaction. For tougher stains, try a mixture of baking soda and water, applying it directly to the spot and gently scrubbing. Always avoid harsh chemicals that might damage your paint or wallpaper. If you’re dealing with grease or ink, rubbing alcohol works well but test it first in an inconspicuous area. Quick action is key—address stains as soon as you notice them to make stain removal easier and prevent permanent marks. By focusing on effective spot cleaning, you maintain your walls’ fresh look while keeping your freedom to enjoy your space without worry.
Preventing Future Stains
To keep your walls looking their best, you’ll want to take steps that prevent stains from setting in the first place. Preventive maintenance is key—it saves you time and effort down the road, letting you enjoy a clean, fresh space without constant worry. Regular inspections help you spot early signs of dirt or damage, so you can act fast before stains become stubborn. Here’s how to stay ahead:
- Schedule monthly wall checks to catch smudges or spills early.
- Use washable paint or protective coatings to make cleaning easier.
- Keep cleaning supplies handy for quick touch-ups when needed.
Tips for Sanitizing Walls in High-Traffic Areas
When you’re dealing with high-traffic areas, walls can quickly accumulate dirt, germs, and smudges that standard cleaning might miss. To keep your space feeling fresh and free, focus on regular wall maintenance using gentle, yet effective sanitizers. Start by dusting or vacuuming the surface to remove loose particles. Then, use a microfiber cloth dampened with a mild disinfectant suitable for your wall type. Pay special attention to spots near door handles, switches, and corners, where germs love to hide. Avoid harsh chemicals that can damage paint or wallpaper. By staying consistent with targeted cleaning in high traffic areas, you’ll maintain a healthier environment and preserve your walls’ appearance without feeling trapped by constant upkeep.
Preventive Measures to Keep Walls Cleaner Longer
Keeping up with regular cleaning in high-traffic areas helps, but you can also take steps that prevent dirt and germs from settling on your walls in the first place. Preventive maintenance is key to keeping your space feeling fresh and free. By applying wall protectants, you create a barrier that repels stains and makes cleaning easier, saving you time and effort. Here are some smart moves to keep your walls cleaner longer:
Prevent dirt and germs with wall protectants—making cleaning easier and your space fresher for longer.
- Use washable paint or apply a clear wall protectant to shield surfaces.
- Place mats or rugs near entryways to reduce tracked-in dirt.
- Encourage hand hygiene and limit touching walls to minimize germs.
These simple actions give you more freedom by reducing the need for frequent deep cleans and maintaining a healthier environment effortlessly.
Frequently Asked Questions
Can Wall Sanitizing Prevent Mold Growth Effectively?
Think of mold prevention like building a fortress around your home. When you sanitize your walls properly, you’re creating a strong barrier that keeps mold at bay. While wall treatments can’t guarantee 100% mold elimination, they greatly reduce moisture and germs, making it harder for mold to take hold. By staying proactive with cleaning and wall care, you’re freeing yourself from future mold troubles and protecting your living space effectively.
How Often Should Walls Be Sanitized in Commercial Spaces?
You should follow frequency guidelines based on your commercial standards and the type of business you run. High-traffic areas often need daily or weekly sanitizing, while less busy spaces might only require it monthly. Sticking to these guidelines helps you maintain a safe, healthy environment without feeling tied down by constant cleaning. Tailor your schedule to fit your space’s needs, giving you the freedom to focus on what matters most.
Are There Any Health Risks From Using Disinfectants on Walls?
Think of disinfectants like a double-edged sword—while they fight germs, they can also pose risks. You need to prioritize disinfectant safety to avoid chemical exposure, which might irritate your skin, eyes, or lungs. When you’re using them, make sure the area’s well-ventilated, wear gloves, and follow instructions carefully. That way, you keep your space clean without compromising your health or freedom to breathe easy.
Can UV Light Be Used to Sanitize Walls Safely?
Yes, you can use UV technology to sanitize walls, but you’ve gotta follow strict safety measures. UV light effectively kills germs, but direct exposure can harm your skin and eyes. To keep your freedom intact without risking health, make sure the area is unoccupied during treatment, wear protective gear if needed, and use devices designed for surface sanitizing. This way, you get clean walls safely and confidently.
Does Wall Sanitizing Affect Indoor Air Quality?
When it comes to indoor air quality, you can’t judge a book by its cover. Sanitizing walls can reduce airborne bacteria, but some cleaning products might release indoor pollutants, which could impact the air you breathe. If you want to keep your freedom to breathe fresh air, choose natural or non-toxic sanitizers and guarantee good ventilation. That way, you’ll keep your space clean without trading one problem for another.