Budget-Friendly DIY Cleaning Products for Grout
You can clean grout effectively with budget-friendly ingredients right from your pantry. Try sprinkling baking soda on grout lines, then spraying a mix of equal parts vinegar and water to create a fizzing cleaner that lifts grime. For tougher stains, make a paste with baking soda and hydrogen peroxide or mix lemon juice with salt to naturally whiten grout. These simple methods avoid harsh chemicals and save money. Keep exploring to discover more easy, natural grout cleaning tricks and maintenance tips.
Essential Pantry Ingredients for Grout Cleaning

Although grout can be tough to clean, you probably already have the essential pantry ingredients to tackle it effectively. White vinegar benefits your grout cleaning by cutting through grime and mildew with its natural acidity, making it a powerful yet gentle solution. You don’t need harsh chemicals to get that freedom from stubborn dirt. Baking soda uses go beyond baking; its mild abrasiveness helps scrub away stains without damaging grout lines. Together, these ingredients create a dynamic duo that’s affordable, accessible, and safe for your home. Embracing these pantry staples lets you maintain clean grout while avoiding expensive, toxic cleaners. You’ll appreciate the simplicity and control that come with using what’s already in your kitchen, giving you freedom from unnecessary products and expenses.
How to Make a Baking Soda and Vinegar Grout Cleaner
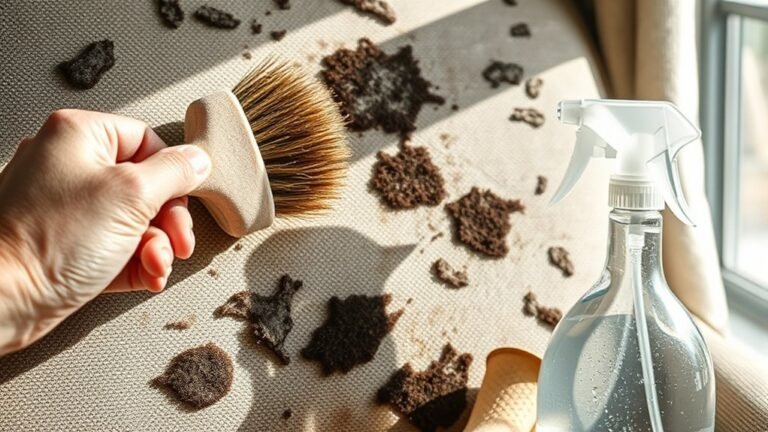
You only need two simple ingredients to make an effective grout cleaner: baking soda and white vinegar. Start by sprinkling baking soda over the grout lines; its natural abrasive texture and deodorizing baking soda benefits help lift dirt without harsh chemicals. Next, mix equal parts white vinegar and water in a spray bottle. Spray this solution over the baking soda. Thanks to vinegar properties like its acidity and antibacterial nature, it reacts with the baking soda, fizzing and breaking down grime. Let it sit for about 5 to 10 minutes, then scrub with a stiff brush or old toothbrush. Rinse with warm water and watch your grout brighten effortlessly. This DIY combo gives you freedom to clean safely, affordably, and effectively—no need for expensive cleaners.
Using Hydrogen Peroxide for Stubborn Grout Stains

Baking soda and vinegar work wonders on regular grime, but when grout stains won’t budge, hydrogen peroxide can be a powerful ally. Its oxygen-rich formula delivers impressive stain removal, tackling dirt deep within grout lines. Plus, hydrogen benefits include being eco-friendly and safe for most surfaces, giving you freedom from harsh chemicals. To use, mix hydrogen peroxide with baking soda to form a paste, apply to grout, let sit, then scrub gently.
| Feature | Hydrogen Peroxide | Traditional Cleaners | DIY Mix (H2O2 + Baking Soda) |
|---|---|---|---|
| Stain Removal | High | Moderate | Very High |
| Environmental Impact | Low | High | Low |
| Surface Safety | Safe | Varies | Safe |
This method empowers you to restore grout’s original brightness without breaking the bank or harming the planet.
Lemon Juice and Salt: Natural Grout Whitening Solution
Two simple ingredients—lemon juice and salt—can brighten your grout naturally without harsh chemicals. You’ll love how the lemon benefits your cleaning routine; its natural acidity breaks down grime and stains effortlessly. Meanwhile, salt properties act as a gentle abrasive, scrubbing away dirt without damaging your grout lines. Just mix fresh lemon juice with enough salt to form a paste, then apply it to your grout. Let it sit for about 10 minutes to work its magic, then scrub with a brush and rinse with warm water. This DIY solution gives you freedom from expensive, chemical-laden cleaners while harnessing nature’s power. It’s an easy, budget-friendly way to keep your grout looking fresh and white.
Tips for Maintaining Clean Grout Between Deep Cleanings

After brightening your grout with natural solutions like lemon juice and salt, keeping it clean between deep cleanings is just as important. Sticking to a regular cleaning schedule helps prevent buildup, saving you time and effort later. Here are essential grout maintenance tips to keep your grout looking fresh:
| Task | Frequency | Tips |
|---|---|---|
| Sweep or vacuum | Daily | Removes loose dirt and debris |
| Mop with vinegar | Weekly | Natural disinfectant and cleaner |
| Spot clean stains | As needed | Use baking soda paste |
| Seal grout | Every 6 months | Protects against moisture |
| Ventilate area | Daily | Prevents mold and mildew |
Follow these simple steps, and you’ll enjoy clean grout without feeling tied down to constant deep cleaning.
Frequently Asked Questions
Can These DIY Cleaners Damage Grout or Tile Surfaces?
You might worry that DIY cleaners could harm your grout or tile surfaces, but if you’re careful, they usually won’t. Grout durability varies, so it’s key to avoid harsh acids or abrasive scrubbing that can erode it. For tile safety, stick to gentle, natural ingredients like baking soda or vinegar diluted with water. This way, you keep your freedom to clean effectively without risking damage to your beautiful surfaces.
How Often Should I Deep Clean Grout With These Homemade Products?
Oh, because grout just loves being bothered constantly, right? In reality, frequency recommendations for deep cleaning schedules suggest you don’t need to overdo it. Once every three to six months usually does the trick, unless you’re dealing with heavy traffic or spills. You’re free to adjust based on your lifestyle, but remember—too much scrubbing can wear it down. So, give your grout the freedom to breathe between deep cleans.
Are These Cleaning Solutions Safe for Colored Grout?
When it comes to colored grout safety, you’ll want to be cautious with homemade cleaner efficacy. Some DIY solutions, especially acidic ones like vinegar, can dull or discolor your grout’s color over time. To protect your freedom to customize your space, test any cleaner on a small, hidden spot first. That way, you can enjoy effective cleaning without risking the vibrant look of your colored grout.
Can I Store Homemade Grout Cleaners for Future Use?
You can definitely store homemade grout cleaners for future use, but keep a few storage tips in mind. Use airtight containers to keep your mixture fresh and avoid contamination. Most DIY grout cleaners have a shelf life of about one to two weeks, depending on ingredients. Label your container with the date you made it, so you don’t lose track. This way, you stay free from frequent remakes and ready to clean anytime!
What Tools Work Best With DIY Grout Cleaning Solutions?
When tackling grout cleaning, you’ll find scrubbing brushes work best—they reach deep into those tiny grooves, loosening dirt and grime effortlessly. Pair them with cleaning cloths to wipe away residue and give your grout a polished look. Using these tools gives you the freedom to clean thoroughly without harsh chemicals. Plus, they’re easy to handle, so you can customize your cleaning routine to fit your style and pace.


