
Budget-Friendly DIY Cleaning Products for Mattress
You can keep your mattress fresh and clean without spending much by using simple DIY cleaning products. Baking soda works great to absorb odors and moisture, while a mix of vinegar and water helps lift stains naturally. For tougher marks, hydrogen peroxide is effective if you spot test first. Mild castile soap gently removes dirt without harsh chemicals. Adding essential oils can boost freshness. Keep this up, and you’ll uncover easy steps for deeper mattress care and maintenance.
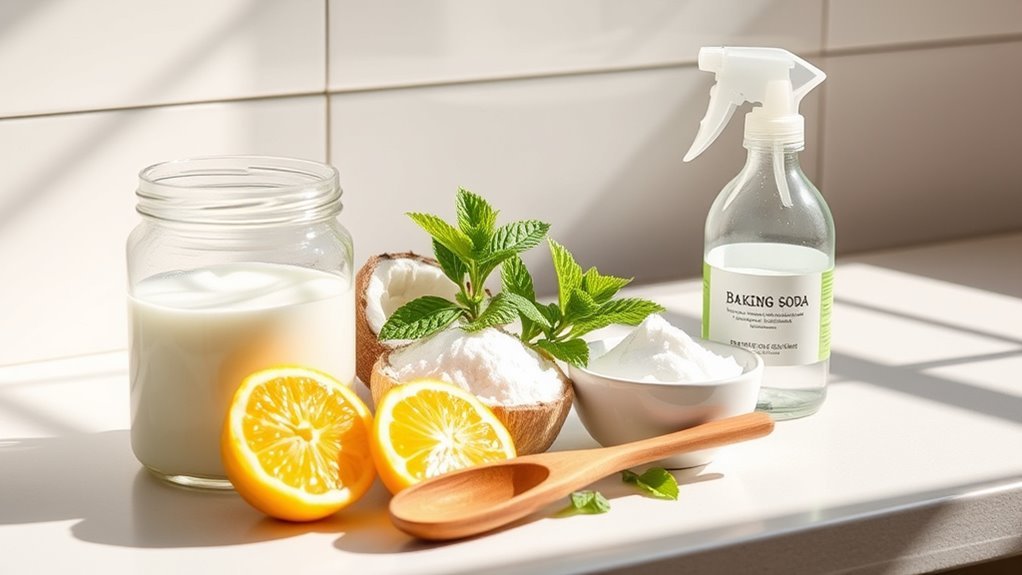
Essential Ingredients for DIY Mattress Cleaning

Though mattresses can be tricky to clean, you’ll find that a few simple ingredients can tackle most stains and odors effectively. When choosing your supplies, focus on natural cleaning agents that are safe for both you and the environment. Eco friendly ingredients like baking soda, hydrogen peroxide, and gentle castile soap are your best allies. These items break down grime without harsh chemicals, giving you a fresh mattress without compromising health or freedom. Essential oils like lavender or tea tree can also add a pleasant scent and antibacterial properties. By relying on these straightforward, natural cleaning components, you keep your space clean and support a sustainable lifestyle. You don’t need complicated products—just a few eco friendly staples to maintain a mattress that feels as free as you want to be.
How to Remove Stains Using Baking Soda and Vinegar
Using baking soda and vinegar is one of the simplest and most effective ways to tackle mattress stains. Whether you’re dealing with sweat, wine, or food stains, this natural combo breaks down the grime without harsh chemicals. Start by sprinkling baking soda over the stain, letting it absorb moisture and odors for about 30 minutes. Then, spray a mixture of equal parts white vinegar and water onto the area. You’ll see some fizzing—that’s the stain lifting away. After it settles, blot with a clean cloth and let your mattress air dry. Keep in mind, regular cleaning frequency matters; tackling stains as soon as they appear prevents them from setting in. This method gives you freedom from pricey cleaners while keeping your mattress fresh and stain-free.
Creating a Natural Deodorizing Spray for Mattresses

If you want to keep your mattress smelling fresh between deep cleanings, a natural deodorizing spray is a simple solution you can make at home. Grab a clean spray bottle and combine water with natural fragrance options like essential oils. Lavender, eucalyptus, peppermint, lemon, or tea tree oil not only smell great but also offer antibacterial benefits. Mastering spray bottle techniques helps you evenly mist your mattress without soaking it, ensuring quick drying and no residue. Here’s what you’ll need:
- Distilled water for purity
- A spray bottle with adjustable nozzle
- 10-15 drops of your chosen essential oil
- A small funnel for easy pouring
- Label to mark your creation
This easy DIY lets you refresh your space freely, without harsh chemicals or store-bought costs.
Using Hydrogen Peroxide for Stubborn Mattress Stains
If you’re dealing with tough mattress stains, hydrogen peroxide can be a powerful ally thanks to its stain-fighting properties. You’ll want to apply it carefully to avoid bleaching, using a spray bottle or a cloth for targeted treatment. Just be sure to test a small area first and use gloves to keep things safe while you clean.
Hydrogen Peroxide Benefits
Though tackling stubborn mattress stains can feel overwhelming, hydrogen peroxide offers a powerful yet gentle solution you can easily use at home. Its versatility makes it a go-to for various cleaning needs, and with proper hydrogen peroxide safety, you’ll enjoy its benefits without worry. It’s effective in breaking down tough stains without harsh chemicals, giving you freedom from expensive cleaners.
Here’s why hydrogen peroxide stands out:
- Penetrates deep into fabric fibers
- Kills bacteria and removes odors
- Whitens and brightens mattress surfaces
- Safe for most mattress materials when used correctly
- Eco-friendly alternative to chemical cleaners
Application Techniques
There are three key steps you should follow when applying hydrogen peroxide to stubborn mattress stains to guarantee thorough cleaning without damaging your mattress. First, test a small hidden area to check for discoloration. Next, gently apply the solution using a spray bottle or cloth, avoiding oversaturation. Finally, blot the area with a clean towel and let it air dry completely.
| Step | Action | Tip |
|---|---|---|
| 1 | Spot test | Prevents damage |
| 2 | Apply solution | Use spray or cloth |
| 3 | Blot stain | Avoid rubbing |
| 4 | Air dry | Guarantees stain removal |
These application techniques optimize cleaning methods, giving you freedom to refresh your mattress effectively.
Safety Precautions
Because hydrogen peroxide is a strong oxidizer, you’ll need to handle it carefully to avoid damaging your mattress or irritating your skin. Prioritize mattress safety by taking simple cleaning precautions that keep you and your bedding safe. Before applying, test a small hidden area to check for discoloration. Use gloves to protect your hands, and guarantee the room is well-ventilated to avoid inhaling fumes. Avoid saturating the mattress; instead, apply the solution sparingly with a spray bottle or cloth. After treatment, blot the area gently and allow it to air dry fully to prevent mold growth. Keeping these precautions in mind lets you enjoy a fresh mattress without risking damage or discomfort.
- Wear protective gloves
- Test on a hidden spot first
- Use minimal hydrogen peroxide
- Guarantee good airflow
- Blot and dry thoroughly
Tips for Spot Cleaning With Castile Soap
When you spot a stain on your mattress, using castile soap can be an effective and gentle solution. Start by mixing a few drops of castile soap with warm water in a spray bottle. Lightly mist the stained area—don’t soak it. Next, grab a clean cloth or sponge and gently blot the stain, working from the outside in to avoid spreading. Avoid scrubbing hard; castile soap’s natural ingredients do the work without damaging your mattress fibers. After blotting, use a dry towel to absorb excess moisture. Let the area air dry completely before putting sheets back on. With castile soap spot cleaning, you control what touches your mattress, keeping it fresh and clean without harsh chemicals or extra waste.
Making a Gentle Enzyme Cleaner at Home
If you’re looking to tackle tough stains and odors on your mattress naturally, making a gentle enzyme cleaner at home is a smart choice. Enzyme properties break down organic matter like sweat and spills, lifting stains without harsh chemicals. With simple cleaner recipes, you can customize your solution to suit your needs and enjoy freedom from pricey, chemical-laden products. Here’s what you’ll need:
Tackle mattress stains naturally with a homemade enzyme cleaner that breaks down spills without harsh chemicals.
- A cup of pineapple juice or mashed papaya (rich in natural enzymes)
- 1/4 cup white vinegar
- 1 cup warm water
- A few drops of liquid castile soap
- A spray bottle for easy application
Mix these, spray on the stain, let it sit 15 minutes, then blot dry. Your mattress will thank you!
Freshening Mattresses With Essential Oils and Baking Soda
Though mattresses can trap odors over time, you can easily freshen them using a simple mix of essential oils and baking soda. Baking soda benefits include neutralizing unpleasant smells and absorbing moisture, making it perfect for your mattress. Start by sprinkling a generous layer of baking soda across the surface. Then, add a few drops of your favorite essential oil blends—like lavender or eucalyptus—for a natural, invigorating scent. Let it sit for at least an hour, or even overnight if you can, to fully absorb odors. Finally, vacuum the baking soda away, leaving your mattress smelling clean and revitalized. This straightforward method gives you freedom from harsh chemicals while making your sleeping space more inviting and fresh.
Using Cornstarch to Absorb Moisture and Odors
You can use cornstarch to soak up moisture trapped in your mattress, which helps prevent mold and mildew. It also naturally neutralizes odors, leaving your mattress smelling fresher. Sprinkle it evenly, let it sit for a few hours, then vacuum it off for best results.
Moisture Absorption Benefits
Because mattresses can trap moisture and odors over time, using cornstarch is a simple way to keep them fresh and dry. When you apply cornstarch, it acts as a natural absorber, pulling mattress moisture away, preventing mold and mildew buildup. This DIY absorption technique lets you take control of your sleeping environment without relying on costly products.
Imagine:
- A mattress free of damp patches
- Crisp, dry fibers ready for restful nights
- Moisture trapped in cornstarch, not your bed
- Easy cleanup without harsh chemicals
- A breathable surface that feels light and fresh
Odor Neutralizing Properties
While cornstarch effectively absorbs moisture, it also plays a key role in neutralizing odors trapped in your mattress. When you sprinkle cornstarch on your mattress, it acts as a natural odor eliminator by soaking up sweat, body oils, and other sources of unpleasant smells. This simple odor elimination technique helps keep your mattress smelling fresh without relying on harsh chemicals. Incorporating cornstarch into your mattress freshness ideas gives you a budget-friendly, non-toxic solution that supports a cleaner, more comfortable sleep environment. With this easy method, you gain freedom from stubborn odors, making your mattress feel revitalized. By choosing cornstarch, you’re embracing an effective, natural way to maintain mattress freshness and enjoy a healthier, more inviting sleeping space.
Application Tips and Tricks
Cornstarch doesn’t just neutralize odors—it works wonders for soaking up moisture too. When you want to keep your mattress fresh and dry, sprinkle a light layer of cornstarch over the surface and let it sit for at least 30 minutes. This simple step fits perfectly into your mattress care routine and cleaning schedules.
To get the best results:
- Gently spread cornstarch evenly across the mattress
- Let it absorb dampness and odors naturally
- Vacuum thoroughly to remove all residue
- Repeat monthly or after spills
- Combine with essential oils for a fresh scent
How to Properly Vacuum and Maintain Your Mattress
Vacuuming your mattress at least once a month is vital to keep it clean and fresh. Use proper mattress vacuuming techniques: move slowly, focus on seams, and use attachments for corners. Sticking to a mattress maintenance schedule guarantees your bed stays allergen-free and inviting. This simple routine frees you from worries about dust and bugs, letting you enjoy restful nights.
| Step | Action | Feeling Achieved |
|---|---|---|
| 1 | Remove bedding | Relief |
| 2 | Vacuum slowly | Control |
| 3 | Focus on seams & edges | Thoroughness |
| 4 | Repeat monthly | Freedom & freshness |
Stay consistent, and your mattress will reward you with comfort and health.
Preventative Measures to Keep Your Mattress Clean Longer
Even though regular cleaning is essential, taking simple preventative steps can help you keep your mattress cleaner for longer. By integrating mattress protection and sticking to a consistent cleaning schedule, you’ll enjoy a fresher, healthier sleeping space without extra hassle.
Here’s how to maintain that freedom from deep cleaning stress:
- Use a high-quality mattress protector to shield against spills and dust mites.
- Wash bedding weekly to minimize dirt buildup.
- Air out your mattress regularly to reduce moisture.
- Avoid eating or drinking in bed to prevent stains.
- Rotate your mattress every few months to guarantee even wear.
These small habits create a barrier against grime, letting you relax and sleep soundly with less effort on your part.
Frequently Asked Questions
Can DIY Cleaning Products Damage Mattress Materials or Warranties?
You might worry if DIY cleaning products can damage your mattress or affect warranty coverage. It’s important to remember that certain cleaning product ingredients, like harsh chemicals or excessive moisture, can harm mattress materials. This damage might lead to mattress warranty implications, possibly voiding your coverage. To keep your freedom in cleaning choices, always check your mattress care guidelines and use gentle, safe ingredients to protect both your bed and warranty.
How Often Should I Deep Clean My Mattress Using DIY Methods?
You don’t want your mattress to turn into a dust magnet the size of a small planet! For mattress cleaning frequency, aim for a deep clean every six months to keep it fresh and allergen-free. Deep cleaning importance can’t be overstated—it helps you breathe easier and sleep better. If you’re carefree and want to extend your mattress’s life, stick to this routine and feel the freedom of a cleaner, cozier bed.
Are DIY Mattress Cleaners Safe for People With Allergies or Asthma?
You might wonder if DIY mattress cleaners are safe for allergies or asthma. When you choose allergy safe ingredients like baking soda, white vinegar, and essential oils (in moderation), you’re opting for asthma friendly solutions that minimize harsh chemicals. These natural options help you keep your mattress fresh without triggering symptoms, giving you freedom to clean confidently. Just guarantee good ventilation and test small areas first to avoid any reactions.
Can DIY Mattress Cleaning Products Be Used on Memory Foam Mattresses?
Imagine your memory foam mattress as a delicate cloud cradling you each night. You’ll want to choose cleaning solutions that respect its gentle nature—memory foam compatibility is key. DIY cleaning products can work wonders if crafted carefully, maintaining cleaning solution effectiveness without soaking or harsh chemicals. With the right balance, you can enjoy a fresh mattress while preserving the freedom to rest comfortably, unburdened by damage or lingering residues.
What Are the Best Storage Tips for Homemade Cleaning Solutions?
When storing homemade cleaning solutions, you’ll want to use proper containers like airtight glass or plastic bottles to keep them fresh and prevent leaks. Label each container clearly with the solution name and date you made it. Keep in mind the storage duration—most DIY cleaners last about a month, so avoid keeping them too long. Storing them in a cool, dark place helps maintain effectiveness, giving you freedom to clean whenever you want without worry.


