Budget-Friendly DIY Cleaning Products for Walls
You can keep your walls clean and fresh without breaking the bank using simple DIY solutions. Try an all-purpose cleaner made from baking soda, castile soap, and water, or tackle stubborn stains with a vinegar and water mix. For tough grime, a baking soda paste works wonders, while a mild dish soap solution is gentle yet effective. Lemon juice combined with olive oil can polish and brighten walls. Plus, cornstarch is great for dusting and spot cleaning. Explore how these easy ingredients transform your walls.
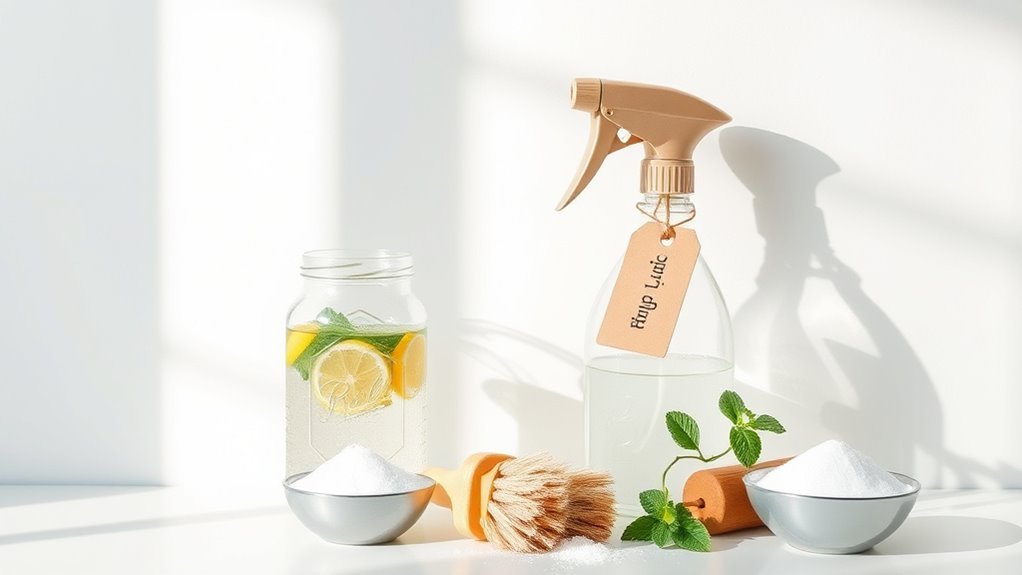
Homemade All-Purpose Wall Cleaner
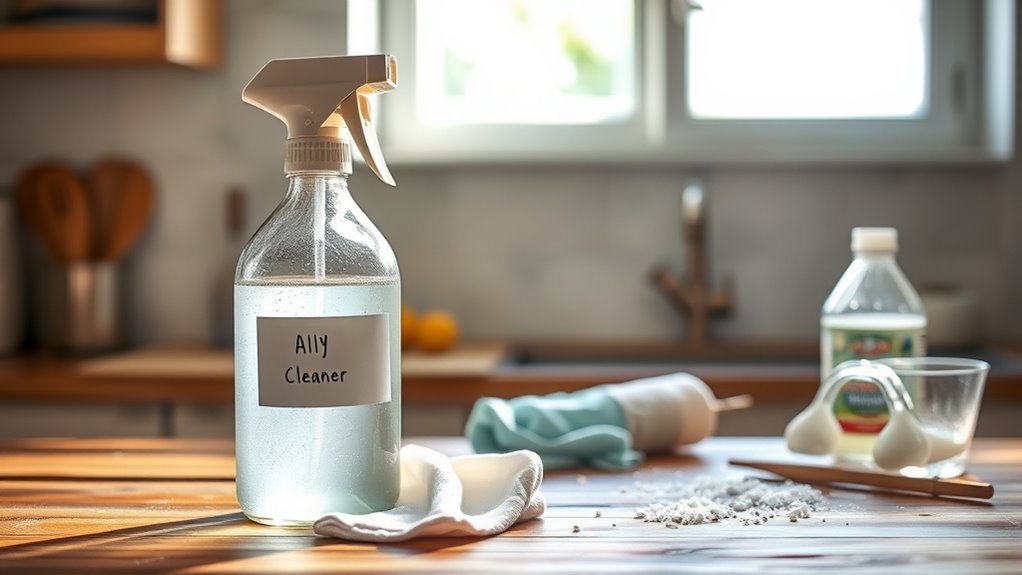
Although store-bought cleaners are convenient, making your own all-purpose wall cleaner lets you control the ingredients and avoid harsh chemicals. When you choose homemade cleaner recipes, you embrace freedom from toxic additives and reduce your environmental impact. Simple, eco friendly ingredients like baking soda, castile soap, and essential oils create a powerful yet gentle solution for wiping down your walls. You can easily mix these components with water in a spray bottle, giving you a safe cleaner that’s effective on paint, wallpaper, or wood surfaces. This approach not only saves money but also gives you peace of mind, knowing exactly what’s touching your walls and entering your home. With a homemade cleaner, you take charge and enjoy a healthier, greener lifestyle.
Vinegar and Water Solution for Stubborn Stains
If your walls have stubborn stains that don’t respond to an all-purpose cleaner, a simple vinegar and water solution can be a great next step. Vinegar benefits include its natural acidity, which breaks down many stain types like grease, mildew, and dirt without harsh chemicals. Mix equal parts white vinegar and water in a spray bottle, then lightly mist the stained area. Let it sit for a few minutes to loosen grime, then wipe with a clean cloth. This solution offers you freedom from expensive, toxic products, letting you clean effectively and eco-friendly. Just remember to test a small, hidden spot first to avoid damage, especially on delicate paint finishes. With this easy recipe, you’ll tackle tough stains while keeping your walls fresh and vibrant.
Baking Soda Paste for Tough Grime
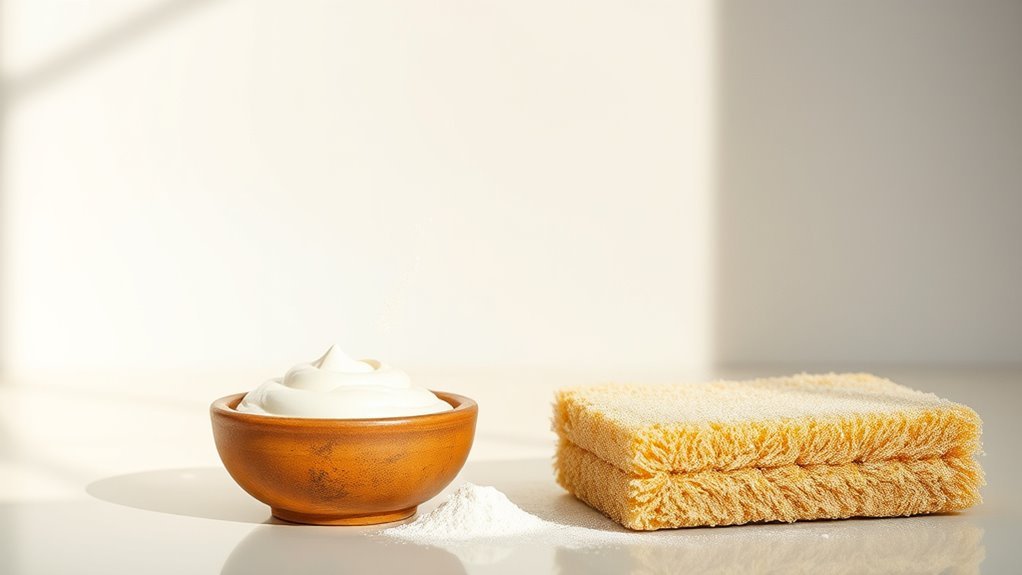
You’ll need just baking soda and water to make a paste that tackles tough grime on your walls. Apply it gently with a soft cloth or sponge to avoid damage. For the best results, let the paste sit a few minutes before scrubbing and rinsing clean.
Ingredients Needed
Tackling tough grime on your walls calls for a simple yet effective baking soda paste. To whip up this powerful cleaner, you’ll need just a few essential supplies: baking soda and water. Baking soda acts as a natural alternative to harsh chemicals, gently scrubbing away dirt without damaging your paint or wallpaper. You can also add a splash of white vinegar or lemon juice if you want extra cleaning power, but these are optional. Keep it straightforward—no need for complicated ingredients. Just mix baking soda with enough water to form a thick paste that’s easy to spread. These natural alternatives give you the freedom to clean effectively while avoiding toxins, keeping your home fresh and safe for everyone.
Application Techniques
Once you’ve prepared your baking soda paste, applying it correctly makes all the difference in removing stubborn grime from your walls. Start by using a soft cloth or sponge to spread the paste evenly over the affected area. This effective application guarantees the paste clings to the surface, breaking down dirt without damaging paint. Let it sit for 10 to 15 minutes to give the baking soda time to work its magic. When you’re ready, gently scrub in circular motions—this wall cleaning technique loosens grime without harsh abrasion. Finally, wipe the area clean with a damp cloth and dry it to prevent moisture damage. Mastering these simple steps gives you the freedom to refresh your walls effortlessly and affordably.
Stain Removal Tips
Although baking soda paste is gentle, it’s surprisingly effective at breaking down tough grime on walls. To make it, just mix baking soda with a little water until you get a spreadable paste. Apply it directly to stubborn stains and let it sit for 10-15 minutes. Then, gently scrub with a soft cloth or sponge before wiping clean. This simple method supports stain prevention strategies by removing buildup before it sets in. For ongoing wall maintenance tips, regularly clean walls with mild solutions to avoid grime accumulation. By using baking soda paste, you take control of your cleaning routine without harsh chemicals, keeping your walls fresh and freeing yourself from expensive products. It’s an easy, budget-friendly way to maintain your space the way you want.
Mild Dish Soap and Warm Water Mix

You’ll want to mix a small amount of mild dish soap with warm water—usually just a few drops per cup. Using a soft cloth or sponge, gently wipe the walls to avoid damage. Always test a small area first to make sure the solution is safe for your wall’s surface.
Soap-to-Water Ratio
A simple ratio to remember when mixing mild dish soap with warm water is about one teaspoon of soap per quart of water. This balance keeps the soap concentration just right—strong enough for cleaning effectiveness but gentle enough to protect your walls. If you add too much soap, you risk leaving residue or damaging paint. Too little, and the mix won’t cut through dirt and grime efficiently. This ratio gives you the freedom to clean confidently without harsh chemicals or excessive effort. It’s an easy, budget-friendly formula that works for most wall surfaces, letting you tackle messes while preserving your space’s look. Stick to this soap-to-water ratio, and you’ll have a reliable, effective cleaner ready whenever you need it.
Application Techniques
Getting the soap-to-water ratio right sets the stage for effective cleaning, but knowing how to apply the solution makes all the difference when working on your walls. You want to choose application methods that give you control without damaging your surfaces. Start by dipping a soft sponge or microfiber cloth into your mild dish soap and warm water mix. Wring it out well—too much liquid can cause drips or streaks. Use gentle, circular motions to lift dirt, focusing on problem areas without scrubbing aggressively. For larger walls, work in sections to prevent the solution from drying too fast. These cleaning techniques keep your walls fresh without hassle, giving you the freedom to maintain your space efficiently and confidently.
Surface Safety Tips
Although mild dish soap and warm water are generally safe for most walls, you should still test the solution on a small, hidden area first to avoid any damage or discoloration. Different surface materials and wall finishes can react differently, so this quick test helps you protect your walls. For delicate finishes like matte or textured paint, use a soft cloth and avoid scrubbing too hard. Glossy or semi-gloss finishes usually handle cleaning better but still benefit from gentle care. Remember, some surfaces like wallpaper or unsealed drywall may absorb moisture, causing damage. By respecting your wall finishes and understanding their unique needs, you’re free to clean confidently without worrying about unintended harm. This simple precaution keeps your walls looking fresh and vibrant without costly repairs.
Lemon Juice and Olive Oil Polish
When you want to brighten your walls without harsh chemicals, lemon juice and olive oil polish offers a simple, natural solution. You’ll love how the lemon benefits your walls by cutting through grime and adding a fresh, clean scent. The natural acidity helps gently lift dirt, leaving surfaces looking refreshed. Meanwhile, olive oil nourishes and conditions the wall’s surface, preventing dryness and adding a subtle shine. Mixing just a few tablespoons of lemon juice with olive oil creates a powerful, budget-friendly polish that you can easily apply with a soft cloth. This combo lets you reclaim control over your cleaning routine, avoiding synthetic products while enjoying a healthier living space. Give it a try—you’ll appreciate the effortless glow and the freedom from chemicals.
Cornstarch-Based Dust and Dirt Remover
If you enjoyed the natural shine and freshness from the lemon juice and olive oil polish, you’ll appreciate how cornstarch offers a gentle yet effective way to clean dust and dirt from your walls. Cornstarch benefits go beyond cooking—it’s a fantastic, budget-friendly option for dust removal that won’t damage your paint or wallpaper. Simply sprinkle cornstarch onto a dry microfiber cloth or soft brush, then gently sweep your walls. It traps dust and grime without smearing or scratching. For stubborn spots, mix cornstarch with a bit of water to form a paste, apply it, let it sit, then wipe clean. This method gives you freedom from harsh chemicals while keeping your walls fresh and spotless. Cornstarch makes maintaining a clean, inviting space easy and eco-friendly.
Frequently Asked Questions
Can These DIY Cleaners Damage Painted Walls?
Did you know 60% of homeowners accidentally damage their walls while cleaning? When you use DIY cleaners, you’ve got to be careful with the paint finish and wall texture. Some solutions might strip glossy paint or roughen textured surfaces. You’ll want to test a small spot first to avoid messing things up. By doing this, you can enjoy the freedom to keep your walls clean without risking damage.
How Should I Store Homemade Cleaning Solutions Safely?
You should always store homemade cleaning solutions in appropriate containers that won’t leak or react with the ingredients. Glass or sturdy plastic bottles with tight lids work best. Don’t forget to label solutions clearly, so you know what’s inside and avoid mix-ups. Keep them out of reach of kids and pets, and store them in a cool, dry place. This way, you’ve got freedom and safety all in one.
Are These DIY Products Safe for Kids and Pets?
You’ll find most DIY cleaning products with natural ingredients are generally safer for kids and pets compared to harsh chemicals. However, you shouldn’t let little ones or animals handle these solutions directly. Always follow cleaning tips like storing them out of reach and using non-toxic ingredients like vinegar or baking soda. This way, you get the freedom to clean effectively without worrying about your family’s safety.
Can I Use These Cleaners on Wallpaper?
You can clean wallpaper, but you’ve got to be gentle to avoid damage. When it comes to wallpaper care, always test a small, hidden spot first to see how it reacts. Use mild cleaners and a soft cloth, avoiding too much moisture. These cleaning tips help you keep your wallpaper fresh without risking peeling or discoloration. Remember, patience and a light touch give you the freedom to maintain your walls beautifully.
How Often Should I Clean Walls Using These DIY Products?
When it comes to cleaning frequency, you don’t need to scrub your walls constantly. Generally, giving them a gentle wipe-down every few months keeps things fresh without feeling like a chore. This balance helps with wall maintenance, preventing dirt buildup while letting you enjoy your space freely. Of course, if you notice spots or stains sooner, you can clean as needed—keeping your walls looking great without locking yourself into a strict routine.


