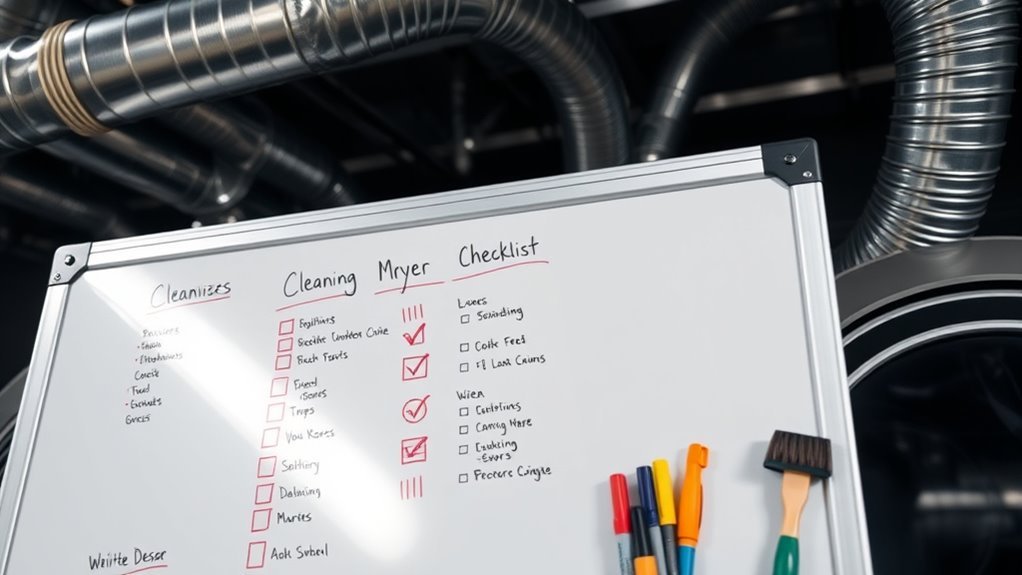
Cleaning Checklist for Dryer Businesses
You should start by inspecting and cleaning lint filters after every load to guarantee airflow. Check and clear dryer vents and exhausts regularly to prevent blockages. Wipe the drum interior gently and clean door seals to avoid leaks. Tighten electrical connections and lubricate moving parts as needed for smooth operation. Don’t forget to test safety features like door switches and thermal fuses. Scheduling professional maintenance helps catch issues early — here’s how to keep your dryers running safely and efficiently.
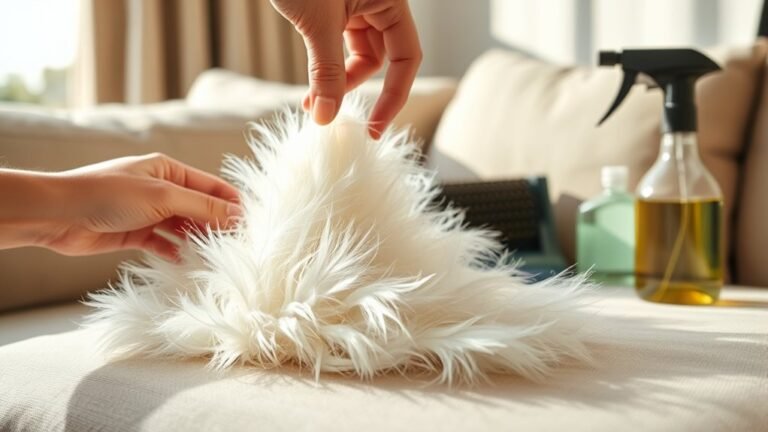
Inspect and Clean Lint Filters
Start by removing the lint filter from your dryer after every load. This small step is essential for effective lint filter maintenance and guarantees your dryer efficiency stays high. Use your hand or a soft brush to clear away lint from the screen. Don’t forget to check both sides of the filter thoroughly. Regularly, wash the filter with warm, soapy water to remove residue that lint alone won’t clear. Let it dry completely before reinserting. Keeping the lint filter clean prevents blockages, improves airflow, and reduces drying time, saving you energy and money. Make this a non-negotiable habit in your routine, and you’ll enjoy fewer breakdowns and a safer, more efficient drying process. Your freedom from costly repairs starts here.
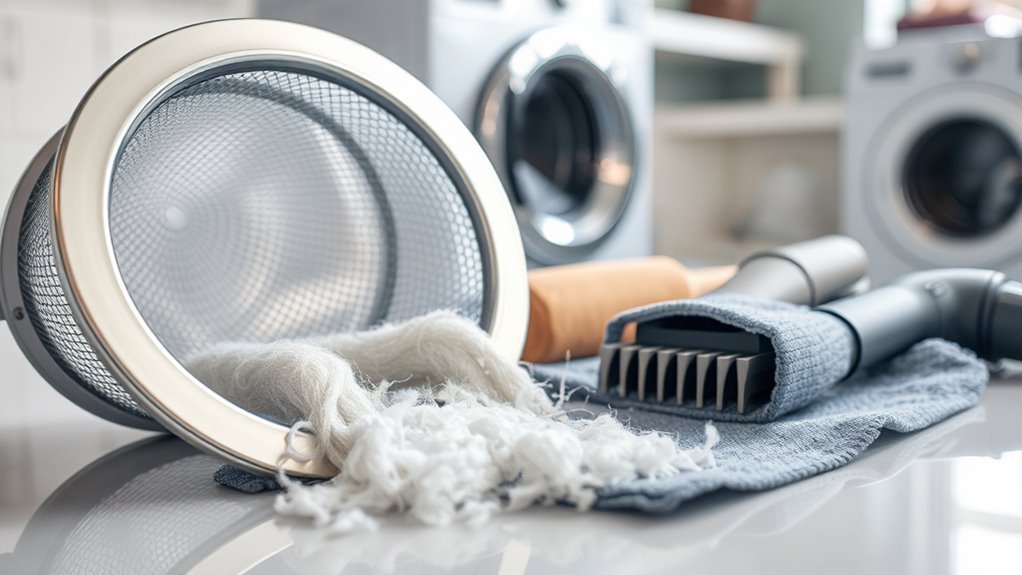
Check and Clear Dryer Vents
Although you’ve cleaned the lint filter, your dryer vents also need regular attention to maintain ideal airflow and prevent fire hazards. Start by disconnecting the dryer from power and carefully detaching the vent hose. Inspect the dryer vent materials—whether rigid metal or flexible foil—for damage or excessive lint buildup. Use a vent brush or vacuum attachment to clear any blockages inside the duct thoroughly. Don’t forget to check the vent exit outside your building to guarantee it’s free from debris, nests, or other obstructions. Regularly clearing these vents is essential for effective vent blockage prevention, helping your dryer run efficiently and safely. Make this a routine task to protect your business and maintain the freedom that comes with worry-free dryer operation.
Clean the Dryer Drum Interior
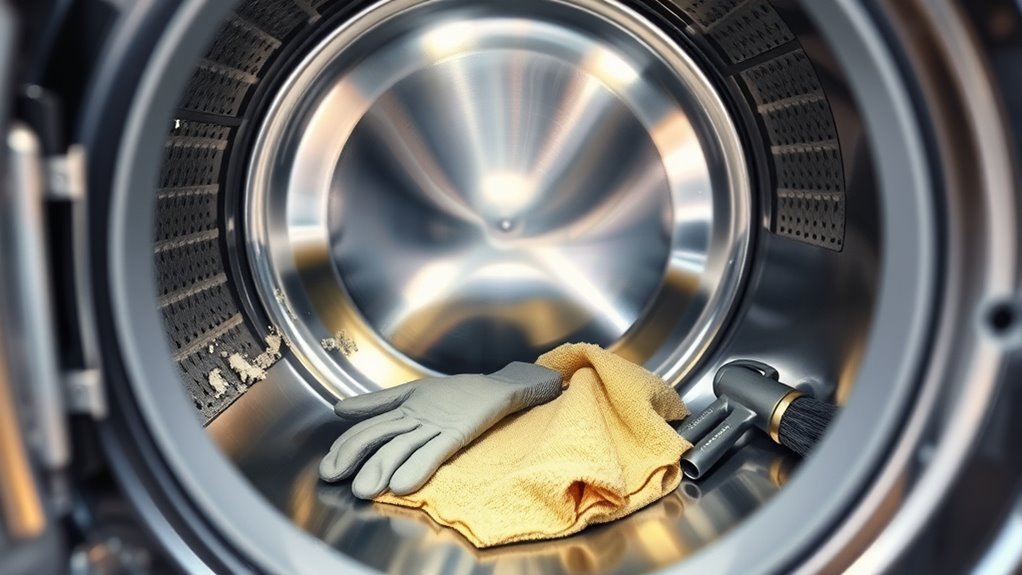
Regularly cleaning the dryer drum interior is essential to maintaining ideal dryer performance and preventing odor buildup. For effective drum cleaning and interior maintenance, you need to:
- Use a soft cloth dampened with a mild detergent solution to wipe the drum surface, removing lint and residues.
- Avoid abrasive cleaners or harsh tools that can scratch the drum and compromise its finish.
- Rinse the cloth with clean water to wipe away any detergent traces, then dry the drum thoroughly to prevent moisture accumulation.
Examine and Clean the Dryer Door Seal
Start by carefully inspecting the dryer door seal for any cracks or wear that could cause leaks. Use a soft brush or cloth to remove all lint and debris trapped in the seal’s grooves. Keeping this area clean guarantees a tight seal and efficient dryer operation.
Inspect Seal Condition
When you inspect the dryer door seal, focus on identifying cracks, tears, or buildup that could compromise its effectiveness. Maintaining seal integrity is essential to prevent heat loss and improve efficiency. Start by visually examining the seal for any visible damage or hardening. Next, gently run your fingers along the seal to detect any soft spots or gaps. Finally, clean the seal carefully to remove dirt and residue, which can cause wear over time. If you notice any damage or persistent buildup after cleaning, consider seal replacement to maintain peak performance. Remember:
- Check for physical damage or brittleness
- Feel for inconsistencies or loose areas
- Clean thoroughly but gently to avoid further damage
Regular inspection helps you keep your dryers running freely and efficiently.
Remove Lint and Debris
Three key areas around the dryer door seal tend to collect lint and debris that you’ll need to remove for peak performance. Start by gently peeling back the seal to access trapped lint inside the groove. Use a soft brush or vacuum attachment for effective lint removal techniques without damaging the seal. Next, wipe down the seal’s surface with a damp cloth to clear away any stubborn debris. Pay close attention to corners where buildup often hides. After collecting lint and debris, apply proper debris disposal methods—dispose of materials in a sealed bag to prevent recirculation into the environment. Regularly repeating this process not only maintains drying efficiency but also reduces fire risk, giving you the freedom to focus on running your business smoothly.
Inspect and Maintain the Dryer Exhaust System
Because dryer exhaust systems can accumulate lint and debris quickly, you’ll need to inspect and maintain them regularly to prevent fire hazards and secure efficient operation. Start by checking the entire exhaust duct for any signs of blockage or damage. Maintaining proper airflow efficiency is key to keeping your dryers running smoothly. For effective exhaust blockage prevention, follow these steps:
- Remove visible lint buildup using a flexible brush or vacuum.
- Inspect vent caps outside to verify they’re clear and open freely.
- Tighten any loose connections to avoid leaks and improve airflow.
Clean the Dryer Moisture Sensor
Regularly cleaning the dryer moisture sensor guarantees your machines accurately detect dryness levels, preventing over-drying and saving energy. Start by unplugging the dryer to affirm safety. Locate the moisture sensor bars inside the drum, usually near the lint filter. Use a soft cloth dampened with a small amount of rubbing alcohol to gently wipe the sensor bars, removing any residue or buildup that can interfere with sensor calibration. Avoid abrasive materials that could damage the sensor. After cleaning, let the sensor air dry completely before plugging the dryer back in. This simple maintenance step restores the sensor’s sensitivity, helping your dryer efficiently adjust drying times. Keeping the moisture sensor clean guarantees consistent performance and extends your machines’ lifespan, giving you more freedom from unnecessary repairs.
Check and Tighten Electrical Connections
Inspecting and tightening electrical connections in your dryers is essential for safety and reliable operation. To maintain electrical safety and guarantee connection integrity, regularly check for loose or corroded wires. Start by unplugging the dryer to avoid any electrical hazards. Use a screwdriver to gently tighten all terminal screws and connectors. Look for signs of wear or damage—replace any compromised components immediately. Follow these steps:
- Inspect wiring harnesses for frayed or exposed wires
- Tighten all terminal screws and connection points securely
- Replace any damaged connectors or wires promptly
Maintaining these connections prevents shorts and potential fire hazards, giving you peace of mind and the freedom to focus on your business without unexpected downtime.
Lubricate Moving Parts as Needed
You’ll want to start by identifying the dryer’s key moving parts, like belts, pulleys, and bearings. Once you know these components, select the right lubricant—usually a high-quality machine oil or grease designed for your equipment. Applying the proper lubricant will keep everything running smoothly and prevent premature wear.
Identify Key Moving Components
Key moving components like belts, pulleys, and bearings play an essential role in keeping your dryer running smoothly. To maintain your dryer effectively, start by identifying these critical parts so you can apply maintenance tips precisely where needed. Focus on:
- Belts: Transmit power and enable drum rotation; check for wear or cracks.
- Pulleys: Guide belts and maintain tension; inspect for alignment and damage.
- Bearings: Support rotating shafts; guarantee they move freely without noise.
Choose Proper Lubricant Types
Although proper lubrication is essential for keeping your dryer’s moving parts functioning smoothly, choosing the right type of lubricant can be tricky. Start by consulting the manufacturer’s guidelines to identify recommended lubricant types. Typically, you’ll use high-temperature grease for bearings and light machine oil for smaller, intricate components. Avoid general-purpose lubricants that may degrade rubber seals or attract dust. When preparing for lubricant application, clean the parts thoroughly to remove old grease and debris. Apply lubricants sparingly but evenly to avoid excess buildup, which can cause overheating or damage. Regularly schedule lubricant application based on usage and environmental conditions to maintain peak performance. By selecting the right lubricant types and applying them correctly, you’ll keep your dryer running efficiently, extending its lifespan while enjoying the freedom of reliable operation.
Test Dryer Safety Features
Before starting any cleaning, check all dryer safety features to confirm they’re functioning properly. Proper dryer safety depends on thorough feature testing to prevent hazards during operation. Focus on these critical components:
- Door Switch: Verify the dryer stops when the door opens, preventing accidental operation.
- Thermal Fuse: Test for continuity to affirm it will cut power if the dryer overheats.
- Moisture Sensor: Check it accurately detects dryness levels to avoid over-drying or overheating.
Perform these checks systematically with a multimeter and by observing dryer responses. If any feature doesn’t respond as expected, address the issue before proceeding. By prioritizing dryer safety and feature testing, you maintain a secure environment and extend your equipment’s lifespan, giving you the freedom to focus on efficient business operations.
Schedule Regular Professional Maintenance
To keep your dryers running smoothly and prevent unexpected breakdowns, you should schedule regular professional maintenance. Start by establishing a clear maintenance frequency based on manufacturer recommendations and your dryer’s usage intensity. Use professional scheduling tools or services to set recurring appointments, ensuring no checkup is missed. During each session, technicians should inspect key components like belts, vents, and electrical connections, cleaning and replacing parts as needed. Keep detailed records of all maintenance activities to track wear patterns and anticipate future repairs. By adhering to a strict professional scheduling routine, you not only extend your dryers’ lifespan but also maintain efficient operation, reducing downtime. This proactive approach gives you freedom from emergency fixes and helps your business run reliably every day.
Frequently Asked Questions
How Often Should Commercial Dryers Be Cleaned for Optimal Performance?
You should stick to a regular dryer maintenance frequency to keep your commercial dryer running smoothly. Ideally, commercial dryer cleaning should happen at least once a month, but if you’re dealing with heavy use, weekly checks might be better. This includes clearing lint traps, vents, and ducts to prevent fire hazards and maintain efficiency. Staying on top of this lets you avoid costly repairs and keeps your business running freely without unexpected downtime.
What Cleaning Products Are Safe to Use on Dryer Interiors?
When you want to keep your dryer’s interior in tip-top shape without inviting harsh guests, opting for natural cleaners is a smart move. These gentle yet effective products reduce chemical safety concerns, letting you clean without worry. Start by unplugging the unit, then use a soft cloth dampened with a mild vinegar solution or baking soda paste to wipe surfaces. Avoid abrasive or flammable substances to maintain both freedom and safety in your routine.
Can Improper Dryer Cleaning Void Manufacturer Warranties?
Yes, improper dryer cleaning can lead to warranty implications. If you don’t follow the manufacturer’s recommended maintenance practices, like using approved cleaning products or methods, you risk voiding your warranty. To keep your warranty intact and guarantee freedom from unexpected repair costs, always stick to detailed cleaning procedures outlined by the manufacturer. Regular, proper maintenance not only protects your investment but also boosts your dryer’s longevity and performance.
How Can I Reduce Dryer Fire Risks Beyond Cleaning?
To reduce dryer fire risks beyond cleaning, you should focus on fire prevention by implementing strict safety practices. Regularly inspect and replace damaged cords or parts, guarantee proper ventilation to avoid lint buildup, and never overload the dryer. Also, educate your team on emergency procedures and keep a fire extinguisher nearby. Following these steps helps you maintain a safer environment and gives you peace of mind, letting you enjoy your freedom without worry.
What Are Signs My Dryer Needs Professional Servicing?
If you notice your dryer’s performance slowing down, clothes take longer to dry, or it overheats, it’s time for professional servicing. Unusual noises, burning smells, or frequent shut-offs are warning signs too. Regular maintenance tips include checking vents and lint traps, but when problems persist, a pro can inspect internal components, ensuring your dryer runs safely and efficiently. Don’t wait—addressing these signs helps keep your freedom from unexpected breakdowns.