Cleaning Checklist for Keyboard Businesses
You’ll want to start by inspecting keyboards for damage and wear, ensuring every key works smoothly. Use a keycap puller to remove caps safely and soak them in soapy water before gentle scrubbing. Dust and vacuum the keyboard base, then wipe surfaces with an electronics-safe disinfectant. After drying, reassemble and test for responsiveness. Store keyboards in cool, dry places with protective covers, and set regular cleaning schedules based on usage. Keep going to uncover insider tips for extending keyboard life and performance.
Inspecting Keyboards for Damage and Wear
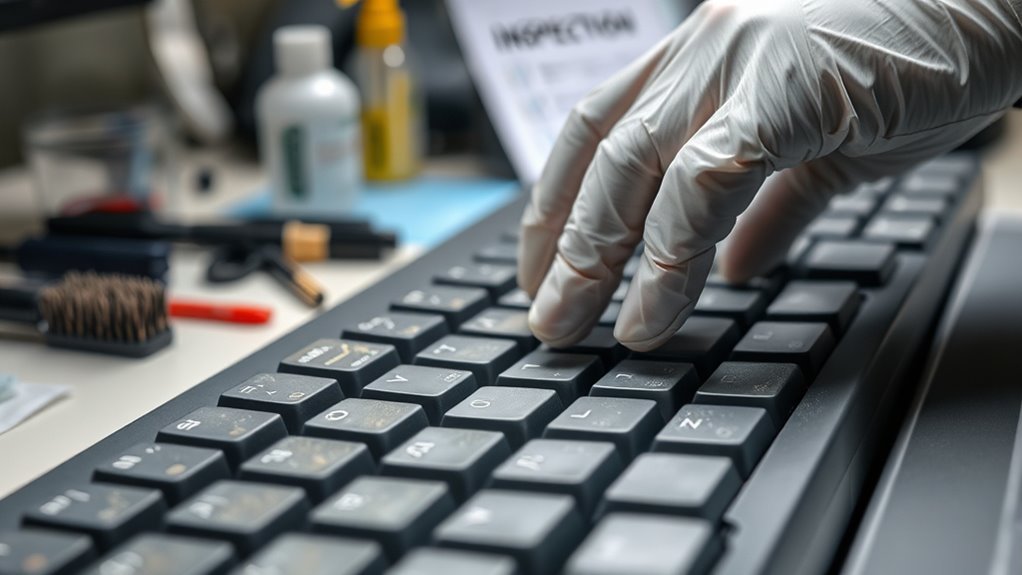
Before you start cleaning your keyboard, take a close look to spot any damage or wear. You want to make sure your keyboard functionality isn’t compromised during cleaning. Check for wear indicators like faded letters, sticky keys, or unresponsive buttons. These signs show where your keyboard may need extra attention or even replacement parts. Don’t ignore cracks or loose components, as they can worsen if disturbed. By carefully inspecting your keyboard first, you give yourself the freedom to clean efficiently without risking further damage. Knowing your keyboard’s condition helps you decide whether a gentle wipe is enough or if more thorough maintenance is required. Staying aware of wear indicators keeps your keyboard working smoothly and extends its life.
Removing Keycaps Safely
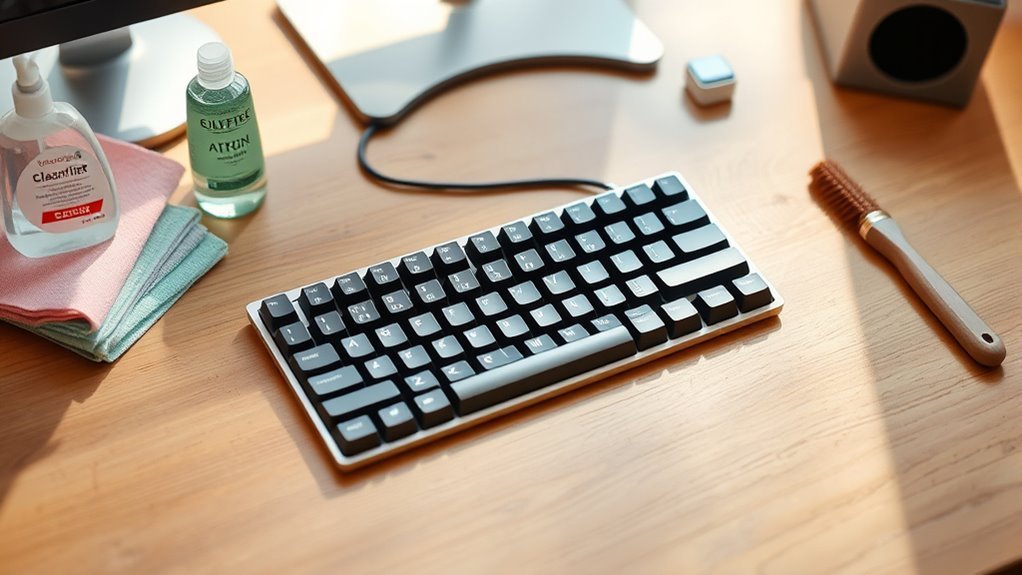
Before you start removing keycaps, it’s important to have the right tools, like a keycap puller, to avoid damage. You’ll want to use gentle techniques to safely lift the keys without bending or breaking them. Taking care during removal helps keep your keyboard in great shape for cleaning and everyday use.
Tools for Keycap Removal
You’ll often need the right tools to remove keycaps safely without causing damage. Different keycap types—whether ABS, PBT, or specialty shapes—demand care, and having the proper equipment empowers you to handle them confidently. A keycap puller, either wire or plastic, is your go-to tool; it lets you detach keycaps cleanly without scratching or bending. For larger or uniquely shaped keys, you might want a specialized puller or a gentle prying tool. Avoid makeshift tools like knives or screwdrivers—they risk damaging your keyboard or keycaps. Equipping yourself with the right tools sets the foundation for effective removal techniques, giving you freedom to maintain and customize your keyboard without fear. It’s about working smarter, protecting your gear, and embracing control over your setup.
Keycap Removal Techniques
Removing keycaps safely involves a few simple but essential steps to protect both your keyboard and the keys themselves. First, understand that keycap materials vary—ABS, PBT, and POM each have different fragility levels, so handle them gently. Use a proper keycap puller to avoid bending or scratching. Insert it evenly underneath the keycap, applying steady, upward pressure. For larger keys or unique keycap designs, like artisan or sculpted profiles, remove them with extra care to prevent chipping or snapping. Avoid twisting or forcing keycaps off; they should come off smoothly if done right. By respecting the diversity in keycap materials and designs, you guarantee your keyboard stays in great shape, giving you freedom to clean thoroughly without worry or damage.
Preventing Damage During Removal
To prevent damage during keycap removal, you need to take a few careful precautions. Start by using proper removal techniques like a keycap puller to evenly lift keys without bending the stems. Avoid prying with sharp objects that can scratch or break your keyboard. Gently wiggle the keycaps instead of forcing them off, reducing stress on the switches beneath. Keep your workspace clean and well-lit to spot any resistance early. Damage prevention comes down to patience and the right tools—never rush the process. By mastering these removal techniques, you maintain the freedom to clean or customize your keyboard safely, extending its lifespan and performance without risking costly repairs. Remember, careful removal sets the foundation for a smooth keyboard cleaning experience.
Cleaning Keycaps Thoroughly
Several keycaps can gather dust, oils, and grime over time, making thorough cleaning essential for maintaining both appearance and functionality. To keep your keyboard feeling fresh, start by soaking the keycaps in warm, soapy water. This loosens dirt without damaging keycap materials like ABS or PBT. Avoid harsh chemicals, especially if your keyboard features delicate keycap designs or custom prints. After soaking, use a soft brush to gently scrub each keycap, reaching into crevices where grime hides. Rinse them well and let them air dry completely before reattaching. By understanding the different keycap materials and designs, you’ll preserve their look and lifespan, ensuring your keyboard stays in top shape without sacrificing freedom to customize and enjoy your setup.
Dusting and Vacuuming Keyboard Bases
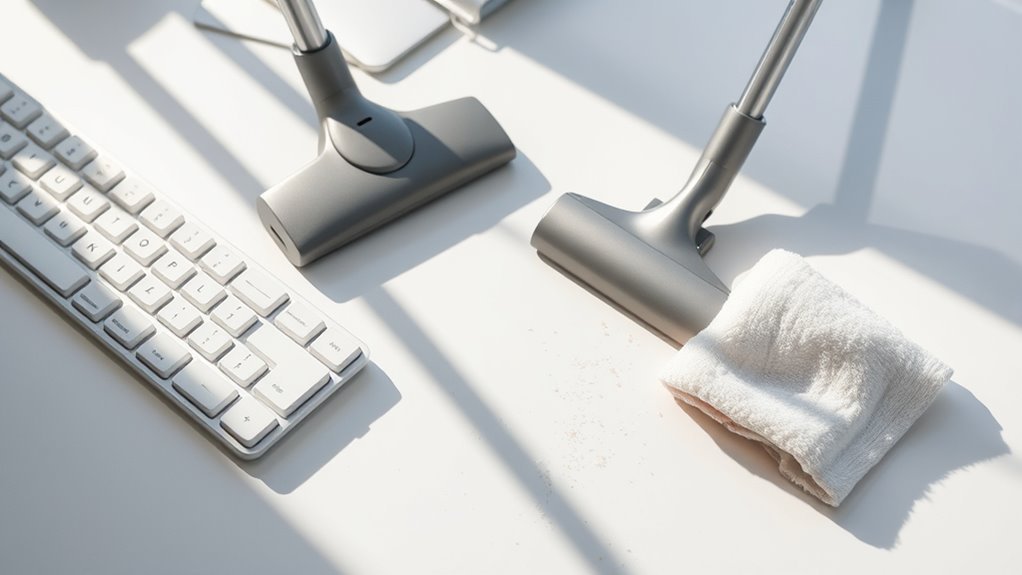
Once you’ve cleaned the keycaps thoroughly, it’s time to turn your attention to the keyboard base, where dust and debris tend to accumulate. Regular dusting and vacuuming keep your keyboard running smoothly and extend its lifespan. Following keyboard maintenance tips will help you avoid buildup that could hinder performance.
| Task | Cleaning Frequency Recommendations |
|---|---|
| Dust keyboard base | Weekly |
| Vacuum crevices | Biweekly |
| Use compressed air | Monthly |
| Inspect for debris | Weekly |
| Deep clean base | Quarterly |
Use a soft brush or a small handheld vacuum with a brush attachment to gently remove dust. Stick to this routine, and you’ll enjoy a freer, cleaner workspace without the hassle.
Wiping Down Keyboard Surfaces
Although dusting and vacuuming handle the bigger particles, wiping down your keyboard surfaces removes oils, smudges, and finer dirt that can affect both appearance and functionality. You’ll want to evaluate the keyboard surface materials before choosing your cleaning method—plastic, metal, and glass require different care. For instance, a gentle microfiber cloth paired with a mild cleaning solution works well on most surfaces without causing damage. When it comes to cleaning solutions selection, avoid harsh chemicals like bleach or ammonia, which can degrade the finish. Instead, opt for isopropyl alcohol diluted with water or commercially available screen-safe cleaners. Taking this thoughtful approach lets you maintain your keyboards’ look and feel, giving you the freedom to focus on what truly matters—your business and its success.
Sanitizing Keyboards for Hygiene
After wiping down your keyboard surfaces, the next step is to sanitize them to reduce germs and maintain hygiene. You’ll want to choose hygienic materials that won’t damage your keyboard but will effectively kill bacteria and viruses. Use disinfecting solutions specifically designed for electronics—they’re safe and powerful enough to keep your workspace clean without compromising your freedom to work comfortably. Apply the solution to a microfiber cloth rather than spraying directly, avoiding excess moisture. Gently wipe all keys and crevices, focusing on areas that collect the most grime. Sanitizing regularly not only protects your health but also guarantees your keyboard stays in top shape. Taking this simple step lets you enjoy a cleaner, safer environment without sacrificing your independence or workflow.
Drying and Reassembling Keyboards
Before you start putting your keyboard back together, make certain all parts are completely dry to prevent moisture damage. Using effective drying methods like air drying or gentle use of compressed air helps you avoid trapped moisture that can cause malfunctions. Patience here pays off, giving you the freedom to confidently proceed.
When it’s time for reassembly, keep your workspace organized and follow reassembly tips such as aligning keycaps carefully and reconnecting cables securely. Taking your time prevents errors and maintains your keyboard’s integrity. By mastering these steps, you guarantee your keyboard is ready to perform flawlessly, freeing you from future hassles and letting you enjoy the smooth typing experience you deserve.
Testing Keyboard Functionality Post-Cleaning
Once your keyboard is fully dry and reassembled, it’s time to make sure everything works as it should. Testing keyboard responsiveness is key to ensuring each press registers without delay or error. You’ll want to assess key stability, confirming that no keys feel loose or stuck, which can hinder smooth typing.
To effectively test your keyboard functionality post-cleaning, focus on:
- Press every key to check for proper actuation and responsiveness.
- Observe if any keys wobble or have uneven resistance.
- Use typing software or online tools to detect missed or repeated keystrokes.
Storing Cleaned Keyboards Properly
Once your keyboard is clean and dry, you’ll want to store it in a cool, dry place to prevent dust and moisture buildup. Using protective packaging like a dust cover or a sealed plastic bag can help keep it in top shape. Proper storage guarantees your keyboard stays ready for the next use without extra cleaning.
Ideal Storage Conditions
Although you’ve cleaned your keyboard thoroughly, improper storage can quickly undo your efforts. To keep your keyboards in top shape, focus on ideal storage conditions that protect them from damage and maintain their longevity. You want to control the environment where you store your keyboards, paying close attention to humidity control and temperature regulation. Too much moisture can cause corrosion, while extreme temperatures might warp components.
Keep these tips in mind for ideal storage:
- Maintain relative humidity around 40-60% to prevent moisture buildup.
- Store keyboards in a cool, stable temperature environment, ideally between 15-25°C (59-77°F).
- Avoid direct sunlight or places with fluctuating temperature and humidity levels.
Protective Packaging Options
To keep your keyboard in great shape after cleaning and storing it under the right conditions, you’ll want to contemplate protective packaging options. Choosing the right packaging materials is vital to prevent dust, moisture, and physical damage. Consider using anti-static bags or bubble wraps specifically designed for electronics. Protective wraps provide a flexible, cushioned layer that guards your keyboard during transport or storage. You don’t need anything bulky; just reliable materials that maintain freedom of movement while securing your device. Avoid plastic films that trap moisture, and instead opt for breathable packaging that balances protection and ventilation. By selecting smart protective packaging, you guarantee your keyboards remain pristine and ready for use, freeing you from worries about damage or degradation over time.
Scheduling Regular Cleaning Intervals
Since keyboards can accumulate dust, oils, and debris quickly, setting a regular cleaning schedule helps keep them in good condition and reduces the risk of malfunction. You’ll want to establish a cleaning frequency that fits your business’s usage patterns and environment. A clear maintenance schedule not only guarantees consistent care but also frees you from last-minute scrambles.
Regular keyboard cleaning tailored to usage prevents malfunctions and ensures reliable performance.
Consider these tips to create your schedule:
- Align cleaning frequency with keyboard usage intensity—daily for heavy use, weekly for lighter use
- Set reminders or calendar alerts to stay on track effortlessly
- Adjust intervals seasonally or when environments get dustier
Frequently Asked Questions
What Cleaning Products Should Be Avoided on Keyboards?
You shouldn’t use abrasive cleaners on your keyboard because they can damage the surface and wear down the keys over time. Also, avoid alcohol wipes if they’re too strong or used excessively, as they might strip away coatings or cause discoloration. Instead, stick to gentle, electronics-safe cleaning products. Taking care of your keyboard lets you enjoy your freedom to type without worry, keeping your device in great shape for longer.
How Often Should Keyboards Be Replaced Instead of Cleaned?
You should consider replacing your keyboard when you notice clear replacement signs like unresponsive keys, worn-out letters, or persistent grime that cleaning can’t fix. While keyboard lifespan varies, most last around 3-5 years with regular use. Don’t get stuck trying to clean what’s beyond saving—embrace the freedom of a fresh, fully functional keyboard to keep your workflow smooth and hassle-free.
Can Keyboard Cleaning Damage Warranty Coverage?
Cleaning your keyboard is like walking a tightrope—you need balance. If you use harsh cleaning techniques or liquids that seep inside, you might void warranty policies. Most manufacturers recommend gentle methods, like using compressed air or a slightly damp cloth. You want to keep your freedom to fix or replace without hassle, so always check your warranty’s fine print before diving in. Play it safe, and your coverage stays intact.
Are There Eco-Friendly Keyboard Cleaning Options?
You’re definitely in luck if you want eco-friendly keyboard cleaning options. You can use biodegradable wipes that break down naturally, so you’re not harming the planet while keeping your gear spotless. Natural solutions, like diluted vinegar or lemon juice mixed with water, are gentle yet effective. These choices let you maintain your freedom to clean responsibly without relying on harsh chemicals, giving you peace of mind and a greener approach to keyboard care.
How to Handle Cleaning Mechanical Vs Membrane Keyboards Differently?
When it comes to mechanical maintenance versus membrane care, you’ll want to approach them with a delicate touch. Mechanical keyboards invite you to carefully remove keycaps and clean beneath, embracing a hands-on freedom. Membrane keyboards, being more modest, require gentle surface wiping without disassembly to avoid damage. So, while mechanicals offer you a deeper connection through thorough cleaning, membranes ask for a lighter, cautious approach to preserve their subtle structure.