Common Mistakes When Cleaning Fan
When cleaning your fan, don’t forget to unplug it first—safety comes first. Avoid harsh chemicals that damage blades and use only a damp cloth to protect electrical parts. Be sure to properly disassemble your fan to clean dust from the motor and filter, and never rush the process. Also, always dry all parts completely before putting it back together to prevent malfunctions. Keep these tips in mind, and you’ll want to explore more ways to keep your fan running smoothly.
Forgetting to Unplug the Fan
Before you start cleaning your fan, make sure you unplug it. Skipping this vital step can put you at risk and derail your fan maintenance efforts. Taking proper safety precautions isn’t just about avoiding electric shocks—it’s about protecting your freedom to use and enjoy your fan without accidents. When the power is off, you can clean thoroughly without worry, ensuring your fan runs smoothly and lasts longer. Remember, safety precautions like unplugging are the foundation of effective fan maintenance. It’s a simple habit that prevents injuries and damages, letting you maintain your space freely and confidently. Don’t rush through this step; your well-being and your fan’s health depend on it. Always unplug first, then clean.
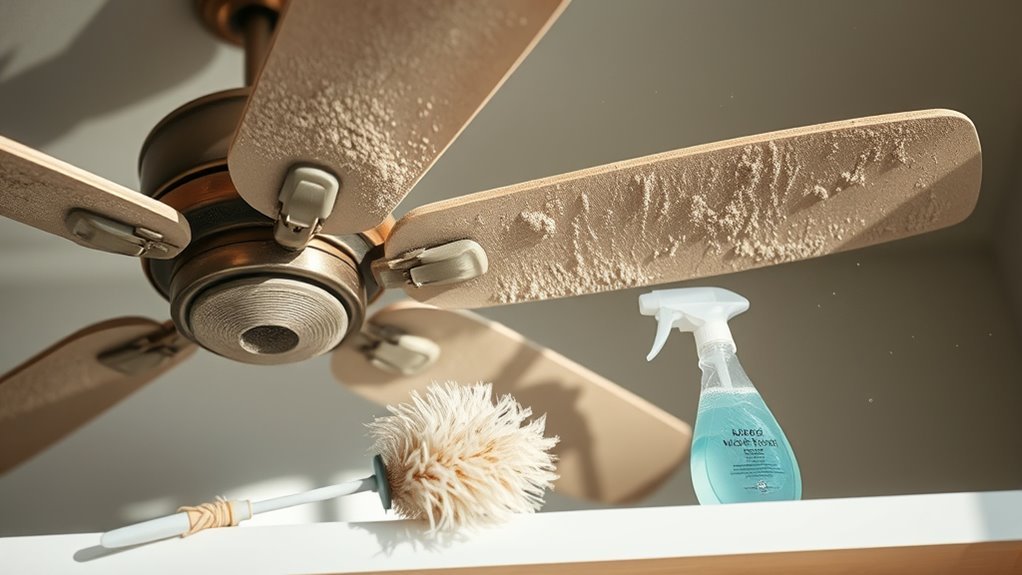
Using Harsh Chemicals on Fan Blades
You might think harsh chemicals will clean your fan blades faster, but they can actually damage the blade’s finish. Plus, the fumes from these cleaners could cause health problems if you’re not careful. It’s better to stick with gentle, safe cleaning options.
Damage to Blade Finish
Harsh chemicals can quickly ruin the finish on your fan blades, leaving them discolored or damaged. When you use strong cleaners, you risk stripping away the protective coating that keeps your blades looking fresh and vibrant. This not only compromises blade protection but also makes finish restoration a tougher, more expensive job down the road. To keep your fan blades in top shape, opt for gentle cleaning solutions that respect the materials and preserve the finish. Avoid anything abrasive or overly acidic, and you’ll maintain the freedom to enjoy a clean, stylish fan without worrying about harm. Taking care of your blades now means less hassle later, ensuring your fan stays both functional and attractive for years.
Health Risks From Fumes
While protecting your fan blades’ finish is important, it’s equally essential to contemplate the air quality in your home when cleaning. Using harsh chemicals might seem like a quick fix, but the fume exposure can lead to serious respiratory issues for you and your loved ones. You want freedom in your space, not the risk of irritation or worse. Opt for gentle, natural cleaners or simply soap and water to avoid releasing harmful fumes. Always guarantee good ventilation if you must use stronger products, but remember, the less chemical exposure, the better for your lungs and overall health. Taking these precautions keeps your fan—and your air—clean without compromising your well-being.
Neglecting to Remove Dust From the Motor
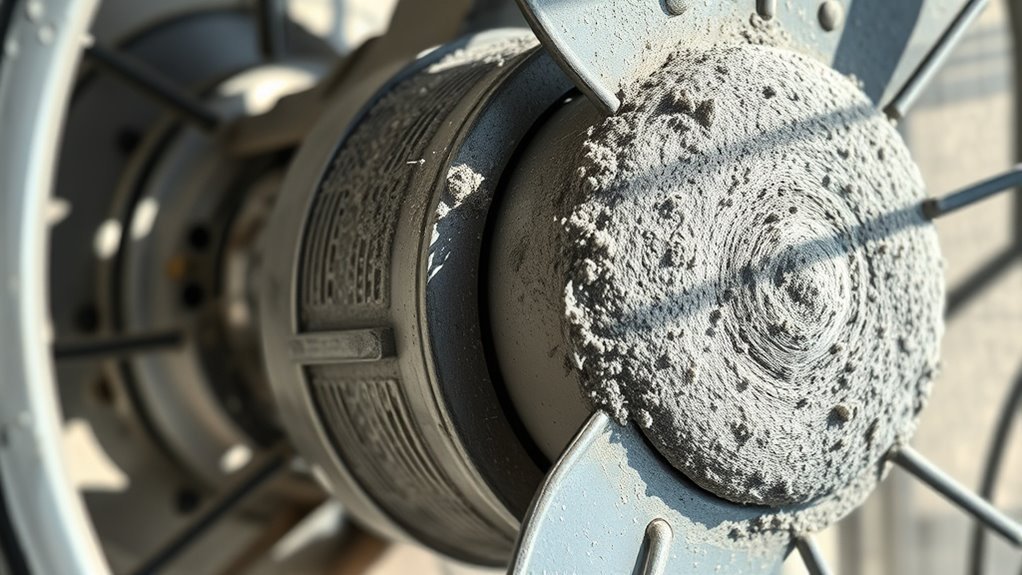
You might overlook dust buildup inside the fan’s motor, but it can cause overheating and reduce performance. Cleaning the motor carefully helps keep it running smoothly and prevents damage. Let’s look at simple ways you can remove dust without harming the motor.
Dust Accumulation Effects
If dust builds up on your fan’s motor, it can cause overheating and reduce its lifespan. Ignoring this can lead to serious consequences that limit your freedom to enjoy a cool, healthy space. Here’s what happens when you neglect dust removal:
- Increased motor temperature from dust insulation, risking damage.
- Reduced airflow efficiency, making your fan work harder.
- Potential dust health hazards as accumulated particles recirculate in the air.
- Shortened fan lifespan, forcing more frequent replacements and added costs.
Maintaining a regular cleaning frequency is key to avoiding these problems. By keeping the motor dust-free, you guarantee your fan runs smoothly and supports your health and comfort without unexpected breakdowns. Don’t let dust rob you of your freedom to breathe easy and stay cool.
Motor Cleaning Techniques
Because dust can quickly accumulate inside the motor, neglecting to clean it properly will cause your fan to overheat and lose efficiency. You want your fan to run smoothly and freely, so motor maintenance is crucial. Don’t skip cleaning the motor when you clean the rest of the fan. Dust inside the motor can block airflow and cause friction, which wears down parts faster. To keep your fan in top shape, set a clean frequency based on your environment—dusty areas need more frequent care. Use a soft brush or compressed air to remove dust gently without damaging delicate components. By staying on top of motor maintenance, you guarantee your fan operates freely and lasts longer, giving you the freedom to enjoy a cool breeze without hassle.
Preventing Motor Overheating
When dust isn’t removed from the motor, it can quickly lead to overheating and decreased performance. To keep your fan running smoothly and avoid costly repairs, proper motor maintenance is crucial. Neglecting this can restrict airflow and trap heat, causing the motor to overheat.
Here’s how you can guarantee effective overheating prevention:
- Regularly inspect the motor for dust buildup.
- Use compressed air or a soft brush to gently clean dust away.
- Avoid using water or harsh chemicals that can damage motor components.
- Schedule consistent cleaning intervals based on your fan’s usage.
Cleaning Without Disassembling the Fan Properly
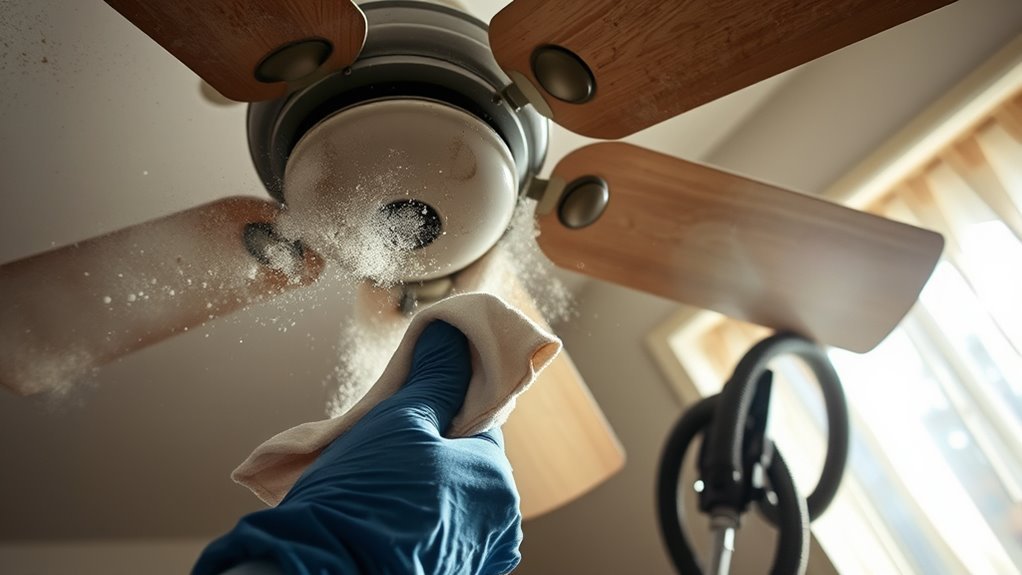
Although it might seem quicker to clean your fan without taking it apart, skipping proper disassembly can lead to incomplete cleaning and potential damage. When you don’t use the right disassembling techniques, dirt and dust remain trapped in hard-to-reach spots, reducing your fan’s efficiency. Plus, forcing parts apart without proper tools risks breaking delicate components, limiting your fan’s lifespan. To truly enjoy the freedom of a clean, well-functioning fan, learn how to carefully take it apart using the correct tools and methods. This way, you guarantee every blade and vent is thoroughly cleaned, keeping airflow smooth and your fan running longer. Taking a little extra time to disassemble properly pays off with better performance and fewer headaches down the road.
Using Excessive Water That Can Damage Electrical Parts
If you soak your fan with too much water, you risk damaging its electrical parts and causing malfunctions. Water damage can short-circuit components, leading to costly repairs or replacements. To keep your fan safe and functional, follow these tips:
- Always unplug the fan before cleaning to guarantee electrical safety.
- Use a damp cloth instead of pouring or spraying water directly on the fan.
- Avoid soaking any part containing wiring, motors, or switches.
- Let all cleaned parts dry completely before reassembling and powering on the fan.
Ignoring the Fan Filter or Grill
Since the fan filter and grill collect dust and debris, ignoring them can reduce your fan’s efficiency and air quality. When you skip cleaning these parts, you let grime build up, which restricts airflow and forces your fan to work harder. This not only lowers fan efficiency but can also impact the freshness of your space. To keep your fan running freely and your air clean, regular filter maintenance is key. Simply remove the grill and gently clean or replace the filter as needed. Taking this small step guarantees your fan breathes easy, delivering better airflow with less effort. Don’t let neglect hold you back—embrace proper filter care and enjoy the freedom of a smoothly running fan.
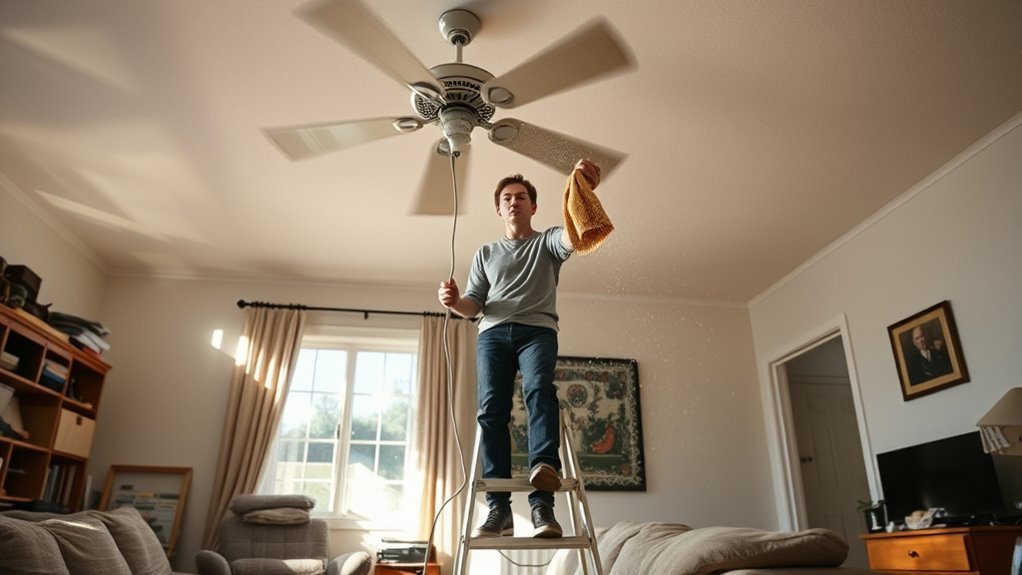
Rushing the Cleaning Process
When you rush through cleaning your fan, you risk missing dirt and dust that can build up over time. Proper cleaning techniques require patience and good time management. By hurrying, you limit the effectiveness of your efforts and may need to clean more often. To avoid this, try these steps:
- Allocate enough time for thorough disassembly and cleaning without distractions.
- Use the right tools and cleaning agents suited for each part of the fan.
- Clean methodically, starting from the grill and moving to blades and motor housing.
- Take short breaks if needed to maintain focus and avoid careless mistakes.
Failing to Dry the Fan Completely Before Reassembly
Although cleaning your fan thoroughly is important, neglecting to dry it completely before reassembly can cause serious problems. Moisture trapped inside can lead to electrical issues, rust, or even mold growth—things you definitely want to avoid. To keep your fan running smoothly, use effective drying techniques like air drying in a warm, ventilated space or gently wiping with a microfiber cloth. Avoid using heat sources that could damage components. When putting your fan back together, follow assembly tips carefully to guarantee all parts fit snugly without forcing anything. Taking these steps not only preserves your fan’s lifespan but also frees you from future headaches caused by moisture damage. Don’t rush—drying thoroughly is key to maintaining your fan’s freedom to perform.
Frequently Asked Questions
How Often Should I Clean My Fan for Optimal Performance?
You should set a cleaning frequency that fits your lifestyle and environment for ideal fan performance. Generally, cleaning your fan every one to two months keeps dust buildup at bay and guarantees smooth operation. Regular fan maintenance not only extends its lifespan but also helps you enjoy fresh, unrestricted airflow. If you live in a dusty area or use the fan daily, you might want to clean it more often to stay carefree and comfortable.
Can I Use a Vacuum Cleaner to Remove Fan Dust?
Yes, you can use a vacuum cleaner for dust removal on your fan, but you’ve got to be cautious about vacuum safety. Make sure the fan is unplugged and hold the blades steady to avoid damage. Use a brush attachment to gently lift dust without scratching surfaces. This method gives you freedom from messy dust clouds, keeping your fan clean and running smoothly without hassle or risk.
What Tools Are Best for Cleaning Hard-To-Reach Fan Parts?
For cleaning hard-to-reach fan parts, you’ll want to grab some cleaning brushes and microfiber cloths. Cleaning brushes with soft bristles help you get into tight spaces without damaging delicate parts. Microfiber cloths are great for wiping away dust without leaving scratches or lint behind. Using these tools lets you clean thoroughly and freely, ensuring your fan stays dust-free and operates smoothly. Don’t forget, gentle and steady is the way to go!
Is It Safe to Clean a Fan While It’S Still Running?
Cleaning a fan while it’s running is like juggling flaming swords—extremely risky! For your fan safety, always turn it off and unplug it before cleaning. This prevents accidents and protects you from electric shocks. Using proper cleaning methods, like a soft cloth or compressed air, guarantees you don’t damage the fan’s blades or motor. Taking these precautions lets you enjoy your freedom without risking injury or ruining your fan.
How Do I Maintain Fan Bearings to Extend Its Lifespan?
To maintain your fan bearings and extend its lifespan, you’ll want to focus on regular bearing lubrication. This keeps the bearings running smoothly and prevents excess fan noise, which often signals wear or dryness. Simply apply a few drops of lightweight machine oil or manufacturer-recommended lubricant to the bearings every few months. By doing this, you’ll enjoy quieter, freer airflow without worrying about premature fan failure or costly repairs down the line.


