Common Mistakes When Cleaning Walls
When cleaning walls, avoid harsh chemicals that damage paint and scrub gently to prevent surface wear. Always test cleaners on a small area before full use, and never apply products directly to the wall to avoid uneven saturation. Don’t over-wet surfaces, as excess moisture causes stains. Remember to dust first and rinse off any residue. Tailor your approach to the paint type, and maintain regular cleaning schedules to keep walls fresh. Understanding these basics can guide you to better care.
Using Harsh Chemicals That Damage Paint
Although it might seem effective to reach for strong cleaners, using harsh chemicals can quickly damage your wall paint. You need to understand that many potent cleaning agents trigger chemical reactions with the paint’s surface. These reactions often break down the paint’s protective layer, reducing its durability. Over time, this degradation shortens paint longevity, requiring more frequent repainting. To preserve your walls and maintain freedom from constant upkeep, opt for mild, pH-neutral cleaners designed for painted surfaces. Avoid bleach, ammonia, or solvents that can strip or discolor paint. By selecting appropriate products and applying them carefully, you guarantee the paint remains intact and vibrant longer. This methodical approach safeguards your investment and keeps your walls looking fresh without unnecessary damage. Excessive use of harsh cleaners can also affect health and the environment, so choosing gentler alternatives is beneficial for both your home and well-being, as highlighted in overusing harsh chemical cleaners.
Scrubbing Too Vigorously and Causing Surface Damage
You need to know what type of paint your walls have before choosing your cleaning tools. Using the wrong brush or sponge can scratch or wear down the surface quickly. Always opt for gentle scrubbing motions to protect the finish while effectively removing dirt. Using soft-bristled brushes can help tackle tough stains without damaging paint.
Identifying Wall Paint Types
Before you start scrubbing your walls, it’s crucial to identify the type of paint used, as different paints react differently to cleaning methods. Latex paint, commonly found in homes, offers good paint adhesion and durability but can be sensitive to harsh scrubbing, especially with matte finish surfaces that are more prone to color fading and texture damage. Oil based paint, on the other hand, tends to have a tougher gloss finish, resisting stains and wear better but still requires gentle care to avoid compromising the wall texture. Recognizing whether your walls have a matte or gloss finish helps you adjust your cleaning technique accordingly, preserving paint durability and preventing premature deterioration. Taking this step guarantees you maintain your walls’ integrity while enjoying the freedom to clean effectively without causing damage.
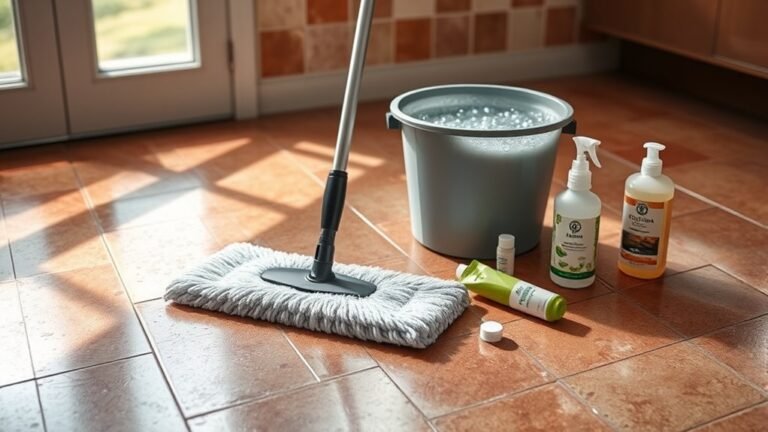
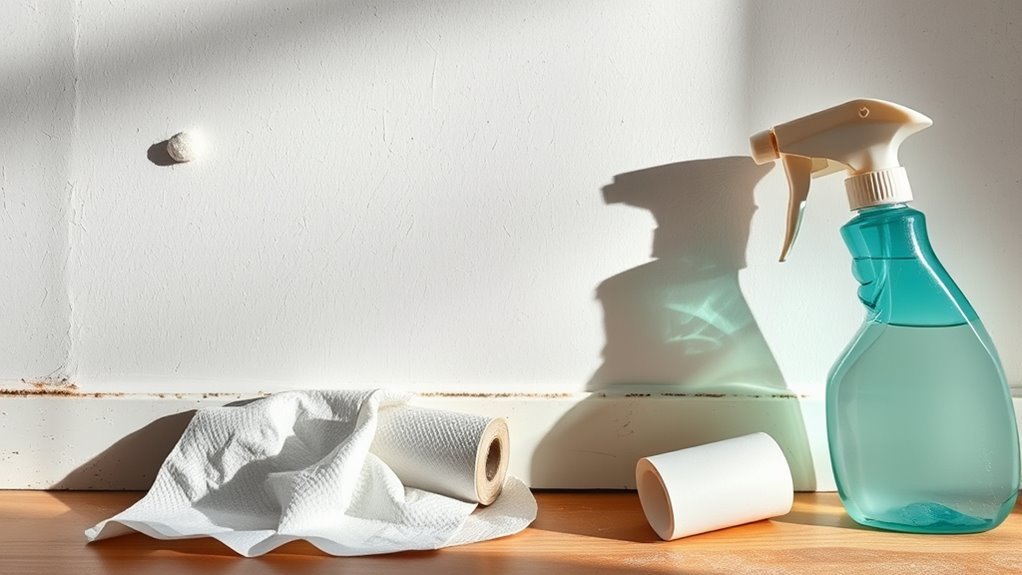
Appropriate Cleaning Tools
Choosing the right cleaning tools is essential to avoid scrubbing too vigorously and damaging your walls’ surface. Using inappropriate tools can lead to scratches, peeling, or discoloration. To maintain your walls’ integrity while cleaning, consider these four key items:
- Microfiber cloths – gentle yet effective at trapping dust and dirt without abrasive effects.
- Soft sponges – avoid rough textures that can wear down paint layers.
- Eco friendly solutions – select mild, biodegradable cleaners that preserve both your walls and the environment.
- A soft-bristle brush – useful for textured surfaces but always test on a small area first to prevent damage.
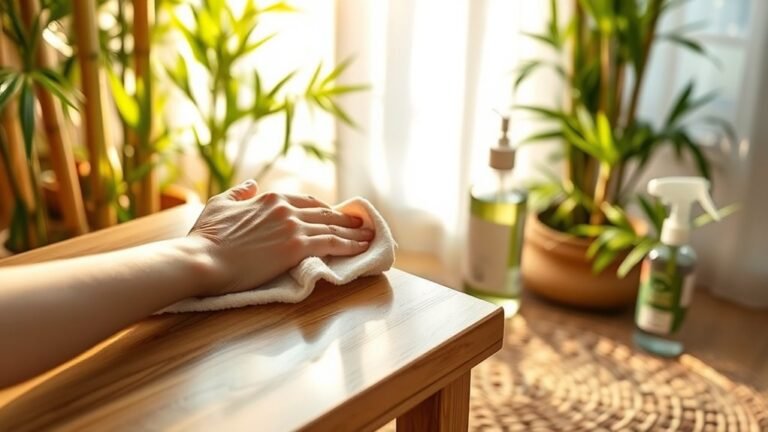
Gentle Scrubbing Techniques
Although scrubbing might seem like a straightforward way to remove dirt, applying too much pressure can easily damage your wall’s surface. To maintain proper wall care, you need to adopt gentle techniques that clean effectively without harming the paint or finish. Use a soft sponge or microfiber cloth, and avoid abrasive scrubbers that can scratch or wear down the surface. Instead of vigorous scrubbing, apply light, circular motions to lift dirt slowly. If a stain resists removal, dampen the cloth slightly and repeat gently rather than increasing force. Patience and controlled movements protect your walls, preserving their appearance and longevity. Remember, mastering gentle techniques not only cleans but also respects the integrity of your walls, giving you freedom from costly repairs.
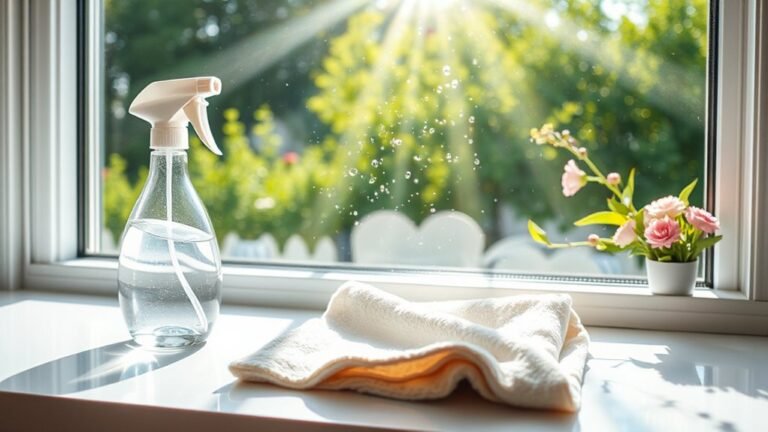
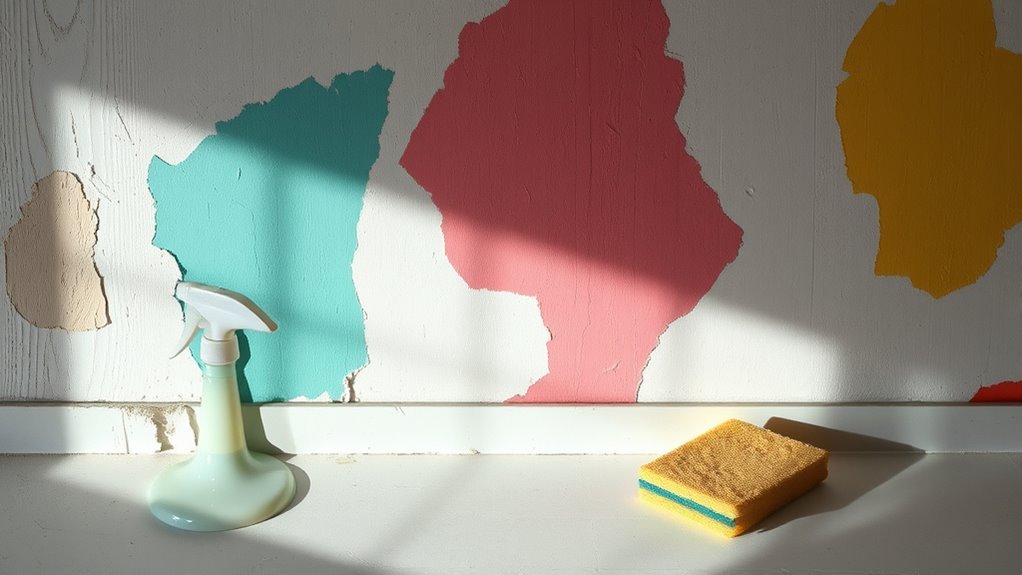
Ignoring to Test Cleaning Solutions on a Small Area
If you skip testing a cleaning solution on a small, inconspicuous area of your wall, you risk causing discoloration or damage that could be difficult to fix. Testing solutions on a small area allows you to:
- Identify adverse reactions like fading or peeling paint.
- Assess the cleaning effectiveness without committing to the entire surface.
- Save time and money by preventing costly repairs.
- Gain confidence in your chosen cleaning method.
Over-Wetting the Walls Leading to Water Stains
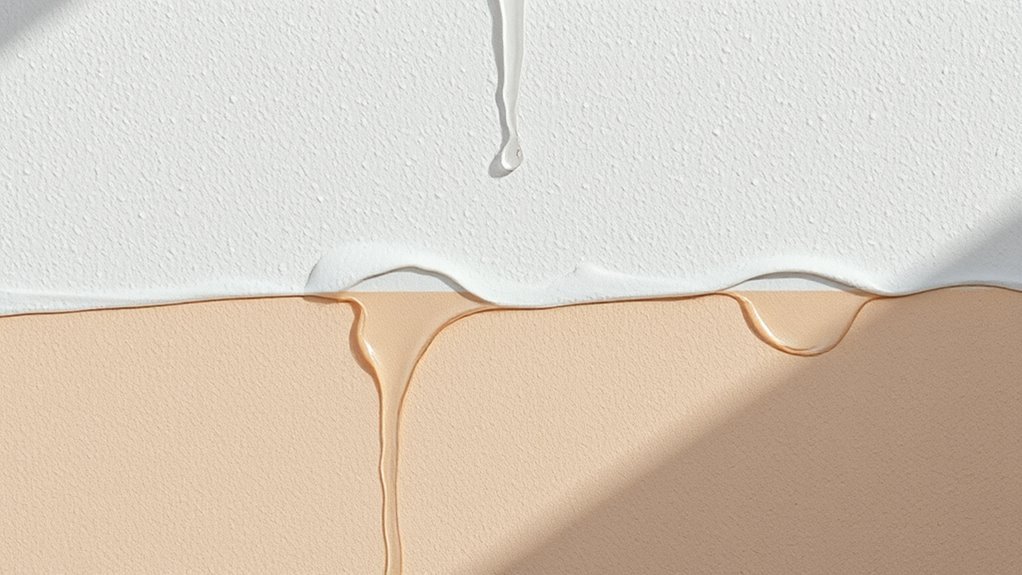
When cleaning your walls, applying too much water can cause unsightly water stains that are difficult to remove. You’ll want to control moisture by using a damp, not soaked, cloth and working in small sections. Taking these precautions helps prevent damage and keeps your walls looking fresh. Using moisture-sensitive cleaning methods is essential to avoid long-term damage to wall surfaces.
Causes of Over-Wetting
Since excess moisture can quickly damage your walls, understanding the causes of over-wetting is essential to prevent water stains. When you clean, walls with high water absorption and moisture retention are particularly vulnerable. Here are common causes:
- Using too much water or overly saturated cloths, which forces water deep into the wall surface.
- Applying cleaning solutions without diluting them properly, increasing moisture exposure.
- Ignoring drying time between cleaning passes, causing cumulative moisture buildup.
- Cleaning porous or unsealed walls that naturally absorb and hold moisture longer.
Preventing Water Stains
Although water stains can be stubborn and unsightly, you can prevent them by controlling the amount of moisture your walls absorb during cleaning. Effective water stain prevention starts with moisture control—avoid saturating surfaces with excessive water. Use a damp, not dripping, cloth or sponge to clean. Work in small sections and dry each area promptly with a clean, dry towel to prevent moisture from lingering. Choose cleaning solutions formulated for your wall type to reduce the need for repeated wetting. Ventilate the room well to accelerate drying and minimize the risk of water stains forming. By managing moisture carefully, you maintain your walls’ appearance and avoid the frustration water stains cause. This methodical approach gives you the freedom to keep walls clean without damaging them.
Neglecting to Dust Before Washing
Before you start washing your walls, you should always dust them thoroughly. Neglecting this step leads to dust accumulation, making your cleaning less effective and potentially spreading dirt further. To maintain freedom from stubborn grime, follow these steps:
Always dust walls thoroughly before washing to prevent dirt spread and improve cleaning effectiveness.
- Assess the cleaning frequency needed based on your environment and dust levels.
- Use a microfiber cloth or a duster to gently remove loose dust from the entire wall surface.
- Pay special attention to corners, baseboards, and areas around vents where dust gathers.
- Dispose of or wash your dusting tools regularly to avoid re-depositing dirt.
Using microfiber cloths, which trap dust effectively, can significantly improve the dust removal process.
Using Abrasive Tools That Scratch the Paint
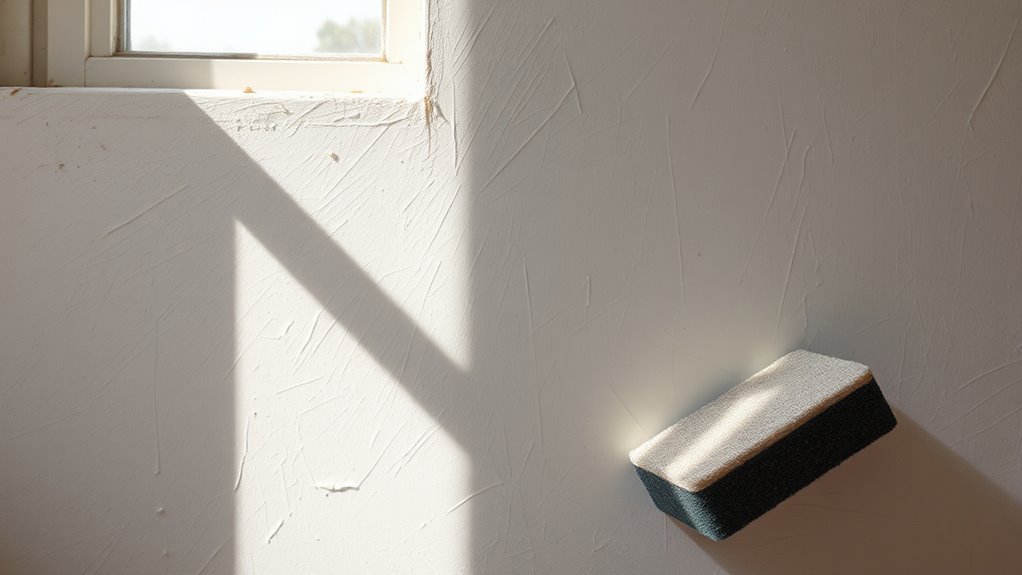
You might be tempted to use rough sponges or scrubbing pads when cleaning walls, but these abrasive tools can easily scratch and damage paint surfaces. Such scratches not only ruin the wall’s appearance but also make it more vulnerable to dirt and moisture. Instead, opt for soft cloths or non-abrasive sponges paired with gentle cleaning solutions to protect your paint finish. Using soft cleaning tools helps maintain the surface integrity and prevents unnecessary damage.
Types of Abrasive Tools
Abrasive tools come in various forms, from rough sponges to stiff brushes, and choosing the wrong one can easily damage your paint. Understanding abrasive tool types and cleaning tool materials is key to preserving your walls. Here are common abrasive tools to watch out for:
- Steel wool – extremely harsh, scratches most painted surfaces.
- Scrubbing brushes with hard bristles – can gouge or wear down paint.
- Coarse sponges – abrasive enough to remove paint layers if used aggressively.
- Scouring pads – often contain rough synthetic fibers that scratch finishes.
You want cleaning tools that offer freedom to clean effectively without sacrificing your paint. Avoid these abrasive options to maintain your walls’ integrity and enjoy a clean, undamaged surface.
Impact on Painted Surfaces
Choosing the wrong cleaning tools can leave more than just dirt behind; scratched paint is a common and often irreversible consequence. When you use abrasive tools, you risk damaging the paint finish, reducing wall longevity and aesthetic appeal. Scratches can expose underlying layers, making walls vulnerable to moisture and dirt buildup. Here’s a quick look at how abrasive tools impact your painted walls:
| Tool Type | Effect on Paint Finish | Impact on Wall Longevity |
|---|---|---|
| Steel Wool | Deep scratches | Shortens lifespan |
| Rough Sponges | Surface abrasion | Accelerates wear |
| Scrub Brushes | Paint chipping | Causes premature aging |
| Sandpaper | Paint removal | Leads to costly repairs |
Avoiding these tools preserves your freedom to enjoy clean, durable walls without costly restoration.
Safer Cleaning Alternatives
While abrasive tools might seem effective for tough stains, there are safer alternatives that protect your paint finish and extend wall longevity. You don’t have to sacrifice cleanliness for freedom from damage. Consider these methods instead:
- Use eco friendly cleaners designed for delicate surfaces—they clean efficiently without harsh chemicals.
- Try vinegar solutions mixed with water; they naturally break down grime and are gentle on paint.
- Opt for soft microfiber cloths or sponges, which remove dirt without scratching.
- Test any cleaner on a hidden spot first to verify it won’t discolor or degrade your wall’s finish.
Applying Cleaning Products Directly to the Wall
Even if it seems quicker, you shouldn’t apply cleaning products directly to your walls. Direct cleaning product application can cause uneven saturation, leading to streaks, discoloration, or damage to the paint or wallpaper. Instead, spray or apply the cleaner onto a soft cloth or sponge first. This approach allows you to control the amount of product used, ensuring a gentle, even treatment. By doing so, you protect the wall surface from harsh chemicals and excessive moisture that could compromise its integrity. Taking this methodical step not only preserves the finish but also gives you greater freedom to clean effectively without worrying about irreversible damage. Prioritize wall surface protection through careful application, and your walls will maintain their appearance longer. Testing mild cleaning solutions on small areas first helps avoid unexpected damage and ensures compatibility with your wall surface.
Forgetting to Rinse Off Cleaning Residue
If you neglect to rinse off cleaning residue, you risk leaving behind streaks, sticky patches, or a dull film that can attract dirt more quickly. Proper rinse techniques are essential to maintain wall cleanliness and freedom from buildup. When using cleaning solutions, follow these steps for best results:
Neglecting to rinse cleaning residue can leave streaks and sticky films that attract dirt faster.
- Use a clean, damp microfiber cloth to wipe the surface gently.
- Rinse the cloth frequently to avoid redistributing residue.
- For stubborn areas, apply plain water with a sponge and rinse thoroughly.
- Dry the wall with a soft towel to prevent water spots.
Regular maintenance, such as wiping down surfaces with a microfiber cloth daily, helps prevent residue buildup and keeps walls looking fresh.
Cleaning Walls Without Considering the Paint Type
Because different paint finishes react uniquely to cleaning methods, you need to identify your wall’s paint type before starting. Glossy and semi-gloss finishes tolerate moisture and mild detergents well, making them easier to clean without damage. Matte or flat finishes, however, are more porous and absorbent; harsh scrubbing or strong cleaners can dull their appearance or cause discoloration. Additionally, consider your wall texture—smooth surfaces allow for gentle wiping, while textured walls trap dirt in crevices, requiring careful, targeted cleaning. Using the wrong approach on a delicate paint finish or intricate wall texture risks permanent damage, limiting your freedom to refresh your space as you wish. By matching your cleaning method precisely to the paint finish and wall texture, you guarantee effective maintenance without compromising the wall’s integrity. It is also essential to test cleaning methods on a small, hidden area first to avoid damage or discoloration.
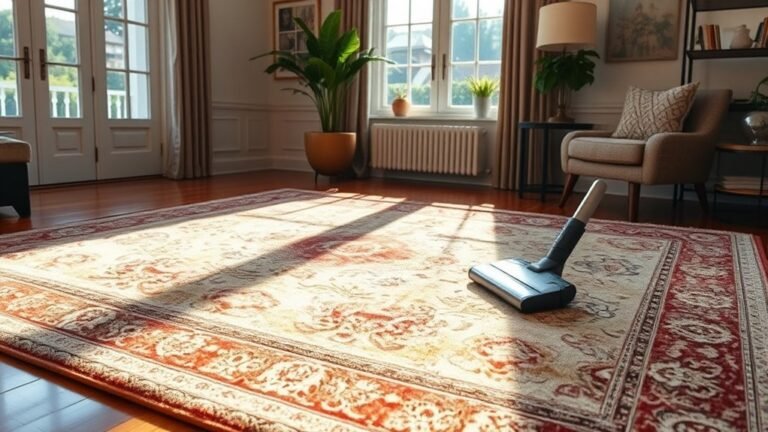
Skipping Regular Maintenance and Deep Cleaning
Neglecting regular maintenance and deep cleaning can lead to a buildup of grime that becomes increasingly difficult to remove over time. To maintain your walls’ appearance and integrity, you need a consistent maintenance schedule and regular cleaning routine. Here’s how to avoid this common mistake:
- Establish a maintenance schedule that fits your lifestyle, ensuring walls are cleaned periodically.
- Perform light cleanings weekly or biweekly to prevent dirt accumulation.
- Schedule deep cleaning sessions quarterly or biannually depending on wall usage and exposure.
- Use appropriate cleaning solutions tailored to your wall material to avoid damage during deep cleans.
- Incorporate regular dusting into your routine to prevent dust and grime buildup and keep walls fresh.
Frequently Asked Questions
How Often Should Walls Be Professionally Cleaned?
You should consider wall cleaning frequency based on your environment and lifestyle, but generally, professional cleaning is recommended every 2 to 3 years. If you have pets, children, or high humidity, you might want to increase that frequency. Professional cleaning guarantees deep removal of dirt and allergens, keeping your walls fresh without damaging paint or wallpaper. This approach gives you freedom from constant upkeep while maintaining a healthy, attractive living space.
Can Wallpapered Walls Be Cleaned the Same Way as Painted Walls?
Did you know 60% of homeowners avoid cleaning wallpaper to prevent damage? When it comes to wallpaper care, you can’t treat it like painted walls. Unlike painted surfaces, wallpaper requires gentler cleaning techniques—usually a soft cloth and mild detergent. Avoid soaking it or using abrasive scrubbers, as they can cause peeling or stains. Always test a small area first, ensuring your cleaning preserves the wallpaper’s look without compromising its adhesive.
What Is the Best Time of Day to Clean Walls?
The best time of day to clean walls is in the morning when you have maximum efficiency. You’re fresher and can tackle the task methodically without rushing. However, cleaning in the evening has its perks, too—natural evening light can help you spot dirt and streaks more clearly. Balancing both times lets you enjoy freedom in your routine while ensuring your walls get the thorough attention they deserve.
Are There Eco-Friendly Cleaning Products Safe for Walls?
You might think harsh chemicals are needed, but natural cleaners can be just as effective and gentle on your walls. Depending on your wall materials—whether painted drywall, wallpaper, or wood—you’ll want to choose eco-friendly products that won’t cause damage or discoloration. These cleaners free you from toxic residues, letting you maintain your space safely and sustainably. Just test a small patch first, ensuring your walls stay pristine while you embrace green cleaning freedom.
How Can I Prevent Mold Growth on Walls?
To prevent mold growth on walls, focus on consistent mold prevention and wall maintenance. Keep humidity levels below 60% by using dehumidifiers or ventilation fans. Fix leaks promptly and guarantee good airflow in rooms. Clean walls regularly with eco-friendly products to avoid moisture buildup. By staying proactive and methodical, you’ll maintain a healthy, mold-free environment that supports your freedom to enjoy a clean, fresh living space without worry.