How to Clean Your Air Fryer in 10 Minutes
To clean your air fryer in 10 minutes, first unplug it and remove the basket and tray, then soak these parts in warm, soapy water while you gather supplies. Use a soft cloth to wipe the interior and exterior, avoiding harsh cleaners. Gently clean the heating element with a soft brush. After scrubbing soaked parts, dry and reassemble everything. This quick routine keeps your fryer fresh and ready, and you’ll find easy ways to maintain it for long-lasting use.
Gather Your Cleaning Supplies
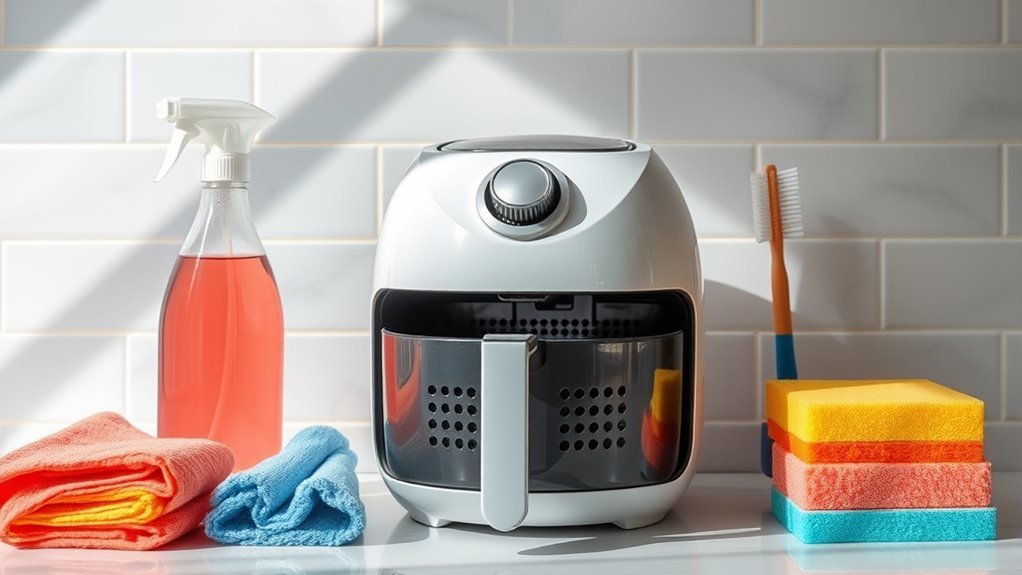
Before you begin cleaning your air fryer, you’ll need to gather the right supplies to make the process efficient and effective. Start by collecting essential cleaning tools like a soft sponge, a non-abrasive brush, and a microfiber cloth. These will help you clean without damaging the appliance’s surface. Next, choose appropriate cleaning solutions—a mild dish soap mixed with warm water works best for removing grease and food residue without harsh chemicals. Avoid abrasive cleaners that could scratch the non-stick coating. Having a small bowl for your cleaning solution and a drying towel nearby will streamline your workflow. By preparing these cleaning tools and solutions upfront, you’ll save time and effort, allowing you to maintain your air fryer quickly and get back to enjoying your freedom.
Unplug and Disassemble the Air Fryer
Before you start cleaning, make sure to unplug your air fryer to avoid any electrical hazards. Next, carefully remove all the detachable parts like the basket and tray. Separating these components makes it easier to clean each piece thoroughly and safely.
Safety First: Unplug Device
To guarantee your safety when cleaning your air fryer, always unplug the device before you start. This simple step prevents electrical hazards and guarantees you follow essential safety precautions. Handling a plugged-in appliance while cleaning risks shocks and damage. Once unplugged, you’re free to proceed confidently.
| Schritt | Action | Reason |
|---|---|---|
| 1 | Unplug the air fryer | Avoid electrical hazards |
| 2 | Confirm power is off | Guarantee safety precautions |
| 3 | Wait for cooling | Prevent burns and accidents |
Separate Removable Parts
Two key steps will help you get your air fryer ready for a thorough cleaning: unplugging it and disassembling the removable parts. Once unplugged, carefully take out the removable baskets and trays. These components often collect the most grease and food residue, so separating them makes cleaning more effective and faster. Handle each air fryer part gently to avoid damage, especially non-stick coatings. Setting the removable baskets aside allows you to focus on washing them with warm, soapy water or placing them in the dishwasher if the manufacturer permits. Meanwhile, you can wipe down the main unit’s interior and exterior without risking electrical issues. By separating these parts, you streamline your cleaning process and keep your air fryer in peak condition, ready for your next cooking adventure.
Soak the Removable Parts

You’ll want to soak the removable parts in warm, soapy water or a mixture of water and vinegar to break down grease and food residue. Let them soak for about 10 to 15 minutes, depending on how dirty they are. This will make scrubbing easier and help keep your air fryer in good shape.
Best Soaking Solutions
Although soaking the removable parts might seem straightforward, choosing the right solution can make a significant difference in loosening grease and food residue effectively. You want a solution that’s safe, efficient, and easy to prepare. Here are four of the best soaking solutions you can try:
- Vinegar solution: Mix equal parts white vinegar and warm water to cut through grease naturally.
- Baking soda paste: Combine baking soda with a little water to form a paste for stubborn spots.
- Dish soap and hot water: A classic, simple mix that breaks down oils without harsh chemicals.
- Lemon juice and water: The acidity helps dissolve residue and leaves a fresh scent.
Pick the one that fits your needs and enjoy hassle-free cleaning.
Soaking Duration Tips
When soaking the removable parts of your air fryer, the duration matters just as much as the solution you choose. The soaking time should be long enough to loosen grease and food residue but not so long that it damages the non-stick coating. Finding the ideal duration depends on how dirty the parts are.
Here’s a quick guide to help you balance soaking time and effectiveness:
| Dirt Level | Soaking Time | Notes |
|---|---|---|
| Light | 10-15 minutes | Quick clean before next use |
| Moderate | 20-30 minutes | Removes most stuck-on debris |
| Heavy | 30-45 minutes | For tough grease and grime |
Stick to these guidelines to keep your air fryer parts clean without risking damage.
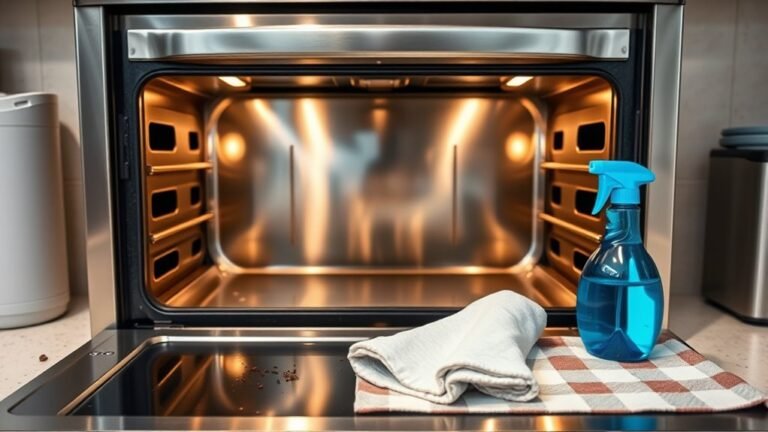
Wipe Down the Interior and Exterior
Start by unplugging your air fryer and letting it cool completely before wiping down both the interior and exterior surfaces. This step guarantees safety and prevents damage to the appliance.
- Use a soft, damp cloth to gently clean the interior surfaces, removing any residue or food particles.
- Avoid harsh chemicals; a mild dish soap solution works best for stubborn spots.
- Wipe the exterior surfaces with a slightly damp cloth to eliminate fingerprints and dust.
- Dry both interior and exterior surfaces thoroughly with a clean, dry cloth to prevent moisture buildup.
Clean the Heating Element

Once you’ve wiped down the interior and exterior, it’s important to clean the heating element to maintain your air fryer’s performance. Proper heating element maintenance guarantees consistent air fryer efficiency and extends its lifespan. To clean it, unplug the air fryer, wait for it to cool, and gently wipe the element with a damp cloth or soft brush to remove residue.
| Schritt | Action |
|---|---|
| 1 | Unplug and let cool |
| 2 | Use a soft brush or cloth |
| 3 | Gently remove food debris |
| 4 | Avoid harsh chemicals |
| 5 | Inspect for damage or buildup |
Regularly cleaning the heating element keeps your device running smoothly, so don’t skip this vital step.
Reassemble and Dry Completely
Before you reassemble your air fryer, make certain all parts are completely dry to prevent any moisture from causing damage or affecting performance. Proper drying methods help keep your appliance safe and efficient. Here are some practical reassemble tips to follow:
- Air dry removable parts on a clean towel for at least 30 minutes.
- Use a soft cloth to wipe down any remaining damp spots.
- Confirm the heating element and interior are fully dry before putting parts back.
- Reassemble parts carefully, aligning slots and clips to avoid damage.
Taking these steps guarantees your air fryer stays in top shape and ready for your next cooking adventure. Drying thoroughly and reassembling correctly saves you time and hassle down the road.
Häufig gestellte Fragen
Can I Use Soap in the Dishwasher to Clean Air Fryer Parts?
You can use soap in the dishwasher to clean air fryer parts, but you need to be mindful of dishwasher safety and soap types. Stick to dishwasher-safe air fryer components and avoid harsh detergents that might damage coatings. Use mild, eco-friendly dishwasher soap to keep parts clean without causing harm. This way, you maintain your freedom from scrubbing while ensuring your air fryer stays in great shape for many uses.
How Often Should I Deep Clean My Air Fryer?
You should set your air fryer’s maintenance frequency based on how often you use it, but a good rule of thumb is to deep clean it every one to three months. Sticking to a regular cleaning schedule helps keep your appliance running smoothly and extends its lifespan. If you cook greasy or sticky foods frequently, consider deep cleaning more often. This way, you maintain freshness and performance without hassle.
Is Vinegar Safe to Use for Cleaning the Air Fryer?
Vinegar’s versatile vinegar benefits make it a viable cleaning choice for your air fryer. While vinegar’s acidity can cut through grease and grime, you should dilute it with water to avoid damage. If you’re wary, consider cleaning alternatives like mild dish soap or baking soda, which are gentle yet effective. Always guarantee to wipe and dry thoroughly, giving you freedom from residue and a fresh, safe appliance ready for your next crispy creation.
Can I Use Abrasive Scrubbers on the Air Fryer Basket?
You shouldn’t use abrasive materials on your air fryer basket because they can damage the non-stick coating, affecting basket care and performance. Instead, stick to soft sponges or cloths for cleaning. This way, you keep the basket’s surface intact and guarantee it lasts longer. If there’s stubborn residue, soak the basket briefly in warm, soapy water before gently scrubbing. Protecting your basket means you can enjoy your freedom to cook without worry.
What Should I Do if My Air Fryer Has a Burnt Smell?
It’s frustrating when you’re ready to enjoy a meal, and suddenly there’s that burnt smell lingering. To tackle burnt residue causing the odor, start by unplugging your air fryer and letting it cool. Remove the basket and tray, soaking them in warm, soapy water. Wipe the interior with a damp cloth, avoiding abrasive scrubbers. For stubborn odors, try a vinegar-water solution to neutralize and restore fresh freedom in your kitchen.