DIY Cleaner for Walls Surfaces
You can easily make a DIY wall cleaner using two cups of water, half a cup of white vinegar, a tablespoon of dish soap, and a few drops of essential oil for scent. Mix these in a spray bottle, then test on a small, hidden wall spot first to avoid damage. This solution gently removes dirt and stains while being eco-friendly. Keep your walls fresh and protected, and discover more ways to customize and maintain your surfaces effectively.
Essential Ingredients for Homemade Wall Cleaners
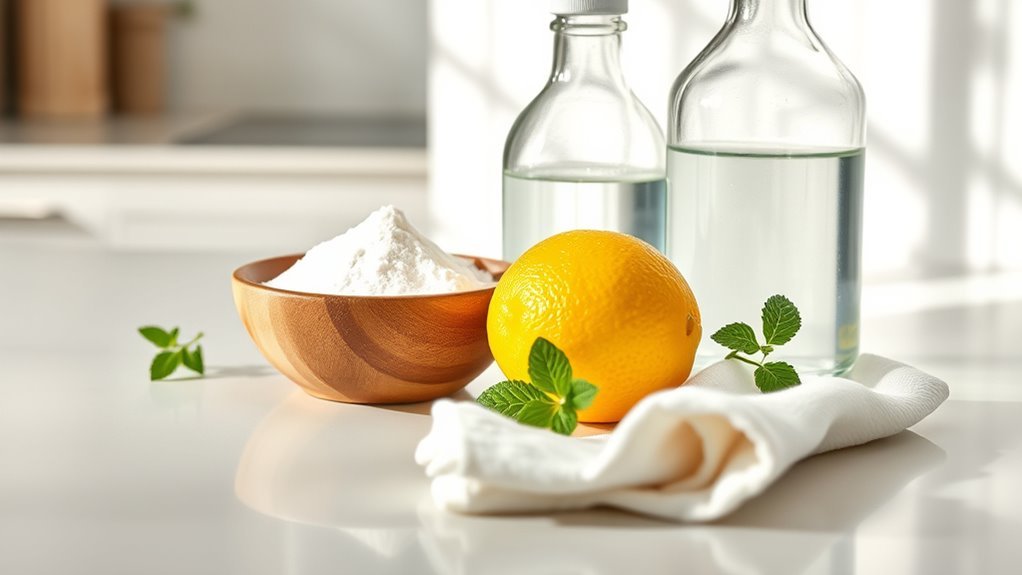
When making your own wall cleaner, you’ll need a few essential ingredients that are both effective and safe for most wall surfaces. Two key components are homemade vinegar and baking soda. Homemade vinegar acts as a natural acid that breaks down grease, grime, and stains without damaging paint or wallpaper. Baking soda serves as a gentle abrasive and deodorizer, helping to lift dirt while neutralizing odors. Together, they create a balanced cleaning solution that’s powerful yet non-toxic. You’ll also want to contemplate adding distilled water to dilute the mixture, ensuring it’s gentle enough for delicate finishes. By choosing these simple, accessible ingredients, you maintain control over what touches your walls, freeing yourself from harsh chemicals and commercial cleaners. This approach aligns with a desire for effective, safe, and environmentally conscious cleaning.
Step-by-Step Guide to Mixing Your DIY Wall Cleaner
Now that you know the essential ingredients, it’s time to mix your DIY wall cleaner correctly. You’ll follow clear steps to combine each component in the right order and proportions. This methodical process guarantees your cleaner is effective and safe for your walls.
Essential Ingredients Overview
Creating an effective DIY wall cleaner hinges on selecting the right ingredients that balance cleaning power with surface safety. You’ll typically need a gentle detergent, white vinegar, and water—each serving a distinct purpose in cleaning solutions. The detergent helps break down grease and grime, while vinegar acts as a natural disinfectant. Water dilutes these components, preventing damage to your wall surfaces. Avoid harsh chemicals, which can erode paint or wallpaper. Additionally, baking soda can be added for mild abrasion when dealing with stubborn stains. By understanding these essential ingredients, you maintain wall safety and achieve a cleaner finish without risking damage. This careful selection also empowers you to customize your cleaner based on your wall type and specific cleaning needs.
Mixing Instructions Breakdown
Understanding the role of each ingredient helps you combine them correctly for the best results. Start by measuring each component with care, adhering to the recommended mixing ratios to maintain effectiveness and safety. Always follow safety precautions: wear gloves and guarantee good ventilation.
| Ingredient | Mixing Ratio |
|---|---|
| Water | 2 cups |
| White Vinegar | 1/2 cup |
| Dish Soap | 1 tablespoon |
| Essential Oil | 10 drops |
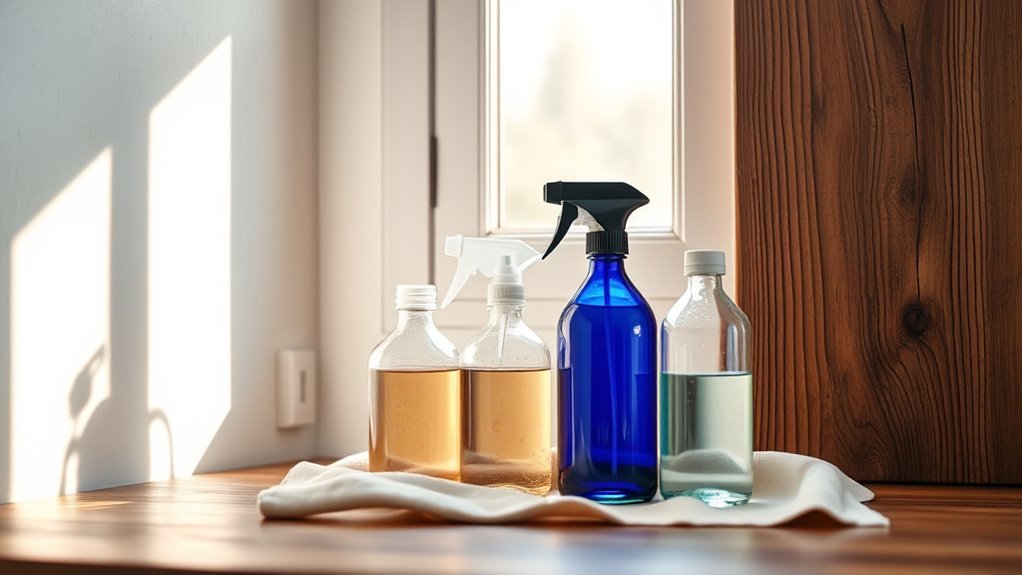
Begin by pouring water into a clean spray bottle, add vinegar, then dish soap, and finally essential oil. Shake gently to mix. This methodical process guarantees a balanced solution that cleans efficiently without damaging your walls or compromising your freedom to customize.
How to Test Your Cleaner on Different Wall Types
Before applying your DIY cleaner broadly, you’ll want to test it on a small, inconspicuous section of each wall type in your home. Cleaner testing guarantees your mixture won’t damage or discolor surfaces like painted drywall, textured plaster, or wallpapered walls. Start by applying a small amount with a soft cloth, wait 10-15 minutes, then observe any changes. Look for signs of fading, peeling, or texture alteration. Different wall types react uniquely, so don’t assume one test applies to all. If the test area remains unaffected, you’re clear to proceed. If issues arise, adjust your formula or choose a gentler cleaner. This methodical approach protects your walls while giving you the freedom to clean confidently without risking costly damage.
Tips for Removing Stubborn Stains and Marks
When tackling stubborn stains and marks, you’ll want to use targeted techniques like gentle scrubbing or applying a paste of baking soda and water. Choosing the right tools—such as microfiber cloths or soft-bristle brushes—makes a big difference in effectiveness without damaging your walls. Let’s explore which methods and tools work best to restore your walls cleanly and efficiently.
Effective Stain Removal Techniques
Although some stains seem impossible to remove, using the right techniques and materials can restore your walls effectively. Start by identifying the stain type—grease, ink, or dirt—to select the best cleaning technique. For grease stains, apply a mixture of dish soap and warm water, gently scrubbing with a soft cloth. Ink stains often require rubbing alcohol or a baking soda paste, applied carefully to avoid damage. Always test your cleaner on a small, hidden area first. To prevent stains, regularly dust and clean your walls using mild solutions, reducing buildup. Employ consistent cleaning techniques, working from top to bottom to avoid spreading grime. By mastering these methods, you gain freedom from stubborn marks, keeping your walls fresh without harsh chemicals or costly treatments.
Best Tools for Cleaning
Three essential tools you’ll need for effective wall cleaning are a soft microfiber cloth, a gentle scrub brush, and a spray bottle. The microfiber cloth traps dust and dirt without scratching surfaces, making it perfect for delicate finishes. A gentle scrub brush helps you tackle stubborn stains without damaging the paint or wallpaper. Use the spray bottle to apply your DIY cleaner evenly, ensuring thorough coverage.
For tougher marks, wall scrapers can be invaluable. Choose plastic scrapers to avoid gouging the wall. Use them carefully to lift dried paint spots or sticky residues. When combined with the right cleaning tools and techniques, these allow you to restore your walls efficiently, giving you freedom from stains while protecting your surfaces.
Best Practices for Regular Wall Maintenance

Maintaining your walls regularly guarantees they stay clean and damage-free over time. To guarantee effective wall care, establish a maintenance schedule that fits your lifestyle and the specific needs of your walls. Consistency is key to preventing buildup and spotting issues early. Focus on these best practices:
- Dust walls monthly to avoid grime accumulation.
- Spot clean stains promptly with your DIY cleaner.
- Inspect for cracks or peeling paint quarterly.
Adhering to this routine helps preserve your walls’ appearance and structural integrity. By being methodical and proactive, you maintain freedom from costly repairs and keep your space looking fresh. Stick to your maintenance schedule, and you’ll enjoy the benefits of clean, well-kept walls without hassle.
Eco-Friendly Alternatives to Chemical Cleaners
When you’re looking to keep your walls spotless without harming the environment, eco-friendly cleaners offer a safe and effective alternative to harsh chemicals. Using natural cleaning solutions not only protects your home but supports sustainable home products that reduce your ecological footprint. Here’s a quick guide to some alternatives:
| Cleaner Type | Ingredients | Best Use |
|---|---|---|
| Vinegar Solution | Vinegar + water | General wall cleaning |
| Baking Soda Paste | Baking soda + water | Stain removal |
| Castile Soap | Liquid Castile soap + water | Grease and dirt |
| Lemon Juice | Lemon juice + water | Brightening and disinfecting |
| Essential Oils | Oils + water | Fragrance and antibacterial |
Häufig gestellte Fragen
Can I Use Essential Oils in My DIY Wall Cleaner?
You can definitely use essential oils in your cleaner, as they offer essential oil benefits like antibacterial properties and natural fragrances that freshen up your space. Just be sure to dilute them properly with water and a mild base like vinegar or castile soap to avoid residue or damage. This way, you get an effective, aromatic, and natural cleaning solution that supports your desire for freedom from harsh chemicals.
How Often Should I Deep Clean My Walls?
Think of your walls as a canvas gathering dust and grime over time. For a fresh look, stick to a weekly schedule of light cleaning, but deep clean your walls every 3 to 6 months. Your cleaning frequency depends on factors like household activity and exposure to dirt. By maintaining this balance, you free yourself from overwhelming chores and keep your space vibrant without feeling trapped by constant upkeep.
Is It Safe to Use Vinegar on Painted Walls?
You can use vinegar on painted walls, but it depends on the paint types. Vinegar benefits include natural disinfectant properties and gentle cleaning without harsh chemicals. However, avoid using it on delicate or flat/matte paints, as the acidity might dull or damage the finish. For gloss or semi-gloss paints, dilute vinegar with water (about 1:1 ratio) to safely clean without stripping paint. Always test a small area first to guarantee it doesn’t harm your walls.
Can DIY Cleaners Damage Wallpaper?
You might wonder if DIY cleaners can damage wallpaper, and the truth is, they can—depending on wall material considerations and cleaning solution pH. Wallpapers, especially those with delicate or vinyl coatings, react differently to acidic or alkaline cleaners. Using a solution with the wrong pH can cause discoloration or peeling. So, you’ll want to test any cleaner on a small, hidden spot first and choose mild, pH-neutral solutions to protect your wallpaper’s finish.
What Storage Tips Extend My Cleaner’S Shelf Life?
To extend your cleaner’s shelf life, store it in airtight storage containers to prevent exposure to air and moisture. Keep these containers in a cool, dark place away from direct sunlight and heat sources, which can degrade ingredients faster. Label containers with the date you made the cleaner so you can track its freshness. Avoid contamination by using clean utensils when handling the cleaner, ensuring it stays effective longer and ready whenever you need it.