Cleaning and Organizing a Craft Supply Closet
To clean and organize your craft supply closet, start by taking inventory of what you have and identifying what you use most. Declutter by letting go of unused or old materials, then sort similar items together. Choose smart storage options like labeled bins and shelves to keep everything visible and accessible. Regular upkeep is key—schedule quick tidying sessions and seasonal reviews to maintain order. Keep going, and you’ll discover ways to create inspiring zones and streamline your creative process even more.
Assessing Your Current Craft Supply Inventory
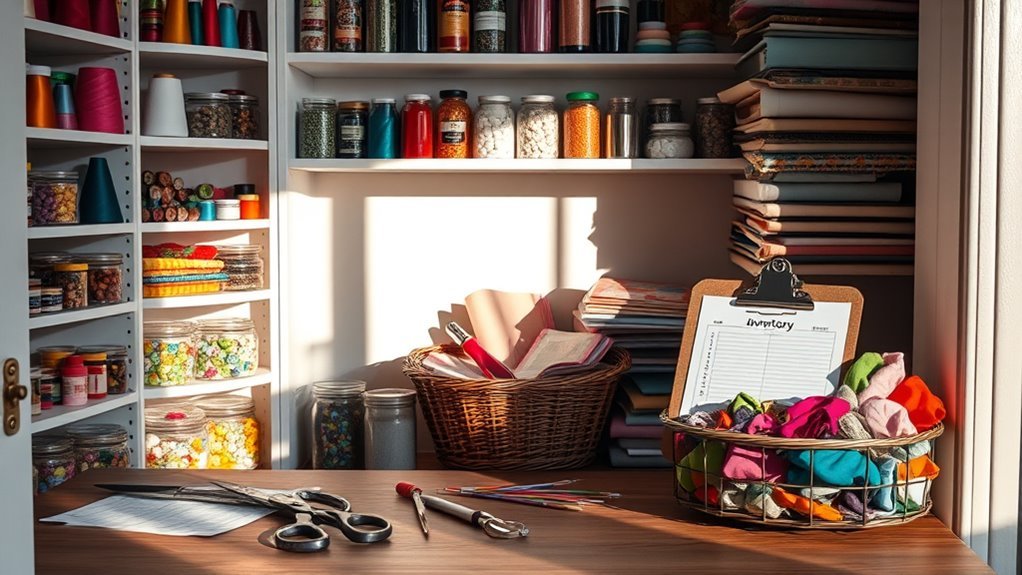
Before diving into the cleaning process, you’ll want to take a clear inventory of what you already have. Start by creating a craft inventory checklist that lists every item in your supply closet. This helps you see what’s truly available, so you’re not buying duplicates or unnecessary extras. Pay attention to your supply usage trends—notice which materials you frequently use and which ones tend to sit untouched. By understanding these patterns, you can focus on keeping only the essentials that spark your creativity and let go of what holds you back. This step isn’t just about organization; it’s about reclaiming your creative freedom, enabling you to work with what inspires you most, without the clutter or confusion.
Decluttering and Sorting Your Materials
Once you’ve taken stock of your craft supplies, it’s time to declutter and sort through everything. Embrace freedom by letting go of materials you no longer use or need. Focus on craft material selection that truly inspires your creativity and fits your current projects. Use organizing techniques like grouping similar items together—paints with paints, yarn with yarn—to streamline your space. Be honest about what you’ll realistically use; donating or recycling excess materials lightens your load and clears mental space. Sorting this way not only frees up room but also makes it easier to find what you want when you’re ready to create. Decluttering isn’t just tidying up; it’s reclaiming your creative freedom by surrounding yourself only with what sparks joy and purpose.
Choosing the Right Storage Solutions

Now that you’ve sorted your supplies, it’s time to pick the best storage options to keep everything organized. You’ll want to evaluate different types like bins, shelves, and drawers to fit your space and materials. Choosing smart storage solutions can make the most of your closet and keep your craft area tidy.
Storage Types Overview
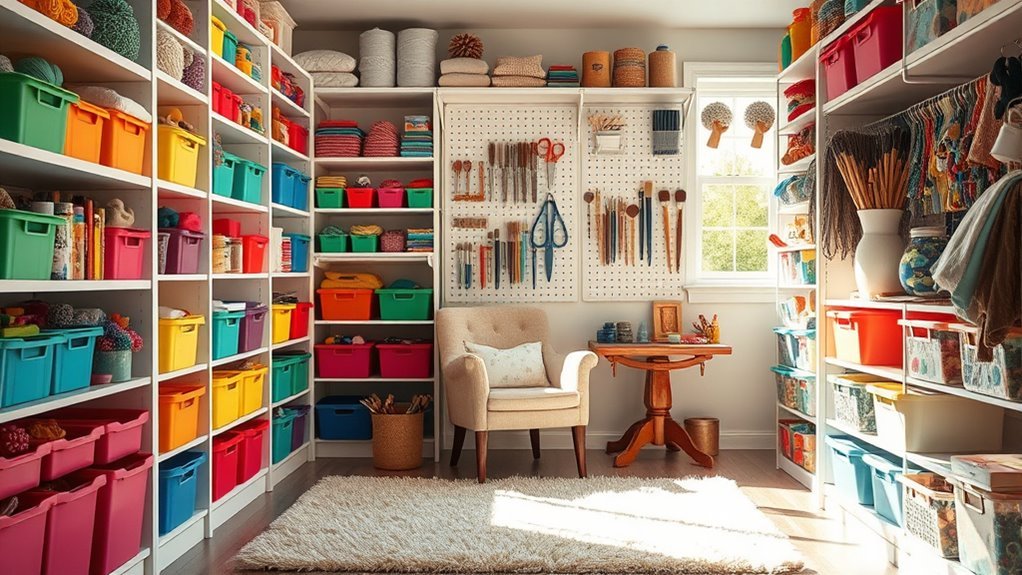
Choosing the right storage solutions can make a world of difference when organizing your craft supply closet. Storage bins offer a flexible way to keep supplies grouped and visible—you can easily label them and stack for quick access. Shelving units provide vertical space that frees up floor area, allowing you to organize tools and materials without clutter. Open shelves let you grab what you need in a snap, while closed shelving units protect delicate items from dust. Combining both storage bins and shelving units gives you freedom to customize your space, so everything has its place. By picking the right types of storage, you’ll create an organized, inspiring environment that invites creativity instead of chaos.
Maximizing Space Efficiency
Although it might seem challenging at first, maximizing space efficiency in your craft supply closet becomes much easier when you select storage solutions tailored to your needs. Start by embracing space saving techniques like stackable bins and adjustable shelves, which free up floor space and keep supplies accessible. Vertical storage is your best friend—use tall shelving units or wall-mounted racks to utilize height rather than cluttering surfaces. Clear containers help you spot items quickly, reducing time spent searching. Don’t forget to customize your setup: hooks for scissors, pegboards for tools, and drawer dividers for small items can make a huge difference. By choosing smart storage options, you release freedom in your creative space, making it feel open and inspiring rather than cramped and chaotic.
Labeling and Categorizing Supplies
When you organize your craft supplies by labeling and categorizing them, finding what you need becomes much quicker and easier. Use color coding on supply bins to instantly recognize categories, giving you the freedom to grab and go without wasting time. Clear labels keep everything visible and accessible, so your creative flow stays uninterrupted.
| Category | Example Supplies |
|---|---|
| Paper & Cardstock | Scrapbook paper, cardstock |
| Tools | Scissors, glue guns |
| Paint & Brushes | Acrylics, watercolors |
| Beads & Jewelry | Beads, wires, clasps |
Creating Zones for Different Craft Activities
To make your craft closet more efficient, start by defining specific zones for different activities like painting, sewing, or scrapbooking. Then, label and store supplies according to these zones so everything is easy to find when you need it. This approach keeps your space organized and ready for any project you want to tackle.
Define Activity-Based Areas
Since your craft supply closet holds a variety of materials and tools, it’s helpful to create distinct zones for different activities. Defining activity-based areas lets you flow freely between projects without feeling boxed in. Whether you’re painting, sewing, or scrapbooking, setting clear craft areas invites creativity and ease.
| Activity Zone | Zweck |
|---|---|
| Painting | Brushes, paints, palettes |
| Sewing | Fabrics, needles, threads |
| Paper Crafts | Papers, scissors, adhesives |
| Storage & Tools | Containers, rulers, tape |
| Inspiration | Mood boards, samples, sketches |
Label and Store Supplies
Creating clear labels and designated storage for each craft zone makes it easier to find what you need and keeps your workspace orderly. Start by choosing durable labels that reflect each activity, like “Painting” or “Sewing,” and stick them on storage bins. Using color coding can boost your freedom to grab supplies quickly—assign a color to each zone so your eyes immediately know where to look. Storage bins come in handy not just for organization but also for keeping everything contained, so your closet stays clutter-free. By labeling and storing supplies thoughtfully, you create a system that supports your creative flow without forcing you to waste time searching. This way, your craft space feels inviting and ready for whatever project you want to explore next.
Maintaining Your Organized Craft Closet
How often you check and tidy your craft closet can make all the difference in keeping it organized. To enjoy true creative freedom, you’ll want to commit to regular maintenance. Set a schedule—perhaps weekly or biweekly—to quickly put things back in place after each project. Seasonal checks are equally important; every few months, take time to reassess your supplies. Dispose of dried-up markers or outdated materials that no longer spark joy. This keeps your space functional and clutter-free without feeling like a chore. By staying proactive, your craft closet remains a haven where inspiration flows effortlessly, and you’re always ready to plunge into your next project without wasting time searching for what you need. Regular upkeep is the key to sustaining that feeling of freedom and order.
Häufig gestellte Fragen
How Often Should I Deep Clean My Craft Supply Closet?
You should set a cleaning frequency that matches your lifestyle and creativity flow. If you craft often, a deep clean every few months keeps things fresh and inspiring. For an organizing schedule, try aligning it with your project cycles—clean up before starting something new to feel free and focused. This way, your space supports your freedom to create without clutter holding you back, making the whole process enjoyable and stress-free.
What Are Eco-Friendly Ways to Dispose of Unused Craft Supplies?
You might worry that eco-friendly disposal means extra hassle, but imagine your unused craft supplies finding new life instead of landfill space. You can donate supplies to schools or community centers, freeing you from clutter while helping others create. For materials like paper or certain plastics, recycle them properly to reduce waste. This way, you’re not just tossing things out—you’re making a positive impact and embracing freedom from excess.
Can I Store Craft Supplies in a Humid Environment?
You probably shouldn’t store craft supplies in a humid environment because humidity effects can damage them over time. Excess moisture encourages mold growth, ruining fabrics, papers, and adhesives. To keep your supplies fresh and ready for creativity, focus on mold prevention by using airtight containers or silica gel packs. That way, you’re free to enjoy your projects without worrying about dampness ruining your materials.
How Do I Salvage Dried-Out Glue or Paint?
Ever felt your creativity gasp, trapped by dried-out glue or paint? Don’t lose hope! With simple glue restoration techniques, add a few drops of warm water or vinegar to soften it up. For paint rehydration methods, gently stir in a bit of water or acrylic medium to revive its flow. These tricks free your craft supplies, letting your imagination run wild again without limits. Your art deserves that freedom.
What Are Budget-Friendly Hacks for Organizing Craft Materials?
Looking to organize your craft materials without breaking the bank? You can get creative by using repurposed containers like jars, tins, or old shoeboxes. These make perfect DIY organizers, giving you the freedom to customize storage to fit your style. Plus, it’s eco-friendly and budget-friendly! You’ll feel empowered managing your supplies your way, keeping everything neat while staying true to your creative spirit.