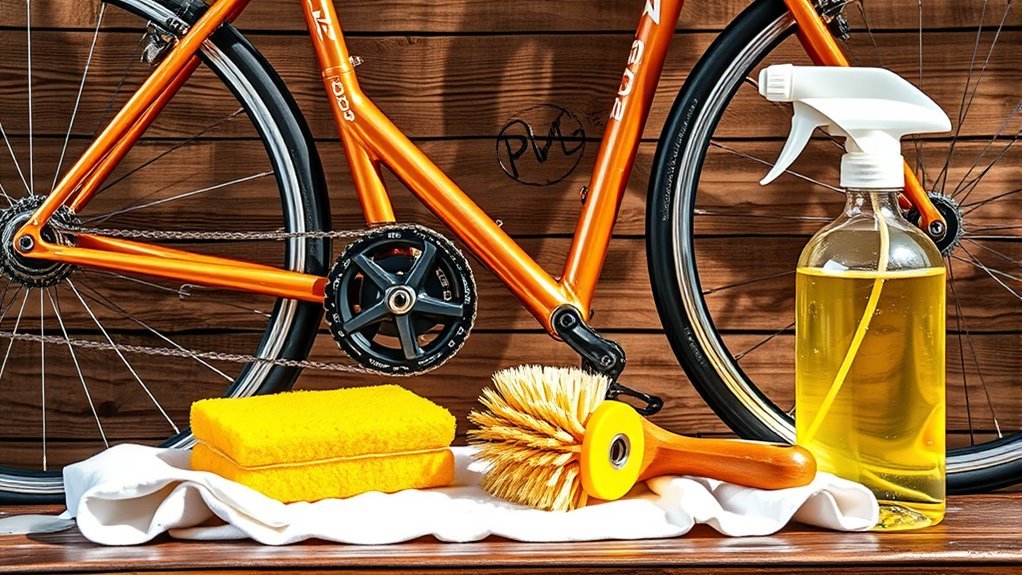
DIY Cleaner for Bike
You can easily make a DIY bike cleaner with castile soap, white vinegar, and water, which effectively removes dirt and grease without damaging your bike. This eco-friendly mixture is gentle on components and cost-effective. Use soft brushes and microfiber cloths to apply it, and rinse thoroughly for best results. Regular cleaning keeps your bike in top shape. If you want to explore safe usage tips, natural alternatives, and storage advice, you’ll find plenty of helpful insights ahead.
Benefits of Using Homemade Bike Cleaners

While commercial bike cleaners can be effective, using homemade bike cleaners offers several benefits you might not have considered. When you make your own cleaner, you gain control over the ingredients, choosing eco friendly solutions that protect both your bike and the environment. This means less harsh chemicals going into the water and air, aligning perfectly with your desire for freedom without compromising nature. Plus, homemade options are often cost effective options—you’ll save money by using common household items instead of expensive store-bought products. You get a cleaner that’s gentle on your bike’s components yet tough on dirt, giving you the freedom to maintain your ride on your terms without breaking the bank or harming the planet. It’s a win-win for both you and your bike.
Essential Ingredients for DIY Bike Cleaner
Before you start mixing your DIY bike cleaner, it’s important to know which ingredients work best to tackle dirt without damaging your bike. You want eco friendly options that respect the environment while being tough on grime. Simple ingredients like white vinegar and baking soda work wonders—they’re natural, non-toxic, and cost effective solutions that keep your bike shining without breaking the bank. Adding a few drops of mild liquid soap helps cut grease without harsh chemicals. Water is your base, diluting these components to a safe concentration. These essentials let you maintain your bike’s freedom to roam, all while being mindful of the planet and your wallet. With these ingredients, you get a cleaner that’s both powerful and guilt-free.
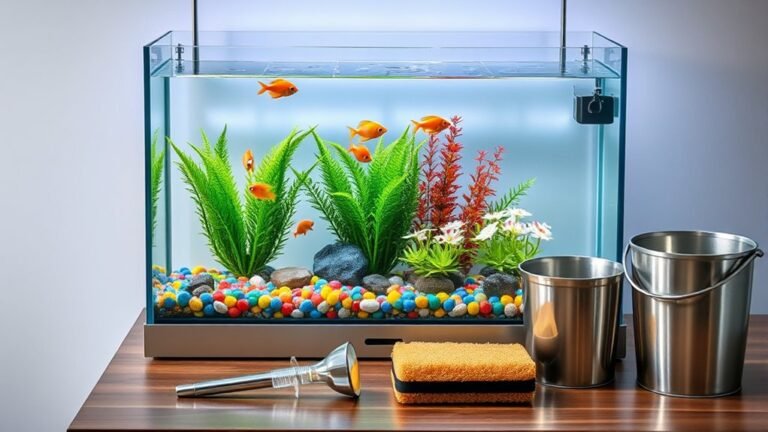
Tools Needed for Cleaning Your Bike
To get your bike sparkling clean, you’ll need a few essential tools that make the job easier and more effective. First, grab a set of cleaning brushes—these help you reach tight spots like gears and spokes where dirt hides. Choose brushes with varying bristle stiffness to tackle different surfaces without damaging your bike. Next, microfiber cloths are your best friends for wiping down the frame and absorbing excess moisture. They’re gentle yet effective, ensuring a streak-free finish that protects your bike’s paint. Don’t forget a bucket for your DIY cleaner and some water to rinse off grime. With these simple tools, you’ll maintain your bike’s freedom to roam, keeping it looking fresh and performing at its best every ride.
Step-by-Step Guide to Making the Cleaner
You’ll need a few essential ingredients to whip up your bike cleaner quickly and easily. I’ll guide you through simple mixing instructions that anyone can follow. Plus, I’ll share tips on how to apply the cleaner for the best results.
Essential Ingredients Needed
Three simple ingredients form the foundation of an effective DIY bike cleaner that you can easily mix at home. First, grab some white vinegar—it’s a powerful, eco friendly option that cuts through grime without harsh chemicals. Next, add liquid castile soap, a natural, biodegradable cleanser that’s gentle yet effective on your bike’s surfaces. Finally, include water to dilute and balance the mixture, making sure it’s safe for delicate parts. These cost effective solutions let you maintain your bike’s shine while respecting the environment and your budget. By choosing these ingredients, you’re not only freeing yourself from expensive commercial products but also embracing a cleaner, greener way to care for your ride.
Mixing Instructions Simplified
Although the ingredients are simple, mixing them correctly guarantees your DIY bike cleaner works effectively. Start by measuring your components carefully, sticking to recommended mixing ratios—usually one part castile soap to three parts water. Next, pour the water into a clean container before adding the soap; this prevents excessive suds. Use gentle blending techniques like stirring with a spoon or shaking in a sealed bottle to combine everything evenly without creating foam. Avoid vigorous shaking, which can cause bubbles that reduce cleaning power. Once mixed, your cleaner is ready for use or storage. Remember, precision in mixing ratios and thoughtful blending techniques guarantee your cleaner stays potent and ready to free your bike from dirt without hassle.
Application Tips and Tricks
Now that you’ve mixed your cleaner properly, it’s time to put it to work on your bike. To keep your ride in top shape while embracing freedom, focus on these application methods and cleaning frequency tips:
- Spray and Wait: Apply the cleaner evenly, let it sit for 3–5 minutes to break down grime without drying out.
- Scrub Gently: Use a soft brush or sponge to reach tight spots, ensuring you preserve delicate parts.
- Rinse and Dry: Rinse with water, then dry with a clean cloth to prevent rust and maintain your bike’s shine.
Aim to clean your bike after every few rides or when dirt builds up. This approach keeps your bike ready for the road, giving you the freedom to explore without worry.
How to Apply the DIY Cleaner to Your Bike
Before you start cleaning, make sure your bike is prepped properly by removing any loose dirt and debris. You’ll want to apply the DIY cleaner carefully, focusing on stubborn spots with the right technique. After cleaning, don’t forget to rinse and dry your bike thoroughly to keep it in great shape.
Preparation Steps
Once you’ve mixed your DIY cleaner, you’ll want to prepare your bike to confirm the solution works effectively. Proper preparation guarantees your bike gets the best care without wasting your eco friendly options. Here’s how to get started:
- Find a shaded, well-ventilated spot to avoid quick drying and streaks.
- Remove any accessories like water bottles or bags to clean all surfaces thoroughly.
- Rinse your bike with water to loosen dirt, making the cleaning frequency manageable and efficient.
Cleaning Technique
After prepping your bike, it’s time to apply the DIY cleaner properly to get the best results. Start by spraying the cleaner evenly across the frame, wheels, and drivetrain, focusing on areas with heavy dirt buildup. Use a soft brush or sponge to gently scrub, loosening grime without damaging your bike’s finish. Rinse thoroughly with water to wash away loosened dirt and cleaner residue. To maintain your bike’s performance and appearance, stick to a consistent cleaning frequency—ideally after every few rides or whenever dirt removal becomes necessary. This approach keeps your bike ready for the open road or trail, allowing you the freedom to ride without worry. Clean regularly, and your bike will thank you with smooth, reliable rides.
Post-Cleaning Care
Although cleaning your bike is essential, how you care for it afterward can make all the difference in preserving its condition. Post cleaning maintenance guarantees your ride stays smooth and your bike shine lasts longer. Here’s how to apply your DIY cleaner effectively:
- Wipe down thoroughly: Use a clean, soft cloth to remove any leftover residue from the cleaner, preventing buildup that can dull your bike’s finish.
- Lubricate moving parts: After drying, apply lubricant to the chain and gears to keep everything running freely, avoiding rust and wear.
- Inspect and touch up: Check for any missed spots or damage, applying a bit more cleaner or polish to maintain that fresh, vibrant look.
Tips for Cleaning Different Bike Components
Because each bike component has its own material and function, you’ll need to use different cleaning methods and tools to keep everything in top shape. For your bike chain, grab a degreaser and a stiff brush to break down grime. Once clean, apply lubricant to keep it running smoothly and extend its life. Brake pads require a gentler touch; avoid harsh chemicals that could damage their surface. Use a damp cloth to wipe away dirt and inspect for wear. For the frame, a soft sponge with mild soap will do the trick, preserving paint and decals. Tires and rims benefit from a quick rinse and scrub to remove mud and debris, ensuring better traction and braking. Tailor your cleaning approach to each part, and your bike will reward you with freedom and smooth rides.
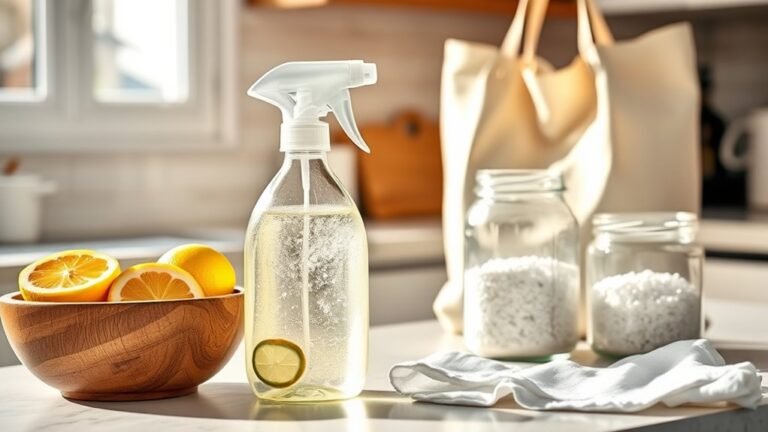
Natural Alternatives to Commercial Bike Cleaners

Using the right cleaning method for each bike part is important, but you don’t have to rely on commercial cleaners to get the job done. Embracing natural cleaning means choosing eco friendly options that are safe for both your bike and the environment. Here are three straightforward ingredients you can use:
Choose natural, eco-friendly cleaning methods that protect your bike and the environment without harsh chemicals.
- White vinegar: A great degreaser for chains and gears, cutting through grime without harsh chemicals.
- Baking soda: Perfect for scrubbing frames and tires gently, lifting dirt without scratching.
- Castile soap: A plant-based soap that cleans thoroughly and rinses off easily, ideal for delicate parts.
Safety Precautions While Cleaning Your Bike
Before you start cleaning your bike, make certain you take some safety measures to protect both yourself and your bike. Wearing protective gear like gloves and goggles shields you from harsh chemicals and debris, letting you clean with confidence and care. Remember, the ventilation importance cannot be overstated—clean your bike in a well-ventilated area or outdoors to avoid inhaling fumes from your DIY cleaner. This helps you breathe freely and keeps your space safe. Also, avoid slippery surfaces to prevent accidents and be gentle around delicate parts to maintain your bike’s freedom to perform. By taking these precautions, you guarantee your cleaning process is safe, effective, and hassle-free, so your bike stays in top shape for your next adventure.
How Often Should You Clean Your Bike?
How often you should clean your bike depends on how frequently you ride and the conditions you face. Keeping your bike in top shape is all about balancing bike cleaning frequency with your lifestyle and environment. Here’s a quick guide:
How often you clean your bike hinges on your riding habits and the conditions you encounter.
- Regular riders: Clean your bike every 1-2 weeks to avoid buildup of dirt and grime.
- Occasional riders: Aim for a thorough clean once a month, especially after rough rides.
- Seasonal maintenance: Perform deep cleaning and check all parts at the beginning and end of each season to guarantee freedom from mechanical issues.
Storing and Maintaining Your DIY Cleaner
To keep your DIY bike cleaner effective, choose a proper container that seals tightly to prevent spills and contamination. Be mindful of the shelf life—some ingredients can lose potency over time or separate, so give it a good shake before each use. Storing it in a cool, dark place will help maintain its cleaning power longer.
Proper Container Selection
Choosing the right container for your DIY bike cleaner is essential for keeping it effective and safe. You want a container that preserves your cleaner’s potency while offering ease and freedom in use. Here’s what to evaluate:
- Container Materials: Opt for non-reactive materials like glass or high-quality plastic to avoid chemical reactions that degrade your cleaner.
- Container Size: Pick a size that fits your usage frequency—too large invites waste; too small means constant refills.
- Seal and Dispense: A tight-sealing lid with a sprayer or squeeze option helps maintain freshness and gives you control during application.
Shelf Life Tips
Although your DIY bike cleaner is made from simple ingredients, it still needs proper storage to stay effective over time. Keeping an eye on storage conditions can extend its shelf life, ensuring you always have a trusty cleaner ready to roll. Here’s a quick guide to help you store and maintain your DIY cleaner like a pro:
| Storage Tip | Why It Matters |
|---|---|
| Use airtight container | Prevents contamination & evaporation |
| Store in a cool place | Heat can degrade the formula |
| Avoid direct sunlight | UV rays break down ingredients |
| Label with date | Track shelf life easily |
| Shake before use | Re-mixes separated ingredients |
Häufig gestellte Fragen
Can DIY Bike Cleaners Damage Bike Paint or Finishes?
You might worry if cleaner ingredients can harm your bike’s paint protection, and that’s valid. Some DIY solutions use harsh chemicals that could strip or dull your finish, robbing your bike’s freedom to shine. To keep your ride looking great, choose gentle, non-abrasive ingredients like mild soap and water. That way, you protect the paint while still enjoying the satisfaction of cleaning your bike yourself without restrictions.
How Effective Are Homemade Cleaners on Removing Tough Grease?
Oh sure, homemade cleaners are basically grease-fighting superheroes—if superheroes preferred to take long coffee breaks. When it comes to grease removal, their cleaner effectiveness can be hit or miss, often requiring you to channel your inner freedom fighter and scrub like there’s no tomorrow. While they might not obliterate every stubborn spot instantly, they give you the liberty to experiment and tweak recipes until your bike gleams just right.
Can I Use DIY Cleaner on Electric Bike Components?
You can use DIY cleaners on electric bike components, but you’ve got to be cautious about cleaner ingredient safety. Electric bike maintenance demands gentle, non-corrosive solutions to avoid damaging sensitive parts like the battery and motor. Opt for mild, natural ingredients that won’t compromise wiring or seals. When you maintain your e-bike carefully, you preserve your freedom to ride smoothly without costly repairs or downtime. Always test on small areas first!
What Is the Environmental Impact of Homemade Bike Cleaners?
When you choose homemade cleaners, you’re often tapping into sustainable ingredients like vinegar, baking soda, and lemon juice, which are generally less harmful to the planet. However, you should still watch for biodegradability concerns, especially if you add harsher chemicals. By opting for eco-friendly components, you keep your cleaning routine free and green, reducing your impact while enjoying the freedom to customize your mix safely and sustainably.
Are DIY Bike Cleaners Safe for Children to Use?
You’ll want to prioritize child safety whenever kids are involved in any cleaning activity. Even homemade solutions can have ingredients that might irritate skin or eyes, so you shouldn’t let children handle them unsupervised. With proper cleaning supervision, you can make the experience safe and fun, giving them a sense of freedom while ensuring they don’t accidentally ingest or misuse any substances. Always store cleaners out of reach when not in use.