How to Clean and Deodorize Your Oven
To clean and deodorize your oven, start by gathering gloves, a sponge, baking soda, and vinegar. Remove racks and make certain the oven is cool. Mix baking soda with water to form a paste, spread it inside, and let it sit for 12 hours. Then, scrub away grime with a non-abrasive sponge and wipe clean. Finish by spraying vinegar to neutralize odors. If you want to restore your oven’s freshness deeply and safely, there’s more helpful advice to explore.
Gather Your Cleaning Supplies

Before you begin cleaning your oven, you’ll need to gather a few essential supplies. Having your cleaning essentials ready lets you work efficiently and freely without interruptions. Start with gloves to protect your hands, a sturdy sponge or cloth for scrubbing, and a spray bottle filled with a natural cleaner or baking soda mixture. Organizing supplies like a small bucket or tray helps keep everything within reach, letting you focus on the task instead of searching for items. You might also want a scraper to remove stubborn grime and a microfiber cloth for wiping down surfaces afterward. By assembling your cleaning essentials and organizing supplies ahead of time, you set yourself up for a smooth, satisfying oven cleaning experience that restores your kitchen’s freshness.
Prepare the Oven for Cleaning
Start by removing all racks and trays from your oven to give yourself full access to the interior surfaces. Before you get started, verify the oven is completely cool to avoid burns or accidents—this is a key safety precaution. Double-check that the oven temperature reads off, and unplug it if possible to cut power entirely. This freedom from heat and electricity lets you clean without worry. Next, wipe away any loose crumbs or debris with a damp cloth; it makes the upcoming cleaning more effective. Taking these steps frees you from hazards and sets a clean slate, making your cleaning process smoother and safer. With your oven prepped right, you’re ready to tackle grime confidently and reclaim your kitchen space.
Make a Natural Cleaning Paste

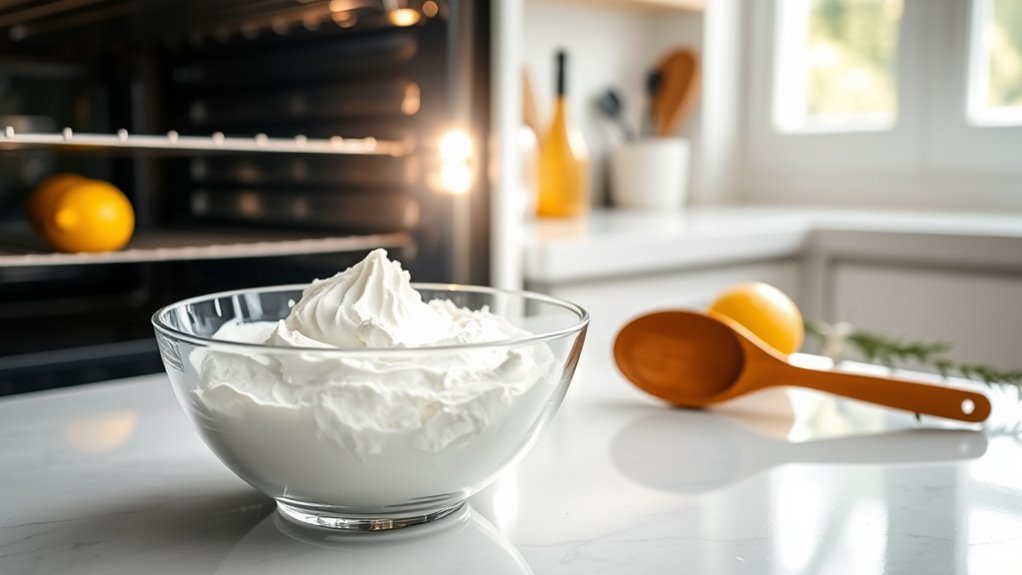
You’ll need just a few simple ingredients to make your natural cleaning paste, like baking soda and water. Start by mixing three parts baking soda with one part water until it forms a spreadable paste. This easy mixture is perfect for tackling oven grime without harsh chemicals.
Ingredients Needed
Gathering just a few simple ingredients can help you create an effective natural cleaning paste for your oven. This DIY approach gives you the freedom to avoid harsh chemicals while still tackling grime and odors efficiently. Here’s what you’ll need:
- Baking soda – a gentle abrasive that breaks down grease and burnt-on food.
- White vinegar – a natural deodorizer and grease cutter that reacts with baking soda for extra cleaning power.
- Water – to adjust the paste’s consistency for easy application.
- Optional: a few drops of lemon juice or essential oil for a fresh scent.
With these ingredients, you’re set to make a safe, eco-friendly cleaning paste that respects your space and the environment.
Mixing Instructions
To make the natural cleaning paste, combine half a cup of baking soda with a few tablespoons of water until you get a spreadable, thick consistency. Adjust the mixing ratios as needed—add water slowly to avoid a runny paste or sprinkle more baking soda if it’s too watery. This balance is key to effective cleaning techniques that let you tackle oven grime without harsh chemicals. Once mixed, the paste clings to oven surfaces, breaking down baked-on residue while deodorizing. You’re in control here—no need to rely on commercial products. Just apply the paste evenly, let it sit for several hours or overnight, then wipe away with a damp cloth. This simple, natural method respects your freedom to clean safely and effectively.
Apply and Let the Cleaning Paste Sit
Once you’ve mixed your cleaning paste using baking soda and water, spread it evenly across the oven surfaces. Make sure to cover all the greasy and stained areas thoroughly. Let the paste sit for at least 12 hours to break down grime effectively.
Paste Ingredients Mix
A simple paste made from common ingredients can work wonders on tough oven grime. Using the right paste ingredients mix not only simplifies your cleaning techniques but also maximizes paste benefits for a sparkling oven. Here’s a straightforward recipe you can whip up:
- 1/2 cup baking soda – the base that breaks down grease and grime.
- 3 tablespoons water – adjusts consistency for easy application.
- 1 tablespoon white vinegar – adds deodorizing power and cuts through buildup.
- A few drops of lemon juice – enhances freshness and boosts cleaning strength.
Mix these until you get a spreadable paste. This combo harnesses natural ingredients for effective, chemical-free cleaning. Apply it liberally and enjoy the freedom of a spotless oven without harsh toxins.
Optimal Sitting Duration
After spreading the cleaning paste evenly across your oven surfaces, you’ll want to give it enough time to work on the grime. The ideal time for letting the paste sit is usually around 20 to 30 minutes. This sitting period allows the paste’s natural ingredients to break down tough grease and burnt-on residues effectively. By respecting this waiting window, you tap into the sitting benefits that make scrubbing easier, saving you effort and frustration. Don’t rush this step; letting the paste work its magic grants you the freedom to clean smarter, not harder. After the ideal time has passed, you’ll find wiping down your oven smoother, leaving it fresh and deodorized in less time.
Scrub Away Stubborn Residue

Tackle stubborn residue by applying a baking soda paste directly onto the affected areas. Once the paste has settled, it’s time to get scrubbing. Here’s how to tackle those stubborn stains with effective scrubbing techniques:
- Use a non-abrasive scrubber or sponge to avoid damaging your oven’s surface.
- Apply firm, circular motions to loosen baked-on grime without spreading it.
- Focus on corners and crevices where residue tends to hide.
- For extremely tough spots, let the paste sit a little longer before scrubbing again.
Remove Cleaning Residue and Rinse
Two to three passes with a damp cloth should be enough to remove all the baking soda paste and loosened grime from your oven. Focus on thoroughness, ensuring no residue clings to surfaces, as leftover paste can affect your oven’s performance and flavor. Using effective cleaning methods means embracing simple rinsing techniques—warm water with a soft cloth or sponge works best. Avoid harsh scrubbing that might damage your oven’s interior. After the initial wipe-down, rinse your cloth frequently to prevent spreading dirt back onto clean areas. This step is essential for achieving a fresh, residue-free oven ready for use. By mastering these rinsing techniques, you free yourself from stubborn buildup and keep your oven’s interior pristine, maintaining both cleanliness and your cooking freedom.
Deodorize Your Oven Naturally
Once you’ve thoroughly removed all cleaning residue, it’s time to focus on eliminating any lingering odors that can affect your cooking. To naturally deodorize your oven, try these simple steps:
- Sprinkle a generous layer of baking soda inside your oven and let it sit overnight to absorb odors.
- In the morning, spray a vinegar solution over the baking soda to create a gentle fizz that lifts away smells.
- Wipe everything clean with a damp cloth, ensuring no residue remains.
- For a fresh scent, place a few drops of essential oils or lemon juice on a heatproof dish and warm it in the oven for 15 minutes.
These natural methods free your oven from unwanted smells without harsh chemicals, giving you pure freedom to cook confidently.
Häufig gestellte Fragen
Can I Use Commercial Oven Cleaners Instead of a Natural Paste?
You can definitely choose commercial oven cleaners if you want a quick, powerful solution. They’re known for their commercial cleaner effectiveness, tackling tough grime fast. But if you’re seeking oven cleaner alternatives that offer more control and fewer harsh chemicals, natural pastes might be your go-to. Ultimately, it’s about your freedom to pick what suits your lifestyle and comfort level with chemicals versus natural options. You’ve got the freedom to decide!
How Often Should I Deep Clean My Oven?
Oh sure, you love spending your weekends scrubbing ovens instead of enjoying life. But seriously, sticking to a weekly schedule might be overkill unless you roast every meal. A good cleaning frequency is every few months, or when spills get stubborn. This way, you free yourself from constant chores and still keep things fresh. Balance your freedom and cleanliness by deep cleaning as needed—not like it’s a prison sentence!
Is It Safe to Clean a Self-Cleaning Oven Manually?
Yes, you can clean a self-cleaning oven manually, but you should keep self cleaning safety in mind. Manual cleaning precautions include avoiding harsh chemicals that might damage the oven’s coating. Use gentle, non-abrasive cleaners and gloves to protect your skin. While the self-cleaning feature is designed for convenience and high heat, doing some manual touch-ups lets you maintain freedom over your cleaning routine without risking damage or fumes.
Can I Use Vinegar to Deodorize My Oven?
You can definitely use vinegar to deodorize your oven—it’s a natural way to neutralize odors without harsh chemicals. The vinegar benefits include breaking down lingering smells and cutting through grease, making your oven smell fresh again. Just mix equal parts vinegar and water in a spray bottle, spritz inside your oven, and let it sit for a while before wiping it down. It’s simple, effective, and gives you freedom from strong, artificial scents.
What Should I Do if My Oven Has a Strong Chemical Smell?
If your oven’s pumping out strong odors that could knock out an elephant, don’t panic! Those chemical reactions inside can be fierce, but you’ve got the power. Crack open windows to let fresh air flood the space, then run the oven empty at a low temp to burn off residual smells. You’re reclaiming your kitchen freedom, no toxic cloud holding you hostage. Soon, you’ll breathe easy and cook freely again!


