How to Clean Kitchen
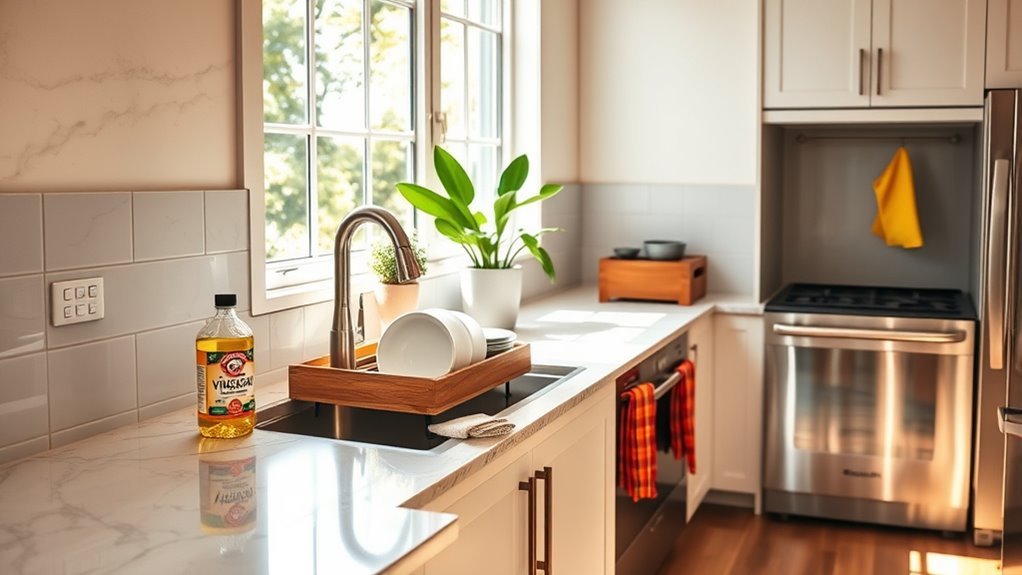
To clean your kitchen, start by gathering all your cleaning supplies and clearing countertops of clutter. Wipe down surfaces with disinfectants, clean your stovetop, and sanitize cutting boards. Don’t forget to empty and clean the fridge, microwave, and other appliances safely. Sweep and mop the floor thoroughly, then organize items back in place. With these basics covered, you’ll be on your way to a spotless, fresh kitchen—and there’s more to discover for a truly deep clean.
Gather Essential Cleaning Supplies

Before you begin cleaning your kitchen, make sure you’ve gathered all the essential supplies. Having the right essential tools at your fingertips sets you free to clean efficiently without interruption. Start with a cleaning checklist to keep you focused and organized. Your list should include multipurpose cleaner, microfiber cloths, a scrub brush, sponges, gloves, and a trash bag. Don’t forget a broom or vacuum for the floors and a mop for a thorough finish. When your supplies are ready, you won’t waste time hunting for missing items or settling for ineffective alternatives. This preparation gives you control over the process, letting you move swiftly and confidently through each task, turning kitchen cleaning into a quick and liberating routine.
Clear and Declutter Countertops
Clearing and decluttering your countertops is one of the quickest ways to make your kitchen look instantly cleaner and more organized. Start by removing everything from your countertops—appliances, utensils, and miscellaneous items. Use simple decluttering strategies: sort items into categories like daily use, occasional use, and rarely used. Keep only what you need daily within arm’s reach to maintain freedom and ease while cooking. For effective countertop organization, designate specific spots for each item, using trays or containers to group similar things together. This not only frees up space but also makes cleaning quicker and less stressful. Remember, a clear countertop invites creativity and peace, so stick to these decluttering strategies regularly to keep your kitchen feeling open and inviting.
Clean and Disinfect Kitchen Surfaces

Now that your countertops are clear, it’s time to tackle cleaning and disinfecting your kitchen surfaces. You’ll want to choose effective cleaning agents that remove grease and germs without damaging your counters. Plus, using the right disinfection techniques guarantees your kitchen stays safe and hygienic.
Effective Cleaning Agents
Although choosing the right cleaning agents might seem simple, using effective products is essential to both clean and disinfect your kitchen surfaces properly. You want agents that tackle grime without harsh chemicals holding you back. Biodegradable cleaners are a smart choice—they break down naturally, keeping your kitchen fresh and the planet happier. Pair these with antibacterial sprays to target germs swiftly and effectively, giving you peace of mind without sacrificing your freedom to use safer products. When selecting, look for labels that promise both cleaning power and eco-friendliness. This way, you’re not just wiping surfaces; you’re embracing a cleaner, healthier kitchen environment that respects your lifestyle and values. Choosing wisely means you stay in control while maintaining a spotless space.
Surface Disinfection Techniques
When you want your kitchen to be truly safe, simply wiping surfaces isn’t enough—you need to disinfect them properly. Using effective disinfection methods guarantees that harmful bacteria and viruses don’t linger, keeping your space healthy and free. Focus on thorough surface sanitization after cleaning to break the cycle of contamination. Here’s how you can master it:
- Choose EPA-approved disinfectants suitable for kitchen surfaces.
- Allow disinfectants to sit for the recommended contact time.
- Use clean cloths or disposable wipes to avoid cross-contamination.
- Regularly disinfect high-touch areas like countertops, handles, and switches.
- Avoid mixing cleaning agents to prevent harmful reactions.
Tackle the Sink and Faucets
Now it’s time to tackle your sink and faucets, where stains and water spots tend to build up. You’ll want to remove those stains effectively to keep everything looking fresh. Plus, maintaining your faucet’s shine will make your kitchen feel cleaner instantly.
Removing Stains Effectively
A few simple steps can make a big difference in removing stains from your sink and faucets. Using effective stain removal techniques with natural stain removers lets you keep your kitchen fresh without harsh chemicals. Here’s how to tackle those stubborn spots:
- Mix baking soda and lemon juice into a paste; apply on stains and let sit for 15 minutes.
- Use white vinegar on a cloth to wipe down faucets, breaking down mineral buildup.
- Scrub gently with a soft toothbrush to reach tight areas around fixtures.
- Rinse thoroughly with warm water to remove residue and prevent new stains.
- Dry surfaces with a microfiber cloth to avoid water spots.
These natural stain removers work wonders, giving you freedom from tough grime while protecting your kitchen’s finish.
Maintaining Faucet Shine
Although faucets are exposed to constant use and water, you can keep them gleaming by regularly wiping away water spots and mineral deposits. Start by using a soft cloth and mild cleaner to avoid damaging the finish. For tougher buildup, vinegar works wonders—just soak a cloth and wrap it around the faucet for a few minutes before wiping clean. Incorporate simple faucet polishing techniques like buffing with a microfiber cloth to restore shine without harsh chemicals. Remember, consistency is key; quick daily wipes prevent grime from settling. Faucet maintenance tips also include checking for leaks and tightening loose parts to avoid water stains. With these straightforward steps, you’ll maintain freedom from tedious scrubbing and enjoy a sparkling faucet that elevates your kitchen’s look effortlessly.
Clean Appliances Inside and Out
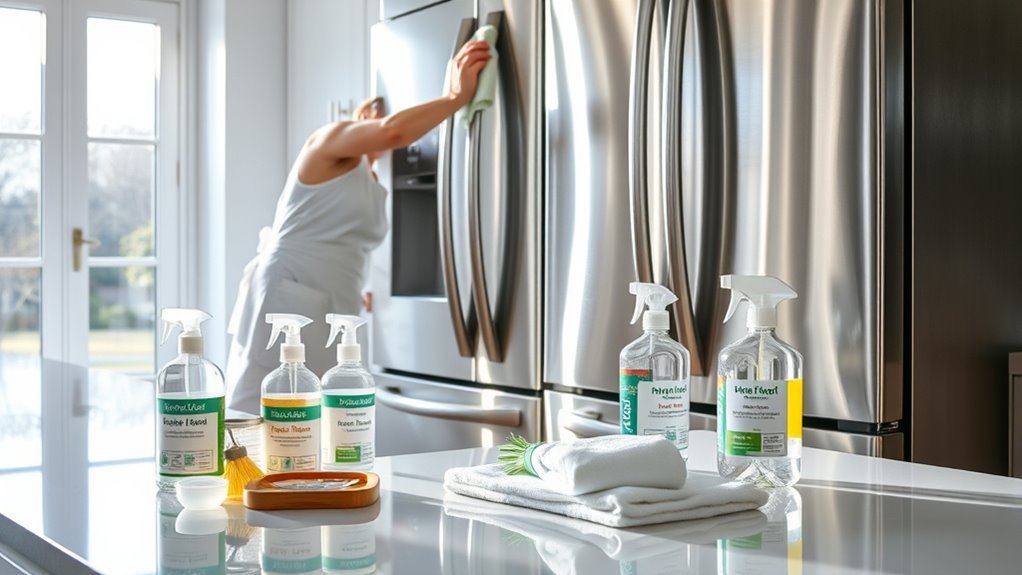
Since appliances are used daily, they tend to accumulate grease, food particles, and dust both inside and out. To keep your kitchen feeling fresh and free, it’s essential to clean various appliance types using the right cleaning techniques. You’ll want to tailor your approach for each appliance to avoid damage and improve efficiency.
- Unplug appliances before cleaning for safety.
- Use a microfiber cloth and mild detergent for exterior surfaces.
- Remove and soak removable parts like trays or filters.
- Clean interior spaces with baking soda paste or vinegar solution.
- Dry all parts thoroughly before reassembling.
Sweep and Mop the Floor
Before you mop, sweep up any crumbs, dust, and debris to prevent spreading dirt around. Choosing the right sweeping techniques depends on your floor types—hardwood, tile, or laminate. Use a soft-bristle broom for delicate floors and a sturdy one for rougher surfaces. Sweep in a consistent pattern, like a figure-eight, to gather dirt efficiently.
| Floor Type | Best Broom Type | Sweeping Technique |
|---|---|---|
| Hartholz | Soft-bristle broom | Slow, gentle strokes |
| Tile | Medium bristle broom | Fast, firm strokes |
| Laminate | Soft-bristle broom | Circular motions |
After sweeping, mop with a cleaner suited for your floor type. This approach keeps your kitchen floor spotless and lets you enjoy freedom from dirt.
Organize Cabinets and Pantry
When you’ve finished cleaning the floors, it’s the perfect time to tackle organizing your cabinets and pantry. Efficient cabinet organization and pantry storage free up space and make cooking more enjoyable. Start by emptying everything out, so you can see what you have. Then, sort items by category and toss expired goods. To maximize freedom in your kitchen:
After cleaning floors, organize your cabinets and pantry by emptying, sorting, and discarding expired items for a clutter-free kitchen.
- Use clear containers for dry goods to spot what you need quickly.
- Label shelves or bins for easy identification.
- Arrange frequently used items at eye level for quick access.
- Utilize door racks or hanging organizers to increase storage.
- Group similar items together to avoid clutter and save time.
Häufig gestellte Fragen
How Often Should I Deep Clean My Kitchen?
Imagine your kitchen as a well-tuned orchestra, where every instrument plays in harmony. To keep that rhythm, your kitchen cleaning frequency should include a deep clean every three months. Using a deep cleaning checklist helps you target hidden spots—like behind appliances or inside cabinets—so nothing’s missed. This way, you’re not chained to constant scrubbing but enjoy a kitchen that feels fresh and free, ready for your next culinary adventure.
What Natural Cleaners Are Safe for Kitchen Surfaces?
You’ll love using natural cleaners like a vinegar solution and baking soda for your kitchen surfaces—they’re safe and super effective. Vinegar solution helps cut grease and disinfect, while baking soda gently scrubs away grime without harsh chemicals. Just mix vinegar with water for a quick spray or sprinkle baking soda on tough spots before scrubbing. These options give you the freedom to clean without worrying about toxins, keeping your space fresh and natural.
How Do I Prevent Mold in Kitchen Corners?
To prevent mold in kitchen corners, you need to tackle mold prevention by controlling kitchen humidity. Make sure you ventilate the space well—open windows or use an exhaust fan while cooking. Wipe down damp areas regularly, especially corners where moisture lingers. Avoid leaving wet sponges or towels around, since they boost humidity. Keeping your kitchen dry and airy gives you the freedom to enjoy a fresh, mold-free space without hassle.
Can I Use Bleach on Wooden Cabinets?
You can use bleach on wooden cabinets, but it’s usually not the best choice because it can damage the finish and dry out the wood. Instead, you might want to explore bleach alternatives like diluted vinegar or mild soap solutions to keep your cabinets fresh without harsh chemicals. For cabinet care, always test a small area first and avoid soaking the wood. That way, you keep your freedom to maintain beautiful cabinets safely.
What’S the Best Way to Clean Kitchen Trash Bins?
When it comes to cleaning your trash bin, you’ve got to nip odor removal in the bud before it spirals out of control. First, take the bin outside and empty it completely. Scrub it with warm soapy water and a bit of baking soda to tackle stubborn smells. Rinse well, then let it air dry in the sun. This simple routine keeps your trash bin fresh, giving you freedom from foul odors hanging around.


