How to Clean Up After a DIY Home Project
After your DIY project, start by gathering heavy-duty trash bags, gloves, and cleaning supplies. Clear large debris and organize tools for safety. Dust surfaces with microfiber cloths and vacuum to catch fine particles. Use appropriate cleaners or scrapers for paint and adhesive spots. Wipe down all surfaces thoroughly, then sort and dispose of waste responsibly following local guidelines. If you keep going, you’ll find tips on smart organization and efficient cleanup to fully restore your space.
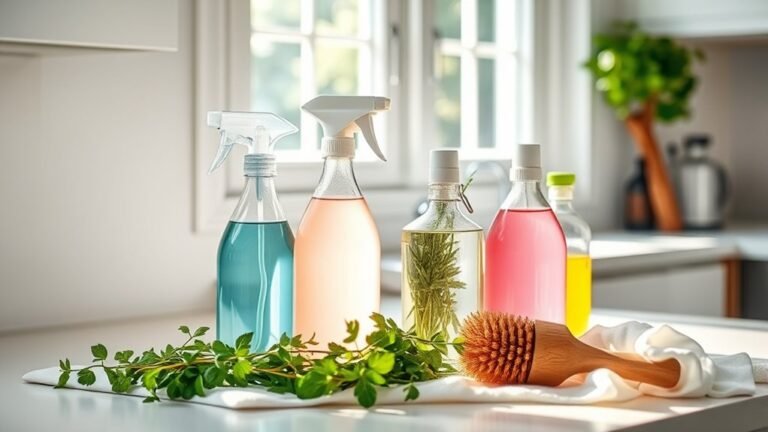
Gather Essential Cleaning Supplies
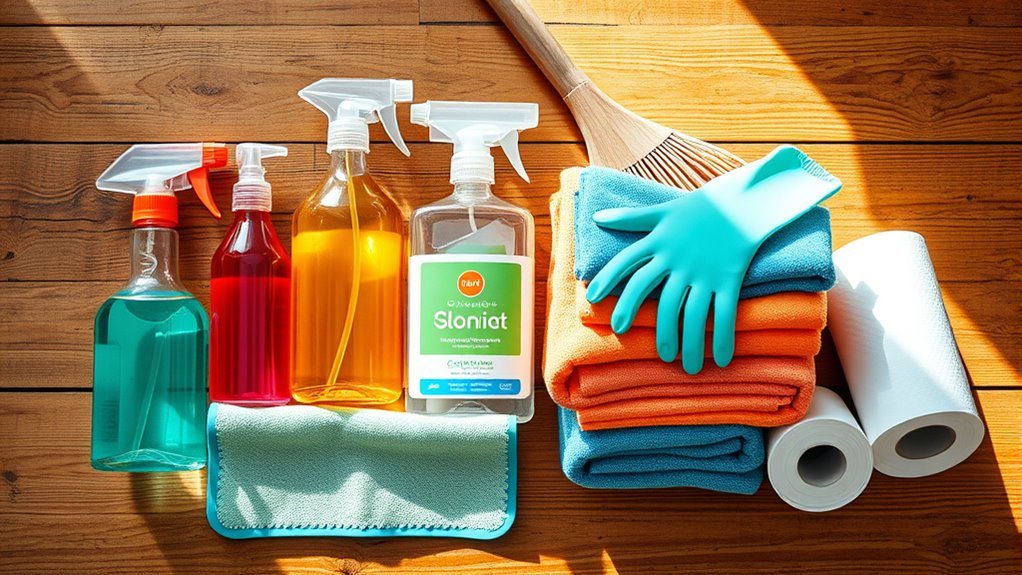
Before you jump into cleaning, make sure you’ve gathered all the essential supplies you’ll need. Having a well-prepared cleaning checklist will save you time and frustration, letting you breeze through the mess without unnecessary stops. Start with basics like heavy-duty trash bags, microfiber cloths, a sturdy broom, dustpan, and a mop. Supply tips? Don’t forget gloves to protect your hands and a good all-purpose cleaner that works on various surfaces. If you’re tackling paint or adhesive residues, keep a scraper handy. Being ready means you can clean up efficiently and get back to enjoying your space and freedom sooner. Stick to your checklist, and your cleanup will feel less like a chore and more like reclaiming your home.
Remove Large Debris and Tools
Clear away large debris and gather your tools to create a safer, more organized workspace. Start by sorting the debris, separating what can be recycled from what needs proper debris disposal. This step not only clears your area but also reduces environmental impact, giving you the freedom to enjoy your space without clutter. Next, collect all your tools and put them back in their designated tool storage spots. Keeping tools organized prevents damage and makes your next project easier. If you don’t have a dedicated storage system, consider simple solutions like pegboards or portable cases to keep everything neat. By efficiently removing debris and securing your tools, you reclaim control over your space, making cleanup faster and your home more inviting.
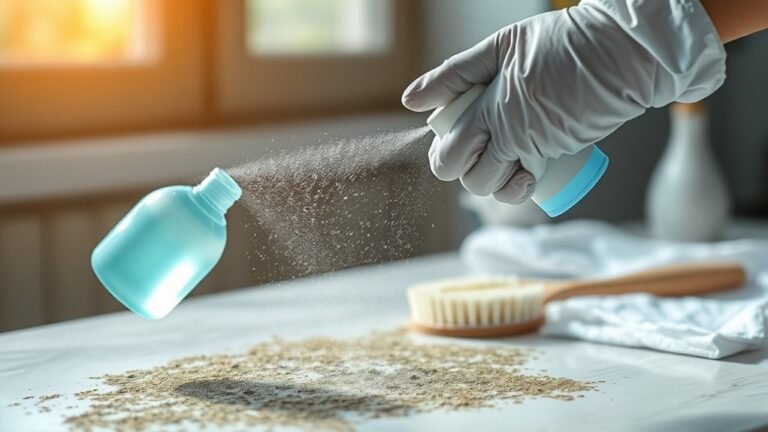
Dust and Vacuum Thoroughly

Once you’ve cleared away debris and put your tools away, it’s time to tackle the fine dust that’s settled throughout your workspace. Start with effective dusting techniques—use a microfiber cloth or electrostatic duster to trap particles instead of spreading them around. Don’t forget to reach corners, window sills, and baseboards where dust loves to hide. Next, follow smart vacuuming tips: choose a vacuum with strong suction and a HEPA filter to capture the smallest particles. Move slowly and methodically across floors and upholstery, ensuring you cover every inch. If you have hard floors, consider vacuuming first, then dusting to avoid stirring up settled dust again. By mastering dusting and vacuuming, you’ll reclaim your space quickly, feeling free and fresh after your DIY project.
Clean Paint and Adhesive Residues
If you’ve noticed paint splatters or sticky adhesive spots after your project, don’t worry—they’re easier to remove than you might think. With the right paint thinner tips and adhesive removal techniques, you can quickly restore your surfaces to freedom from mess. Always test a small area first and use gentle scrubbing to avoid damage.
| Spot Type | Removal Method |
|---|---|
| Wet Paint | Wipe with a damp cloth |
| Dried Paint | Use paint thinner carefully |
| Fresh Adhesive | Warm soapy water |
| Stubborn Adhesive | Rubbing alcohol or oil |
| Residual Stickiness | Scrape gently, then clean |
Stick to these strategies, and you’ll reclaim your space without hassle or restrictions.
Wipe Down Surfaces and Fixtures
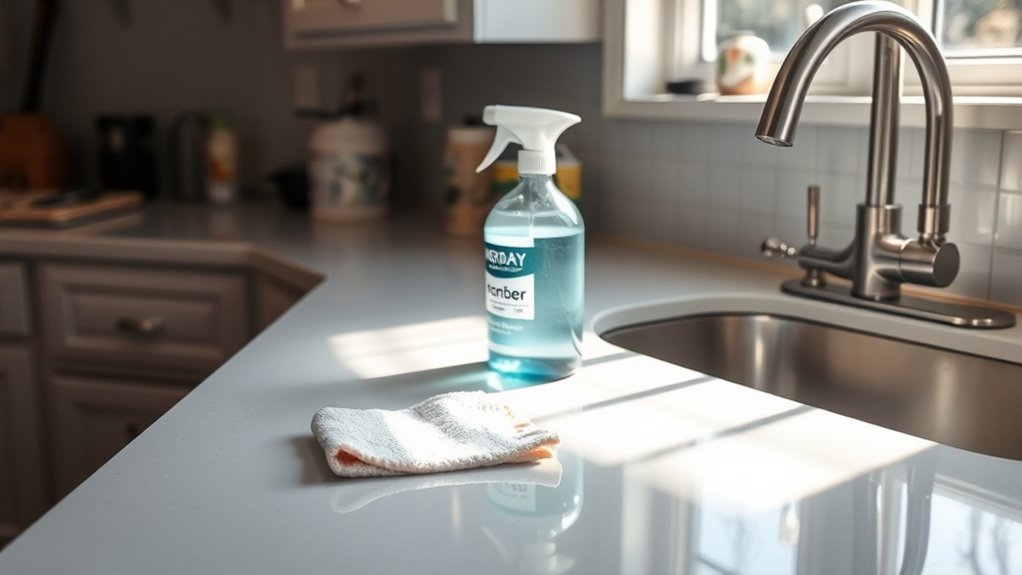
Although most of the visible mess might be gone, you’ll want to wipe down all surfaces and fixtures to remove dust, fingerprints, and any leftover residue. Taking this step guarantees your space feels fresh and showcases your hard work. Start with a damp microfiber cloth for gentle surfaces care—it picks up fine dust without scratching. For tougher grime on fixtures, use a mild cleaner that won’t damage finishes, practicing proper fixture maintenance to keep them looking new. Don’t forget to clean handles, switches, and edges where dust tends to settle. This attention to detail not only enhances your home’s look but also protects your investments. By carefully wiping down every surface, you reclaim your space, keeping it spotless and ready for whatever freedom-filled projects come next.
Dispose of Waste Responsibly
Proper waste disposal is an essential final step in wrapping up your DIY project. You want to free yourself from clutter while protecting the environment. Start by sorting your debris—separating recyclables from general waste helps you tap into local recycling options. Check your neighborhood’s waste management guidelines to avoid fines and guarantee materials are handled correctly.
| Waste Type | Disposal Method |
|---|---|
| Paint cans | Hazardous waste center |
| Wood scraps | Yard waste or recycling |
| Metal pieces | Scrap metal facilities |
| Plastic packaging | Recycling bins |
| General debris | Designated landfill |
Organize Remaining Materials and Tools
Tools and leftover materials can quickly become a source of frustration if not stored correctly. To keep your space clear and your mind free, start with material categorization. Group similar items—paint, screws, wood scraps—so you can find what you need without rummaging. Next, focus on tool storage. Use pegboards, bins, or shelves to keep tools visible and accessible. Label containers to save time and avoid mess. By organizing this way, you’re not just tidying up; you’re creating a system that lets you jump into your next project with ease. This approach gives you the freedom to work efficiently, knowing everything has its place. Clean, organized, and ready—that’s the freedom every DIY enthusiast deserves.
Häufig gestellte Fragen
How Do I Prevent Dust From Spreading to Other Rooms?
You don’t want dust spreading like a wild tornado through your home, right? To keep it contained, set up room barriers using plastic sheeting and painter’s tape to seal doorways. This dust containment strategy acts like a fortress, giving you the freedom to work without worrying about mess invading other spaces. Also, use a vacuum with a HEPA filter to capture airborne particles, ensuring your sanctuary stays clean and dust-free.
What Safety Gear Should I Wear During Cleanup?
When you’re tackling cleanup, picking the right gloves is key—go for durable, chemical-resistant ones if you’re dealing with harsh substances; otherwise, nitrile gloves offer great protection and flexibility. For masks, choose between disposable dust masks or reusable respirators, depending on dust levels and fumes. You want gear that protects without feeling restrictive, so you can move freely and finish your project safely and confidently.
Can I Reuse Leftover Paint for Future Projects?
You could fill an ocean with leftover paint if you don’t manage it right! Luckily, you can absolutely reuse leftover paint for future projects—just make sure to seal the can tightly and store it in a cool, dry place. Proper paint storage is key to keeping it fresh and ready. If the paint’s gone bad, avoid pouring it down drains; follow local paint disposal guidelines to protect your freedom to create without harming the environment.
How Do I Handle Hazardous Materials Like Solvents?
You’ve got to be careful with solvent disposal since these are hazardous waste. Don’t just dump solvents down the drain or trash—they can harm the environment and your freedom to DIY responsibly. Instead, take leftover solvents to a local hazardous waste collection site or event. Label your containers clearly and store them safely until then. Handling these materials properly keeps you safe and guarantees you’re respecting your community and the planet.
What’S the Best Way to Clean Tools Without Damaging Them?
Like a knight caring for their armor, you need to treat your tools with respect to guarantee they last. For proper tool maintenance, avoid harsh chemicals; instead, opt for gentle cleaning solutions like warm soapy water or specialized tool cleaners. After cleaning, dry them thoroughly to prevent rust. This way, your tools stay ready for your next adventure, giving you the freedom to create without worry or damage.