How to Organize and Clean Your Refrigerator in 30 Minutes
To clean and organize your refrigerator in 30 minutes, first gather your cleaning supplies and set a timer to stay focused. Remove all items, check expiration dates, and toss anything expired or unwanted. Take out shelves and drawers to soak and scrub them clean. Wipe down all interior surfaces, then group similar items together, using clear containers if you have them. Arrange frequently used items within easy reach. Keep going, and you’ll discover tips to keep your fridge fresh and clutter-free longer.
Gather Cleaning Supplies and Set a Timer
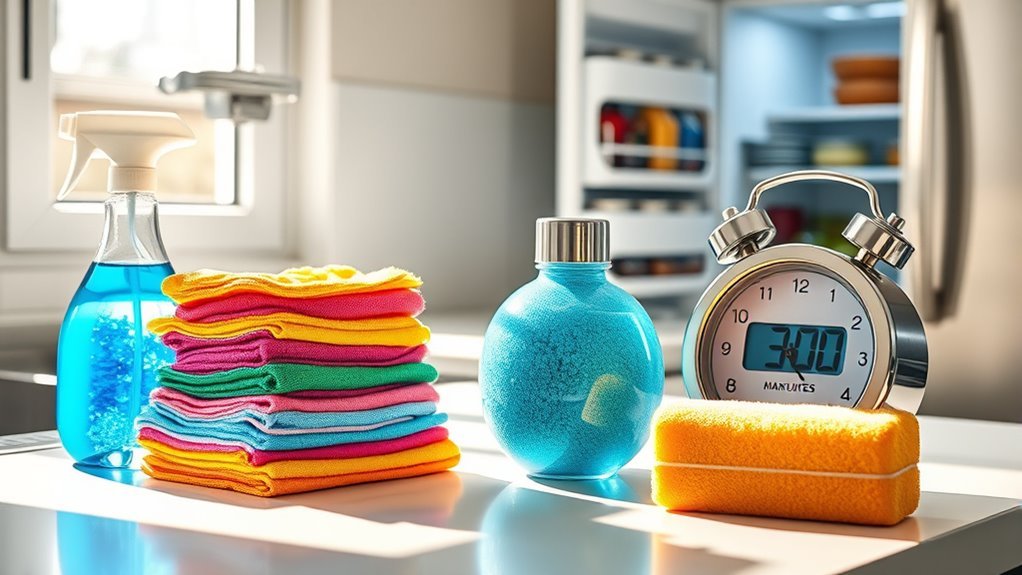
Before you plunge into cleaning your fridge, gather all the supplies you’ll need, like cleaning spray, cloths, and trash bags. Having all your cleaning supplies ready means you won’t waste a single minute hunting for items. This simple step is the foundation of effective time management, freeing you to focus solely on the task. Set a timer for 30 minutes to keep yourself on track and prevent the job from dragging on. Knowing you have a limited window encourages you to work efficiently and stay motivated. By preparing thoroughly and respecting your time, you reclaim control over this chore, turning it into a quick, empowering task rather than a dreaded, endless one. Your fridge—and your freedom—will thank you.
Empty and Sort All Refrigerator Contents
Start by taking everything out of your fridge so you can see what you have. Check expiration dates and toss anything that’s expired or spoiled. Then, group your food by type to make organizing easier.
Remove Expired Items
You’ll want to empty your refrigerator completely to get a clear view of everything inside. As you do, check each item’s expiration date carefully. Removing expired food isn’t just about cleanliness—it’s about reclaiming your space and freeing yourself from clutter that weighs you down. Toss anything past its prime to avoid health risks and bad odors. While sorting, consider proper waste management: separate recyclables, compostables, and trash to minimize your environmental impact. This step is essential for a fresh, organized fridge and a clear mindset. By letting go of expired food, you create room for fresh groceries and reduce unnecessary waste, giving you more control over your kitchen and life. It’s a simple act that brings freedom and clarity.
Categorize by Food Type
Once you’ve cleared out expired items, it’s time to sort everything by food type. This step helps you create a clear fridge layout that makes grabbing what you need effortless. Group dairy, meats, fruits, veggies, and condiments separately—this way, your food storage is streamlined and accessible. Use bins or clear containers to keep like items together, so you don’t waste time searching. By categorizing, you also reduce cross-contamination risks and keep your refrigerator cleaner longer. Think of your fridge as a freedom zone: organized food storage means less stress and more time enjoying life. When you place items back, keep frequently used foods at eye level for quick access. This simple strategy lets you maintain a tidy fridge that supports your busy lifestyle.
Inspect for Spoilage
Before putting anything back, take everything out of your fridge to inspect for spoilage. This step is essential to reclaim control over your food and avoid wasting space on items past their prime. Check each item carefully for spoilage signs like mold, off smells, or discoloration. Don’t hesitate to toss anything that looks or smells questionable—you deserve a fridge filled with fresh, safe food. Pay attention to expiration dates, but also trust your senses; sometimes food stays fresh beyond the printed date. Sorting through your fridge’s contents frees you from the frustration of forgotten, spoiled food and makes room for what you actually want to eat. By prioritizing food freshness, you’re taking a simple step toward a more organized, enjoyable kitchen.
Discard Expired and Unwanted Items
A key step in keeping your refrigerator organized is discarding expired and unwanted items. Clearing out expired food and unwanted leftovers frees up space, reduces clutter, and gives you the freedom to store fresh, nourishing meals. Here’s how to do it efficiently:
Discard expired and unwanted items to free space, reduce clutter, and make room for fresh, nourishing meals.
- Check expiration dates on all items, and toss anything past its prime.
- Identify unwanted leftovers you haven’t eaten in days—let them go to avoid unnecessary storage.
- Quickly scan condiments and sauces; discard those that look or smell off.
Remove and Clean Shelves and Drawers
Now that you’ve cleared out your fridge, gently remove the shelves and drawers to avoid any damage. Take them to the sink and wash thoroughly with warm, soapy water. This step helps keep your refrigerator fresh and hygienic.
Detach Shelves Carefully
Start by carefully detaching the shelves and drawers from your refrigerator to make cleaning easier. Knowing the shelf materials—whether glass, plastic, or metal—helps you handle them without damage. Proper shelf maintenance extends their life and keeps your fridge looking sharp.
Here’s how to detach shelves safely:
- Check your fridge manual for specific removal instructions to avoid breaking clips or supports.
- Support the shelf or drawer underneath as you gently lift or slide it out to prevent sudden drops.
- Place the detached pieces on a soft surface to protect them while you clean.
Taking these steps frees you from hassle and keeps everything in great shape for a fresh, organized fridge.
Wash With Warm Soap
Soak the shelves and drawers in warm, soapy water to loosen grime and spills. Using warm water mixed with a few drops of dish soap, let them sit for 10-15 minutes. This simple step frees you from stubborn stains and sticky residue without harsh scrubbing. After soaking, wipe each piece clean with a soft cloth or sponge. Rinse with clean water and dry thoroughly before placing them back. Here’s a quick guide to your cleaning process:
| Schritt | What to Use | Tipp |
|---|---|---|
| Soak | Warm water + dish soap | 10-15 minutes soak time |
| Wipe | Soft sponge | Avoid abrasive scrubbers |
| Rinse | Clean water | make sure no soap residue |
| Dry | Clean towel | Prevent water spots |
This method keeps your fridge fresh and your freedom intact.
Wipe Down Interior Surfaces
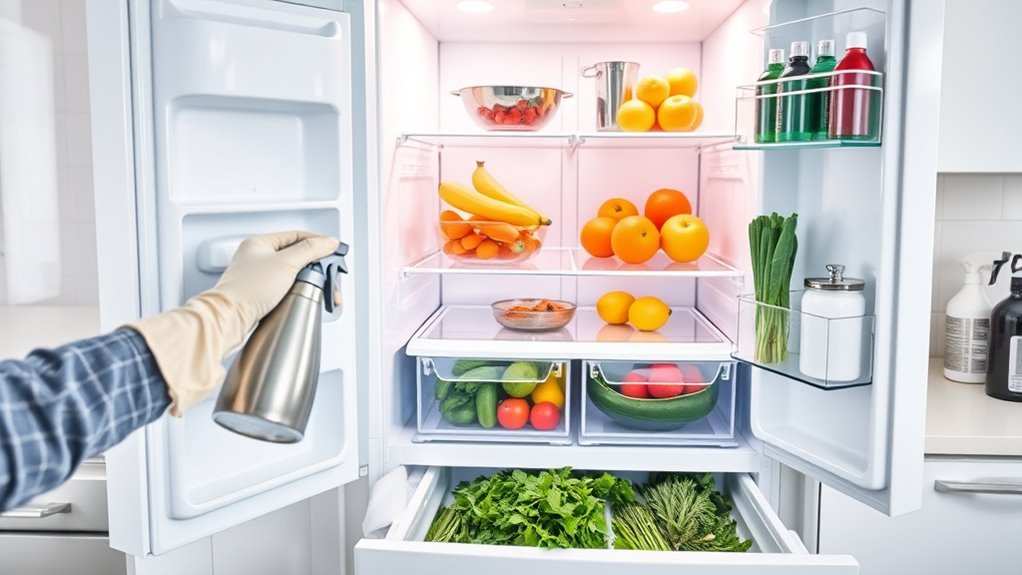
Grab a clean cloth and a mild cleaning solution to wipe down all the interior surfaces of your refrigerator. Surface cleaning is key to maintaining a fresh, hygienic space that supports your freedom to store food without worry. Focus on these areas:
- Shelves and drawers – remove and clean separately if possible for a thorough job.
- Walls and ceiling – wipe down to remove spills and prevent odors.
- Door seals – gently clean to maintain a tight seal and energy efficiency.
This interior maintenance step is essential for a spotless fridge that works efficiently and keeps your food safe. By taking these simple actions, you’re reclaiming control over your kitchen space and enjoying the freedom of a clean, organized refrigerator.
Organize Items for Easy Access and Visibility
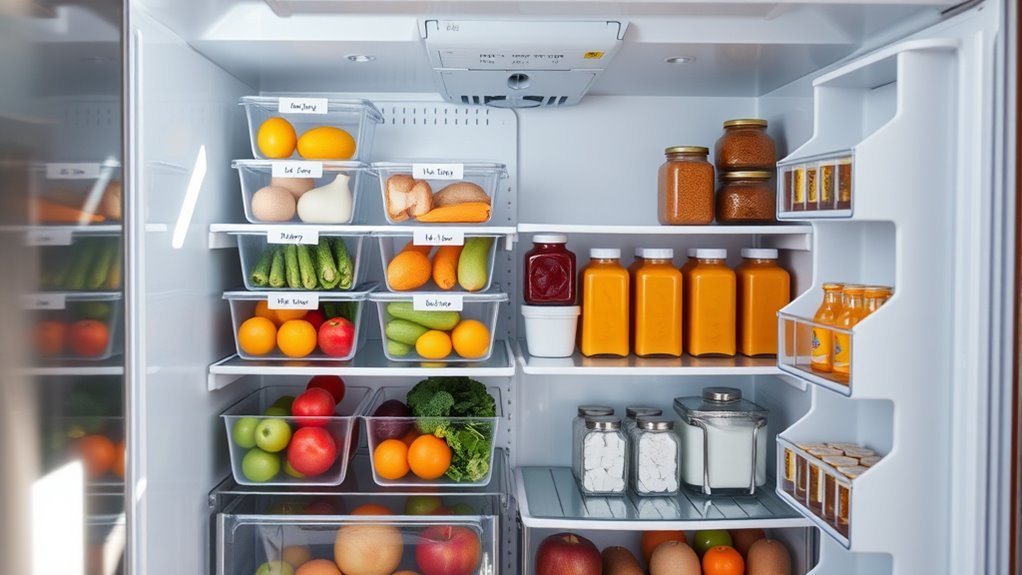
Once your refrigerator is clean, the next step is to arrange your items so you can easily find what you need. Start by grouping similar products together—dairy, condiments, fruits, and veggies—so you don’t waste time searching. Use visibility techniques like clear containers or labeling shelves to keep everything in sight and prevent forgotten leftovers. Place frequently used items at eye level for easy access, and store rarely used things on higher or lower shelves. Keep raw meat in sealed containers on the bottom shelf to avoid cross-contamination. By organizing with intention, you gain freedom from clutter and frustration, making your fridge a functional space that supports your lifestyle effortlessly. This simple system lets you grab what you want quickly and keeps your food fresh longer.
Häufig gestellte Fragen
How Often Should I Deep Clean My Refrigerator?
You should aim for a deep clean frequency of every three to four months to keep your fridge in top shape. This routine refrigerator maintenance not only helps prevent odors and mold but also guarantees your food stays fresher longer. If you want to enjoy more freedom from last-minute messes or spoiled food, sticking to this schedule makes sense. Plus, it’s a small time investment for long-term convenience and cleanliness.
What Temperature Should My Refrigerator Be Set To?
Imagine your fridge as a cool oasis on a hot day—if the temperature’s off, it won’t refresh you properly. You want your refrigerator set to the ideal temperature of around 37°F (3°C). This keeps food fresh while avoiding temperature fluctuations that can spoil your freedom to enjoy fresh meals. Keeping it steady means less waste and more ease, so you can live life without constantly worrying about your groceries.
Can I Use Natural Cleaners Instead of Chemical Ones?
Absolutely, you can use natural cleaning products instead of harsh chemicals. Natural cleaning solutions like vinegar, baking soda, and lemon juice are effective and eco friendly options that won’t harm your fridge or the environment. They help you maintain a fresh, toxin-free space, giving you the freedom to keep your home healthy without compromising on cleanliness. So go ahead, choose natural cleaning for a safer, greener approach.
How Do I Prevent Mold From Growing in My Fridge?
To prevent mold growth in your fridge, focus on mold prevention by keeping humidity in check. You can do this by regularly wiping down spills and ensuring your fridge door seals tightly to avoid excess moisture. Using moisture absorbers or placing a box of baking soda inside helps control humidity. Also, avoid overcrowding so air can circulate freely. With these simple steps, you’ll keep your fridge fresh and mold-free without feeling restricted.
What Are the Best Storage Containers for Fridge Organization?
You’ll feel like you’ve revealed a whole new world when you use glass containers and stackable bins in your fridge! These beauties give you freedom from clutter and chaos, making every item visible and accessible. Glass containers keep food fresh and don’t absorb odors, while stackable bins maximize your space without a fight. You’ll love the ease of grabbing exactly what you want, freeing you from fridge frustration forever.