How to Remove Attic From Kitchen
To remove an attic from your kitchen, first assess how the attic supports structural loads like joists and rafters, consulting a structural engineer if needed. Gather tools such as a reciprocating saw and pry bar, and prepare the kitchen by covering appliances and sealing off dust. Carefully dismantle attic framing and roofing above the kitchen, reinforcing ceiling joists to maintain safety. After removal, inspect for damage, restore finishes, and verify utilities are safe. Continuing will uncover detailed steps and safety tips.
Assessing the Structural Impact
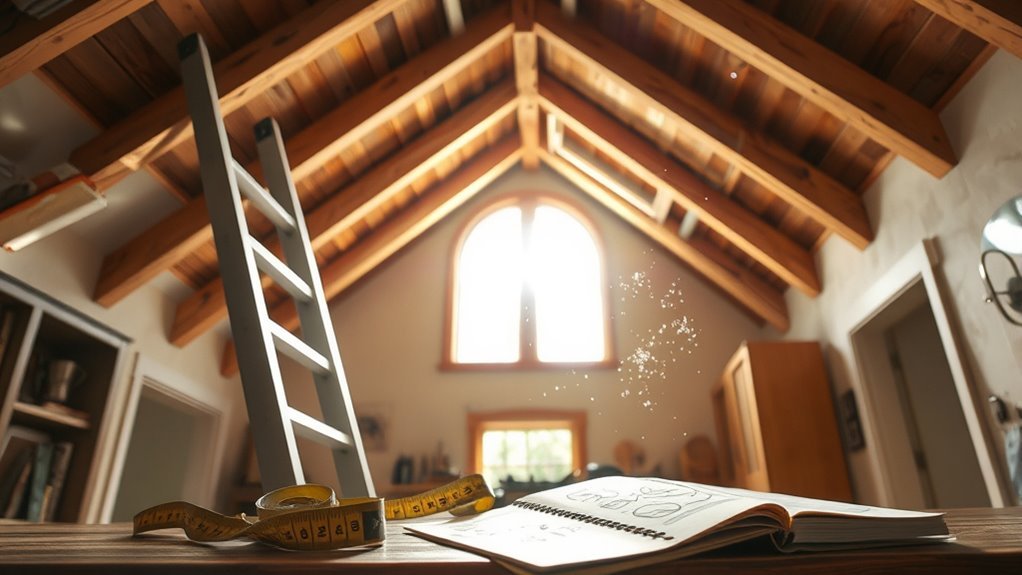
Before you begin removing an attic from your kitchen, you’ll need to thoroughly assess the structural impact on your home. Start by evaluating the attic’s role in maintaining your house’s structural integrity. Attics often contribute to load distribution, supporting weight across walls and beams. Removing it without proper assessment can compromise stability. Examine load-bearing walls, joists, and rafters connected to the attic. Identify which elements carry significant loads and how they redistribute weight once the attic is removed. Use detailed structural drawings or consult a structural engineer to understand potential weaknesses. Your goal is to guarantee that after removal, the kitchen and surrounding areas maintain their strength and safety. This precise assessment is essential for preserving your home’s freedom from structural risks during renovation.
Gathering Required Tools and Materials
To successfully remove an attic from your kitchen, you’ll need a specific set of tools and materials tailored to structural demolition and renovation. Focus on equipment for safely dismantling attic insulation and managing ceiling support structures. Precision and proper safety gear are essential to maintain freedom in your workspace without compromising structural integrity.
| Werkzeug/Material | Zweck | Notes |
|---|---|---|
| Reciprocating Saw | Cutting joists and studs | Use with metal blades |
| Pry Bar | Removing drywall and panels | Protect underlying wiring |
| Insulation Removal Kit | Extracting attic insulation | Includes gloves & mask |
| Temporary Ceiling Supports | Guaranteeing structural safety | Adjustable, heavy-duty |
Gathering these guarantees your project proceeds smoothly and safely.
Preparing the Kitchen and Surrounding Areas
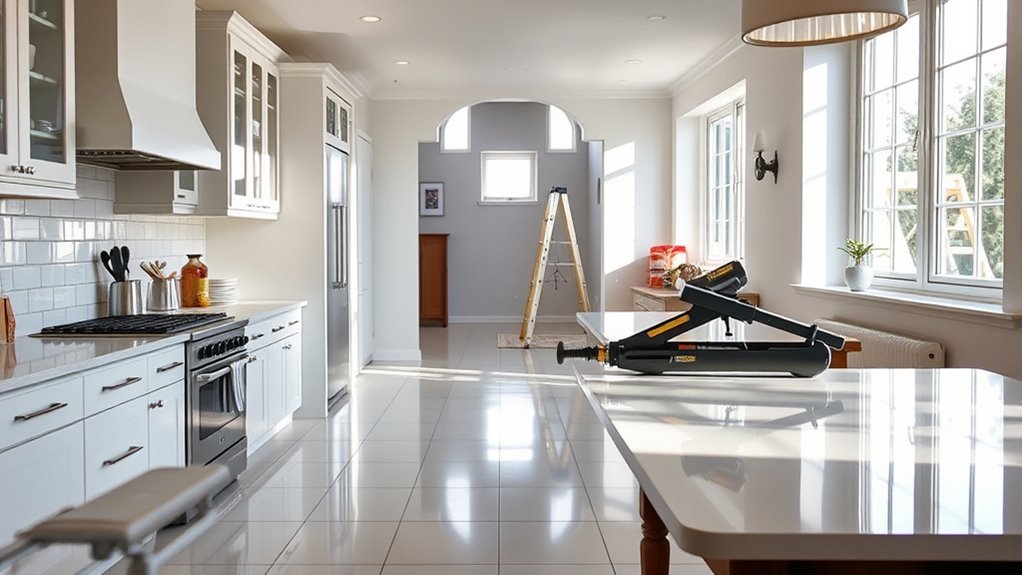
Although removing an attic from your kitchen involves heavy structural work, you’ll need to carefully prepare the kitchen and surrounding areas to protect surfaces, appliances, and fixtures from dust, debris, and damage. First, assess your kitchen layout to identify movable appliances and furniture. Remove smaller items and cover immovable ones with heavy-duty plastic sheeting, securing edges with painter’s tape. Install dust barriers at doorways to contain debris. Next, implement safety precautions: wear protective gear like gloves, goggles, and respirators. Verify electrical outlets and gas lines are safely shut off or covered. Clear the workspace to maintain unobstructed movement. Ventilation is essential—open windows or use exhaust fans to reduce airborne particles. By taking these steps, you’ll maintain a safe environment and protect your kitchen’s integrity throughout the attic removal process.
Step-by-Step Attic Removal Process
The attic removal process involves several critical stages that must be executed methodically to guarantee structural safety and efficiency. Start by carefully dismantling attic framing to avoid compromising load-bearing elements. Next, remove insulation and address attic ventilation systems to prevent future moisture and airflow issues. Then, detach roofing materials directly above the kitchen area, making certain no damage to underlying structures. Finally, reinforce kitchen design elements by installing appropriate ceiling joists and supports, maintaining an open space without attic influence.
- Dismantle attic framing methodically
- Remove insulation and inspect attic ventilation
- Carefully detach roofing over kitchen
- Reinforce ceiling joists for kitchen design
Following these steps assures a safe, efficient shift from attic space to optimized kitchen freedom.
Post-Removal Cleanup and Renovation
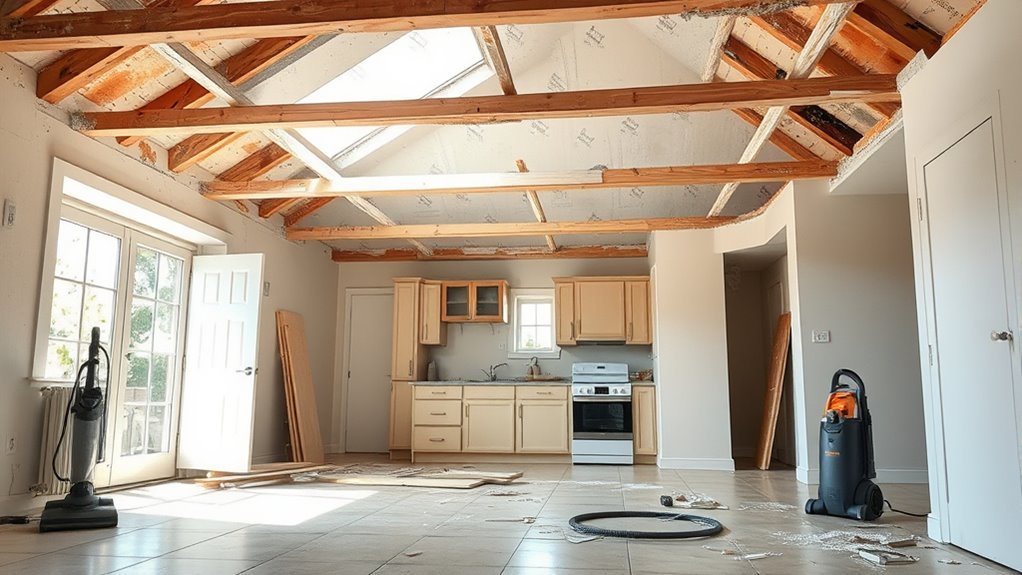
Once the attic removal is complete, you’ll need to focus on thorough cleanup and precise renovation to confirm the kitchen area is safe and fully functional. Start with a detailed post removal inspection, checking for structural integrity, electrical wiring, and ventilation systems disturbed during removal. Address any damage immediately to avoid future issues. Next, develop a renovation budgeting plan that accounts for necessary repairs, material costs, and labor. Prioritize restoring wall finishes, ceiling treatments, and lighting fixtures to suit your kitchen’s design. Ascertain all utilities are reconnected correctly and comply with safety codes. By maintaining a disciplined approach to post-removal cleanup and renovation budgeting, you’ll reclaim your kitchen space efficiently, creating an open, safe environment where freedom to customize thrives.
Häufig gestellte Fragen
Can Removing an Attic Increase My Home’s Resale Value?
You might wonder if an attic renovation can boost your home’s resale value. In many cases, improving or converting an attic adds usable living space, which attracts buyers and increases resale benefits. However, simply removing an attic without repurposing it often reduces square footage and appeal. To maximize resale benefits, focus on functional upgrades like insulation, ventilation, or creating a livable room, giving you freedom to enhance your home’s market appeal practically.
How Do I Handle Pest Infestations in the Attic Before Removal?
Isn’t it just delightful to find uninvited critters throwing a party in your attic? Before you evict them, start with precise pest identification to know your foes. Use traps or professional inspections for accuracy. Next, focus on infestation prevention by sealing entry points and improving ventilation. Removing nesting materials is essential. These steps give you control and freedom from future invasions while ensuring a safe, pest-free space ready for your next project.
What Are the Common Permits Required for Attic Removal?
When planning attic removal, you’ll need to secure permits that comply with local building codes and renovation regulations. Typically, a demolition permit and a structural modification permit are required to guarantee safety and code adherence. You should check with your city’s building department to confirm specific requirements, as regulations vary. Staying compliant gives you the freedom to proceed confidently, avoiding legal issues and guaranteeing your project meets all technical standards.
How Long Does the Attic Removal Process Typically Take?
Timing the tricky task takes tenacity. Your attic removal timeline typically spans anywhere from a few days to a couple of weeks, depending on size, structural complexity, and permit processing. During renovation planning, you’ll want to account for demolition, debris disposal, inspections, and potential delays. Staying proactive with contractors and permits helps you maintain momentum, ensuring your project progresses smoothly without sacrificing your freedom to adapt or adjust as needed.
Are There Eco-Friendly Methods for Disposing of Attic Materials?
You can definitely adopt eco-friendly methods for disposing of attic materials. Start by recycling materials like metal, wood, and drywall at local facilities to reduce landfill waste. For insulation, consider composting biodegradable types such as cellulose insulation, which is made from recycled paper. Guarantee synthetic insulation is properly handled to avoid environmental harm. These practical steps help you minimize environmental impact while maintaining your freedom to manage waste responsibly and sustainably.