How to Remove Keyboard From Grease
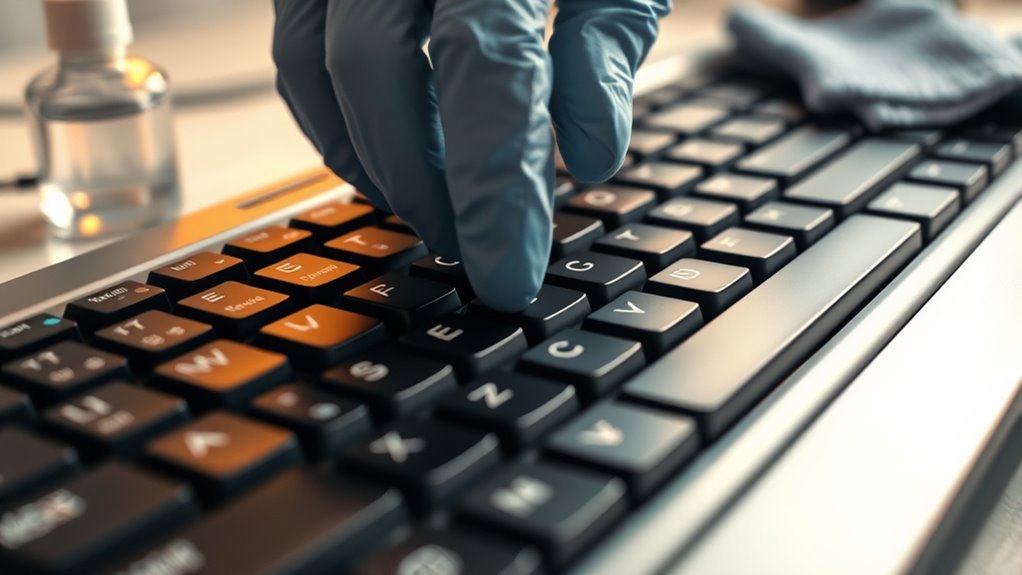
To remove grease from your keyboard, first power it off and unplug or disconnect it. Use compressed air and gentle shaking to remove loose debris. Dampen a microfiber cloth with isopropyl alcohol (70% or higher) and carefully wipe the keys and surface. For tight spaces, use lightly dampened cotton swabs to lift grease without soaking components. Allow everything to dry fully before reassembling. Following these steps guarantees thorough cleaning and keyboard longevity—there’s more to know for deep maintenance.
Gather Necessary Cleaning Supplies

Before you begin cleaning, you’ll need to gather the right supplies to effectively remove grease from your keyboard. Start with essential items like isopropyl alcohol (70% or higher) because it evaporates quickly and dissolves oils without damaging components. Include a microfiber cloth to avoid scratching keys and compressed air to dislodge debris from tight spaces. Cotton swabs are vital for precision cleaning between keys. Avoid harsh chemicals that can degrade plastic or electronics. Assemble a small bowl of warm water mixed with a drop of mild dish soap for initial surface wiping. These cleaning supplies provide a controlled, efficient approach, ensuring you maintain your keyboard’s functionality and aesthetics. Having everything ready empowers you to clean thoroughly and regain freedom from sticky, greasy residue.
Power Off and Disconnect Your Keyboard
Start by powering off your keyboard to prevent any accidental inputs or electrical issues during cleaning. If you’re using a wired keyboard, unplug it from the power supply or USB port. For wireless keyboard types, switch off the power button and remove the batteries if possible. This step isolates the device from any electrical current, ensuring safety and avoiding damage. Remember, some keyboards with built-in rechargeable batteries may require you to disable Bluetooth or wireless connections via your computer settings instead. Confirm your keyboard is completely off before proceeding. Taking these precautions grants you full control and freedom to clean effectively without risking hardware faults or data loss due to unintended keystrokes. Proper disconnection is the foundation of a safe, thorough grease removal process.
Remove Loose Debris and Dust

Start by gently shaking your keyboard to dislodge loose particles. Next, use compressed air to blow out dust from between the keys. Finally, employ a soft brush to sweep away any remaining debris without damaging the surface.
Shake Out Loose Particles
Gently tilt your keyboard upside down and give it a few firm shakes to dislodge loose debris and dust trapped between the keys. This simple method utilizes effective shake techniques to enhance particle removal without causing damage. Use controlled, short bursts of motion rather than prolonged shaking.
| Shake Technique | Zweck | Caution |
|---|---|---|
| Gentle Tilt | Access debris beneath keys | Avoid excessive force |
| Firm Shakes | Dislodge loose particles | Prevent keycap detachment |
| Short Bursts | Efficient particle removal | Minimize internal damage |
| Repetition | Guarantee thorough cleaning | Don’t overdo, risk loosening |
Mastering these steps guarantees freedom from grease buildup by eliminating loose particles efficiently, preparing your keyboard for deeper cleaning.
Use Compressed Air
Although shaking your keyboard removes many loose particles, compressed air can reach debris trapped deeper between keys. To maximize dust removal, hold the keyboard at an angle and use short bursts of compressed air. Keep the can upright to prevent liquid propellant from spraying onto the surface. Direct the airflow between key gaps to dislodge hidden dust and grease residues without touching the keys. Repeat this process methodically across the entire keyboard. Compressed air offers a non-contact way to clear loose debris, reducing buildup that can impair key function. Afterward, inspect for stubborn particles, which might require additional cleaning methods. Using compressed air regularly helps maintain your keyboard’s responsiveness and longevity, granting you freedom from sticky keys caused by grease and grime accumulation.
Soft Brush Cleaning
After using compressed air to clear out dust and loose particles, a soft brush can help reach debris that air alone can’t dislodge. Choose a brush with fine, synthetic bristle types to avoid scratching your keyboard surface. Employ soft brush techniques by gently sweeping between keys and along edges, ensuring you don’t press too hard and damage components. Focus on areas where grease traps dirt, moving bristles in short, controlled strokes. Regularly tap the brush to remove accumulated debris. Avoid natural bristles, which may shed and worsen the mess. This method frees your keyboard from residual dust and loose grime efficiently, preparing it for deeper cleaning steps. Mastering soft brush cleaning gives you precise control and freedom from stubborn particles without risking keyboard integrity.
Prepare a Cleaning Solution for Grease

You’ll need to select a cleaning agent that effectively breaks down grease without damaging your keyboard. Mix the solution using precise ratios, typically diluting mild dish soap or isopropyl alcohol with water. Always prioritize safety by wearing gloves and ensuring proper ventilation during preparation.
Choosing Effective Cleaning Agents
When tackling grease on your keyboard, selecting the right cleaning agent is crucial to avoid damaging sensitive components. Opt for isopropyl alcohol with a concentration of at least 70%, as it effectively breaks down grease without leaving residues. Mild dish soap diluted in water can also serve as a gentle cleaning agent for surface grease removal. Avoid harsh solvents like acetone or ammonia, which risk corroding plastic and electronic parts. Choose cleaning agents that evaporate quickly to prevent moisture buildup and electrical shorts. Prioritize agents free from dyes and fragrances to minimize residue. By carefully selecting proper cleaning agents, you guarantee efficient grease removal while maintaining your keyboard’s integrity and prolonging its lifespan. This methodical approach grants you the freedom to clean confidently without compromising your device.
Mixing Ratios and Safety
Although effective cleaning depends on the right agent, properly mixing your solution is essential to guarantee safety and performance. You need to follow precise mixing ratios to avoid damaging your keyboard or exposing yourself to harmful chemicals. Always measure components accurately and dilute concentrated cleaners according to manufacturer guidelines.
Keep these safety precautions in mind:
- Wear gloves to protect your skin from irritants.
- Work in a well-ventilated area to prevent inhaling fumes.
- Avoid excess moisture that can seep into the keyboard and cause electrical damage.
Clean the Keyboard Surface and Keys
Before tackling the grease buildup, disconnect your keyboard to prevent any electrical issues. Start by using a lint-free microfiber cloth slightly dampened with isopropyl alcohol—this dissolves grease without harming the surface. Gently wipe the keyboard surface and keys, applying consistent pressure to avoid damage. For effective keyboard maintenance tips, clean your keyboard at least once a week or more frequently if you eat near it, following cleaning frequency recommendations to maintain ideal hygiene and functionality. Avoid excess moisture to protect internal components. This methodical approach lets you reclaim control over your workspace, ensuring your keyboard remains responsive and free from residue. Consistent care prevents buildup, extending your device’s life and preserving your freedom from sticky, greasy keys.
Use Cotton Swabs for Hard-to-Reach Areas
Since grease often settles in tight spaces between and beneath keys, using cotton swabs allows you to target these hard-to-reach areas effectively. Employ precise swab usage as part of your cleaning techniques to remove residue without damaging components. Lightly dampen a cotton swab with isopropyl alcohol or a mild cleaning solution for ideal grease dissolution. Move methodically along key edges and crevices, applying gentle pressure to lift grime. Remember to:
Use lightly dampened cotton swabs to gently lift grease from tight keyboard crevices without causing damage.
- Avoid oversaturation to prevent liquid damage.
- Rotate swabs to use clean surfaces continuously.
- Focus on individual keys and spaces in a systematic manner.
This approach grants you control and thoroughness, enabling you to maintain your keyboard’s functionality and appearance with minimal effort.
Dry and Reassemble Your Keyboard
Allow your keyboard to dry completely before reassembling to prevent moisture damage. Start by placing the keyboard and all removed components on a dry, lint-free cloth in a well-ventilated area. Avoid direct sunlight or heat sources, as excessive heat can warp plastic parts. Verify all dry components, including keycaps and the keyboard base, show no residual dampness. Use compressed air to expedite drying in tight spaces. Once confident that every piece is thoroughly dry, methodically reassemble keyboard parts in their original order. Press each keycap firmly but carefully onto its switch stem to avoid damage. Confirm functionality by testing all keys after reassembly. Taking these precise steps guarantees your keyboard remains functional and extends its lifespan, granting you the freedom to work without interruption.
Häufig gestellte Fragen
Can Grease Damage My Keyboard Permanently?
Grease effects on your keyboard can be serious if not addressed quickly. It can cause sticky keys, disrupt electrical contacts, and lead to permanent damage. Proper keyboard maintenance is essential; you’ll want to clean spills immediately and avoid letting grease seep inside. If neglected, the residue can corrode components and impair functionality. Regularly inspecting and cleaning your keyboard helps maintain its performance and extends its lifespan, giving you freedom from costly replacements.
How Often Should I Clean My Keyboard to Avoid Grease Buildup?
Just like clockwork in a well-oiled machine, your keyboard maintenance depends on cleaning frequency. To avoid grease buildup, aim to clean your keyboard at least once a week if you use it daily. This habit prevents grime from settling into keys, ensuring smooth function and longevity. Regular cleaning frees you from sticky keys and potential damage, letting you type unhindered. Consistency is key for maintaining your keyboard’s freedom and performance.
Is It Safe to Use Commercial Cleaning Sprays on Keyboards?
You should be cautious using commercial cleaning sprays on keyboards. Many contain harsh chemicals that can damage keys or internal circuits. Opt for cleaning solutions specifically designed for electronics or mild isopropyl alcohol diluted with water. For keyboard maintenance, always apply the solution to a lint-free cloth, never directly on the keyboard, and power off before cleaning. This method guarantees effective cleaning while preserving your keyboard’s longevity and your freedom to work without interruptions.
What Should I Do if Liquid Spills Inside the Keyboard?
Oh, spilled liquid inside your keyboard? Fantastic—liquid damage, the ultimate test of keyboard protection! First, unplug it immediately to avoid electrical chaos. Then, flip it upside down to drain the offending fluid. Use a microfiber cloth to blot excess moisture, but don’t shake it like a maraca. Let it dry completely—24 to 48 hours in a warm, dry place. Resist the urge to power it on too soon; freedom means patience.
Can Greasy Keyboards Affect Typing Performance or Key Responsiveness?
Yes, greasy keyboards can negatively impact your typing accuracy and key sensitivity. The buildup of grease creates a barrier that hinders key movement and responsiveness, causing missed or repeated keystrokes. This reduces your overall typing efficiency and precision. To maintain peak performance, it’s important to clean the keyboard regularly, ensuring each key registers input correctly and promptly, so you don’t lose control over your typing freedom.


