How to Remove Sink From Dryer
To remove a sink from your dryer, first turn off the water supply and unplug the dryer to guarantee safety. Gather tools like wrenches and pipe cutters, then carefully disconnect all plumbing connections, including water lines and drain hoses. Loosen mounting screws or brackets securing the sink, and cut through any sealant around the edges. Lift the sink evenly without twisting, wearing gloves for protection. Once removed, inspect and clean the area thoroughly. Further steps cover detailed inspection and prep for any next tasks.
Assessing the Setup and Gathering Tools
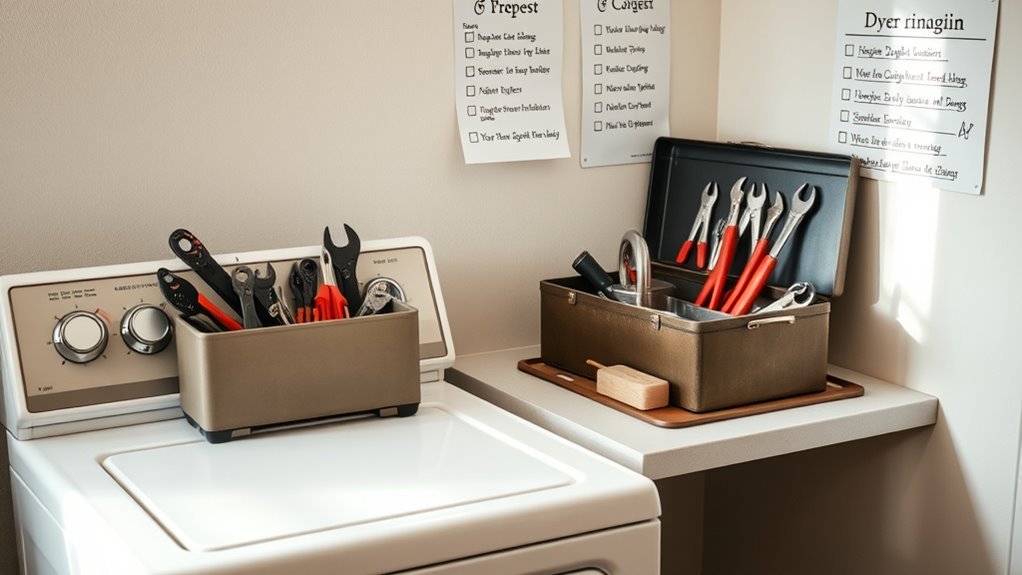
Before you begin removing the sink from your dryer setup, carefully assess the arrangement to identify all connection points and mounting hardware. Examine how the sink installation integrates with both the dryer and the existing plumbing. Locate the water supply lines, drain pipes, and any brackets or screws securing the sink in place. This step guarantees you know exactly what needs disconnecting. Next, gather the essential plumbing tools: adjustable wrenches, pipe cutters, a basin wrench, and pliers are typically required. Having these tools ready saves time and reduces frustration during removal. Being methodical here grants you the freedom to proceed efficiently without unexpected complications. Precise assessment and proper tool preparation lay the groundwork for a smooth, controlled removal process.
Turning Off Water Supply and Power
First, locate the water shutoff valve connected to the sink and turn it off to prevent any leaks. Next, disconnect the dryer’s power source by unplugging it or switching off the circuit breaker. Finally, verify that no water is flowing by opening the faucet briefly before proceeding.
Locate Water Shutoff Valve
A water shutoff valve controls the flow of water to your appliance, making it essential to locate and turn off before removing your dryer’s sink connection. First, identify the shutoff location supplying water to the dryer’s sink. Commonly, this valve is found near the wall behind the appliance or under the sink itself. It may be a round knob or a lever handle. Once located, turn the valve clockwise until it stops to fully close the water supply. This action prevents water flow, avoiding leaks or flooding during disconnection. If you can’t find the dedicated valve, turn off the main water supply to your home as a precaution. Confirm the water is off by running the sink faucet; no flow means you’re ready to proceed safely.
Disconnect Dryer Power Source
To safely disconnect your dryer, you’ll need to turn off both the water supply and the power source. Prioritizing safety precautions is vital when handling power sources to avoid electrical hazards. Follow these steps:
- Locate the dryer’s main power switch or unplug the unit from the wall outlet.
- If your dryer is hardwired, turn off the corresponding circuit breaker in your electrical panel.
- Confirm that the power is off by testing the dryer controls; the unit should not respond.
- Shut off the water supply valve connected to the sink drain near the dryer.
These actions guarantee you’re working in a safe environment, freeing you to proceed with removing your sink from the dryer without risking electrical shock or water damage.
Verify No Water Flow
Before proceeding, verify that no water is flowing from the sink’s supply lines by turning off the relevant valves and checking for any residual flow. Locate the shutoff valves beneath the sink or at the main water supply. Turn each valve clockwise until fully closed to halt water flow. Open the faucet to relieve any remaining pressure and ascertain no water emerges. This step prevents unexpected leaks during removal, avoiding potential plumbing issues. Additionally, double-check that the dryer’s power source remains disconnected to eliminate electrical hazards. Confirming no water flow is critical for a safe, efficient removal process, granting you control and freedom to manage your plumbing setup without complications. Proceed only once you’re sure all water supply and power are fully disabled.
Disconnecting Plumbing Connections
Before you start disconnecting, make sure the water supply is fully shut off to prevent leaks. Next, carefully detach the drain hoses from the sink and dryer connections. Finally, cap any open pipes to avoid water damage and debris entry.
Shut Off Water Supply
Although it may seem straightforward, shutting off the water supply is a critical step to prevent leaks and water damage when disconnecting plumbing connections from your dryer. Ensuring plumbing safety here protects your space and maintains your freedom from unexpected repairs.
To properly shut off the water supply:
- Locate the main water valve or the dedicated valve supplying the dryer’s plumbing.
- Turn the valve clockwise firmly until it stops, fully closing the water flow.
- Open the nearest faucet to release residual water pressure in the lines.
- Double-check that water flow has ceased before proceeding with disconnection.
Following these steps guarantees that the plumbing system is secure and ready for safe removal of your dryer’s sink without risking water damage.
Detach Drain Hoses
Begin by carefully loosening the clamps or fasteners securing the drain hoses to the dryer and sink. Drain hose types vary—some use flexible corrugated hoses, while others employ smooth PVC pipes. Identify the hose connection methods in use: common options include screw clamps, spring clamps, or quick-connect fittings. Use a screwdriver or pliers to loosen clamps gently without damaging the hose or connection points. Once loosened, pull the hose off the fitting with steady pressure, avoiding twisting that could damage seals. If you encounter stubborn connections, apply a penetrating lubricant sparingly and wait a few minutes before retrying. Detaching drain hoses properly guarantees no residual water leaks and allows you to proceed with sink removal confidently and safely, reclaiming control over your workspace.
Cap Open Pipes
Once the drain hoses are detached, you’ll need to cap any open pipes to prevent leaks and contamination. Properly sealing these openings guarantees your workspace stays dry and sanitary while maintaining the integrity of your plumbing system. Here’s how to cap open pipes effectively:
- Inspect the open drain pipe for damage or debris.
- Choose an appropriate cap—plastic or metal—matching the pipe diameter.
- Apply plumber’s tape or a sink seal around the pipe threads for a watertight fit.
- Securely tighten the cap onto the drain pipe, guaranteeing no movement or gaps.
Detaching the Sink From the Dryer or Counter
Before you can fully remove the sink, you’ll need to carefully detach it from the dryer or counter. Start by inspecting the sink installation to identify all mounting points—these are often screws or brackets securing the sink to the countertop or dryer frame. Use an appropriate screwdriver or wrench to loosen and remove these fasteners. Be mindful of any sealant or caulking around the sink edges; gently cut through it using a utility knife to avoid damage. Detaching the sink cleanly prevents unnecessary strain on drainage connections, helping to avoid drainage issues later. If the sink is integrated with the dryer structure, check for any additional clips or supports. Taking these precise steps grants you the freedom to proceed safely with removing the sink without causing damage or complications.
Removing the Sink Safely
Although detaching the sink from the dryer or counter is a critical step, removing the sink safely requires careful handling to prevent damage to plumbing and surrounding fixtures. You’ll want to take into account the sink materials—whether porcelain, stainless steel, or composite—to apply the right amount of force without causing cracks or dents. Always wear appropriate safety gear such as gloves and eye protection to guard against sharp edges and debris. Follow these steps:
Remove sinks carefully, considering materials and wearing safety gear to avoid damage and injury.
- Support the sink firmly from underneath to avoid sudden drops.
- Slowly disconnect any remaining plumbing connections, noting their orientation.
- Use a putty knife to gently separate adhesive or sealant without damaging surfaces.
- Lift the sink evenly, avoiding twisting motions that stress joints or pipes.
This method guarantees a safe, damage-free removal.
Inspecting and Cleaning the Area After Removal
After you’ve safely removed the sink from the dryer, the next step is to thoroughly inspect and clean the exposed area. Begin by checking for any residual moisture, debris, or damaged seals that could affect dryer performance or cause mold growth. Use effective cleaning techniques such as a vacuum with a narrow nozzle to remove dust and lint, followed by wiping surfaces with a damp cloth and mild detergent to eliminate grime. Pay special attention to corners and joints where dirt tends to accumulate. Proper area maintenance prevents future issues and guarantees your dryer operates efficiently. Don’t skip this critical step; a clean, well-maintained space grants you the freedom to proceed confidently with any further appliance work or reinstallation.
Häufig gestellte Fragen
Can I Remove the Sink Without Professional Help?
You can handle sink removal techniques on your own if you feel confident with basic tools and plumbing knowledge. DIY sink removal often involves shutting off water supply, disconnecting pipes, and carefully detaching mounting hardware. Make sure to prepare for potential leaks and have a bucket handy. However, if you’re unsure or encounter complex plumbing, consulting a professional can save time and prevent damage. Your freedom to DIY depends on your comfort level and skills.
What Tools Are Best for Sink Removal?
For efficient sink removal, you’ll want specific tools that give you control and precision. Start with adjustable and basin wrench types to loosen nuts in tight spaces. Pipe cutters are essential for cleanly severing any copper or PVC pipes without damaging surrounding fixtures. Combining these tools guarantees you can work independently, freeing you from costly professional help. Having the right gear means you can confidently tackle plumbing tasks while maintaining full control over the process.
How Do I Prevent Water Damage During Removal?
Imagine a homeowner who uncovered a small leak after removing their sink, causing floor damage. To prevent this, you should use waterproof covers to shield surfaces and seal off areas prone to moisture. Additionally, set up effective drainage solutions like buckets or hoses to catch residual water when disconnecting pipes. These practical steps guarantee you maintain a dry, damage-free workspace, giving you the freedom to tackle the project without worry.
Can I Reuse the Sink After Removal?
You can definitely consider reuse options for your sink after removal, but it depends largely on the sink condition. Inspect it carefully for cracks, chips, or corrosion that may compromise its integrity. If the sink remains structurally sound and free of damage, you’re free to repurpose it elsewhere or reinstall it. However, if you find any significant wear or damage, it’s safer to replace it to avoid future issues.
What to Do if the Sink Is Stuck or Sealed?
Ever faced a sink sealing so stubborn that it feels like it’s holding secrets? If your sink is stuck or sealed tight, don’t force it blindly. First, carefully inspect stuck mechanisms—look for hidden clips or sealant layers. Apply a gentle solvent or heat to soften the sealant, then use a putty knife to pry evenly around the edges. Patience and precision are your allies here, ensuring you free the sink without damage or frustration.