How to Remove Stubborn Stains From Keyboard
To remove stubborn stains from your keyboard, first unplug it and identify the stain type. Use a cotton swab or soft cloth lightly dampened with isopropyl alcohol to gently rub the marks—avoid soaking keys. For grime, try a mild detergent with a soft brush, then dry thoroughly to protect your device. Compressed air can help clear debris between keys. Want to keep your keyboard spotless and damage-free? There’s more you can do to guarantee it stays that way.
Assessing the Type of Stain on Your Keyboard
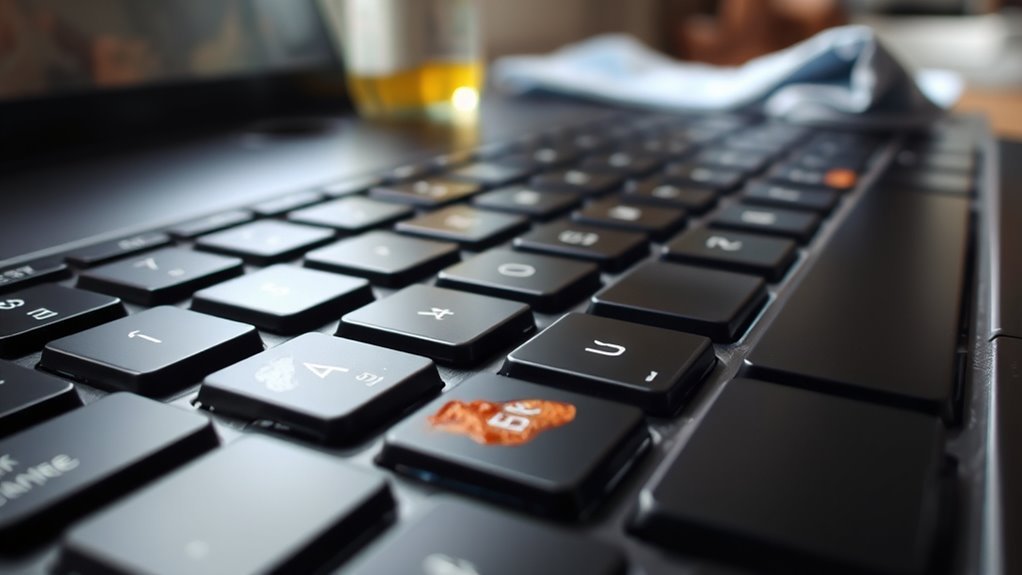
Before you start cleaning, it’s important to identify the type of stain on your keyboard. Knowing the stain types helps you choose the right cleaning methods, saving time and avoiding damage. Common stains include ink, grease, food spills, and dust buildup. Each requires a different approach—ink might need alcohol-based solutions, while grease responds better to mild detergents. You want to keep your keyboard intact while freeing it from grime, so evaluating the stain carefully is key. Take a moment to observe the color, texture, and location of the stain. This understanding empowers you to act confidently, applying the best cleaning method without hesitation. With the right info, you’re ready to reclaim your keyboard’s freedom from stubborn marks.
Preparing Your Keyboard for Cleaning
Before you start cleaning, make sure to disconnect your keyboard and turn off your device to avoid any damage. Next, gather all the necessary cleaning supplies like a soft cloth, mild detergent, and cotton swabs. Being prepared will make the process smoother and more effective.
Disconnect and Power Off
To start cleaning your keyboard, make certain you disconnect it from your computer and power it off completely. This step is essential for keyboard safety and effective power management. Disconnecting prevents accidental inputs and protects your device from electrical damage. Powering off guarantees no active currents interfere with your cleaning process, giving you full freedom to clean without worry.
| Schritt | Reason | Tipp |
|---|---|---|
| Unplug keyboard | Prevents electrical risk | Use gentle, steady pull |
| Power off device | Guarantees safety | Wait 10 seconds |
| Remove batteries (if any) | Avoids power flow | Store separately |
| Check connection type | USB/Wireless affects steps | Wireless: remove dongle |
| Confirm complete shutdown | Safeguards device | Look for indicator lights off |
Taking these steps sets the stage for safe, hassle-free cleaning.
Gather Cleaning Supplies
Once your keyboard is safely disconnected and powered off, the next step is to gather the right cleaning supplies. Having the proper cleaning tools on hand makes stain removal straightforward and efficient. You’ll want a soft microfiber cloth to avoid scratching, cotton swabs for tight spots, and a small brush to loosen dirt. For tougher stains, isopropyl alcohol or a gentle cleaning solution works wonders without damaging your keyboard. Avoid harsh chemicals that could strip coatings or cause discoloration. Make sure you also have a can of compressed air to blow out debris. By preparing these essentials, you’re setting yourself up for a hassle-free cleaning session, giving your keyboard a fresh, stain-free look without compromising its functionality or your freedom to work or play.
Using Isopropyl Alcohol to Remove Stubborn Marks
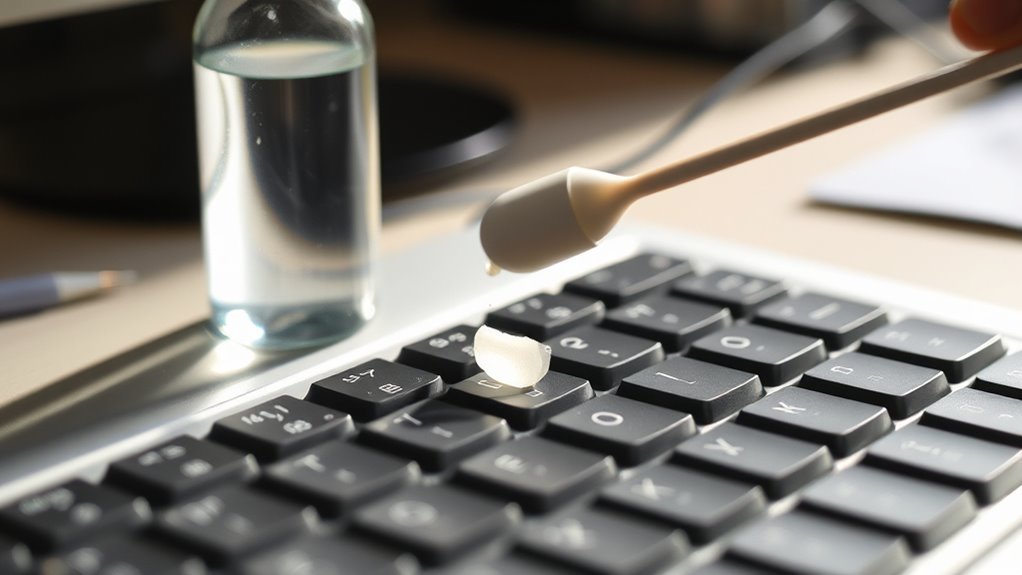
Isopropyl alcohol is a powerful cleaning agent that can effectively break down and lift stubborn stains from your keyboard without damaging its surface. One of the isopropyl alcohol benefits is its ability to evaporate quickly, leaving no residue behind, which keeps your keyboard safe from moisture damage. To enjoy effective stain removal, dampen a soft cloth or cotton swab with isopropyl alcohol—never pour it directly onto the keyboard. Gently rub the stained areas until marks fade away. This method frees you from worrying about harsh chemicals or scrubbing too hard, allowing you to maintain your keyboard’s appearance effortlessly. With isopropyl alcohol, you’re equipped to tackle tough stains while preserving your device’s integrity and your freedom to use it confidently.
Cleaning With a Soft Brush and Mild Detergent
One effective way to clean stubborn keyboard stains is by using a soft brush combined with a mild detergent. This method lets you target grime without damaging your keys. Start by choosing the right soft brush techniques—use gentle circular motions to lift dirt from crevices. For mild detergent options, opt for a diluted dish soap or gentle hand wash to avoid harsh chemicals.
| Schritt | Tool | Tipp |
|---|---|---|
| 1 | Soft brush | Use soft bristles only |
| 2 | Mild detergent | Mix with warm water |
| 3 | Cloth or sponge | Wipe excess moisture promptly |
This approach gives you freedom to clean thoroughly while protecting your keyboard’s finish.
Removing Sticky Residue With Baking Soda Paste

Tackle sticky residue on your keyboard by making a simple baking soda paste. Mix two parts baking soda with one part water until you get a thick, spreadable consistency. Apply the paste gently to the sticky areas using a soft cloth or your fingertip. Baking soda’s mild abrasiveness helps lift stubborn stains without damaging your keys. Let it sit for a few minutes to break down the residue, then wipe it clean with a damp cloth. This method offers effective stain removal while giving you control to clean precisely where needed. Avoid soaking your keyboard—just enough moisture to loosen the sticky buildup. With baking soda on your side, you can free your keyboard from grime and keep it looking fresh without harsh chemicals.
Utilizing Cotton Swabs for Precision Cleaning
When tackling tough keyboard stains, choosing the right cotton swabs makes all the difference. You’ll want to dampen them just enough to lift grime without soaking the keys. Focus on those tight spots where dirt loves to hide, and you’ll see a noticeable improvement.
Choosing the Right Swabs
Although you might be tempted to grab any swab lying around, choosing the right cotton swabs is crucial for effective and precise cleaning of your keyboard. Not all swabs are created equal—consider swab materials first. Look for high-quality cotton that won’t shed fibers, which can get stuck between your keys. Some swabs come with foam tips, but cotton offers better absorbency and control for stubborn stains. Next, pay attention to swab sizes. Smaller swabs let you reach tight spaces without damaging delicate parts, while slightly larger ones cover broader areas quickly. By selecting the right combination of swab materials and sizes, you’ll guarantee your keyboard gets a thorough clean without any hassle, giving you the freedom to work or play without distractions from grime.
Swab Dampening Techniques
Mastering just a few swab dampening techniques can make a big difference in cleaning your keyboard effectively. When you choose your swab application methods, remember that the amount of liquid on the swab is vital. Too wet, and moisture can seep into your keyboard; too dry, and stubborn stains won’t budge. Lightly dip your chosen swab material types—like cotton or foam—into a cleaning solution, then gently squeeze out excess liquid on a paper towel. This lets you control the dampness for precise cleaning. You can also try layering: start with a barely damp swab, then gradually increase moisture if needed. By mastering these simple dampening techniques, you guarantee your swabs reach tough stains without risking damage, giving you the freedom to clean with confidence.
Targeting Tight Keyboard Spaces
A handful of cotton swabs can make all the difference when cleaning tight keyboard spaces where dirt and grime hide. You’ll find that these little tools let you reach those narrow gaps between keys that regular cloths just can’t access. For effective keyboard maintenance, lightly dampen a swab with isopropyl alcohol or a gentle cleaner to tackle stubborn stains without risking damage. Move the swab carefully along the edges and crevices, turning it as you go to avoid spreading dirt. This precision cleaning method helps keep your keyboard hygienic and responsive. By targeting tight spaces with cotton swabs, you maintain not only cleanliness but also the freedom to enjoy a smooth, reliable typing experience every day.
Avoiding Damage: What Not to Use on Your Keyboard
Three common substances you should never use on your keyboard are bleach, ammonia-based cleaners, and abrasive scrubbing pads. These can damage the delicate surface and the lettering on your keys, leaving your device looking worse than before. Instead, choose gentle keyboard cleaning products designed specifically for electronics. Avoid harsh chemicals that could eat away at the plastic or seep inside, causing internal damage. When selecting cleaning tools, opt for soft microfiber cloths or gentle brushes. Steer clear of rough sponges or anything abrasive that might scratch or wear down your keyboard. By knowing what to avoid, you keep your keyboard in great shape, ensuring it lasts longer and stays visually clean without risking harm. Freedom comes from using the right products and tools safely.
Cleaning Between the Keys With Compressed Air
Although it might seem simple, cleaning between the keys with compressed air is one of the most effective ways to remove dust and debris without risking damage. Proper compressed air usage guarantees you maintain your keyboard’s longevity while enjoying the freedom of a clean, responsive device. This method is quick, non-invasive, and perfect for regular keyboard maintenance.
| Schritt | Action | Tipp |
|---|---|---|
| 1 | Hold keyboard upside down | Avoid shaking to prevent damage |
| 2 | Use short bursts | Prevent moisture buildup |
| 3 | Target gaps between keys | Move systematically |
| 4 | Keep can upright | Avoid liquid discharge |
| 5 | Repeat weekly | Maintain peak performance |
Follow these steps to keep your keyboard free from stubborn grime and enjoy smooth typing.
Drying and Reassembling Your Keyboard Safely
After cleaning, you’ll want to air dry your keyboard thoroughly to prevent any moisture from causing damage. Make certain every part is completely dry before you start reassembling to avoid short circuits. Taking your time during reassembly guarantees everything fits back correctly and your keyboard works like new.
Air Drying Techniques
You’ll want to set aside at least 24 hours to air dry your keyboard components completely before reassembling. Proper air drying is vital for keyboard maintenance to prevent damage and guarantee freedom from moisture-related issues. Here’s how to do it right:
- Lay out all parts on a clean, dry towel in a well-ventilated area.
- Position the keyboard components so air circulates freely around them.
- Avoid direct sunlight or heat sources, which can warp or damage plastic.
- Resist the urge to speed up drying with a hairdryer or heater—it’s best to let nature do the work.
Patience here means your keyboard will be safe to use and longer-lasting. Air drying might feel slow, but it’s the key to effective, safe keyboard maintenance.
Ensuring Complete Moisture Removal
Two essential steps verify your keyboard is completely free of moisture before you put it back together: thorough drying and careful reassembly. Moisture damage can silently ruin your device, so don’t rush this process. After cleaning, use effective drying methods like air drying in a warm, dry spot or placing your keyboard near a fan to speed evaporation. Avoid heat sources that could warp parts. Give it ample time—often 24 hours—to verify every drop evaporates. Only when you’re certain no moisture remains should you start reassembling. This patience protects your keyboard’s internal circuits and keeps it functioning freely. By prioritizing complete dryness, you prevent damage and extend your keyboard’s life, preserving your freedom to type without worry.
Proper Keyboard Reassembly
Before you start putting your keyboard back together, make certain every component is completely dry to avoid any damage. Taking your time here guarantees your keyboard lasts longer and works perfectly. To reassemble safely:
- Lay out your keyboard layout diagram to place keys correctly, especially if you’ve removed many.
- Match each keycap material to its original spot—some plastics may fit differently.
- Press each keycap firmly but gently into place, avoiding excessive force.
- Test keys as you go, making sure they move smoothly and register correctly.
Preventative Tips for Keeping Your Keyboard Stain-Free
Although stains can be tough to remove once set, taking simple preventative steps can keep your keyboard looking clean and fresh. Practicing good keyboard care starts with keeping food and drinks away from your workspace to avoid accidental spills. Regularly wipe your keyboard with a microfiber cloth to remove dust and grime before they become stubborn stains. Using a keyboard cover can provide an extra layer of protection against dirt and liquids, making stain prevention effortless. Also, wash your hands before typing to minimize oil and dirt transfer. By adopting these habits, you’ll maintain your keyboard’s appearance and extend its lifespan, giving you more freedom to work or play without the hassle of stubborn stains slowing you down.
Häufig gestellte Fragen
Can I Use a Dishwasher to Clean My Keyboard?
You shouldn’t use a dishwasher to clean your keyboard because it can damage the electronic components inside. When it comes to keyboard maintenance, keeping your device safe means avoiding water or harsh cleaning methods that could cause permanent harm. Instead, use gentle tools like compressed air, isopropyl alcohol, or specialized wipes. Prioritizing dishwasher safety means reserving that freedom for dishes, not tech gear—you’ll keep your keyboard working smoothly without risking costly damage.
How Often Should I Clean My Keyboard to Prevent Stains?
You should stick to regular keyboard maintenance tips to keep your device looking fresh and avoid stubborn stains. Cleaning frequency recommendations suggest wiping your keyboard weekly with a microfiber cloth and using compressed air to clear debris. If you eat or drink near it, clean more often to prevent buildup. Staying consistent means you’ll enjoy a clean keyboard without hassle, giving you the freedom to focus on your work or play without distractions.
Are There Specific Keyboard Types That Require Special Cleaning Methods?
Oh sure, if you’re a rebel who loves mechanical keyboards, you’ve got to treat them like royalty—no liquid baths, just gentle brushes and special cleaners. Laptop keyboards? They’re delicate divas, so avoid soaking and stick to light wipes. You want freedom from grime without sacrificing your gear’s soul, right? So, respect your keyboard’s quirks, and you’ll enjoy a clean, long-lasting typing companion without breaking a sweat or your keyboard’s spirit.
Can Cleaning My Keyboard Improve Its Functionality or Lifespan?
Absolutely, cleaning your keyboard can boost its functionality and extend its lifespan. By following keyboard maintenance tips like regularly removing dust and debris with proper cleaning tools—such as compressed air, microfiber cloths, or gentle brushes—you keep keys responsive and avoid sticky buildup. Taking these simple steps lets you enjoy a smoother typing experience, giving you more freedom to work or play without interruptions caused by grime or malfunctioning keys.
What Should I Do if Liquid Spills Inside the Keyboard?
Imagine you’re a knight in shining armor, protecting your keyboard’s domain. If liquid spills inside, immediately unplug it and flip it upside down to prevent further liquid damage. Don’t try to power it on right away—let it dry for at least 24 hours. To keep your freedom from future mishaps, consider spill prevention tactics like keyboard covers or keeping drinks away. Taking swift action helps you reclaim control and avoid costly repairs.